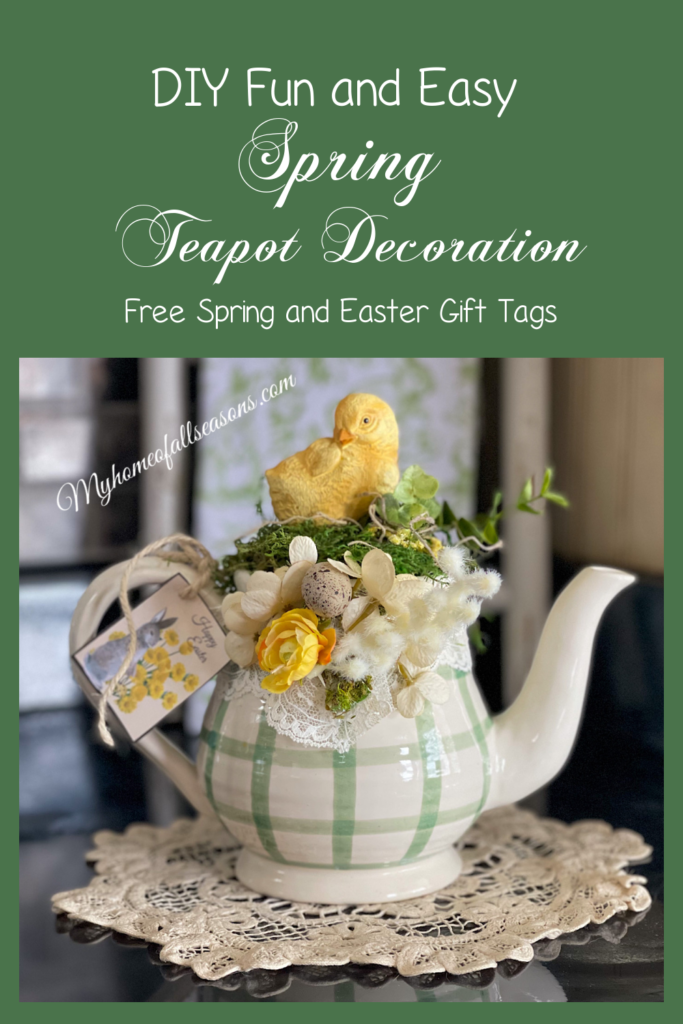
Do you need a cute little springtime decoration to brighten up your kitchen? A unique yet inexpensive gift for a friend? This fun and easy DIY spring teapot decoration might be exactly what you’re looking for!

I struggle each year with the timing for spring decorating. It is a little depressing when the house is decked out for spring but there’s a foot of snow outside. Since March is the the snowiest month in Colorado, that’s normally how it goes. Still, I couldn’t resist any longer and it’s definitely spring at our house! So… now what???
I decided a trip to the thrift store would be just the thing. It’s a treasure hunt that so often turns into a fun project on the side. That’s exactly what happened today.
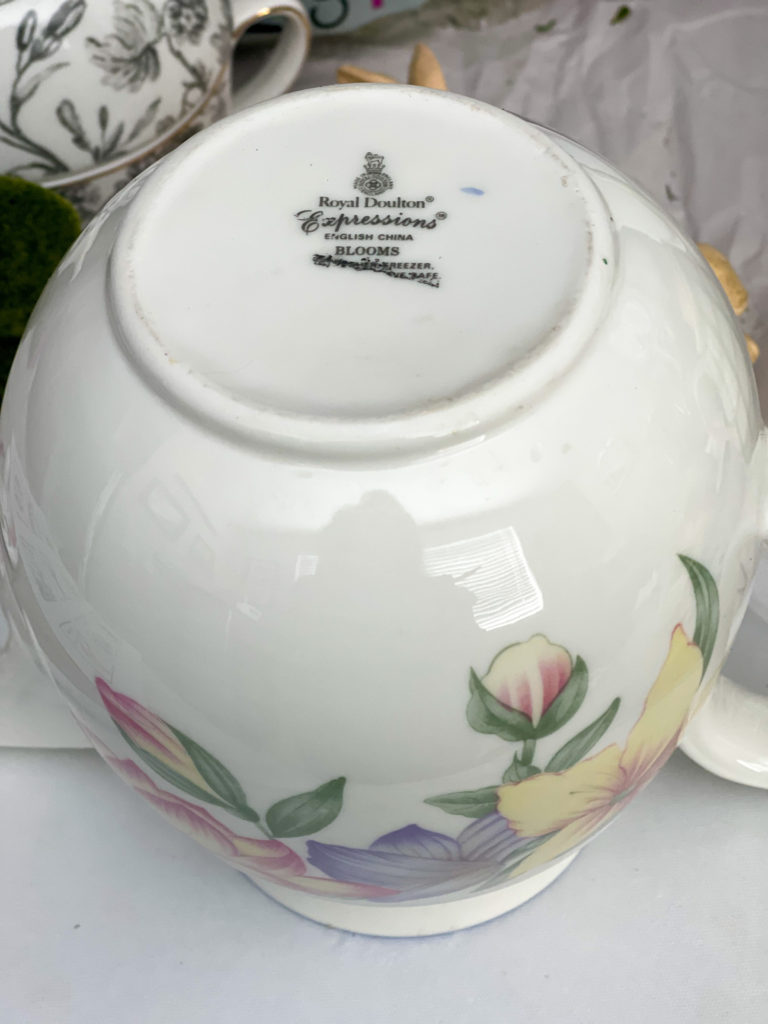
The number of teapots on the shelves in a thrift store always amazes me. My theory is that while they are just adorable, they are rarely used here anymore. With coffee makers having a tea setting these days, they are becoming a thing of the past. After dusting around them in the china cabinet year after year, they finally end up here. Lucky for me, today was no exception. So with 3 little pots in hand and a few teacups as well, I headed home for an afternoon of crafting.
This page includes Amazon Affiliate Links. As an Amazon Associate, My Home of AlI Seasons may earn from qualifying purchases at no additional cost to you. Please see our full disclosure here.
Spring Teapot Decoration Supply List
- Thrift store Teapot (You can easily use your Grandmother’s vintage teapot since there will be nothing changed on the pot itself.)
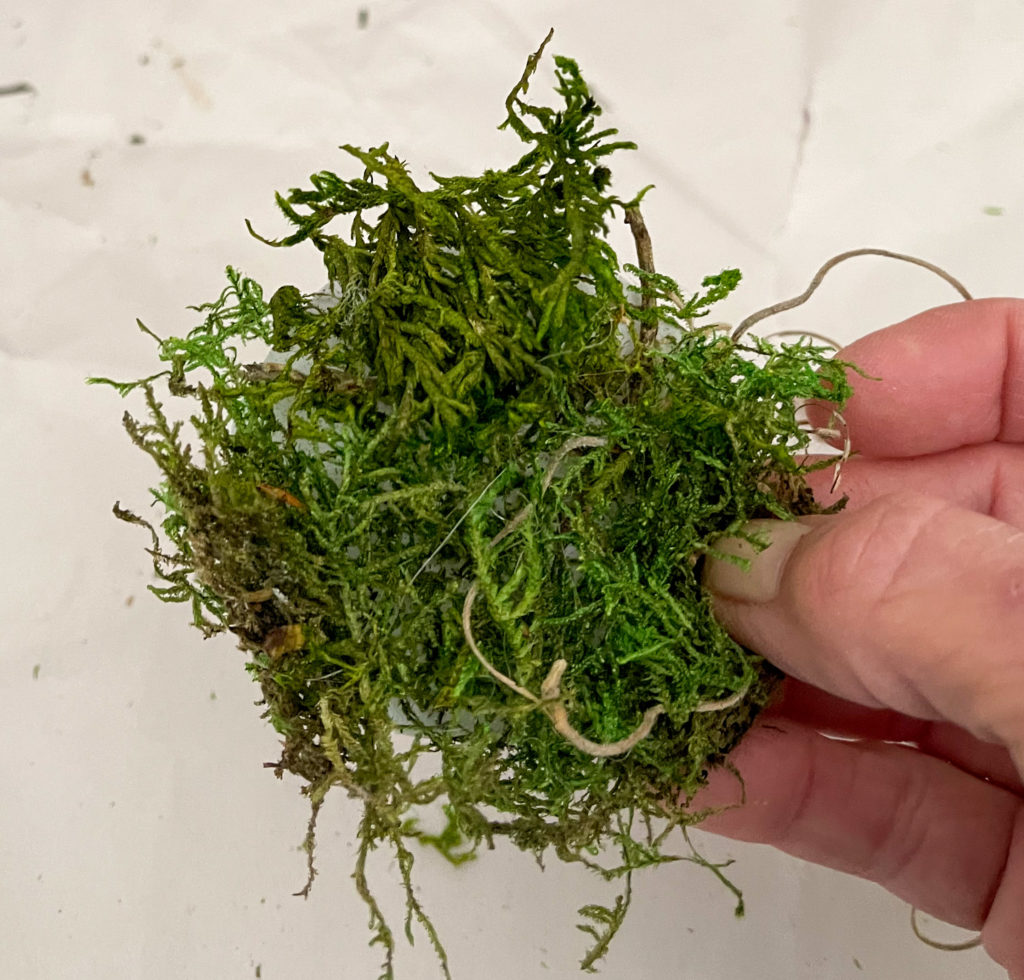
- Preserved Moss
- Greenery and flowers
- Ribbon or lace
- Twine
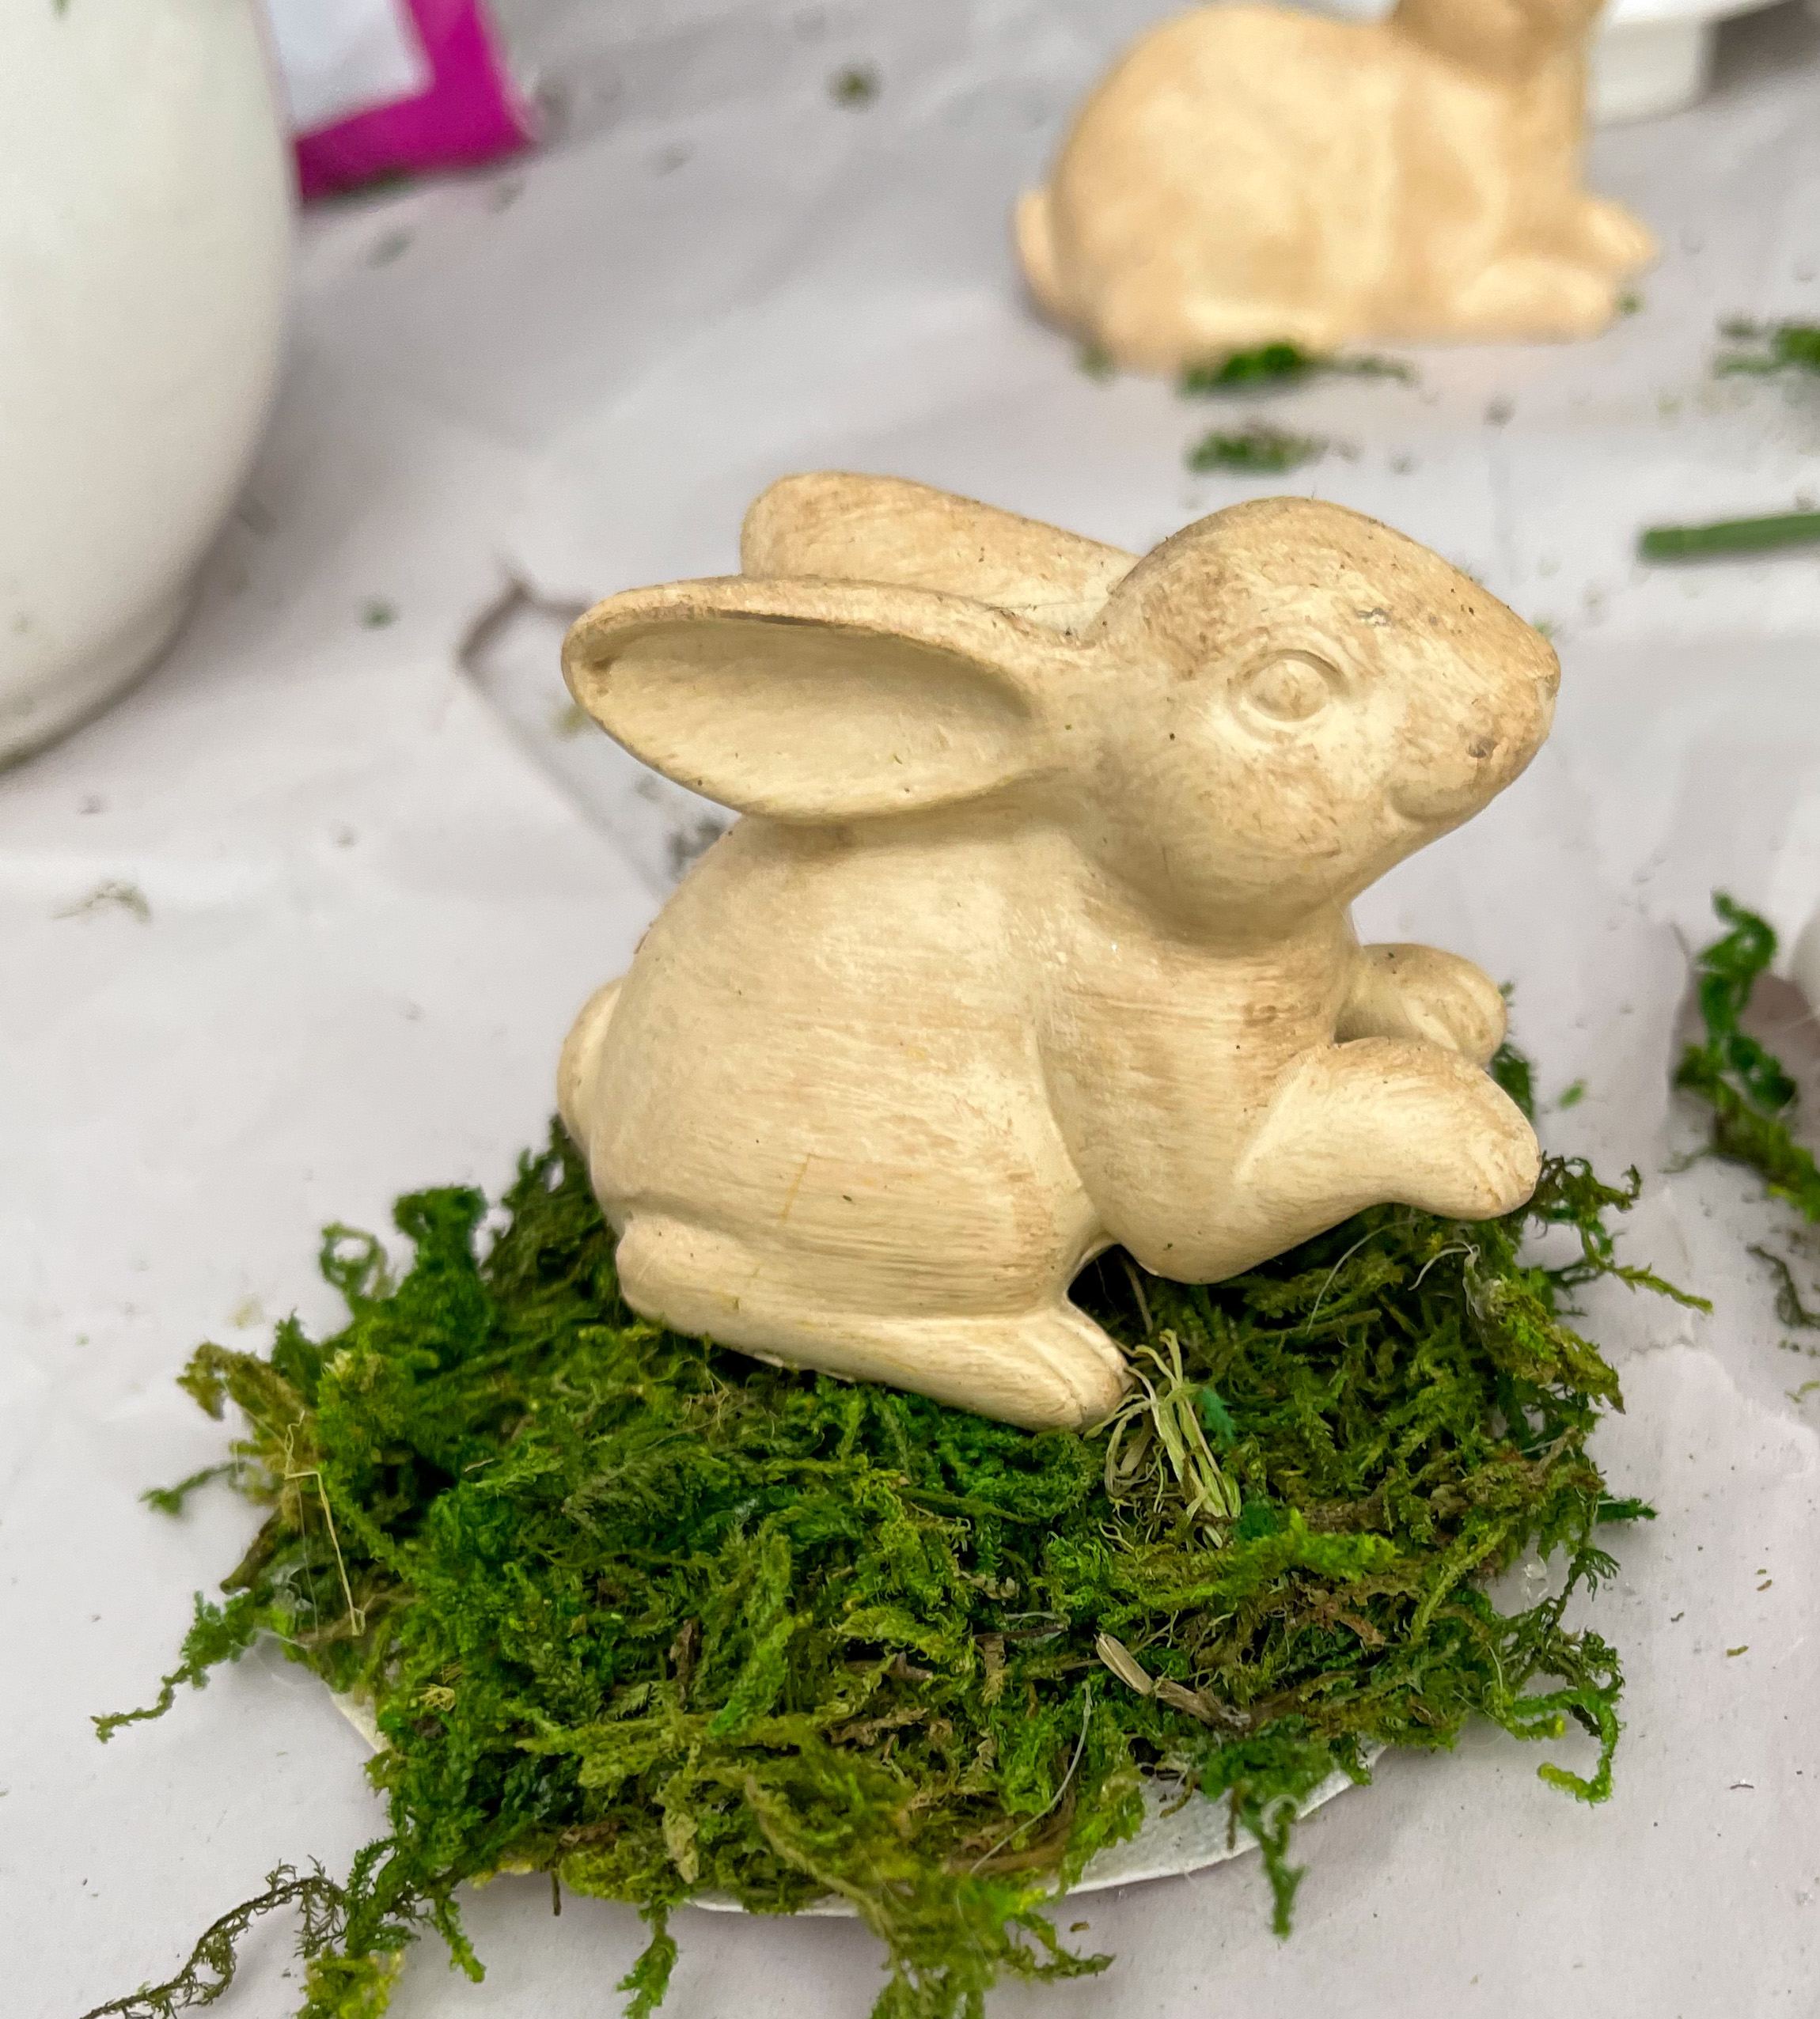
- Small bunnies, birds, or nests
- Gift tags (See below)
- Single hole punch
- Scissors
- Thick cardboard (A chinet paper plate is perfect!)
- Glue gun
- Spray Adhesive
Instructions
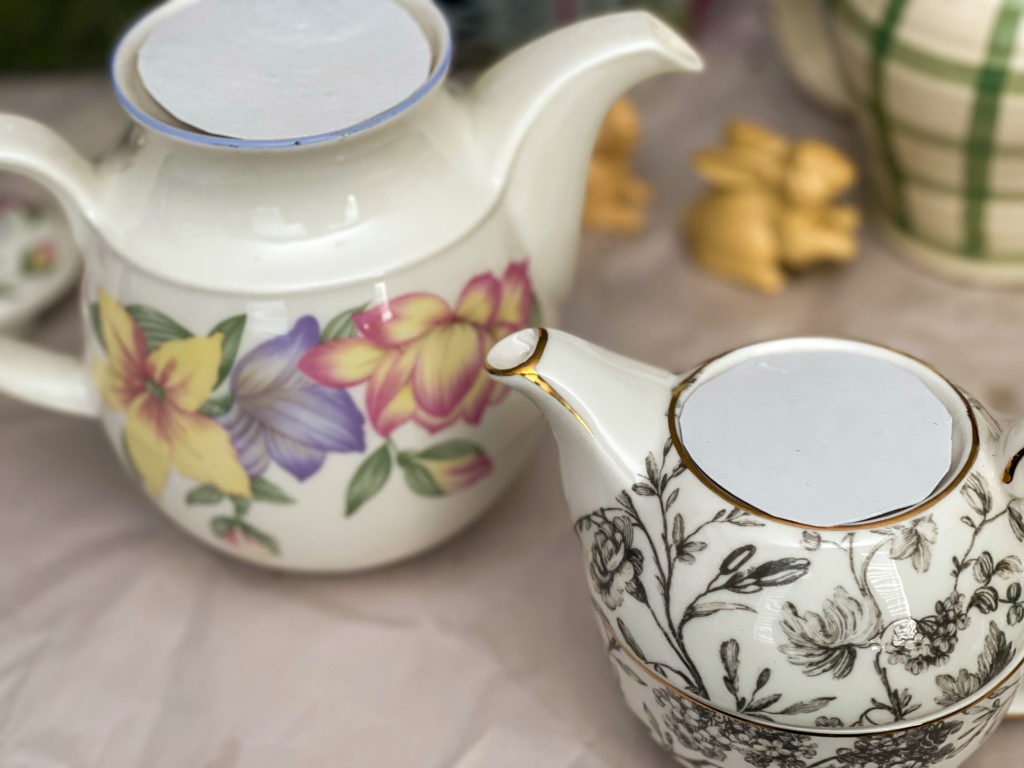
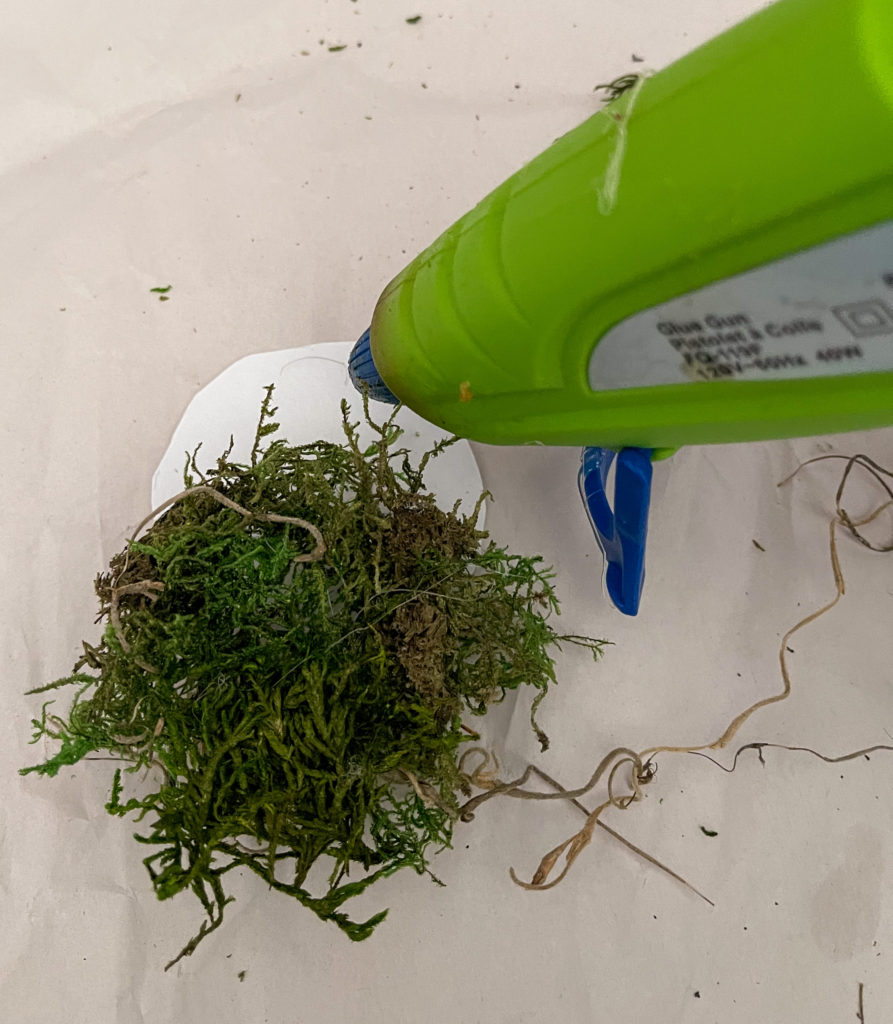
Step 1 – Remove the lid and trace the opening of the teapot or the lid itself onto a piece of cardboard or a paper plate. You will need to make adjustments when cutting out your template. If using the lid, cut it a little larger to allow for the lip. If using the pot, a little smaller for the same reason.

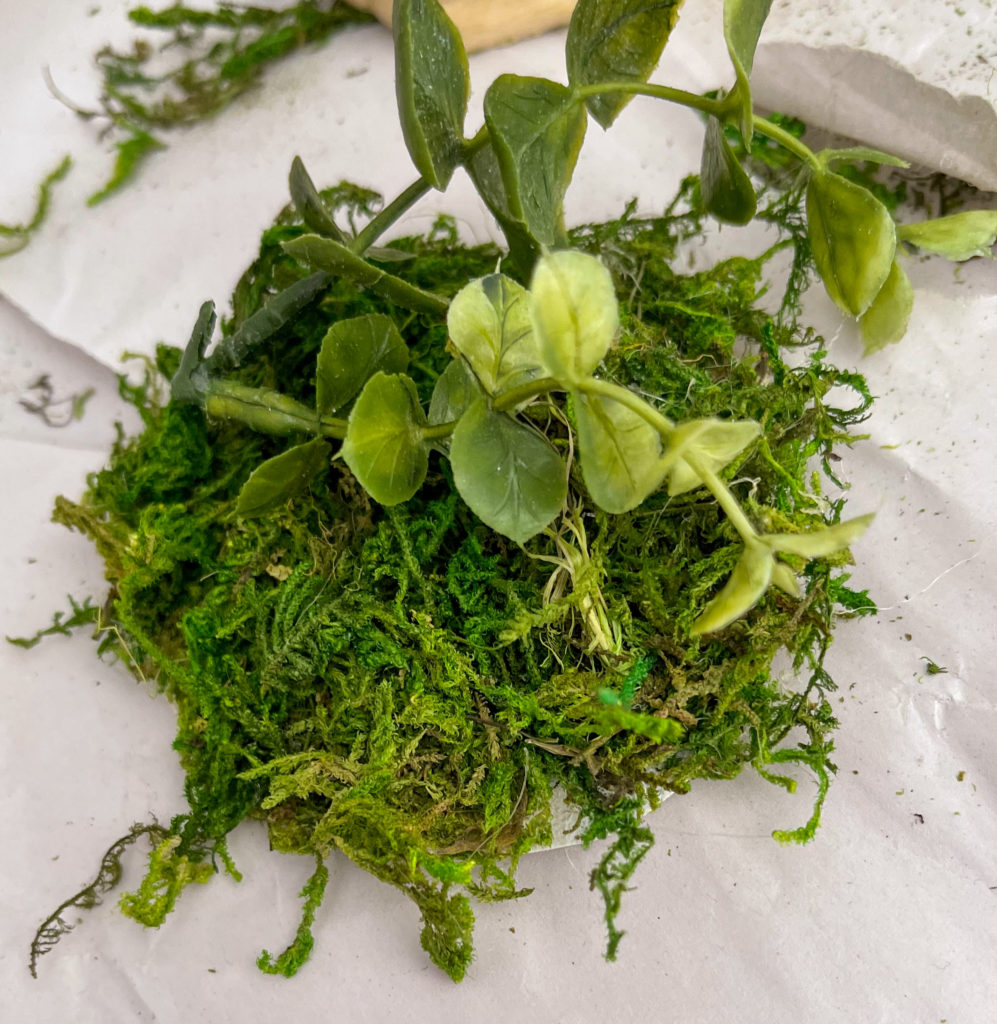
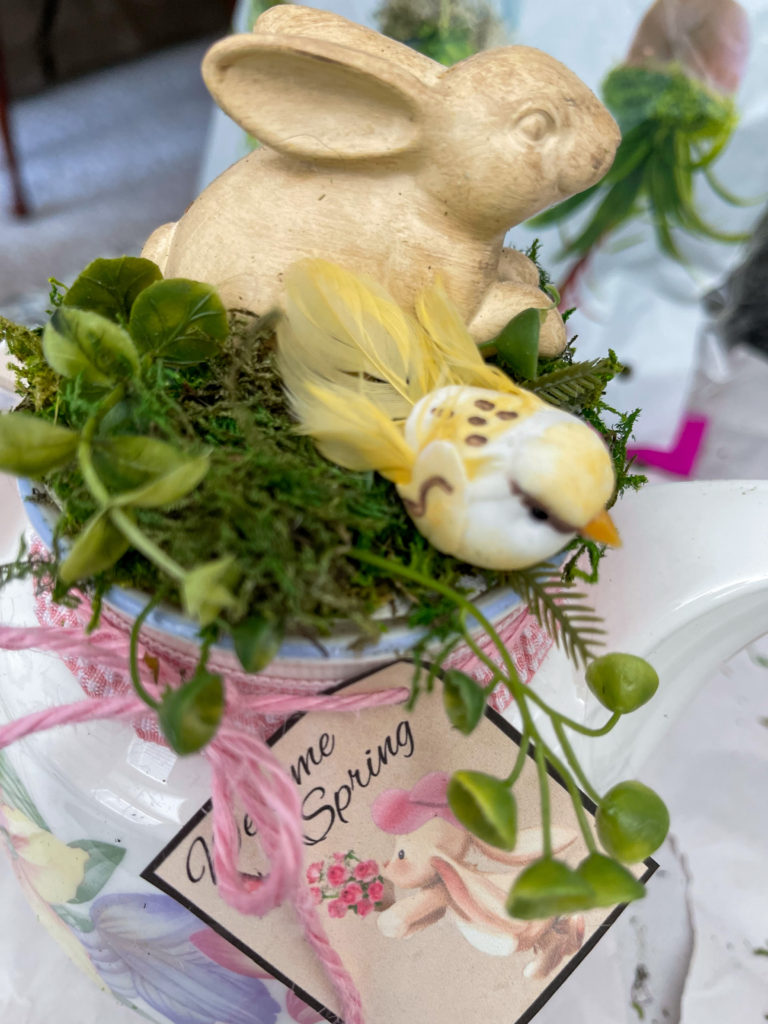
Step 2 – Using your glue gun, add enough moss to cover the template surface with a bit of overhang. You can add additional moss as needed later.
Step 3 – Glue in flowers or small stems to enhance the look. Spray lightly with the spray adhesive to keep the moss from shedding.
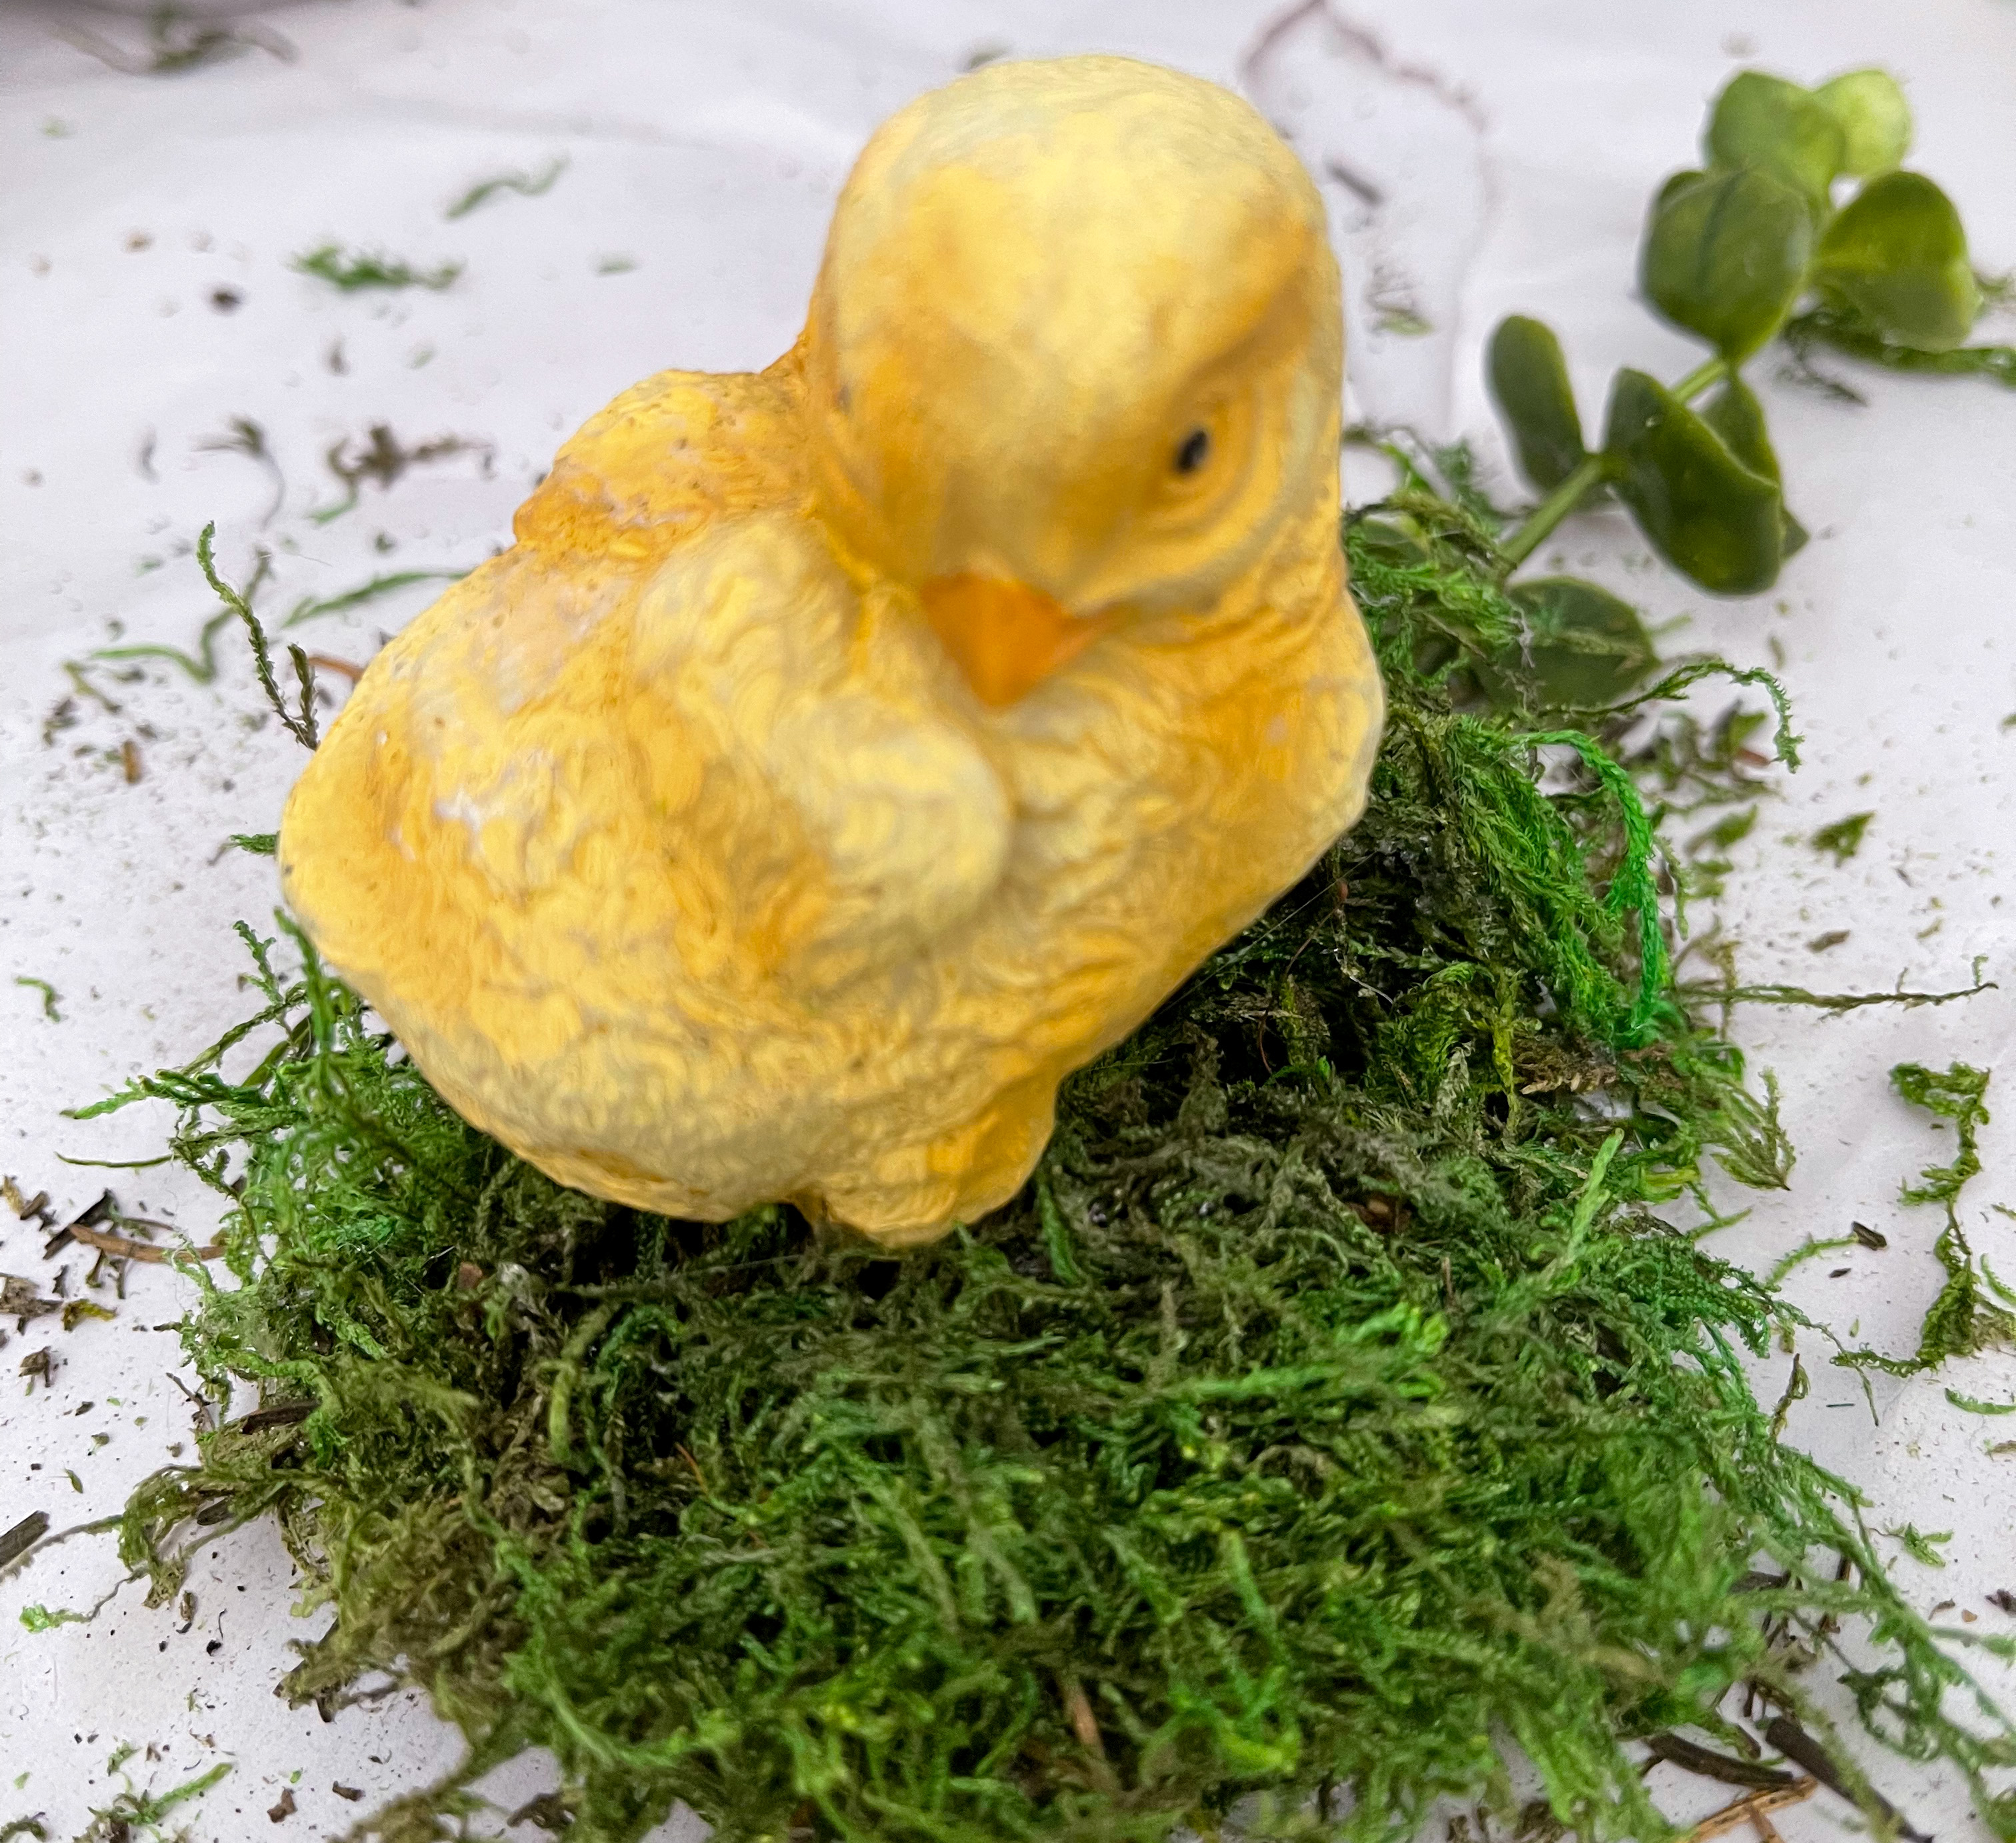
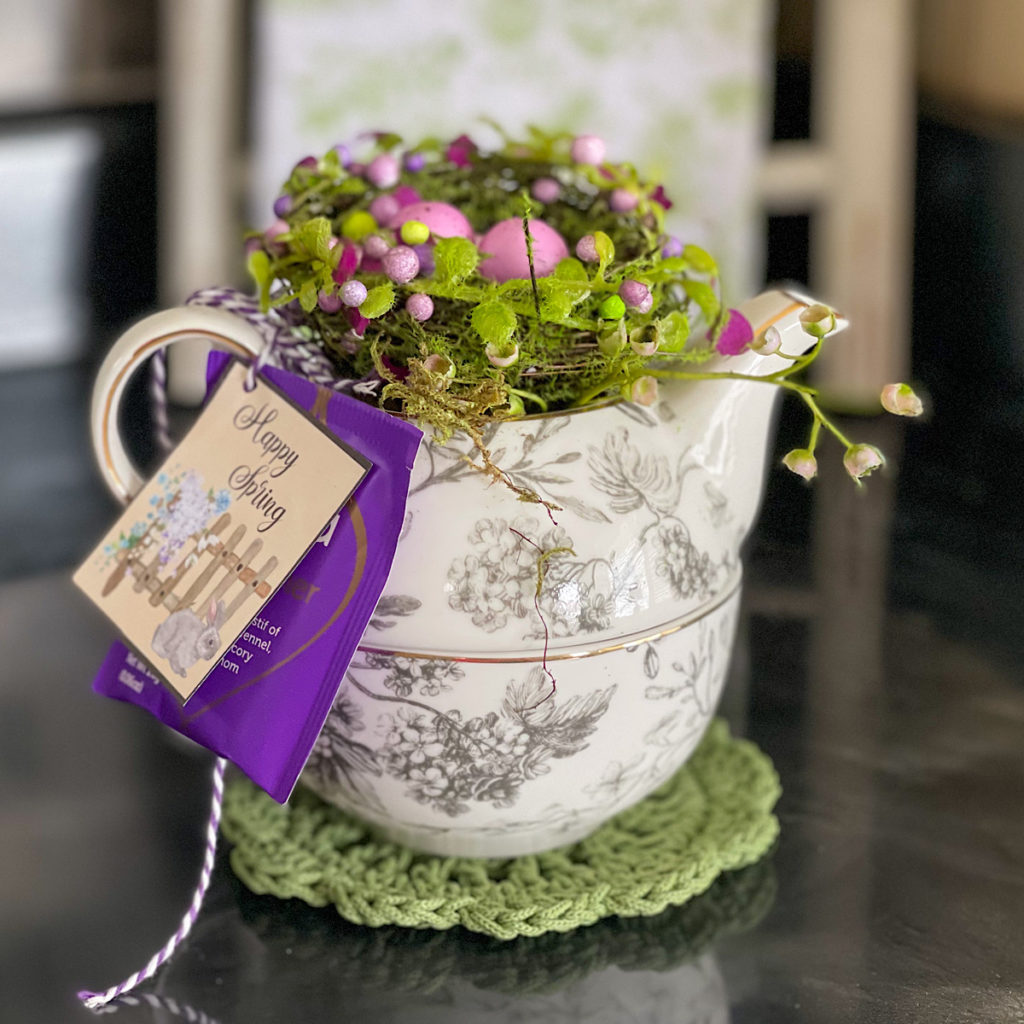
Step 4 -Add a few dots of glue to the bottom of your bunny, bird, or chick and attach it to the mossy surface of the template.
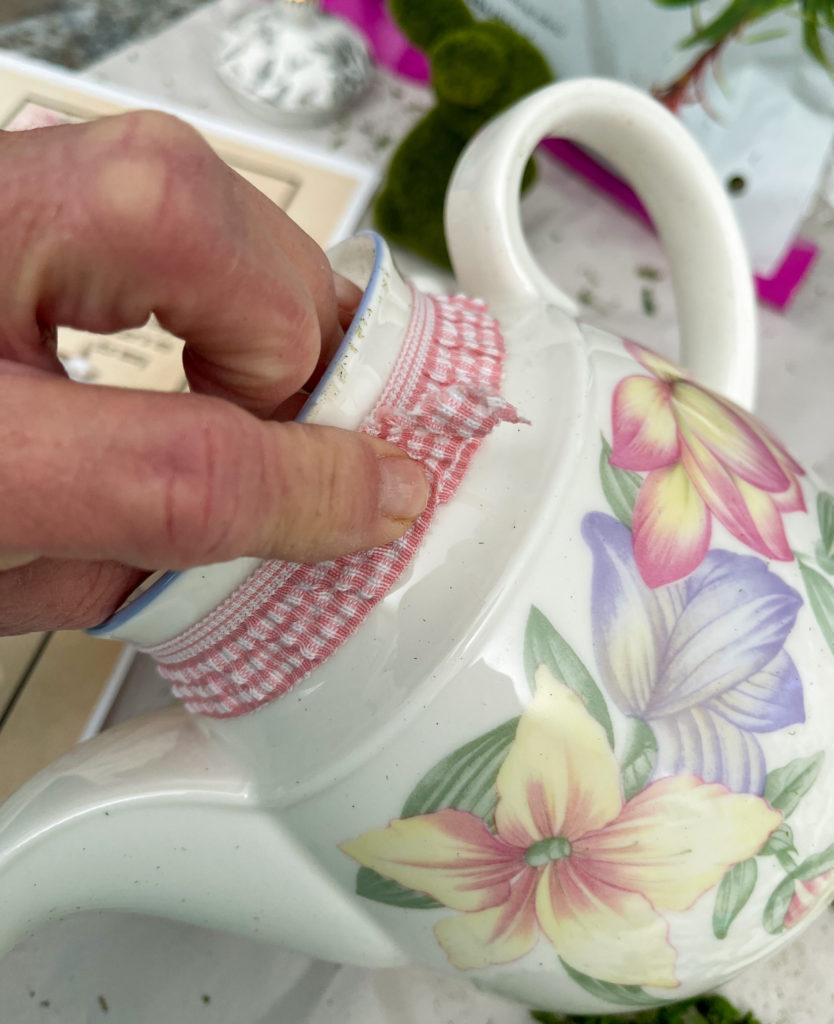
Step 5 – Add a ribbon or lace to the neck of the teapot. Make sure it is long enough to glue each end to other. This prevents damaging the pot itself with glue. Once the ribbon is in place, you can add additional flowers or other spring elements directly to the ribbon.
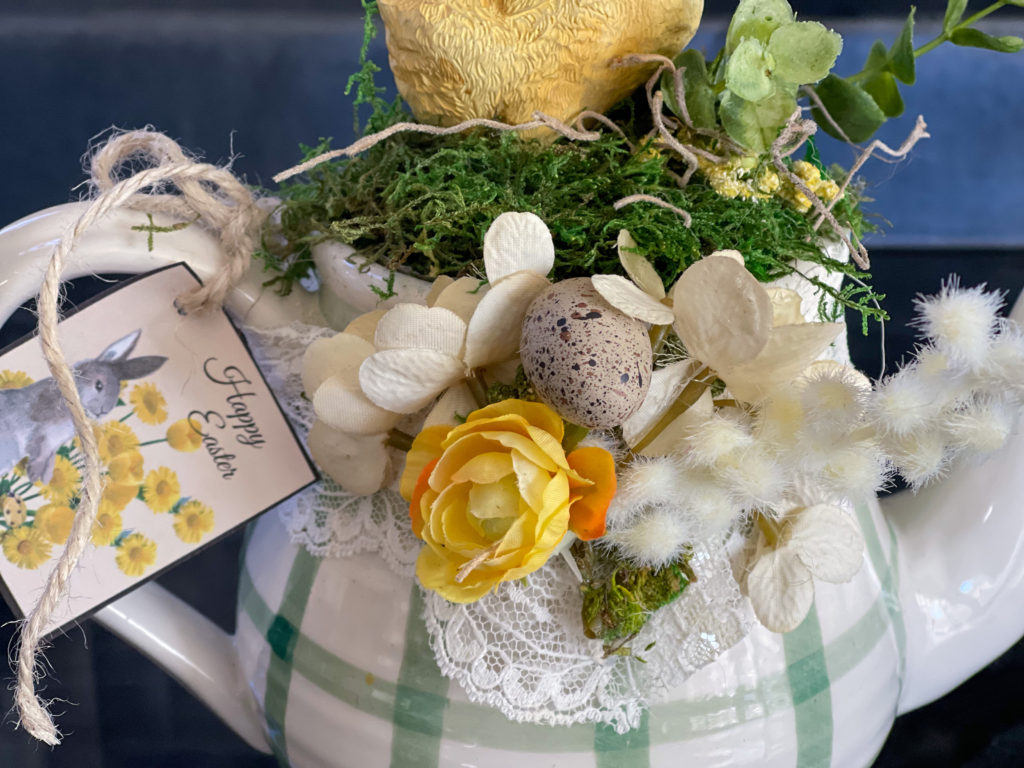
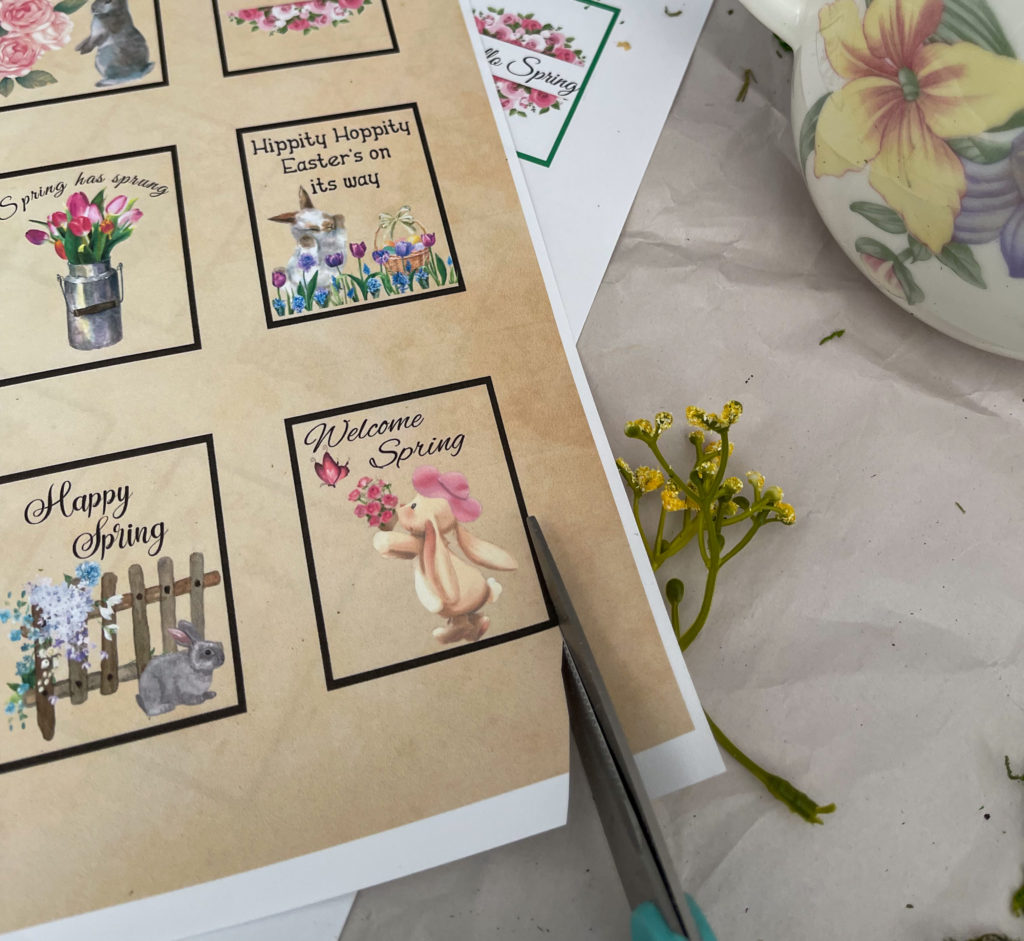
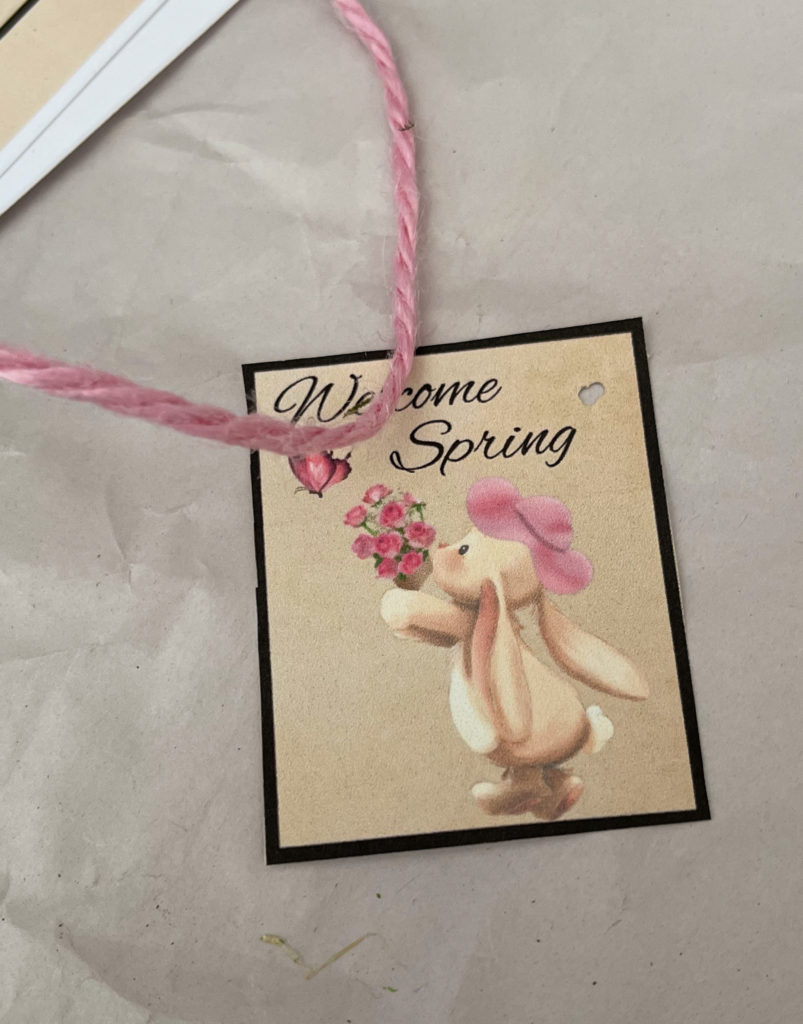
Step 6 – Print and cut out your tags. Use your hole punch to add a small opening for your twine. Work the twine through and tie a knot at the top of the tag. Attach it with a bow to your teapot handle.
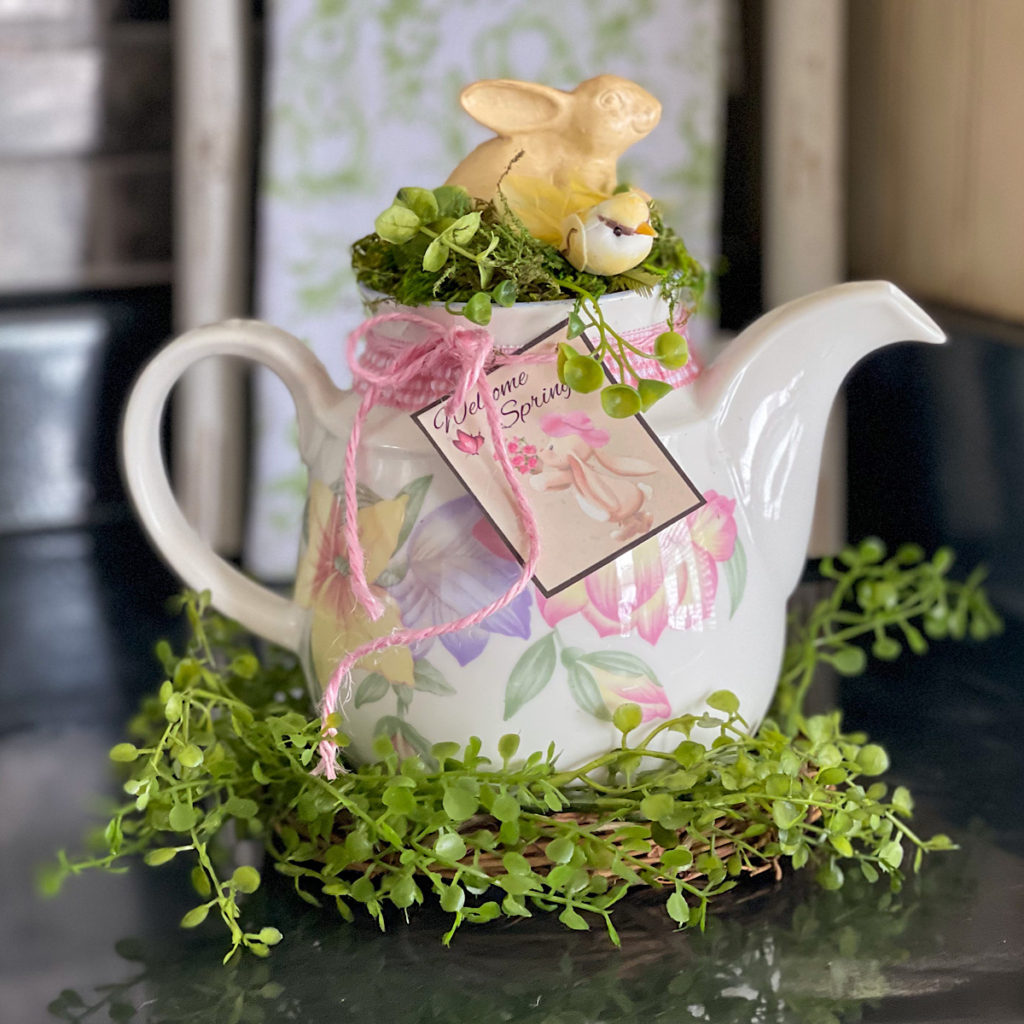
Step 7 – Place your template on top. If you are giving it as a gift, use your glue gun and put a light ring of glue inside the lip of the teapot. If it is your own decoration and your using a treasured family heirloom, skip the glue!
Finishing Touches
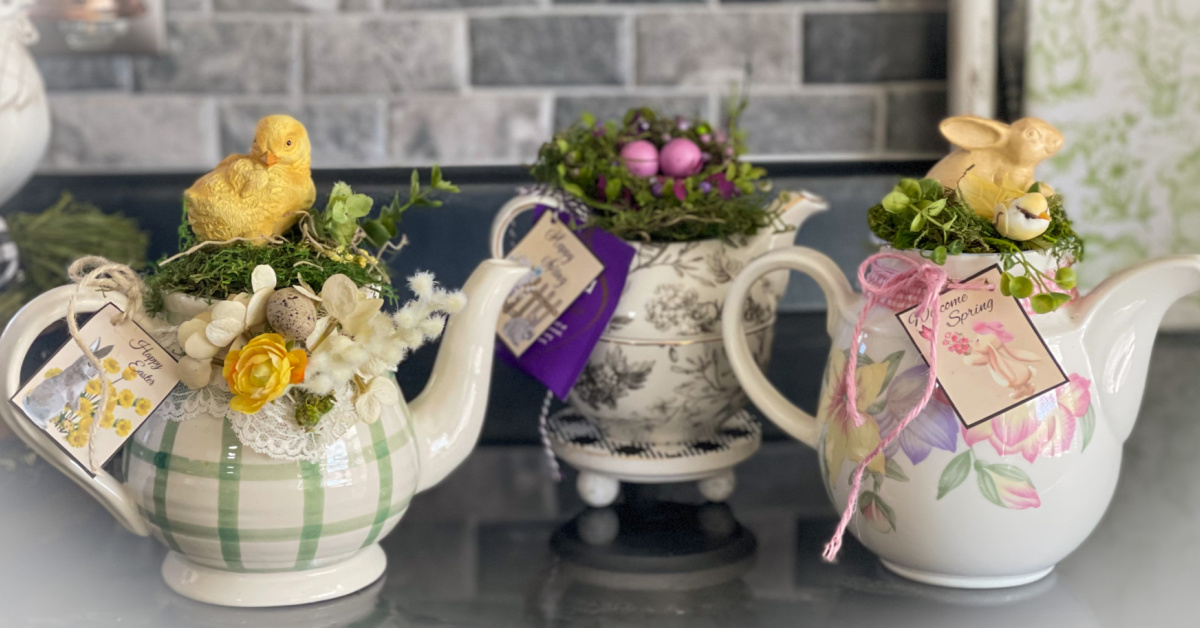
As you put your teapot together, keep in mind where it will be displayed or who you’ll be giving it to. This one will be staying right here. It is a part of my Springtime Coffee Bar and it’s just perfect there! Check it out with the link above.
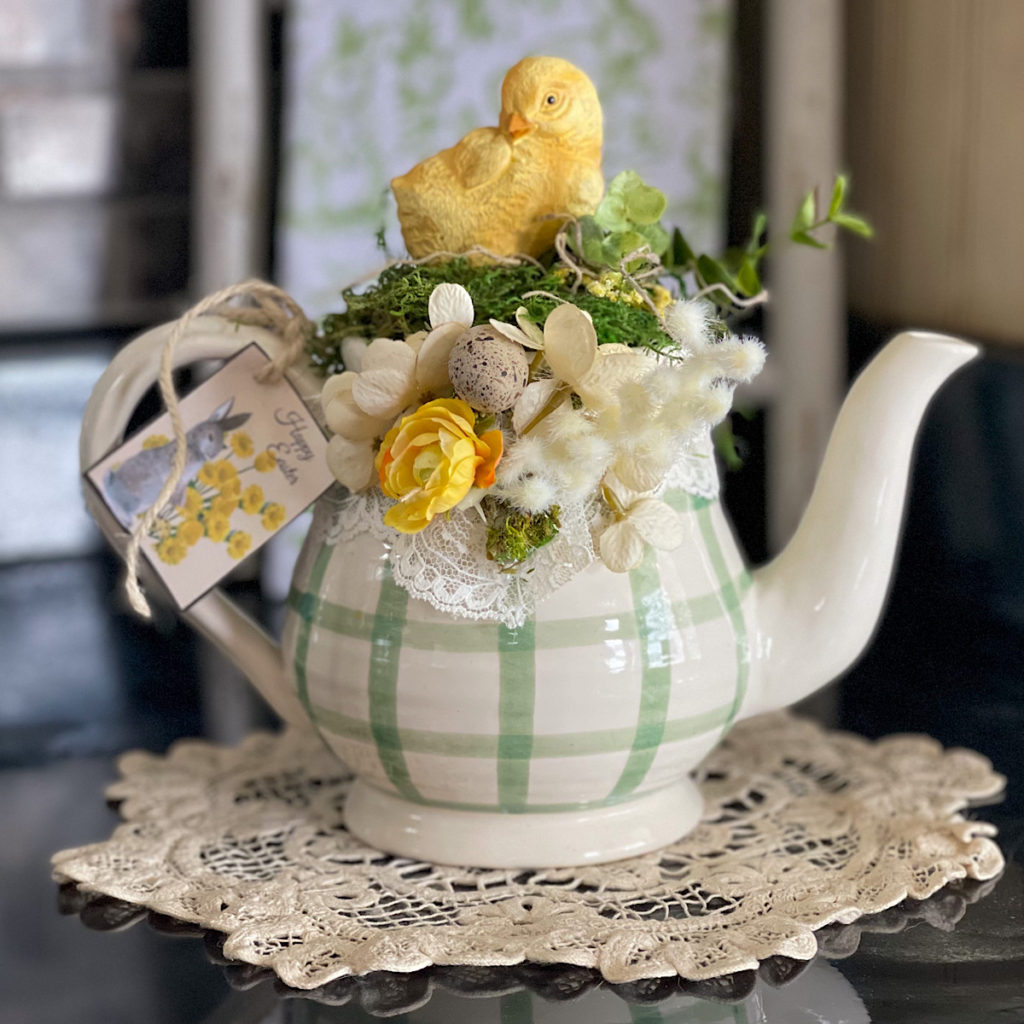
This pot is for a friend who cannot make it for Easter this year. Her favorite color is green and I was thrilled to find this one. I added a bit of yellow to give it an extra pop.
My last pot is a combo. This one is for an actual tea drinker. Although she often brews her own mix, I included one of her favorite packaged tea bags. I used a nest for this one since it can be easily removed and I know she will use the cup. The rest of the bags are nestled inside and I know she will love it!
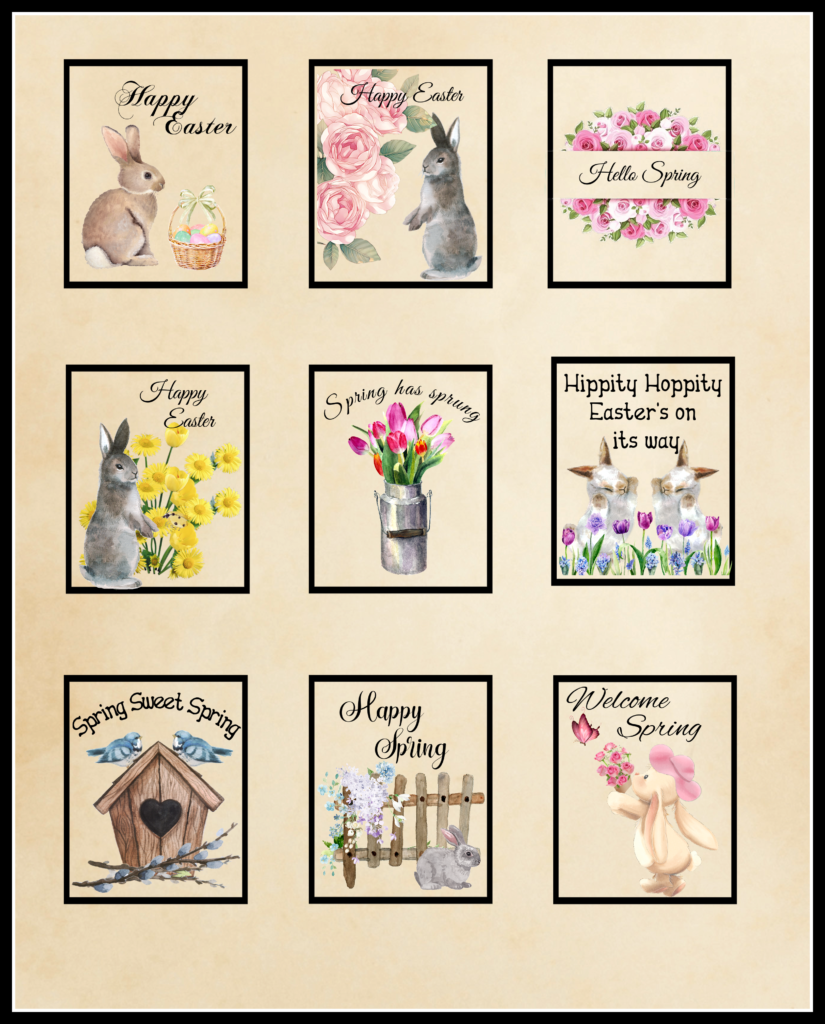
Free Spring Labels
The spring labels below can be used to dress up your new decoration or as a gift tag for someone else. It will print as an 8 x 10. Although most of the printables I share are meant for my subscribers, this one is free to everyone. No need for a password. Simply click the print button below the image.
Shop Teapots
If you are not a thrift store shopper and Grandma left her vintage teapot to your cousin, I’ve got you covered! You’ll find all the other supplies you’ll need in the links below as well.


Shop Supplies


Sign me up
If you’d like to become a subscriber with access to all the printables in the library, simply add your email to the form below. Your welcome letter, complete with the password, will hit your inbox within minutes. The weekly/bi-weekly newsletter keeps you up to date on everything trending in seasonal home decor.
To get a look at all the new spring printables available, check out my latest post Freshen Up Your Home With A Free Spring Printable.
See you soon!
How pretty, looks so nice. I like them all!! Thanks so much for linking up at A Themed Linkup 100 for Spring Crafts and Décor. Pinned.
Thank you Dee and thanks for the party!
Visiting again to say thanks so much for linking up at the Unlimited Link Party 73. Pinned.
Thanks so much for the pin Dee!
These are so precious! I just love them! I have some antique teapots and need to give this a try sometime! Thanks for the inspiration, Donna
Thank you Donna! So glad you stopped by!
These teapots are adorable Denise and the perfect way to celebrate Springtime too! We have tea almost every day so this would be such a cute way to incorporate the season into one of our favorite daily rituals. Loving and pinning, CoCo
Adorable. Thanks for the step by step instructions
Thanks so much Gail! Have a great week ahead!
These are just adorable! What a cute idea, I love them all!!
Thank you Jenna! I am not a tea drinker but I do love teapots!
These are so cute! I love this idea.
Thanks so much Meagan! Have a great day!
Although I can’t condone the idea of not using a tea pot for tea (I still do!) I do love your decorating ideas. Everything is so pretty! Thank you for sharing with us at Handmade Monday 🙂
Thanks Julie! I know… I have several friends that totally disagree with me too! I’m on my third cup of coffee today so what do I know about teapots really!
I love Tea Pots and this cute post.
Thank you Rebecca! I hope you have a fantastic weekend ahead!
These are so cute. Each one is unique and pretty. I can’t pick a favorite because I would want them all! I will be looking for little teapot next time I’m at a thrift store 🙂
Thanks for sharing at the FWF link party.
hugs,
Rachelle
Thanks so much Rachelle! Have a great weekend!
Love these little pots, so perfect for spring or gift. They are all adorable Denise. Thanks for sharing these delightful teapots for spring at Love Your Creativity. Happy spring.
CONGRATS Denise! Your post is FEATURED at the Unlimited Link Party 74!
Thank you Dee! Really appreciated!
Denise,
I just had to stop by and see how you made these darling tea pots and I love this idea!! So darn cute and pretty easy to do!! Thanks so much for sharing!! Pinned…On my craft list to make now!!
Hope you are having a great day!!
Hugs,
Deb
Thanks so much Deb! Have a great week!