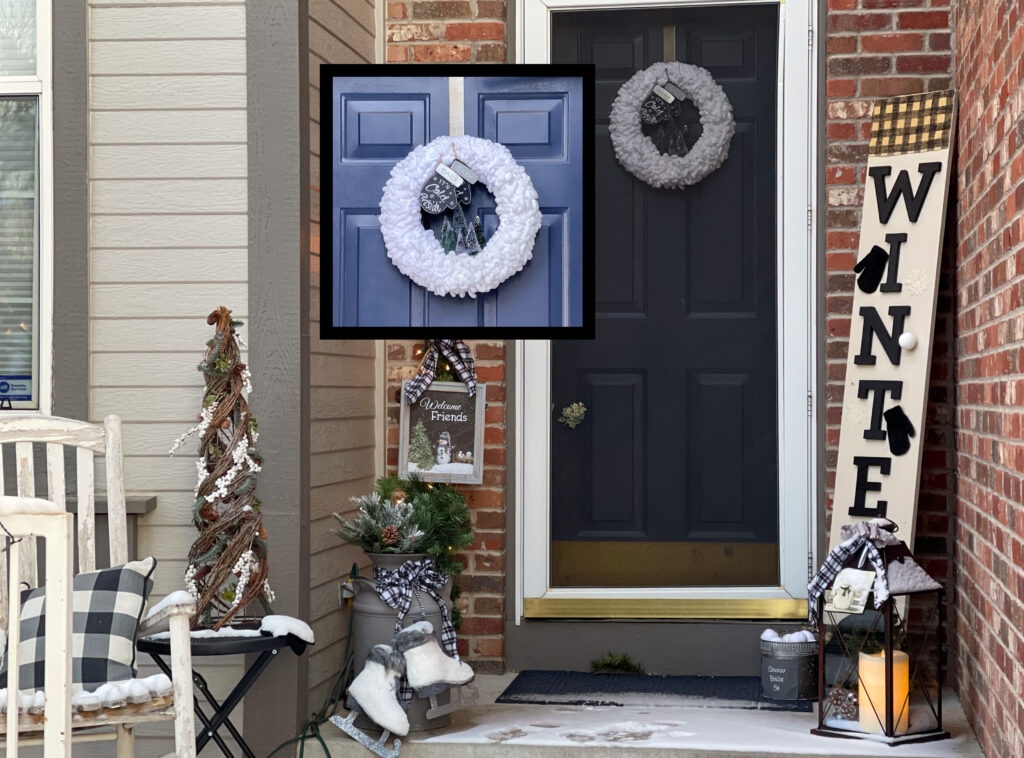
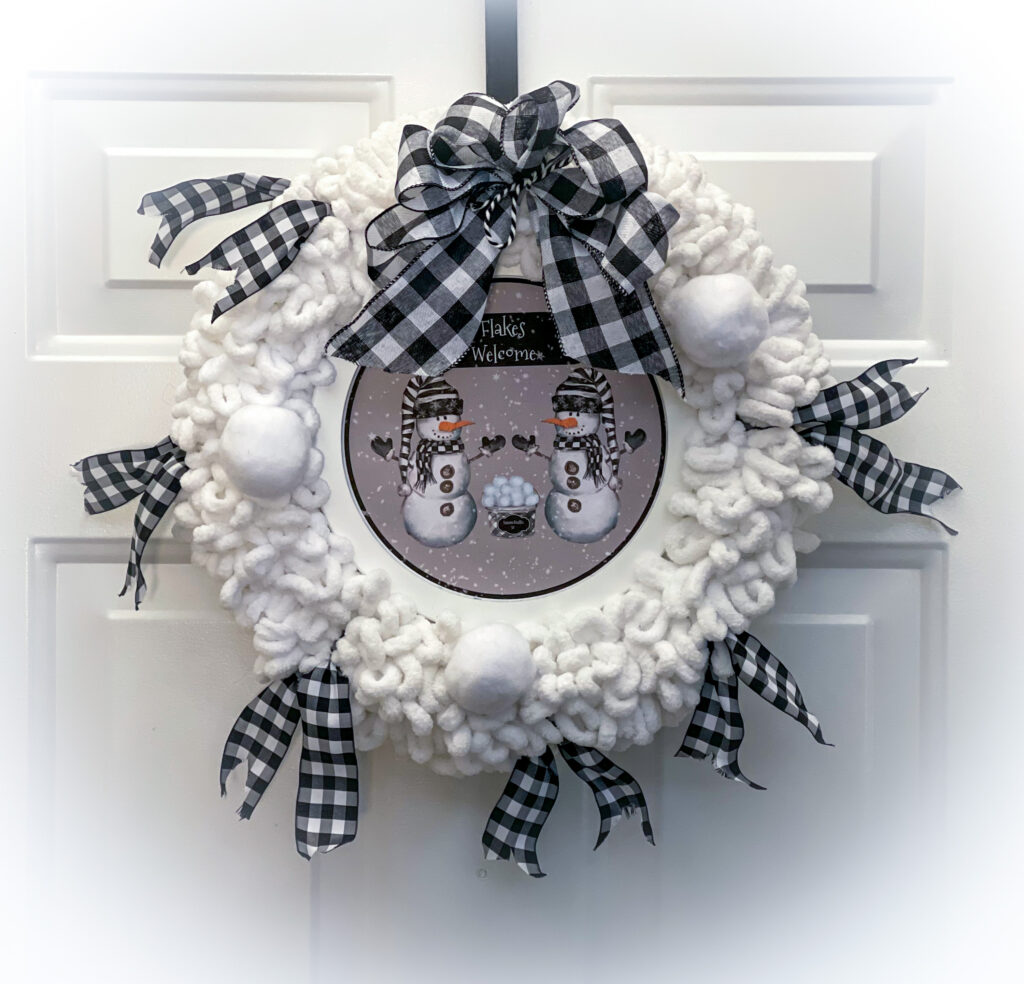
The fresh evergreen wreath that graced the front door for the holidays is long gone. It’s just too early to replace it with florals since winter is barely a month old. This easy DIY loop it winter wreath is just the ticket!

With my winter decorating indoors completed, I finally turned my attention to the front porch. Still decked out for Christmas, I had my work cut out for me. I decided to keep last year’s buffalo checked theme in place for another go around. However, I thought a new wreath was in order. One that would compliment the black and white accents a little better.
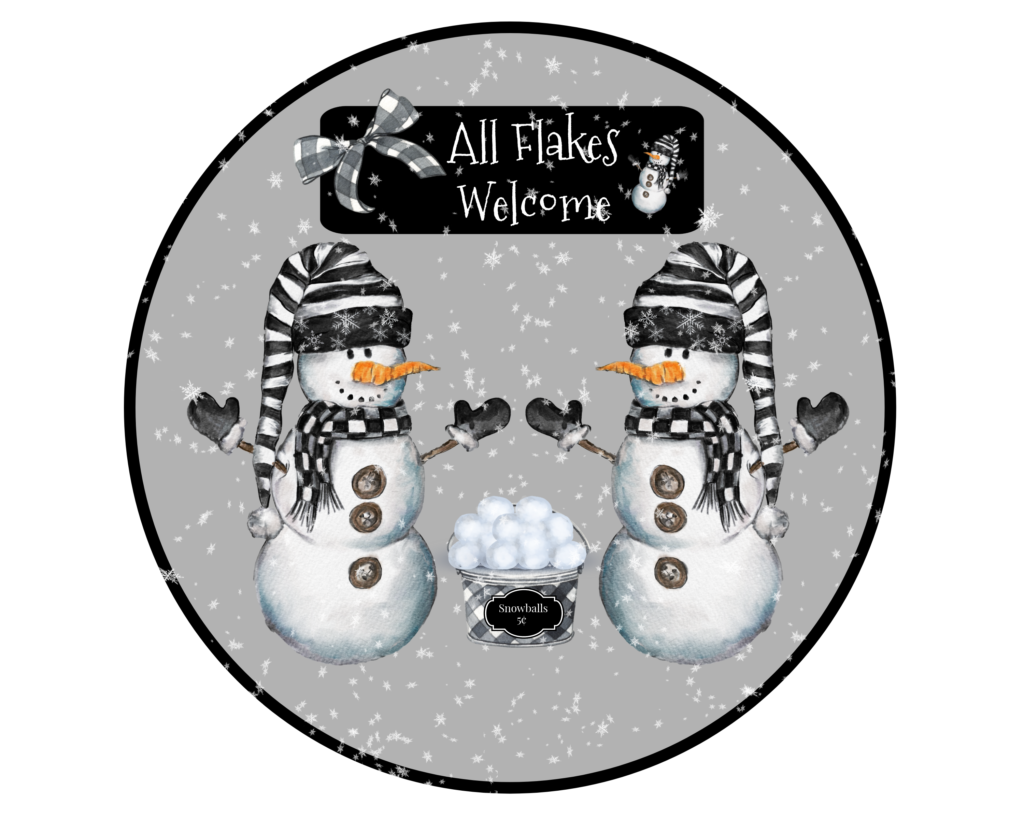
Remembering a round picture frame that I purchased for another project, I created a printable that I’d hoped would make the perfect wreath sign.
I still love my old wreath so I wanted to keep it in tact. It was my version of a tutorial I found on one of my favorite blogs, The Navage Patch. (They have so many wonderful projects on their site!).
My craft bin had everything I needed for a second yarn wreath so I decided the base look would stay the same. I have to admit that I’m a bit of a packrat! If I like the way a project turns out… and I liked this one a lot, I’ll buy the same supplies to have on hand. In fact, I had enough extra to surprise a friend with a “Happy Winter” gift as well.
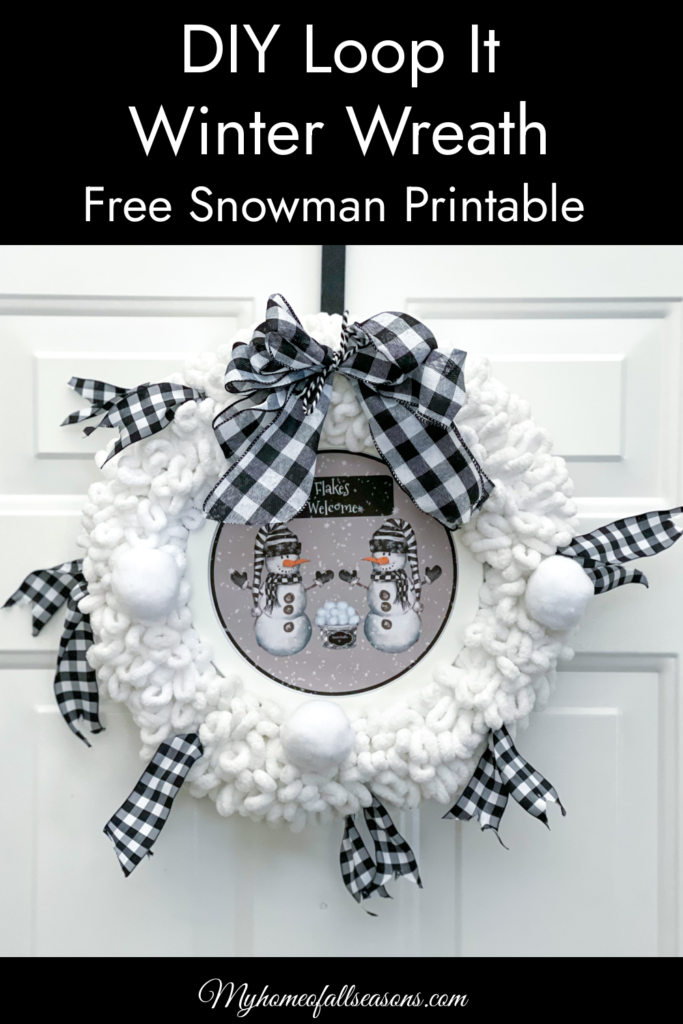
I’m including links to everything I’m using today and the snowman printable is free to all. So gather up your supplies and lets get to it!
Supplies
- 14 inch styrofoam wreath
- 3 skeins of loopy white yarn
- 1 roll buffalo check ribbon
- 8 inch round plexiglass picture frame
- 5-6 long sewing pins
- faux snowballs
- snowman printable (see below)
Instructions
1. – Take the end of the yarn and secure it to the wreath with a pin leaving a 1 inch tail. Begin wrapping the wreath over the pin and tail to secure it in place. Keep each turn through the center of the wreath tight.
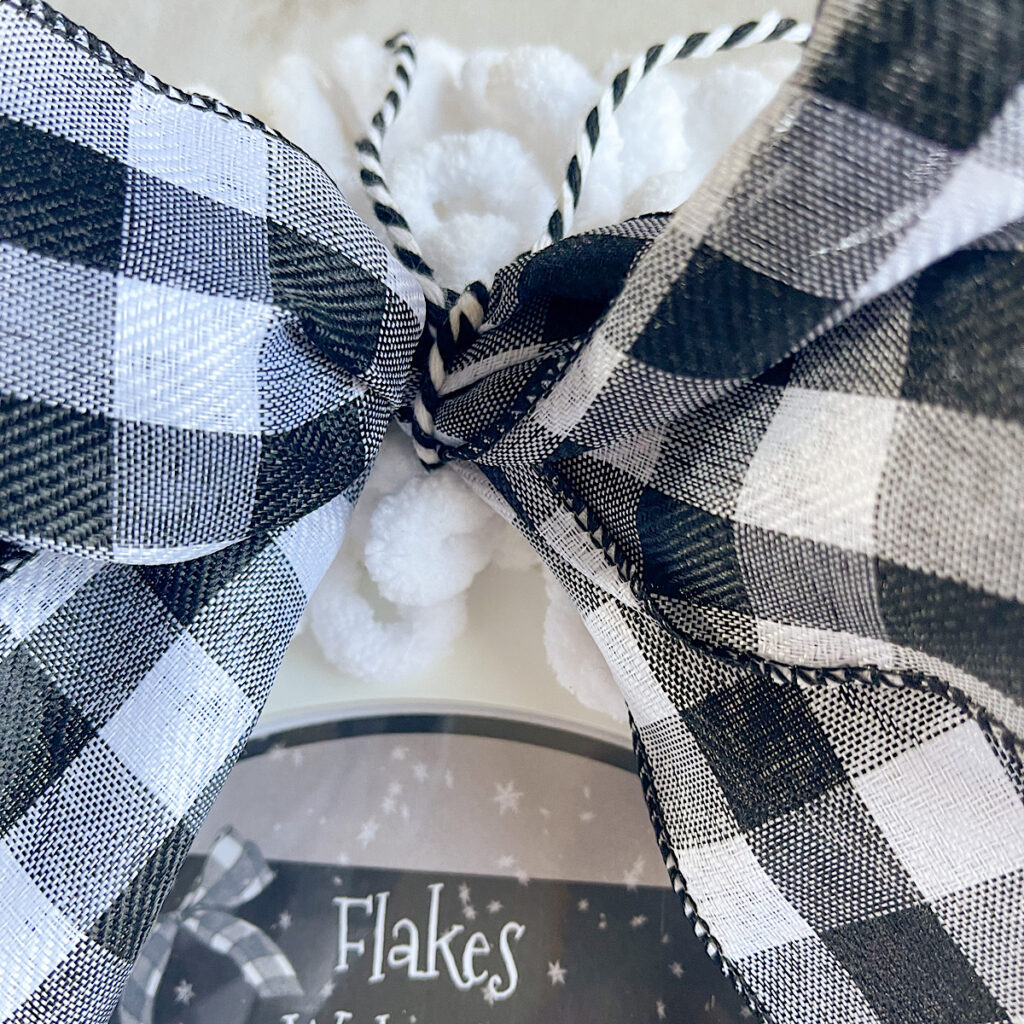
2. – Cut six 12 inch strips of your buffalo check ribbon. Fold each end in half lengthwise and cut diagonally from the open side to give the ends a prettier look. (See below)
3. – Tie the strips around the wreath at intervals of 3 to 4 inches. Push the ribbon down in between rows of the yarn. Fluff up the yarn to cover the ribbon so that only the tails are showing.
3. – Download and print the free printable below. For my frame that is linked below, I needed a wider circle than the the black circle on the print itself. I used the plexiglass as a guide and it fit inside perfectly.
4. – If you are using a 14 inch wreath and an 8 inch picture frame, it will fit tightly inside the wreath. Just to be on the safe side, I used a piece of baker’s twine to secure it as well.
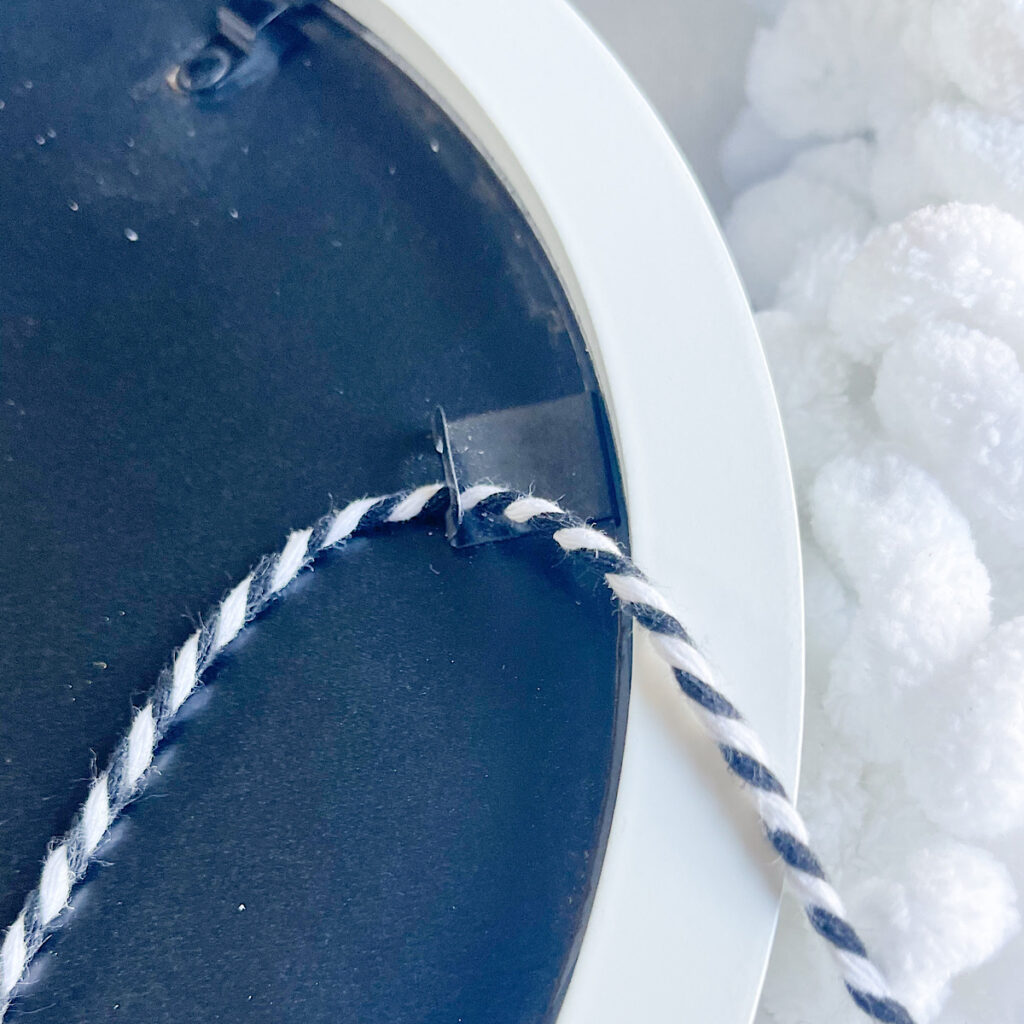
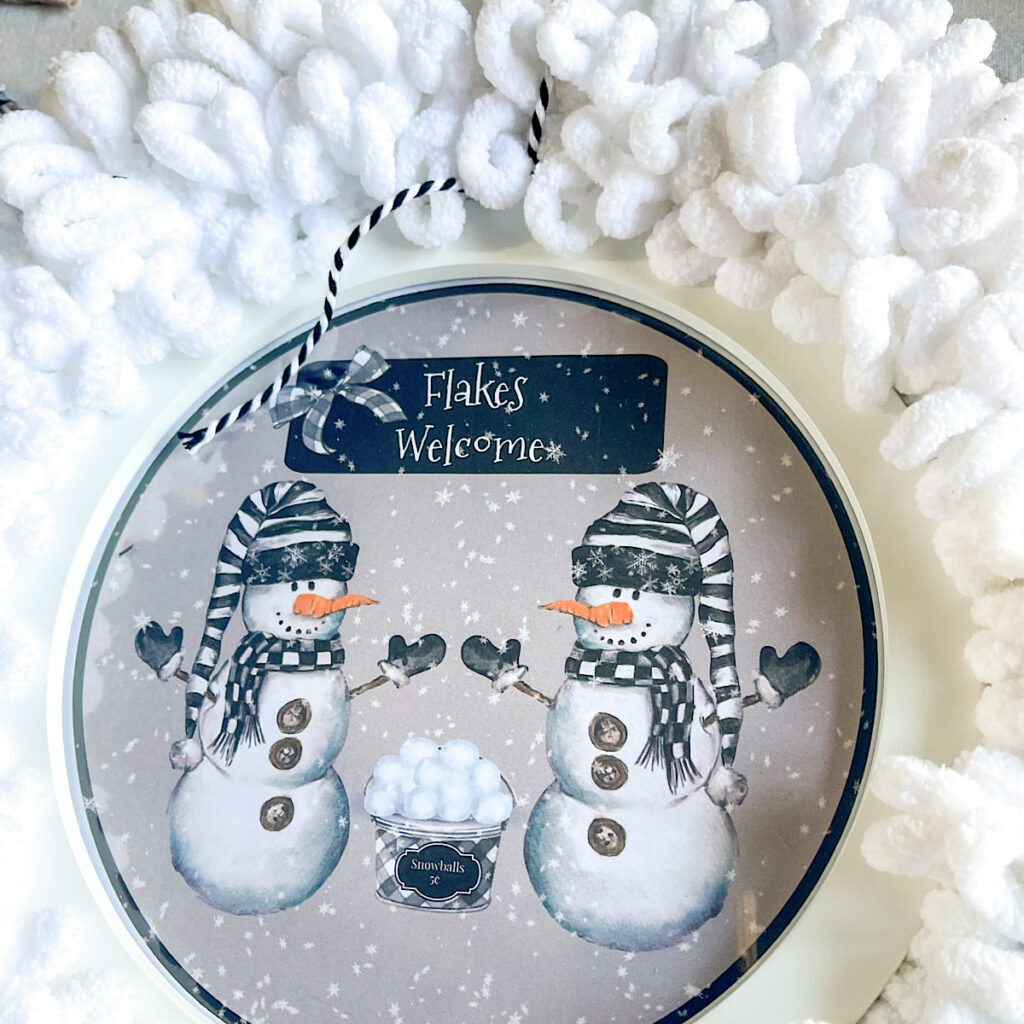
5. – Push the frame inside the wreath opening. Weave the bakers twine through a loop of yarn at the top and tie a knot. Use the twine to tie on a bow for a topper.
6. – For a final touch, attach a few snowballs here and there. Poke a pin through the bottom of a snowball and into the styrofoam below.
Love it!!!!!
Check That Craft Bin!
This page includes Amazon Affiliate Links. As an Amazon Associate, My Home of AlI Seasons may earn from qualifying purchases at no additional cost to you. Please see our full disclosure here.
Before you order the supplies below, make sure to check out that craft bin! If you’re like me, there are so many little odds and ends that I’ve accumulated and promptly forgot about! The links below will help you with anything else you might need.


The printable you need for this project is free to everyone and can be downloaded by clicking on the link below the picture. It will print as a 10 x 8 and can by cut to size for your frame.
This wreath will take me through the winter until I can replace it with something springy in just a few months. In the meantime, I will keep my home cozy and warm with winter accents that compliment the season. Printables play a big part for me and I’ve shared several in my latest post, Um… It’s Still Winter/Free Winter Printables.
Come Join Us!
The Printable Library has been updated to include everything you’ll find in the post above. Always free to subscribers, simply choose your favorites, add your password, then download and print.
If you haven’t joined us yet, please do! Your email in the form below will have your welcome, complete with password, to your inbox within minutes. In addition, the bi-weekly newsletter keeps you up to date on all the latest in seasonal home decor.
Thanks so much for stopping by today! See you soon!
Love this wreath and ESPECIALLY the printable! I feel like it was made just for me. 😂😂 So cute!
Thank you Rhonda! Yes that would look great in your always warm and sunny home!
Denise, this is absolutely adorable! Pinned, thank you!
Thank you Rita!
How cute is that? Thanks so much for linking up at the Unlimited Link Party 99. Shared.
Thank you Dee! I’ll be glad when it’s time to replace it with something “springy!”
Denise, CONGRATS! Your post is FEATURED at the Unlimited Link Party 100!
Thanks so much Dee!