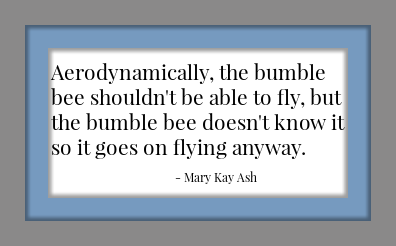
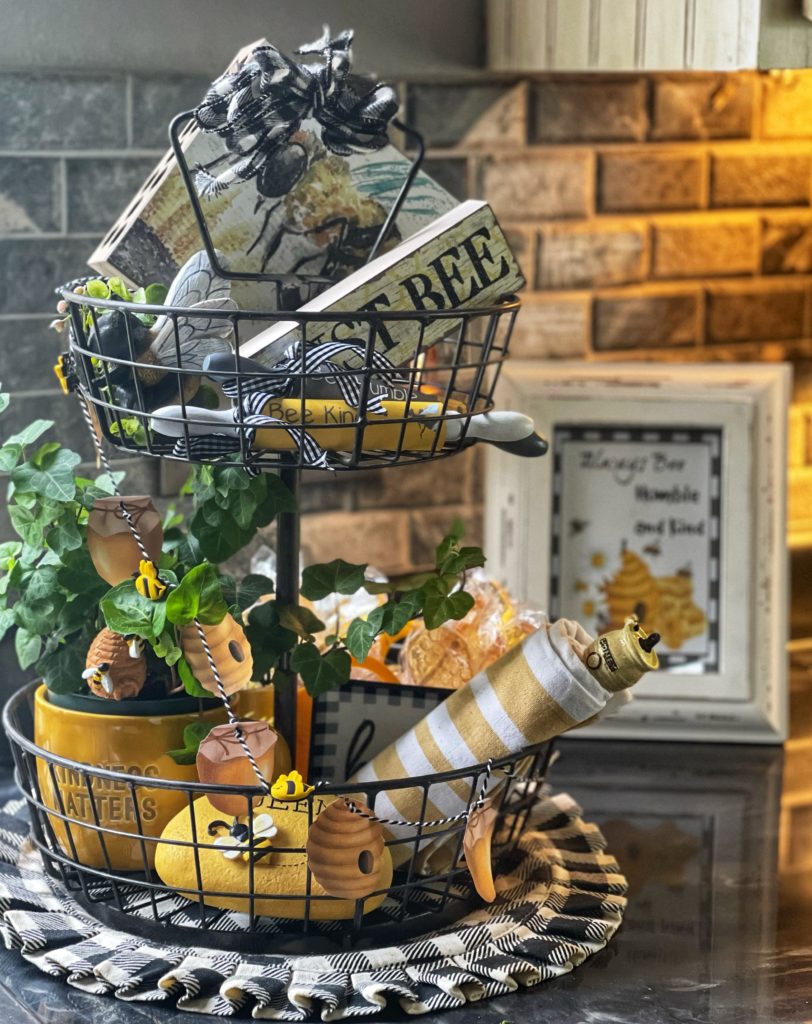
Bee decor is everywhere these days and it is all so cute! I couldn’t resist bringing a few things home with me so I had to find a fun way to use them. My tiered tray is the first thing that came to mind. I thought I’d put it together today in case you caved like I did and have a bag full of bees too! There are certain guidelines I like to follow when putting together a tiered tray and I’ve shared them throughout this post. Keep in mind though that the only rule that really applies here is that you must bee happy with your tiered tray design. In the end that’s all that matters!
Bringing in the Bees
I love my black and white checked kitchen, but in the summer months I need a brighter lighter look to reflect the season. So last year, I brought in the lemons. Is there any happier color than yellow??? I think not! I decided to stick with it but with just a few small changes. After all, there is more than one way to skin a cat!
Where did that awful saying come from??? I love cats! But my point is that lemons are not the only way to brighten a room with yellow. For instance, sunflowers, daffodils or… bees and honey! They are all yellow too. Perhaps more of a gold shade than bright yellow lemons but they play well together. Not willing to completely give up my lemon inspired kitchen, I decided to concentrate the bees in one small area– a tiered tray. That way I can live with it awhile and see if I want to expand the theme. Bringing in the bees will be fun!
Adding a Little Greenery
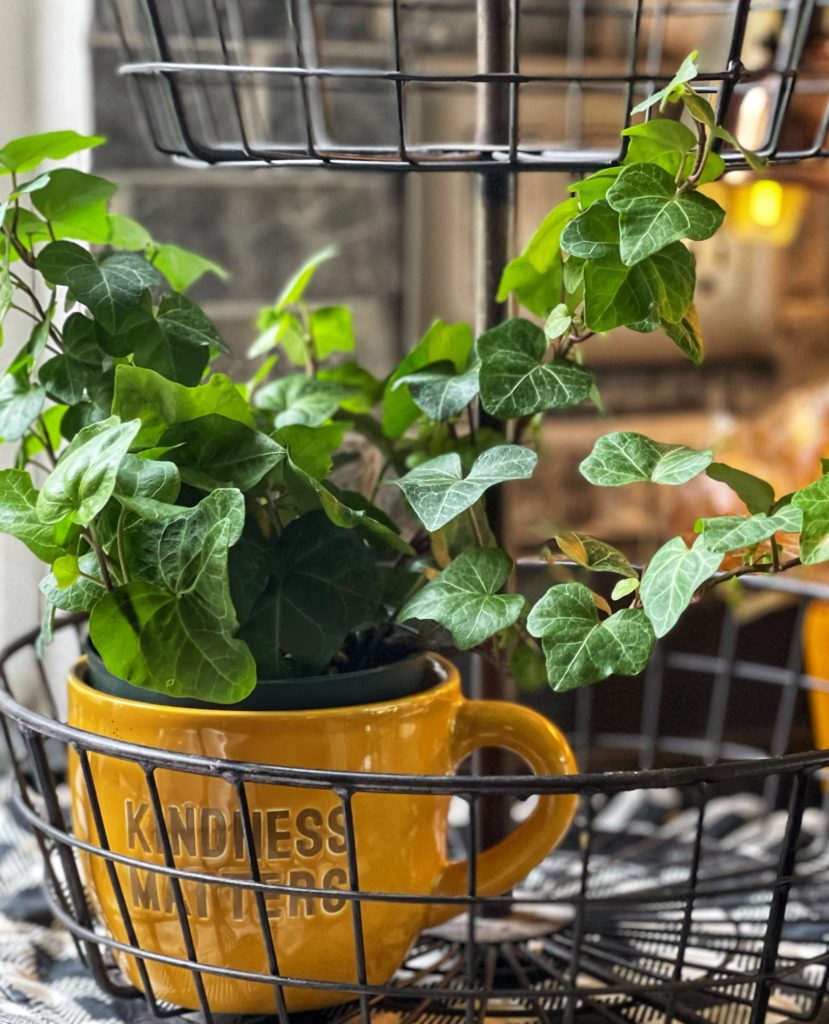
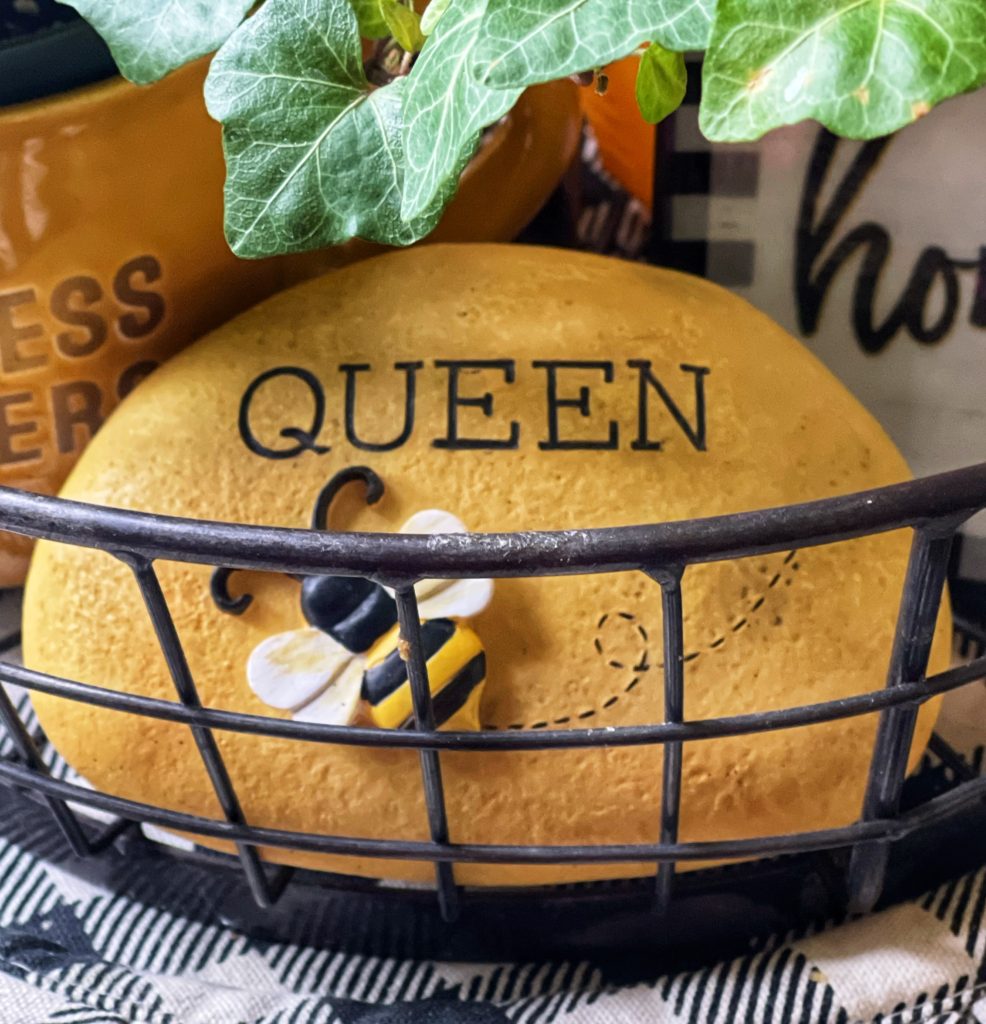
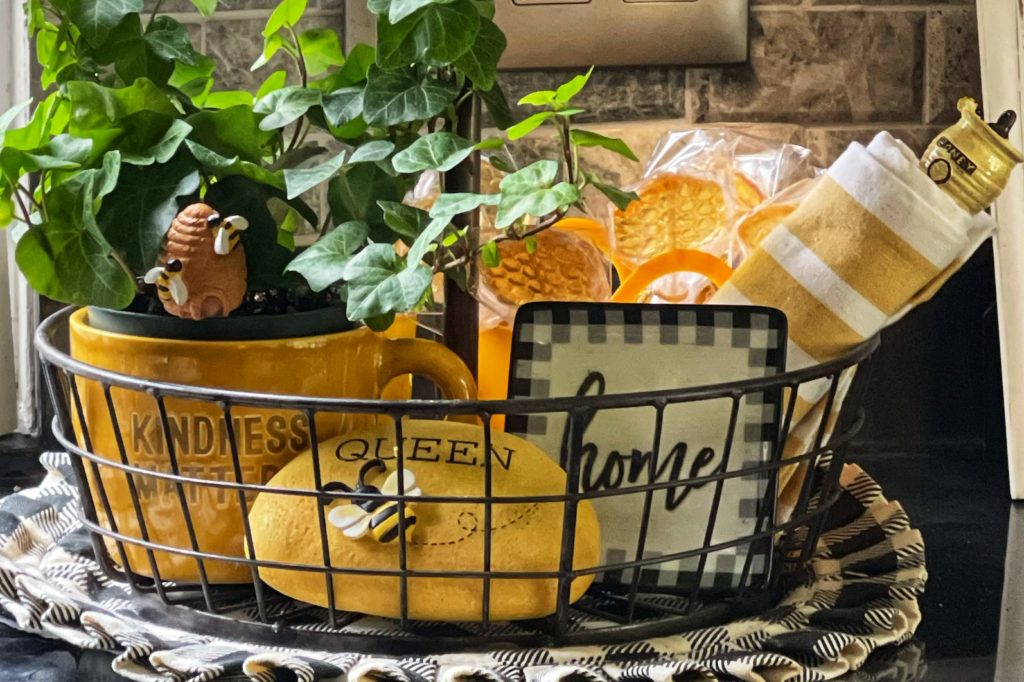
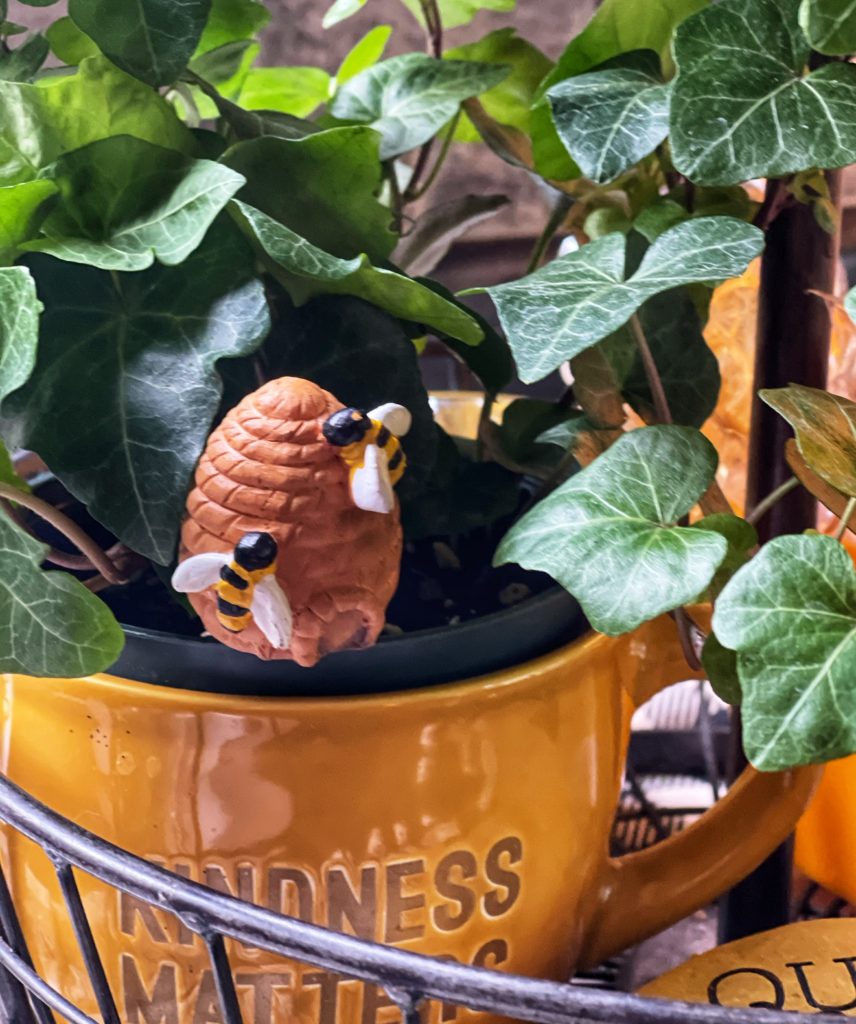
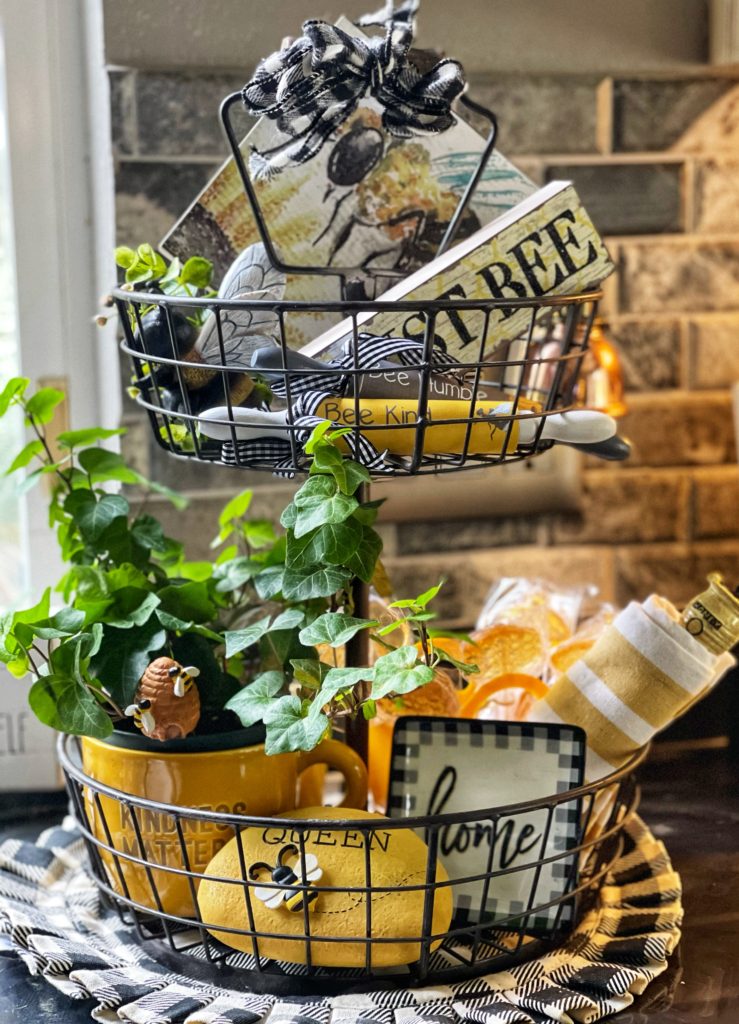
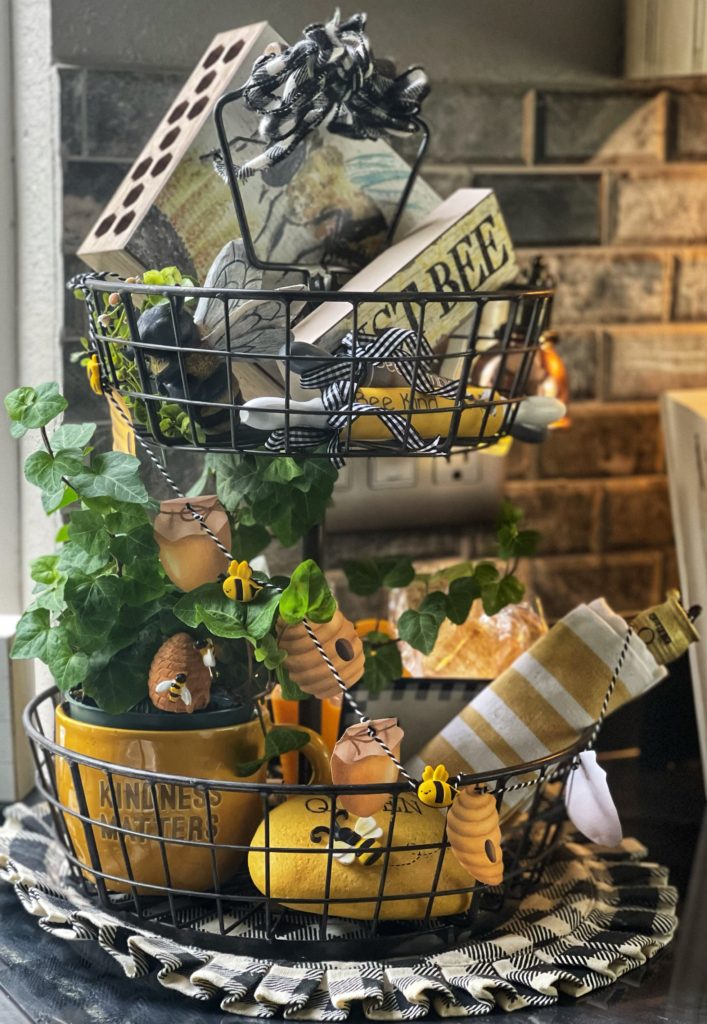
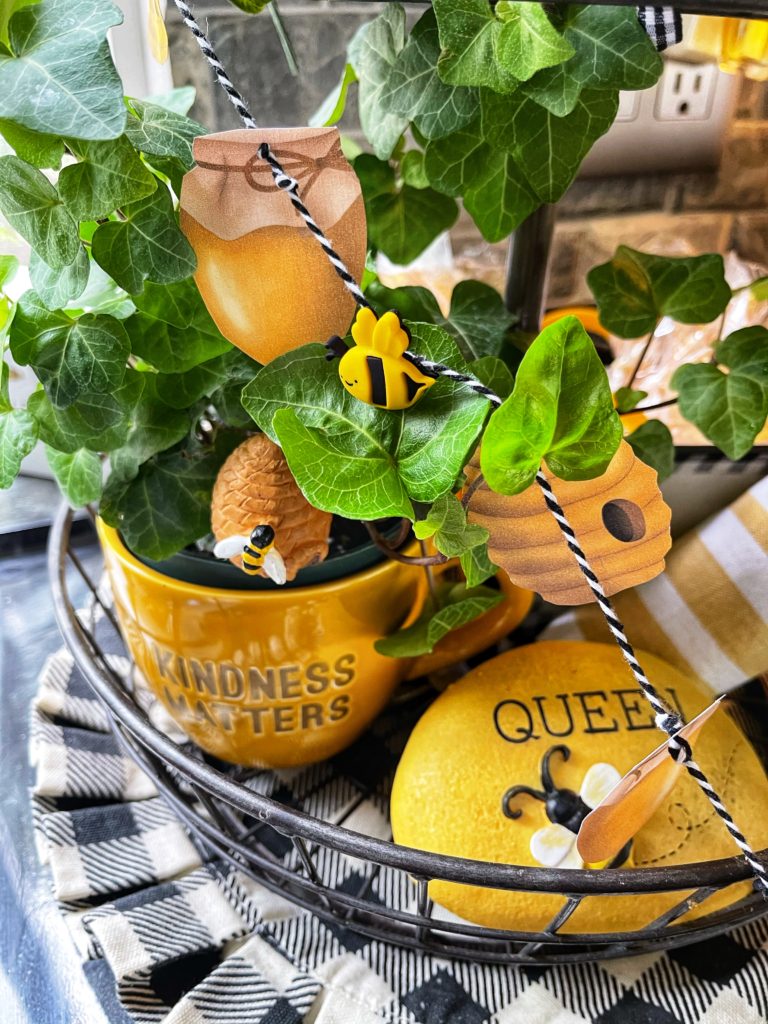
When I’m putting together my tiered tray for any season, I always start with a bit of green. This time of year, a small plant is the perfect way to accomplish that. I chose a pretty little ivy. At some point, later in the year, it will need to be transplanted to a larger pot. But for now, it fits right inside a gold colored mug that works well with my theme. And it has a message– Kindness Matters. I love it!
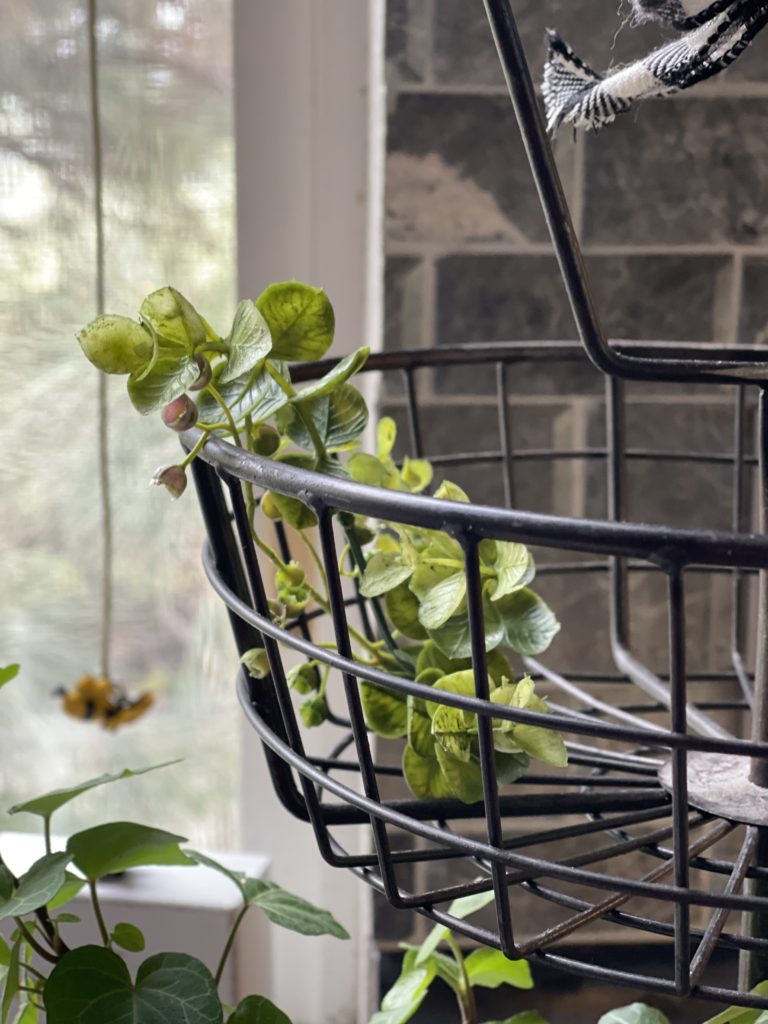
I used a few faux boxwood sprigs on the top tier to bring a bit of color there too. Since this tier is smaller, using faux greenery works best for flexibility.
Theme Related Elements
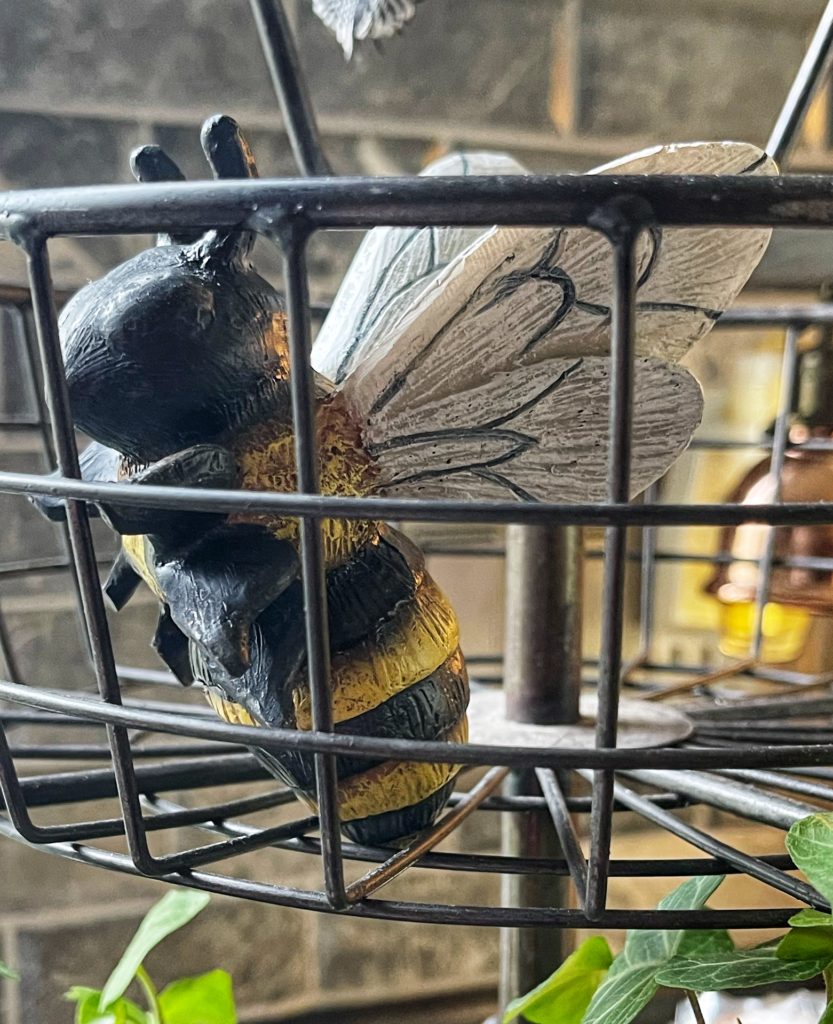
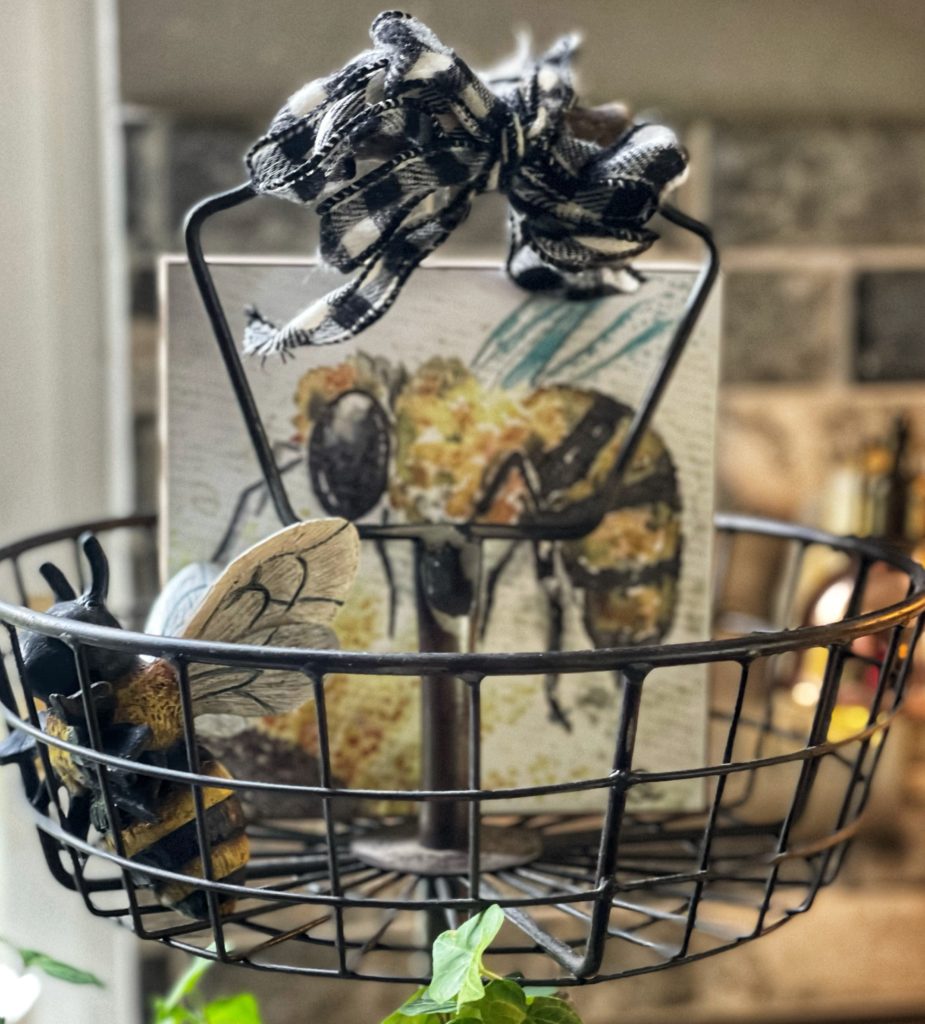
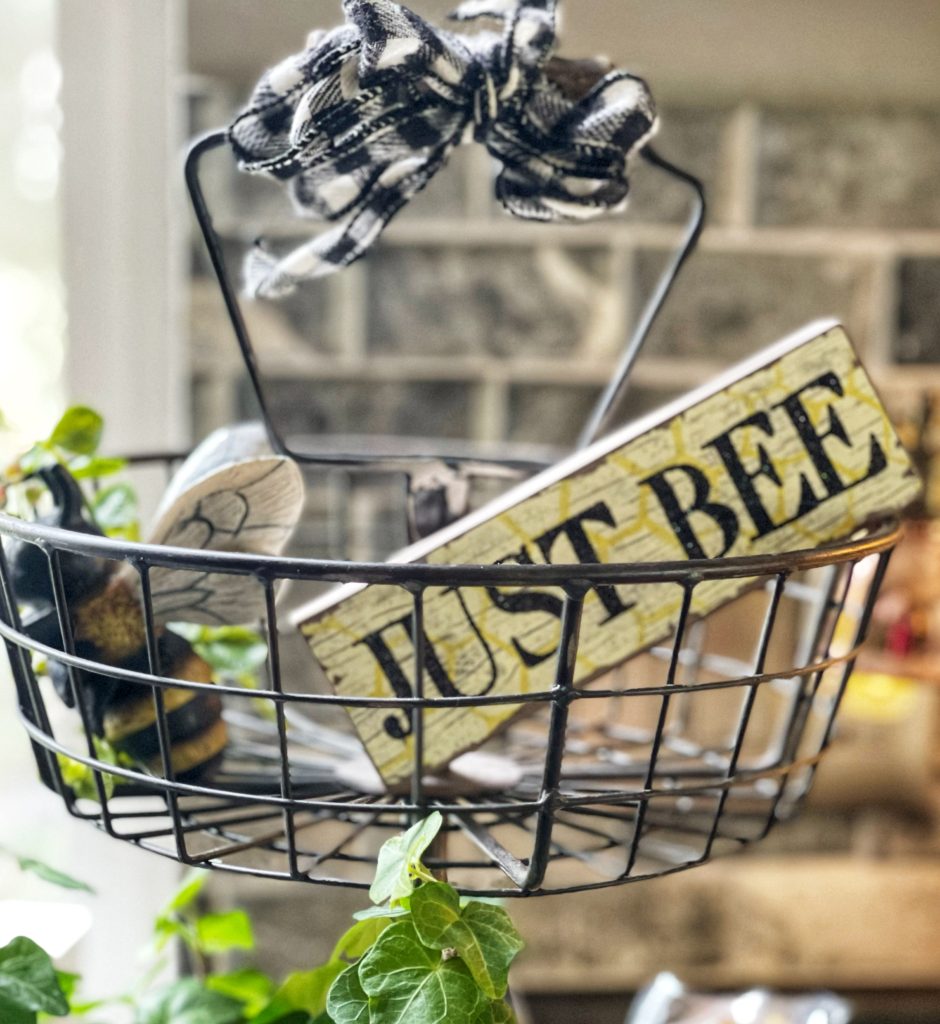
Of course I needed bees! So I added this handsome little guy to the tray and a bumble bee picture with a vintage vibe. I find them much cuter here then I will when they are buzzing around my head outside this summer!
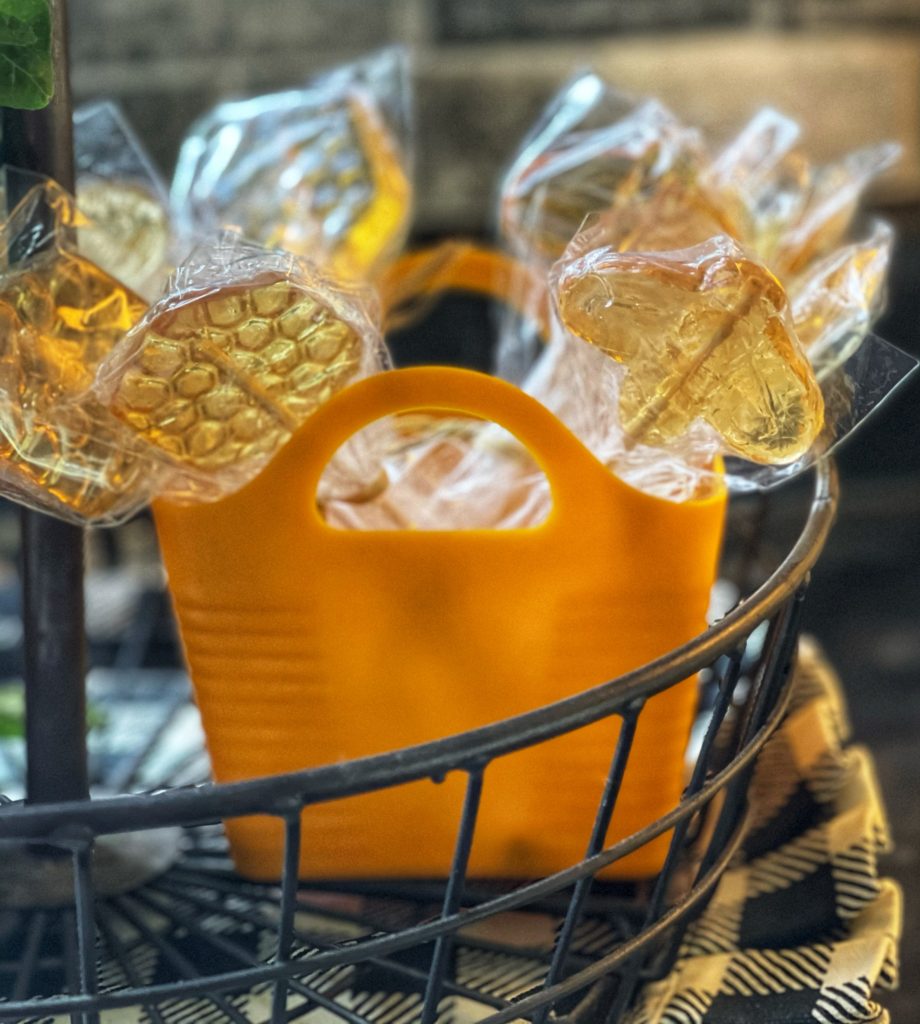
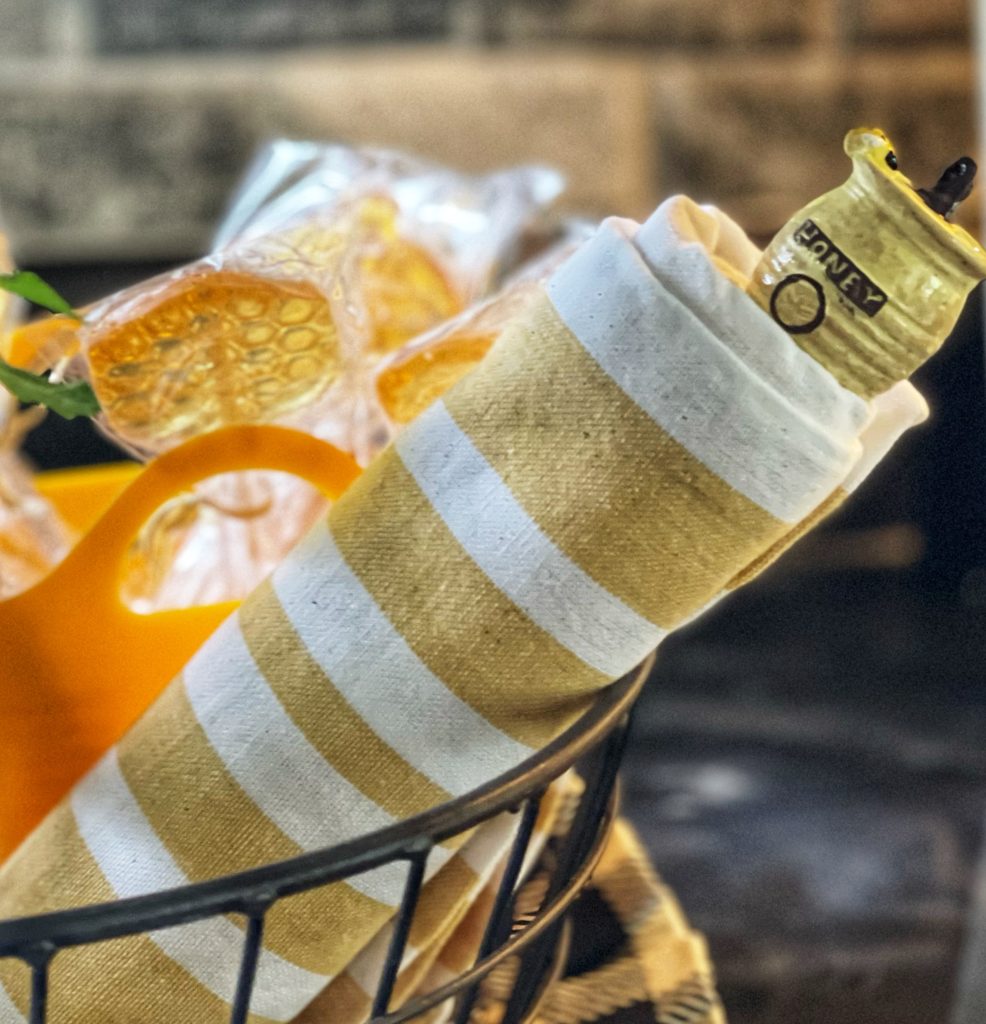
Any bee theme requires a bit of honey. If I decide to expand on this theme next year, I will invest in a honeypot. There are so many cute ones out there. But for now, I will simply add some honey spoons to my tray.
Signs are also a great addition and most definitely help with your goal to bee happy with your tiered tray design. Signs come in many forms. In case there was any question as to my place in our family hive… I added a garden stone that clearly spells it out!
Another sign advises one to “Just Bee.” I like that advice and I often need the reminder. It will come in handy for all the times I worry about things I can’t possibly fix in the world. I put it front and center for me to see first thing.
Adding Coordinating Accents
While a bee themed tray is the end game, I also want to coordinate with the overall look of the kitchen itself. With that in mind, a buffalo checked bow is always a part of my tray designs.
In addition, my buffalo checked “home” sign helps to tie it all together as well.
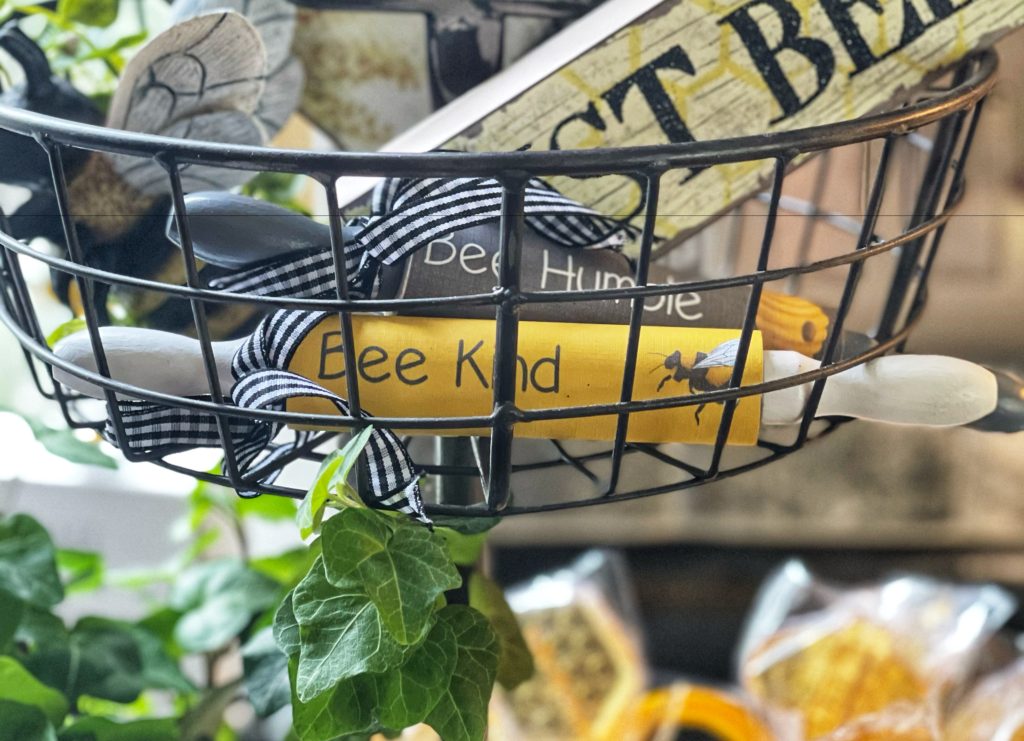
Since the tray will be a focal point in the kitchen, adding a few room related items will tie that in as well. I chose to add a few mini rolling pins to the top tier. Also bee themed, they fit in perfectly.
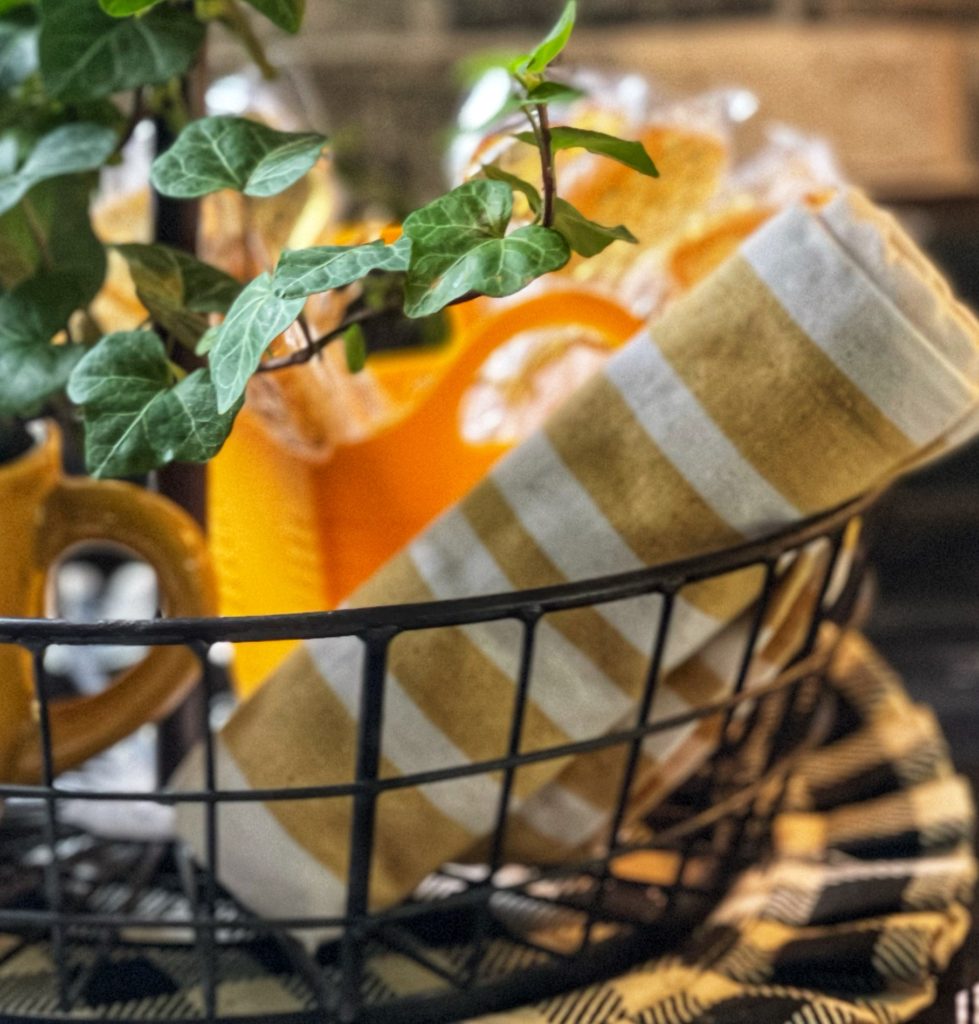
A rolled dish towel in coordinating colors fills in an empty spot on the bottom tier as well.
I also worked in a miniature honey pot and a tiny bee hive from a previous project.
Like I said, the only rule is to bee happy with your tiered tray design and I am!
Well… almost!
The Final Touch
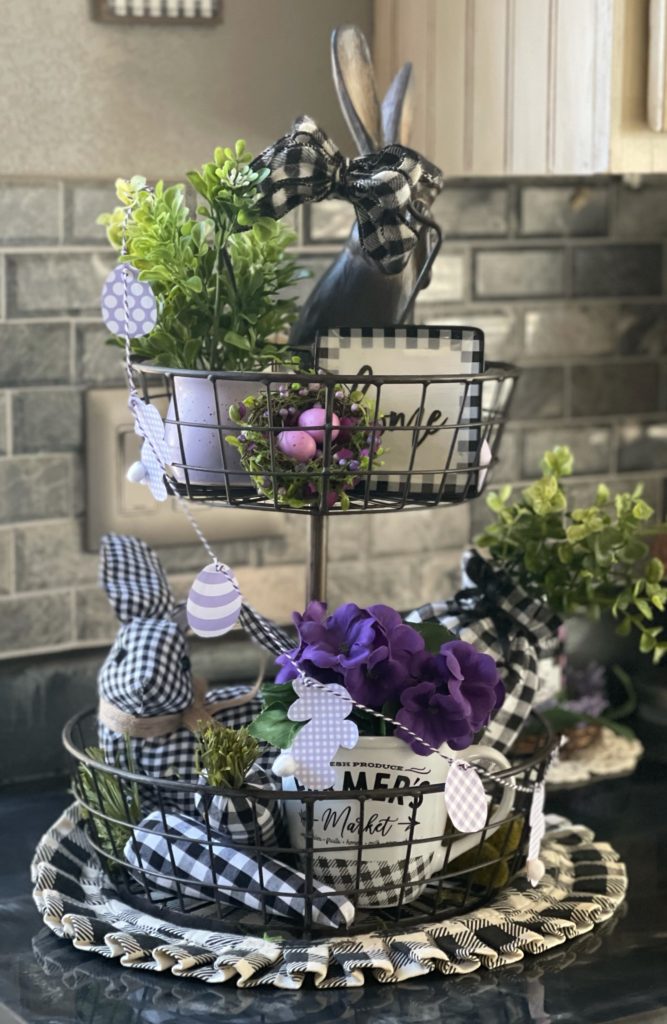
There is just one more thing I’d like to add to finish it off. When I put together my Valentine’s Day tray this year, I added a mini banner that I made with printed hearts. I loved it so much that I did another using bunnies for my spring decor.
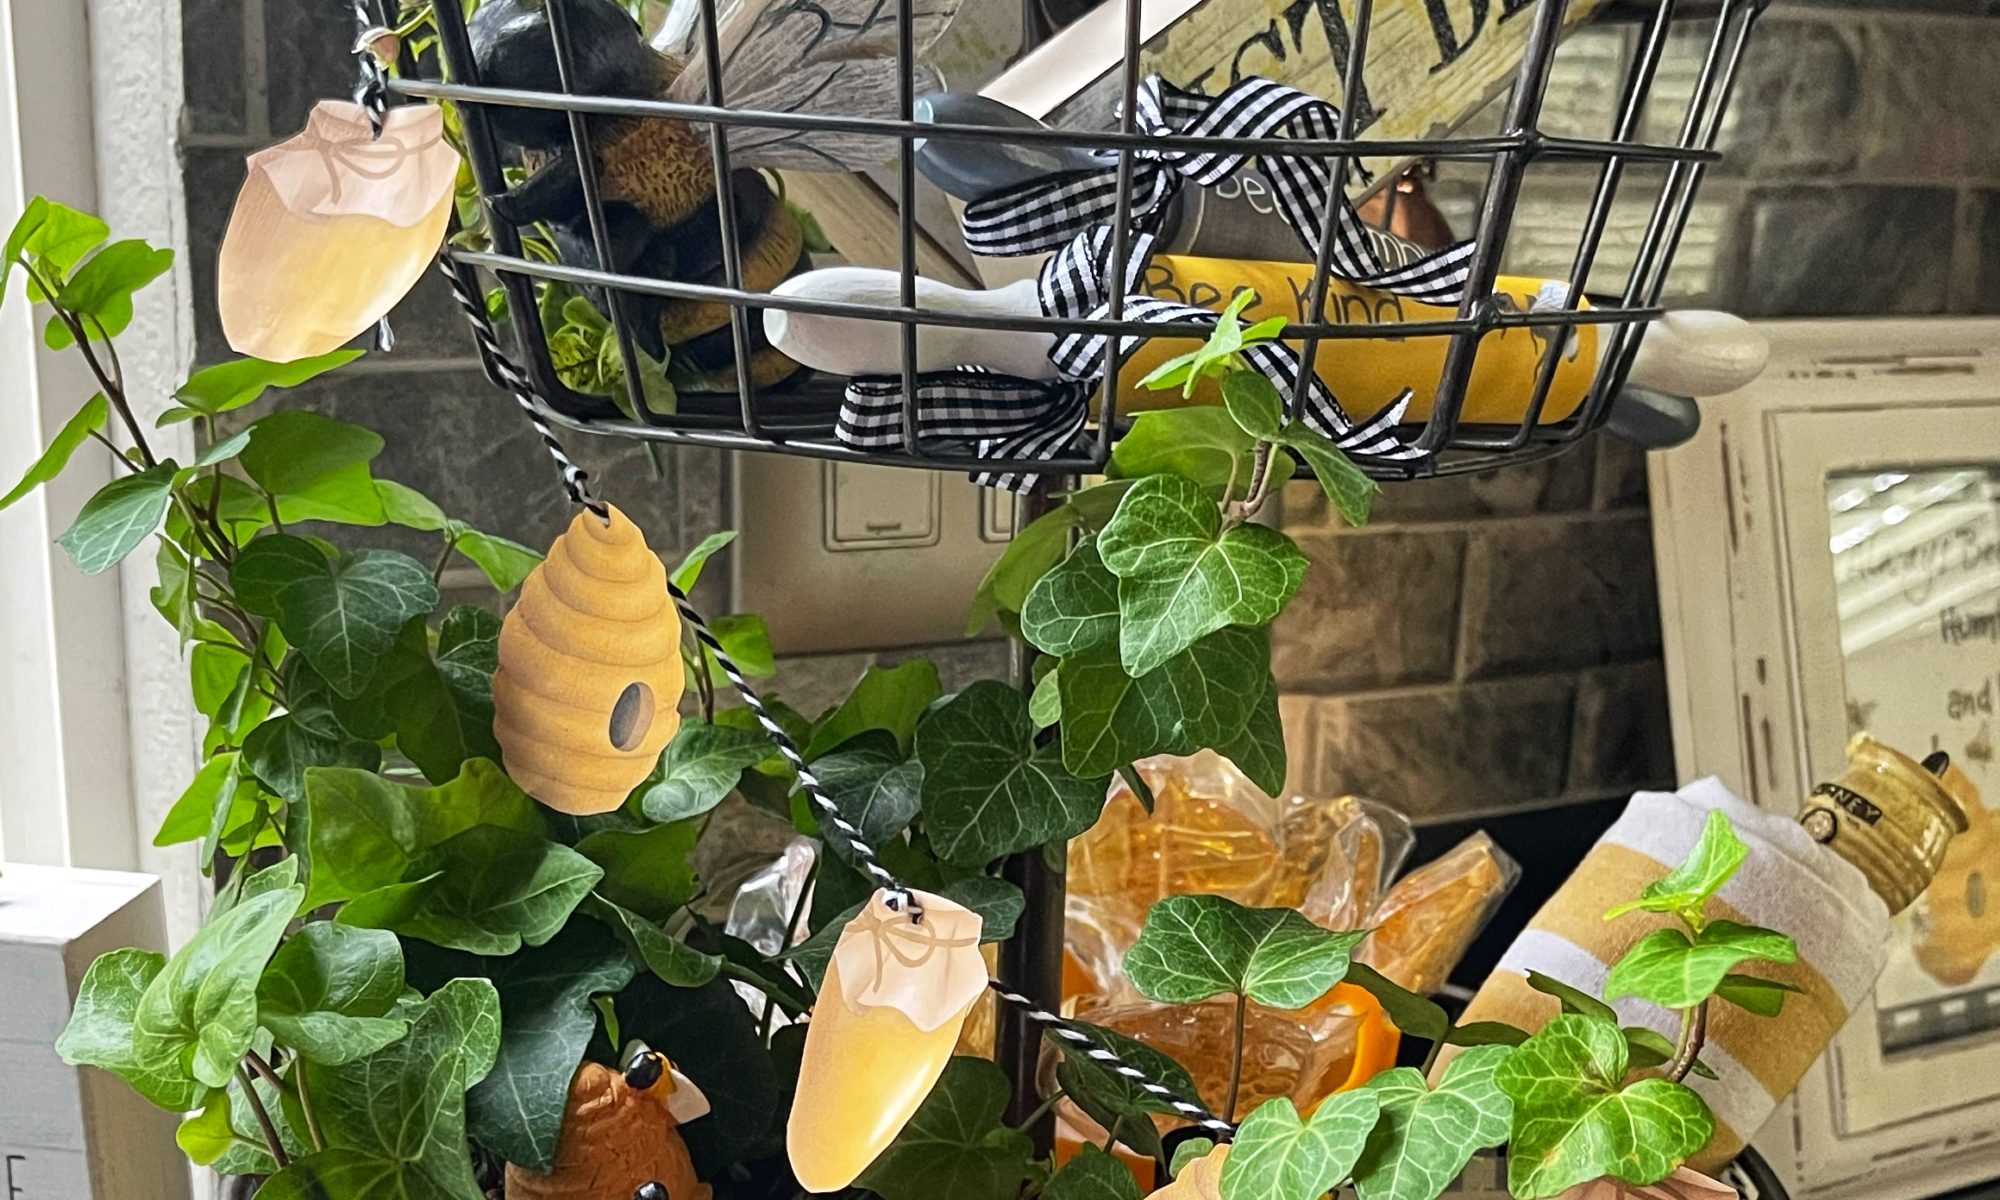
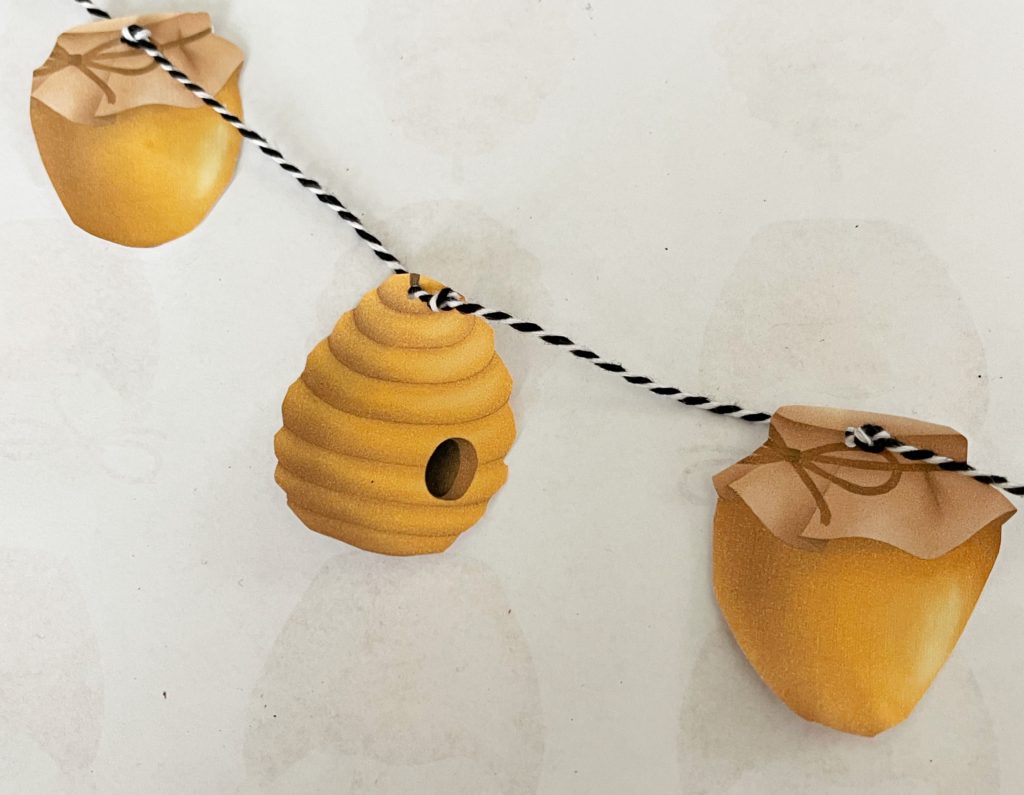
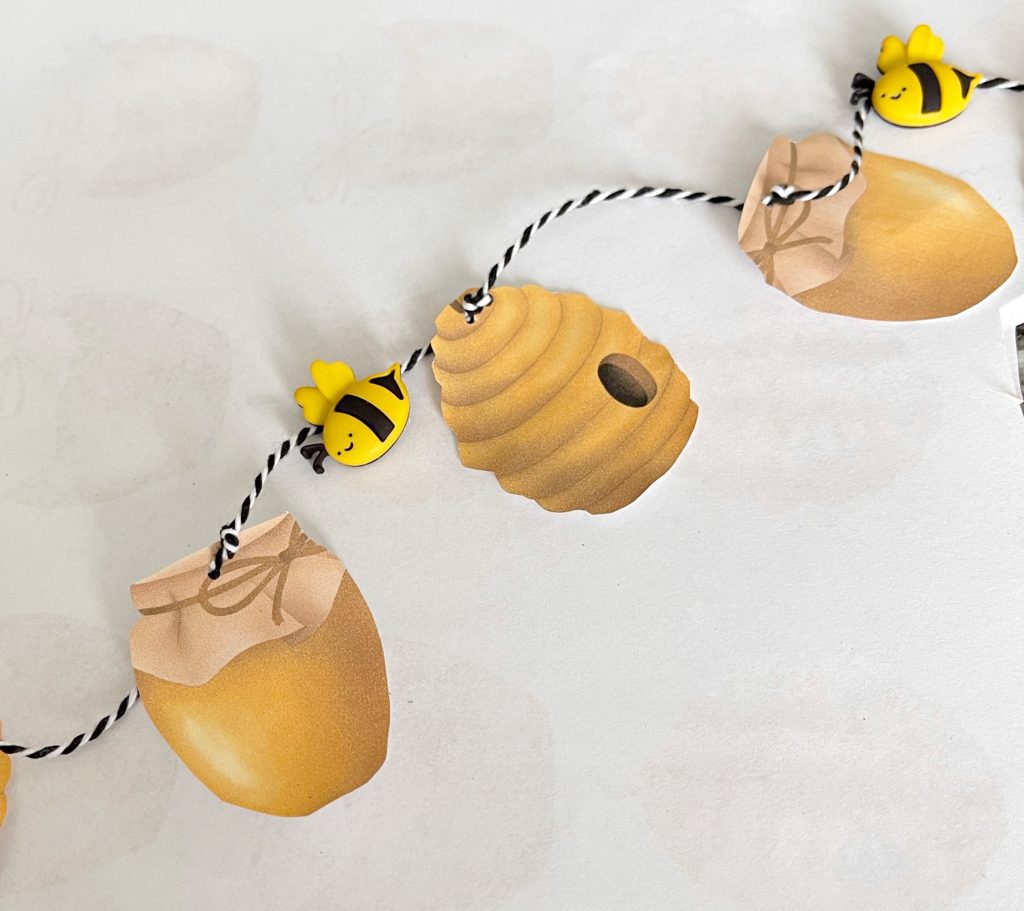
Such an easy thing to do so I decided to add a banner to my bee themed tray too. Using hives, honeypots, and miniature bees this time, here is the end result. I’ve included a short tutorial below in case you’d like to add a banner too.
Mini Bee Banner Tutorial
This little banner will take you less than 10 minutes to put together yet it adds a lot of punch to your overall look!
Supplies
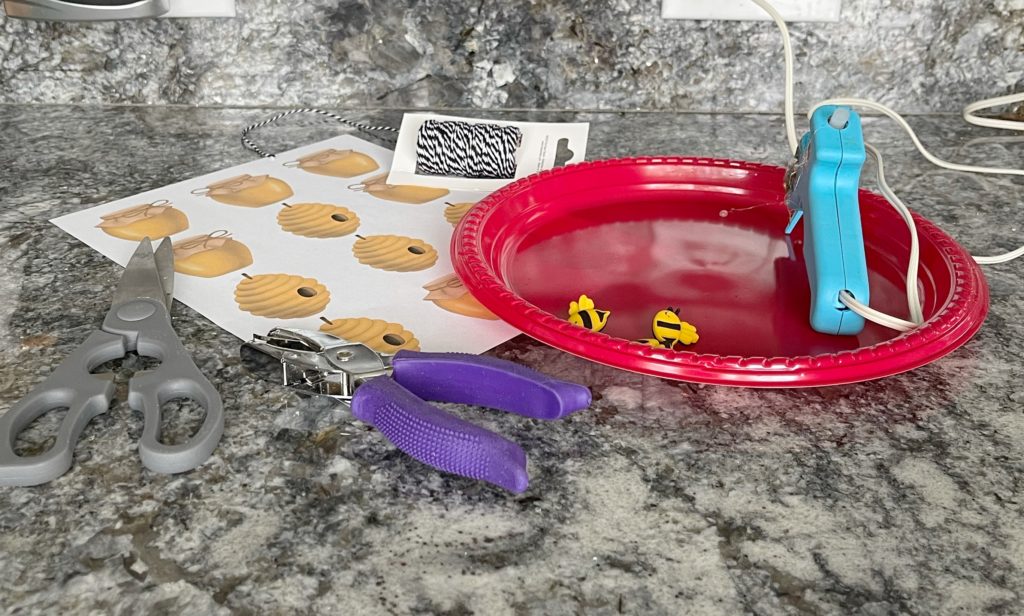
- Scissors
- Black and white Bakers Twine
- Miniature bees
- 1/4 inch round hole punch
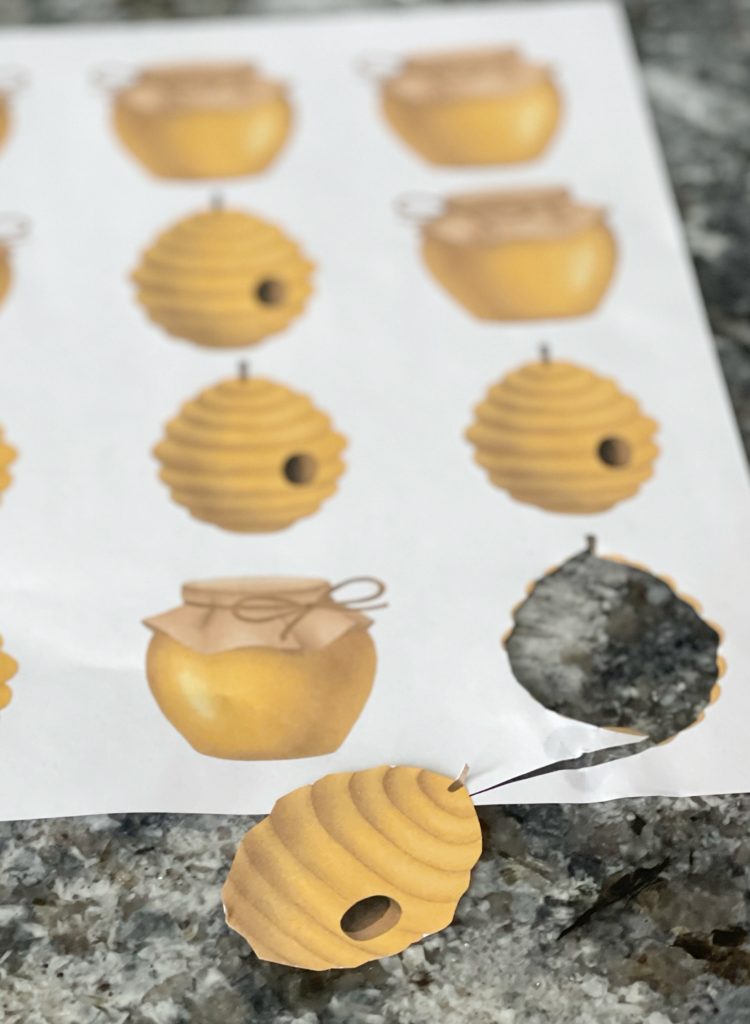
- Honeypot and Hive Printable
Instructions
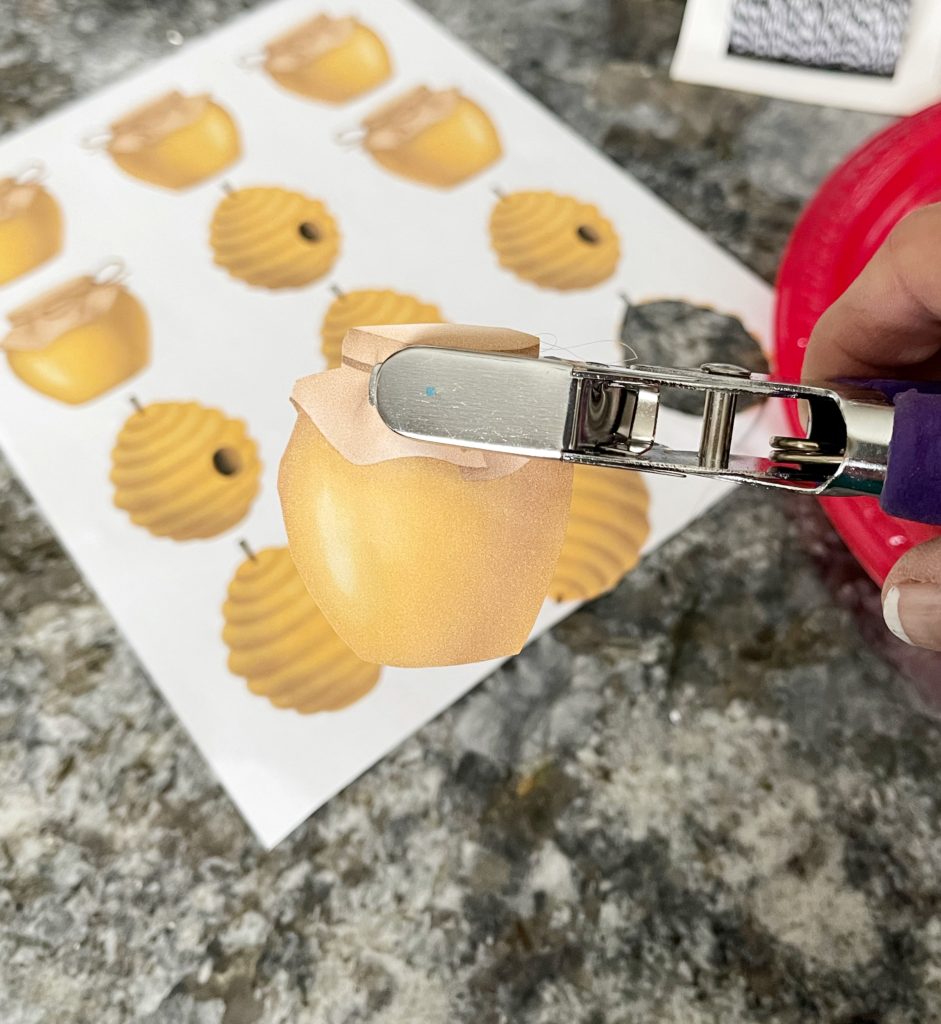
Carefully cut out each honeypot and each hive. Using a thicker paper always works best for banners. They tend to sit better and are much easier to cut each piece to size. Next, punch a hole near the top of each piece and set aside.
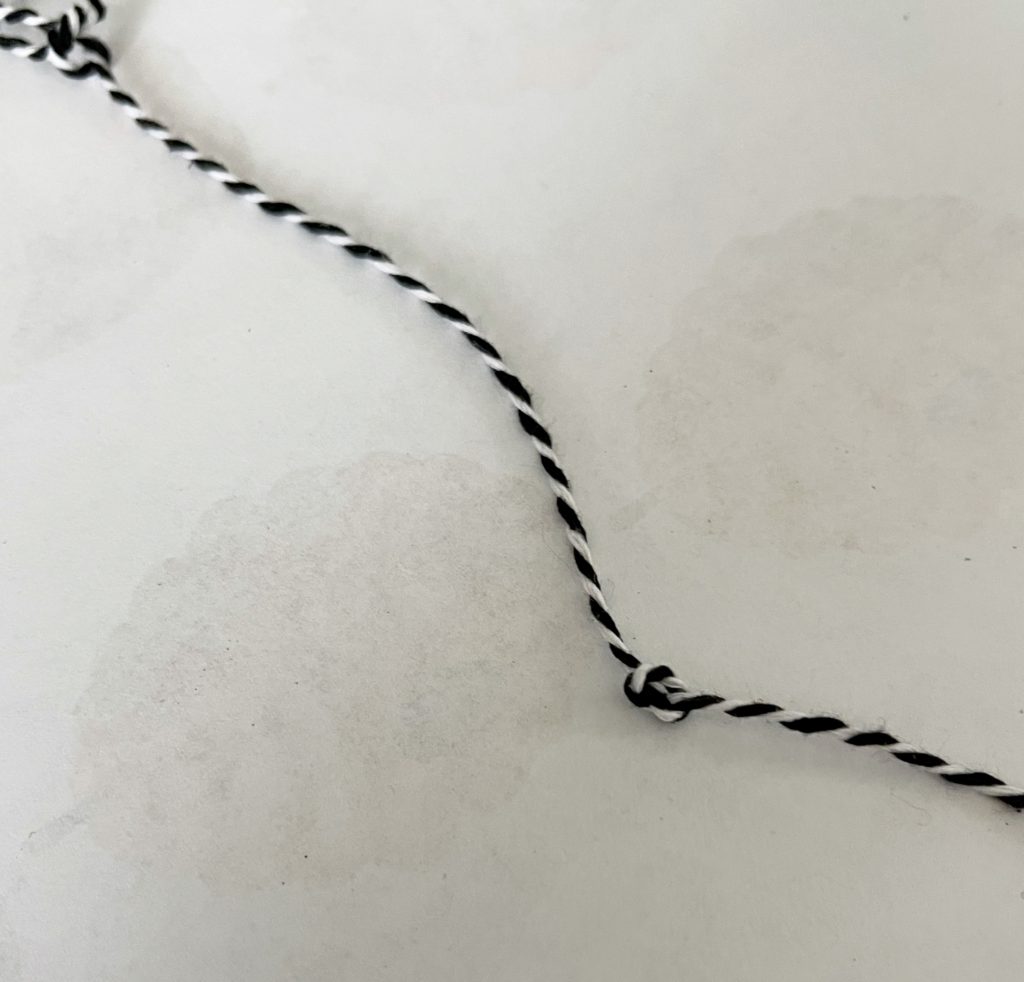
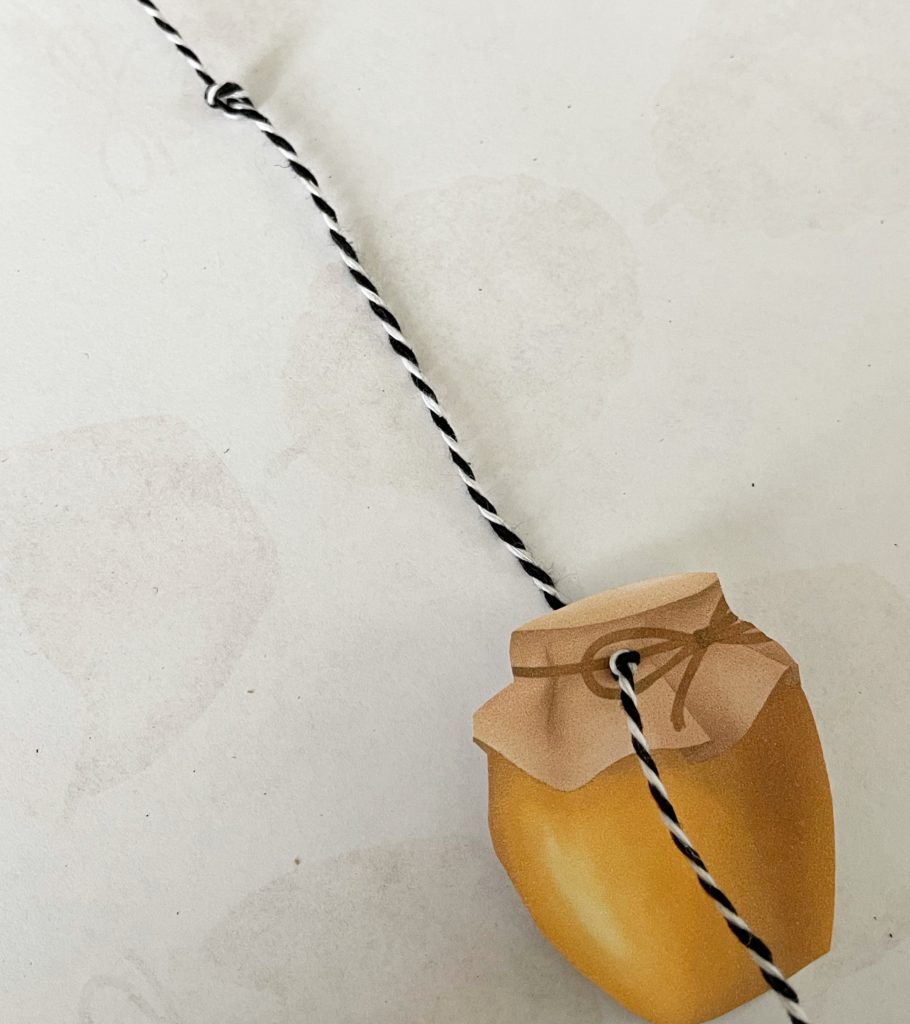
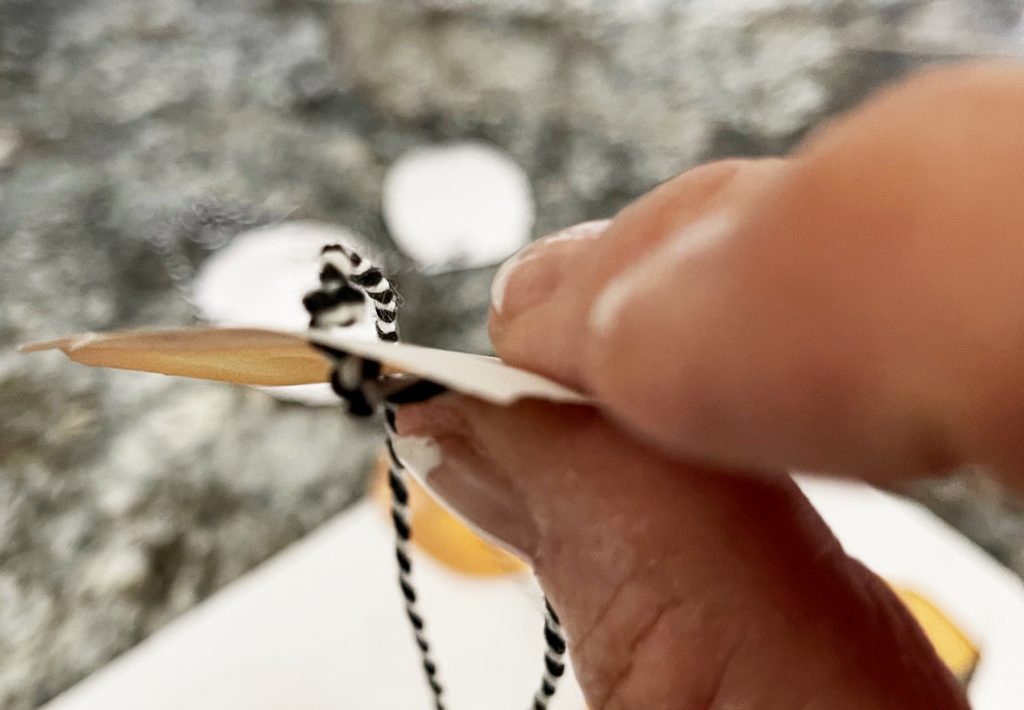
Cut a piece of twine about 2 feet long if you are using a two tier tray and 3 feet long for a three tier. (You will have excess but the twine tends to fray and you may need to trim it a few times.). Tie a loose knot 2 inches down. Slide on a pot or a hive and tie another knot on the front side to secure it in place.
Continue adding alternating hives and pots to the length that you would like. With your glue gun, add a miniature bee here and there.
That’s it! All there is to it! Now tie it onto your tray, drape it down the length, and you’re done!
Bee Themed Printables
The supplies you will need for the mini banner are linked below. The Honeypot and Hive Printable has been loaded into the library for all subscribers. Simply click here for the library, enter your password, download and print.
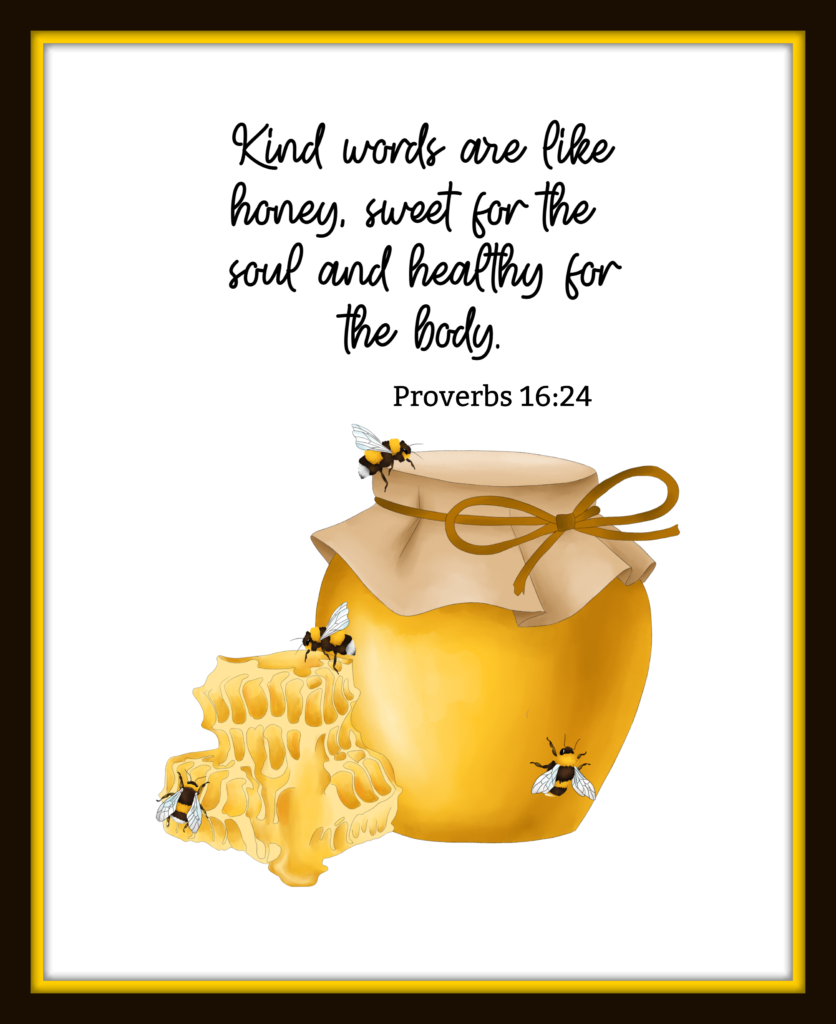
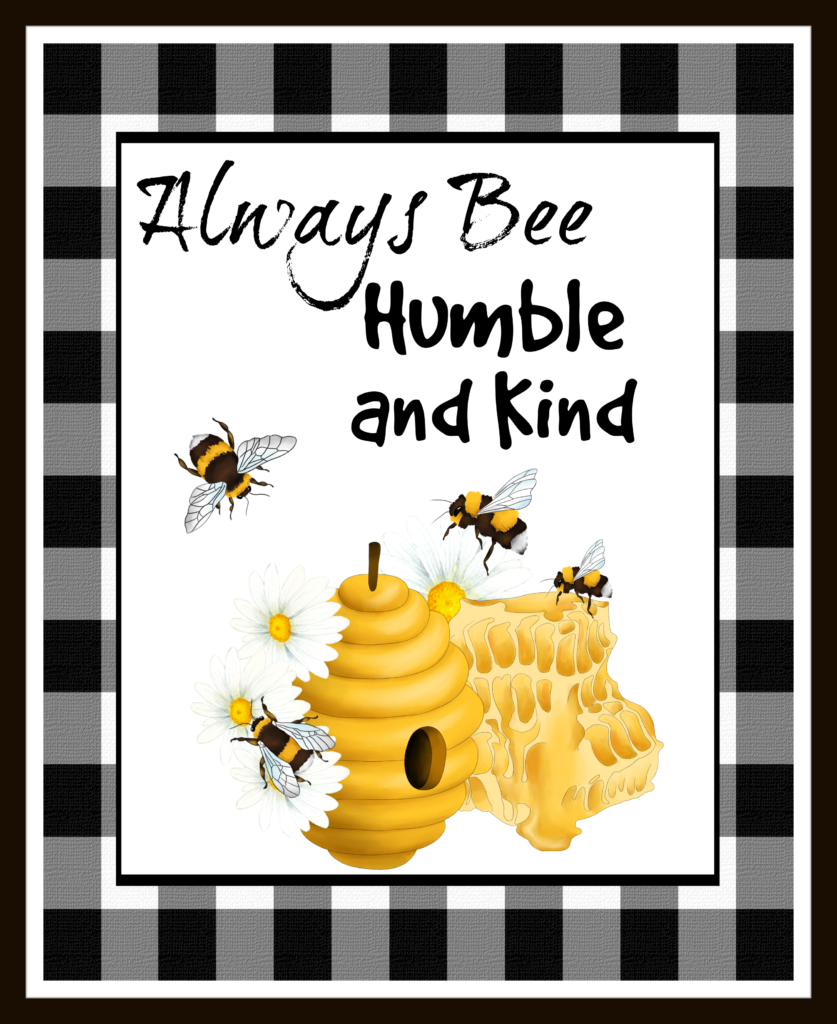
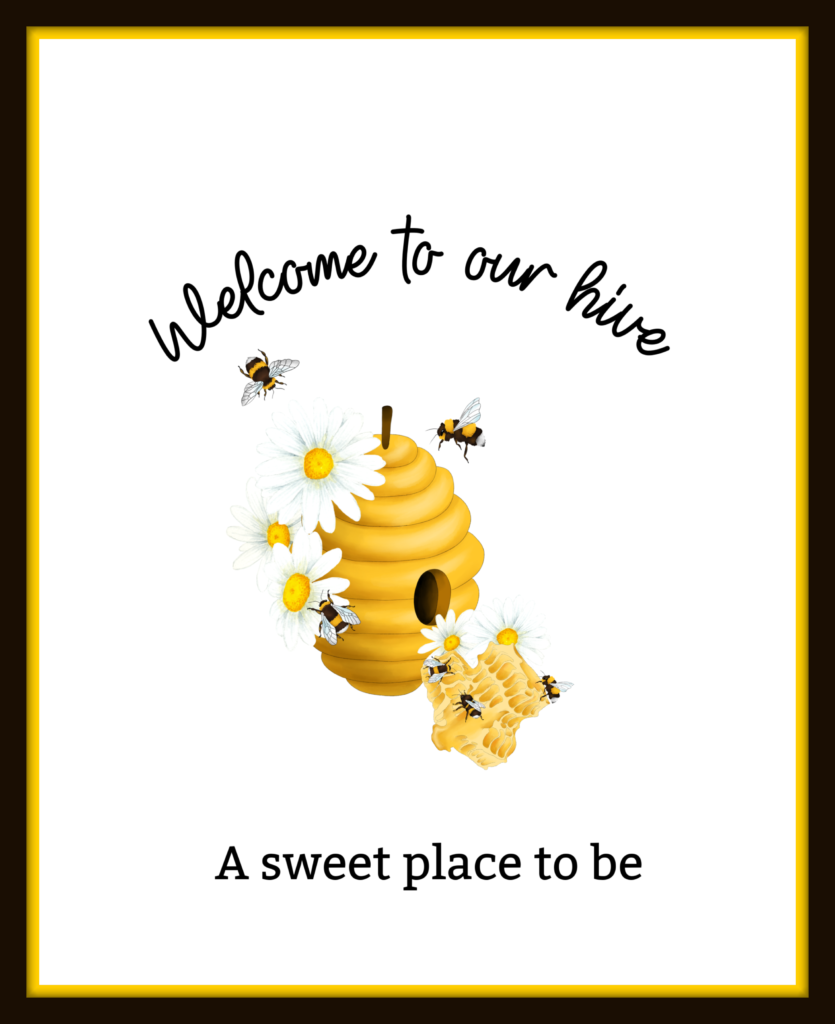
If you haven’t joined us yet, you can subscribe by adding your email to the blue form at the bottom of this page. A welcome letter with the password will be in your inbox in minutes. It will give you immediate access to everything currently in the library including the sheet you’ll need for the banner. You’ll find other bee themed printables available to subscribers there as well. Here are just a few:
In addition, I will be sending you a weekly, (sometimes bi-weekly) newsletter to make sure you’re the first to know when new printables are added. I’ll also keep you up to date on the latest home decor trends!
Create the Look
If you’ve passed by the bee decor but now feel the need to bring the bees in… I’ve got you covered! My favorite tiered trays are linked below. I’ve also linked several adorable online bee themed items right here. You will find the additional items needed for your mini tiered tray banner here as well.
This page includes Amazon Affiliate Links. As an Amazon Associate, My Home of AlI Seasons may earn from qualifying purchases at no additional cost to you. Please see our full disclosure here.


However you choose to go about it, bee happy with your tiered tray design. It’s unique! It’s you! I know it will be beautiful!
Before you leave today I hope you’ll stop by and check out my latest post Lemon Themed Summer Coffee Bar.
Have a great day! See you soon!

Very, very cute Denise.! You’ve been stung by the 🐝!
Haha! I have been stung! I’m not giving up my lemons for them but they do seem to mesh! Thank you and have a great day!
Denise,
Absolutely love this!! So cute!! I think I need to get some BEE things for my Kitchen!! Stay safe, healthy and happy!!
Hugs,
Debbie
Thanks Deb! I resisted as long as I could and finally caved! Bee decor seems to be everywhere right now. Thanks so much for stopping by and have a great weekend!
This is so adorable-thanks for sharing..have a wonderful week
Thank you Julie and I’m so glad you came by! Bee decor is everywhere this year and it’s all so cute. Thanks again and have a great weekend!
How cute! Thanks so much for linking up with me at the Unlimited Link Party 26. Pinned!
Thanks Dee. I had so much fun putting it together! Have a great weekend.
I love all of the bee paraphernalia. Thank you for sharing at #omhgww. See you next week.
Thanks Clearissa! There’s so many adorable bee related things in every store right now! Thanks for stopping by. Have a great weekend.
I’ve been enjoying all things bee worthy and your cute tiered tray is right at the top of my favorites. Great details, right down to the banner of honey pots. Thanks for sharing it at the FWF link party.
Thank you Rachelle! I’m so glad you stopped by today. Love the party each week.
Love the bee theme! So adorable. This is just the type of decor I would want to do for a tiered tray if I could ever decide on a style to purchase. Thanks for sharing your project. #HomeMattersParty
Thanks Donna! I know…it’s a tough decision because there are so many ways you can go! Thanks for stopping by and have a great weekend.
This is so cute Denise! I love the bee theme and all the details are gorgeous! Thank you so much for sharing with us at Farmhouse Friday – we’re featuring you at tomorrow’s party!
Thanks so much Michelle! I couldn’t resist the bees this year! I’m looking forward to the party!