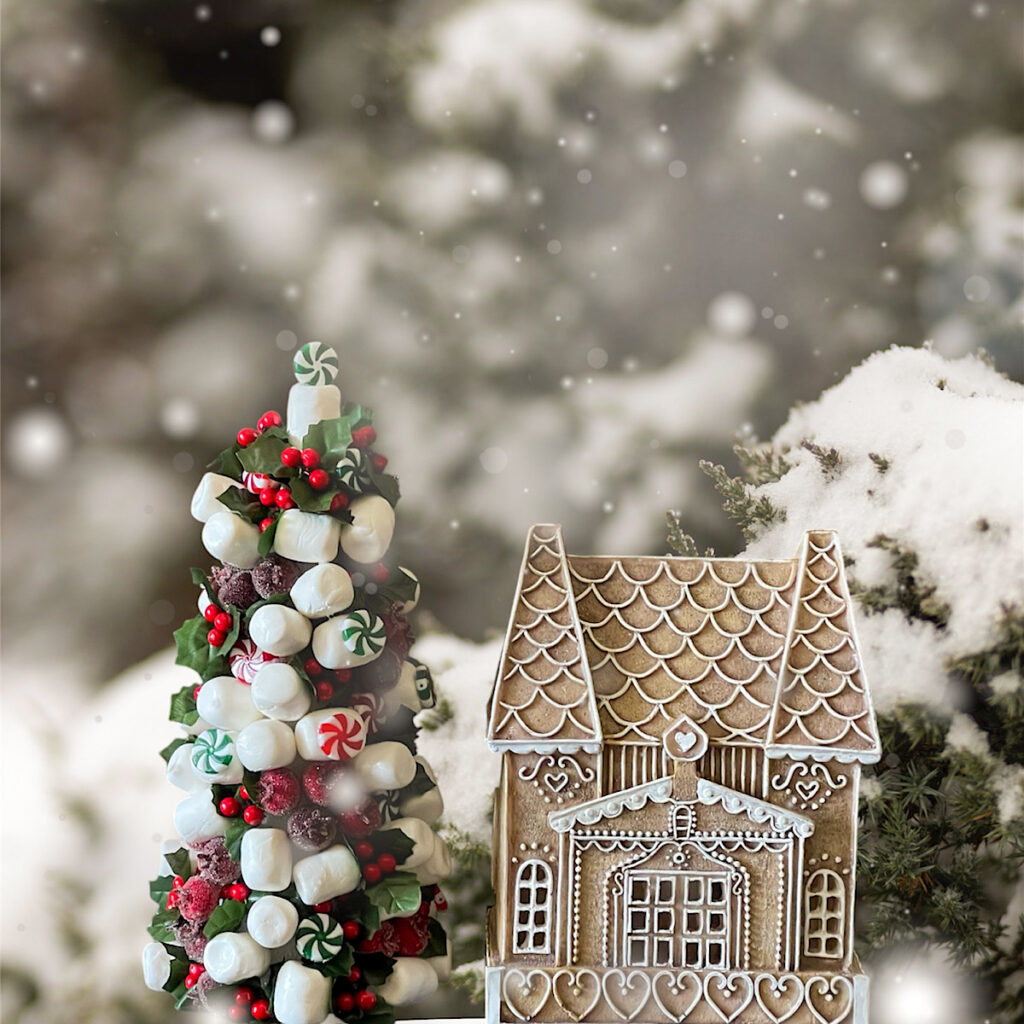
There are so many cute holiday decorations for those with an unlimited budget. A standout for me are the gorgeous marshmallow trees I’ve seen in several magazines this year. I’ve shopped them online and the prices are just too much for me. I decided to attempt to craft one of my own and I’m sharing the process with you today.
A few years ago I made some faux hot chocolate cups for my holiday coffee bar. I absolutely loved them and always meant to try some similar crafts but I never had the time. Then, while paging through a Christmas magazine, I came across the faux marshmallow trees that I had forgotten about. I decided I just had to have one!
Although I’ve made these in the past using real marshmallows and candy, I wanted something that would last. A Christmas keepsake to be a part of my decor for years to come.
Decorating the kitchen for the holiday season is always so much fun. The decision on whether to go with a candy cane theme, a gingerbread look, snowmen… it’s just so hard to choose! This year my choice is simply going to be a “everything I love” look. This little tree will fit right in!
Supply List
- 15 ounce white air dry modeling clay
- Heavy duty wire stems
- White Styrofoam Cone
- Faux peppermint candy
- Faux holly berries
- Faux silk holly leaves
- Parchment paper
- Glue gun
- Small cake/snack pedestal
Directions
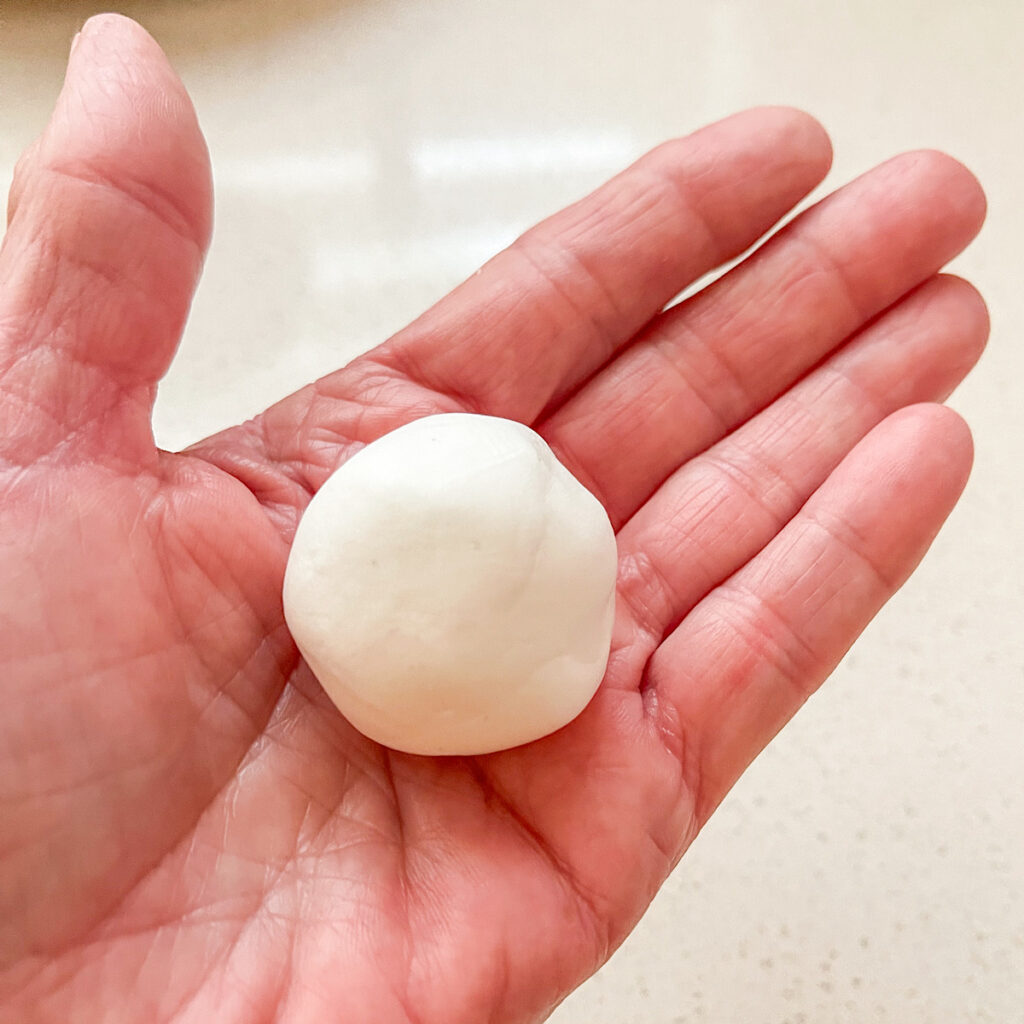
Step 1. Take a small handful of clay and roll it into a ball. Next roll it back and forth to form a tube about 1.5 inches. Tip: Make sure your hands are washed and completely dry to avoid getting any particles on the clay.
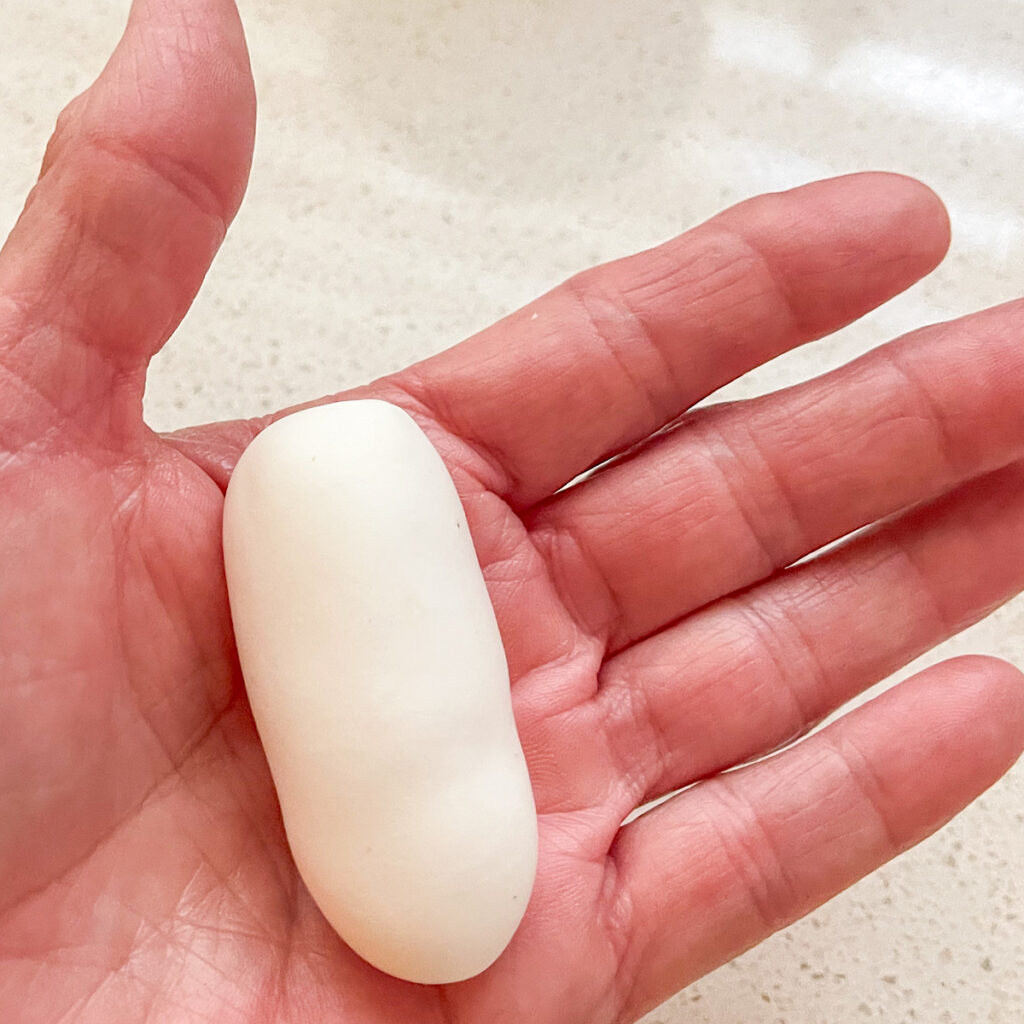
Step 2. Lightly work the clay to form a marshmallow about the size of a real one. Gently tap the top and bottom to shape it. Use your thumb to lightly work out the imperfections in the clay. Tip: Add or subtract the amount of clay to keep the size uniform. Repeat step one to keep the clay soft and workable each time.
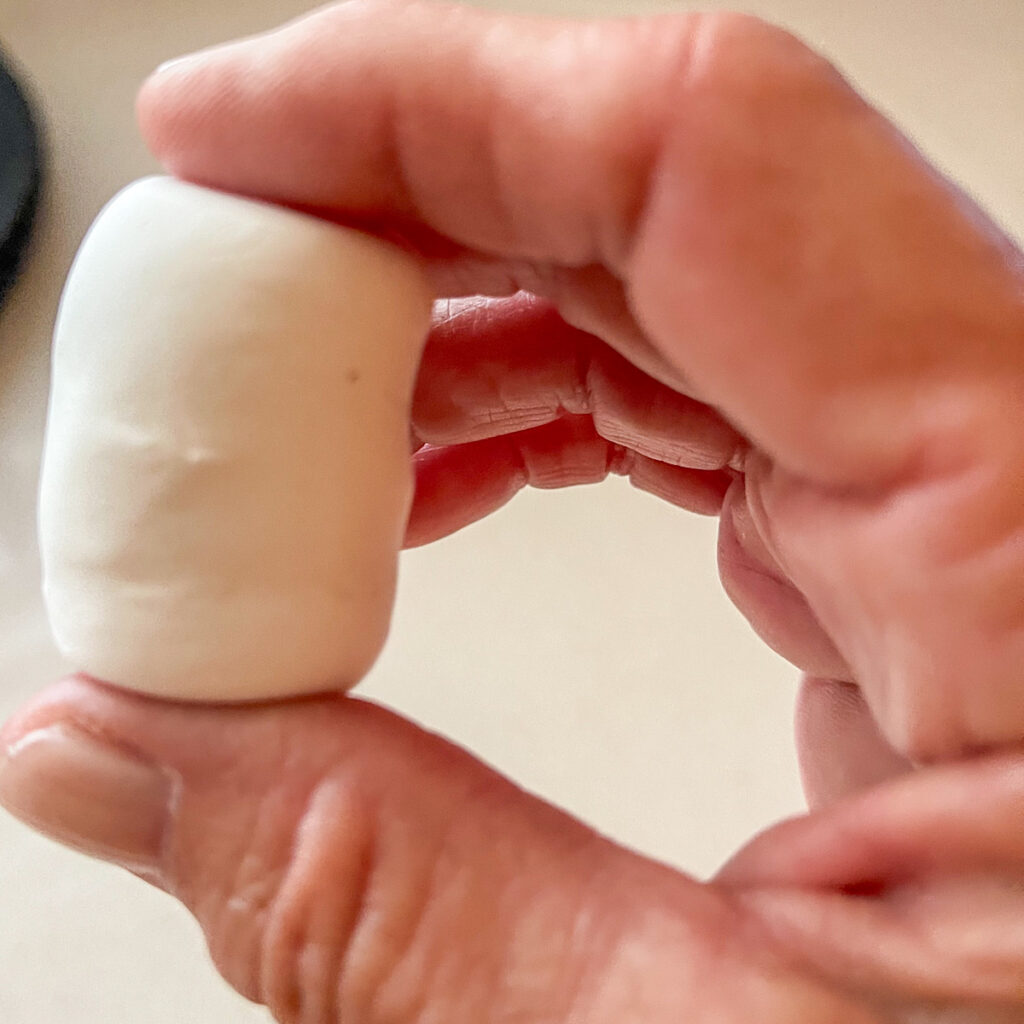
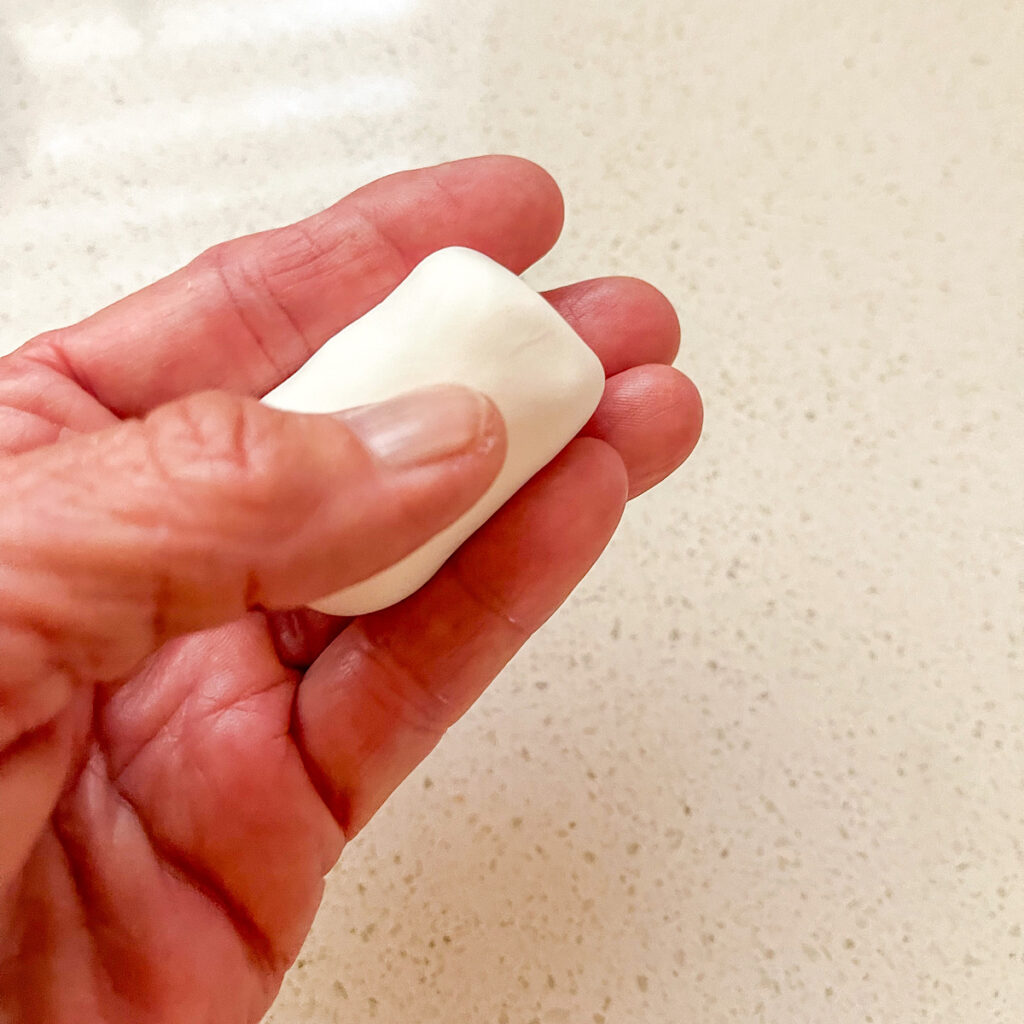
Step 3. Line a cookie sheet with parchment paper. Cut a 1.5 inch piece of wire and gently poke it into the top of the marshmallow until it’s half way down. Take the next marshmallow and poke the wire into the side instead of the top. Alternate each one and place them on the parchment. Tip: Use a large enough cookie sheet to keep the marshmallows from touching as they dry.
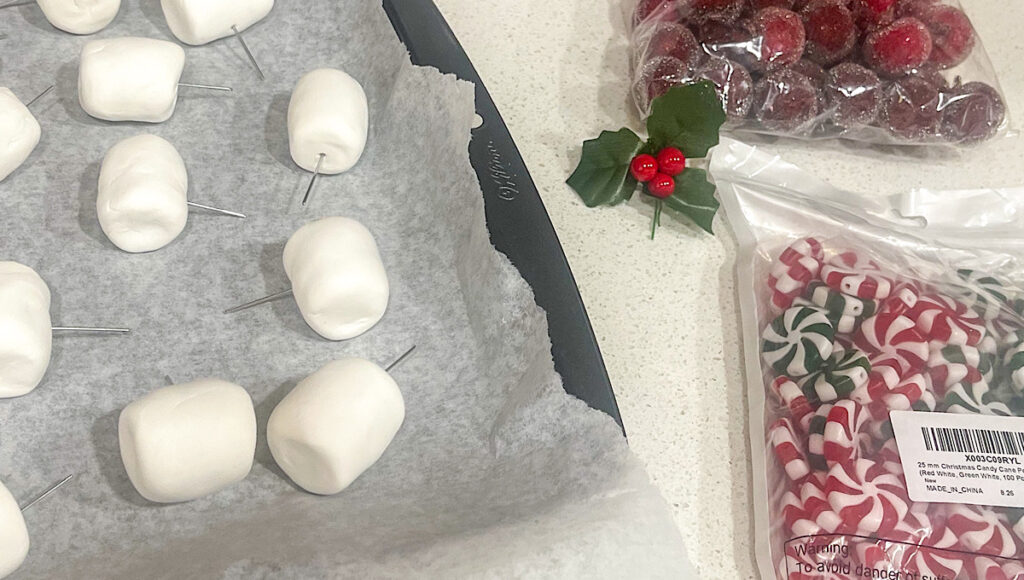
Step 4. Allow the clay to air dry for a 2-3 day period. Tip: Make sure to keep them in a dust free environment through the drying phase.
Step 5. Attach 3 or 4 marshmallows in different directions on to the tree. Use the glue gun to add a thin strip of glue to the wire attached to the marshmallow and push it into the styrofoam. Surround the grouping of marshmallows with berries, peppermints, and holly leaves. Repeat these steps until the tree is covered. Tip: Use the flexible holly leaves to fill in bare spots. Use additional peppermints to cover any blemishes or cracks from drying.
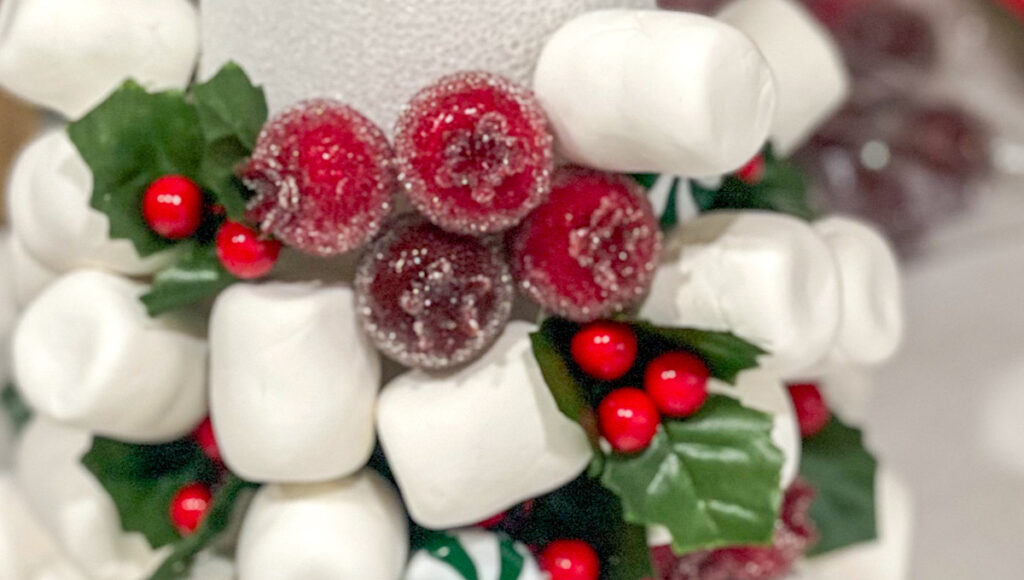
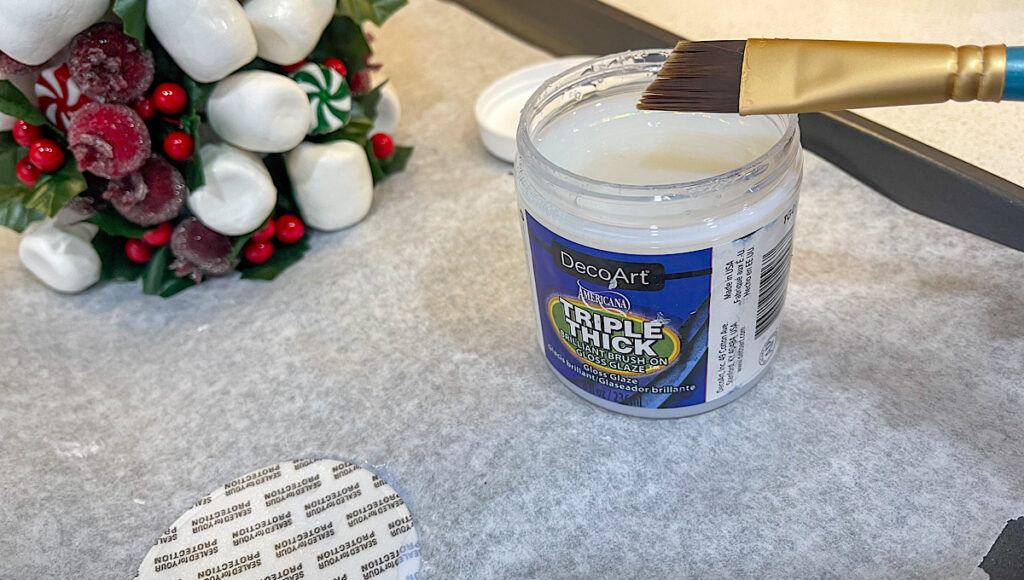
Step 6. Finish things off with a high gloss sealer to keep the marshmallows white and scratch free. Tip: A brush on glaze for air dry clay is perfect. Applied to the marshmallows only brings depth to the overall look.
The tree turned out exactly as I’d hoped it would! It’s the perfect centerpiece for my small kitchen table. But…
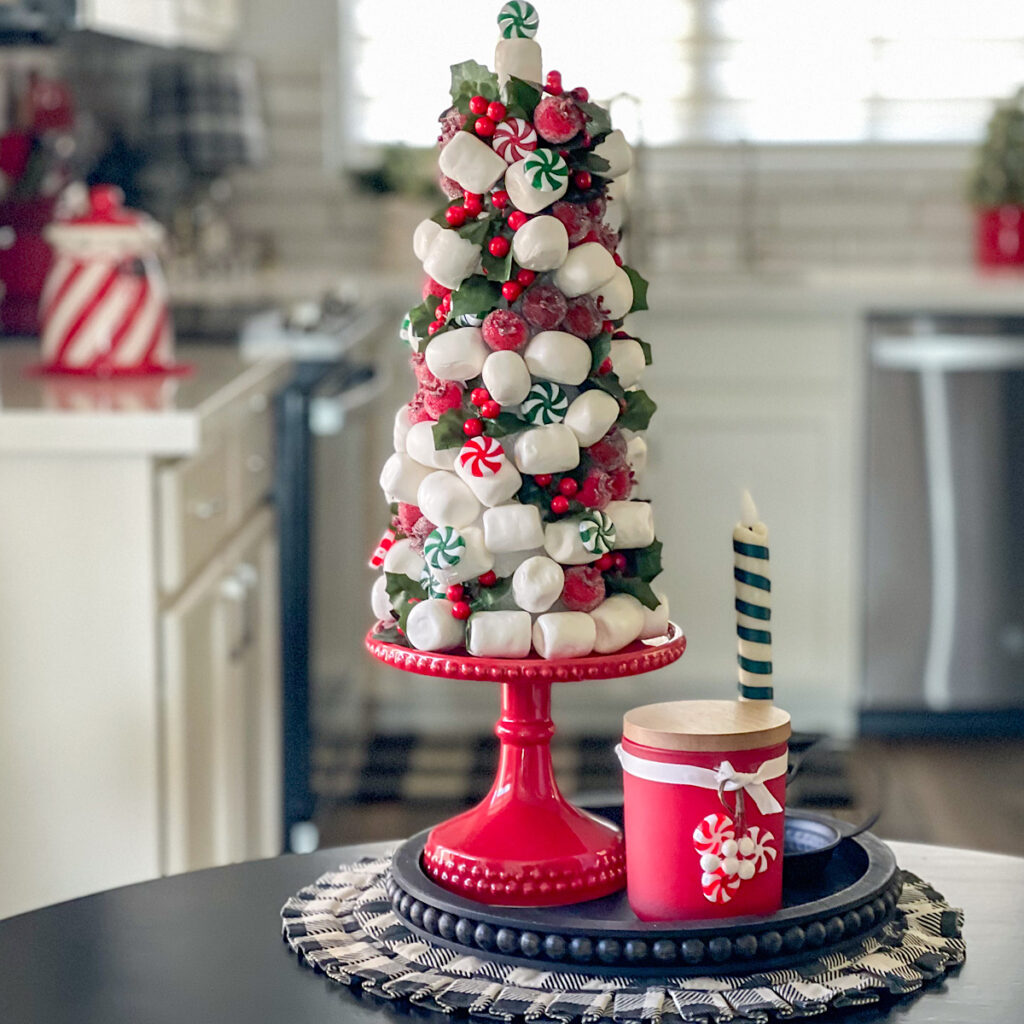
It would also be cute on a serving tray for a cup of hot cocoa! Or…
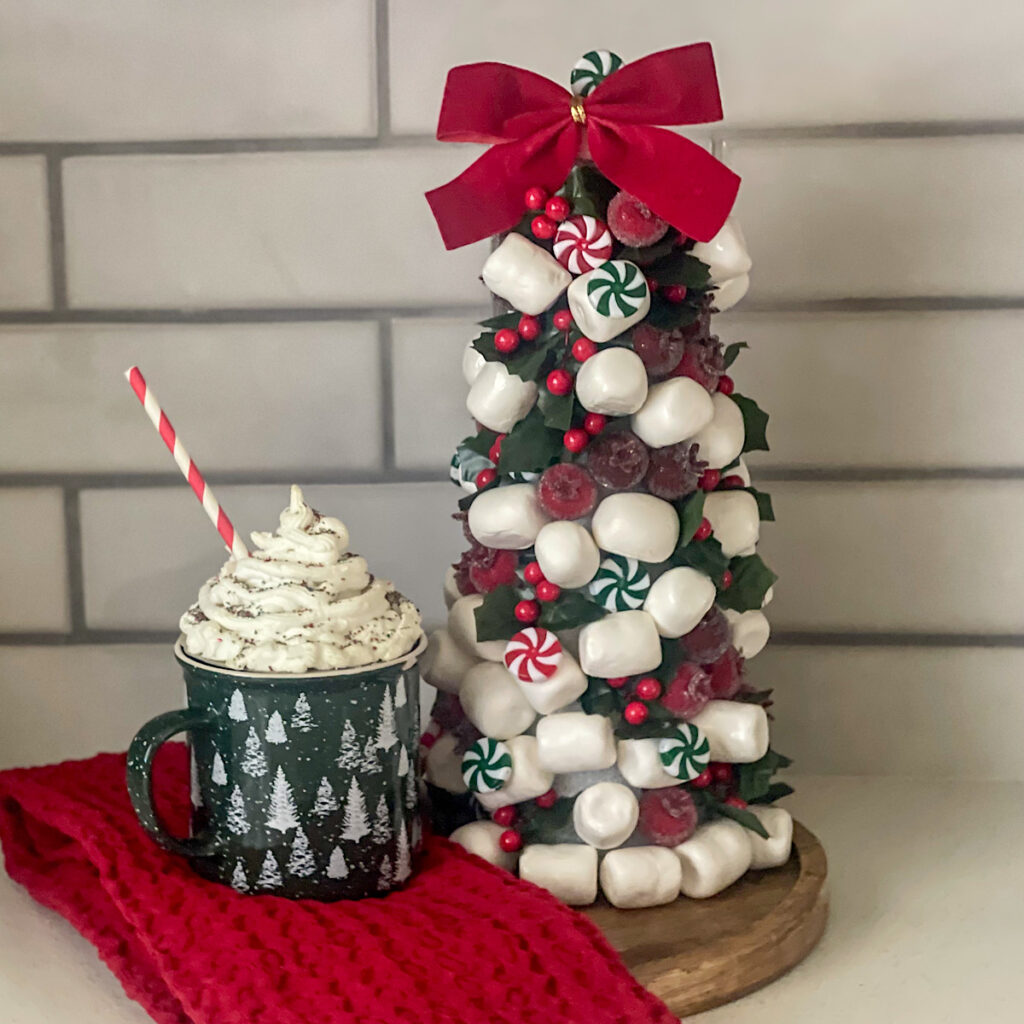
To spruce up a holiday hot chocolate bar! Maybe…
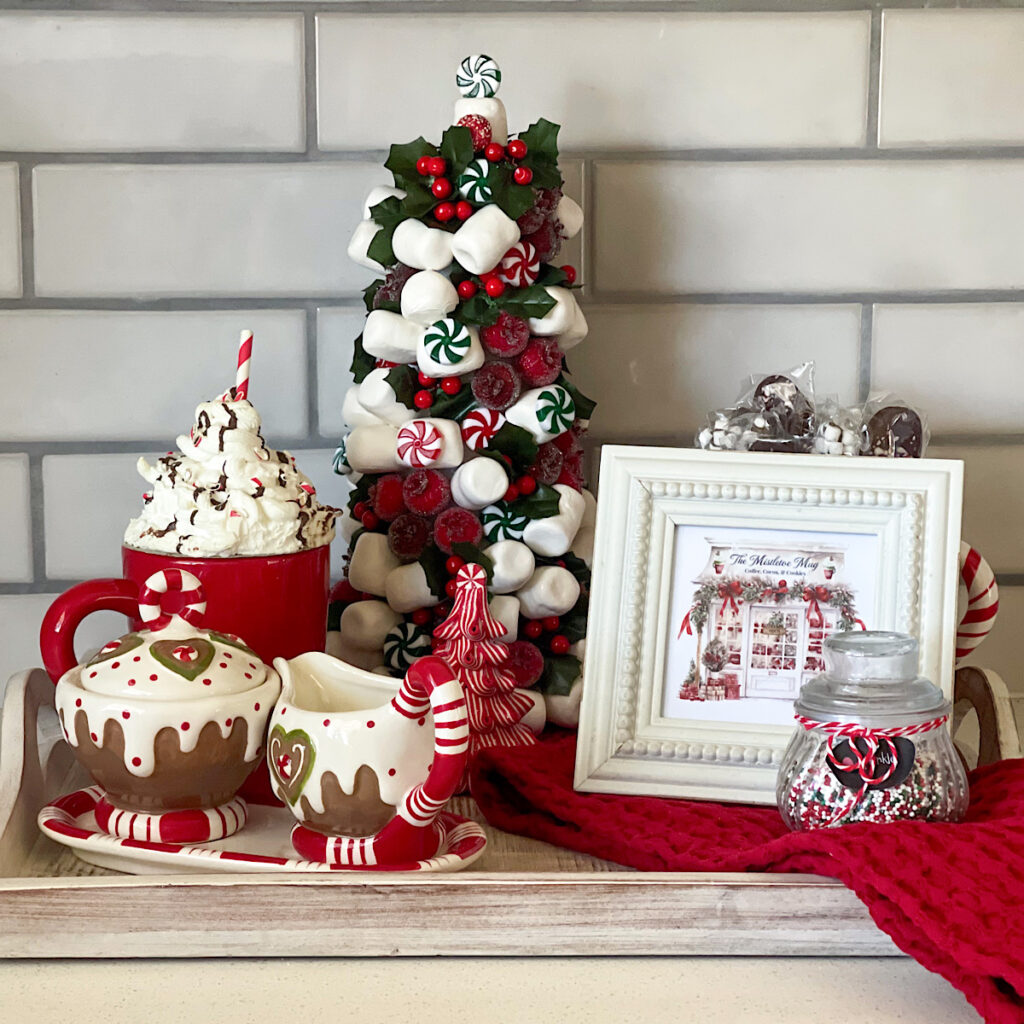
It can be grouped with other favorite pieces for a whole new look!
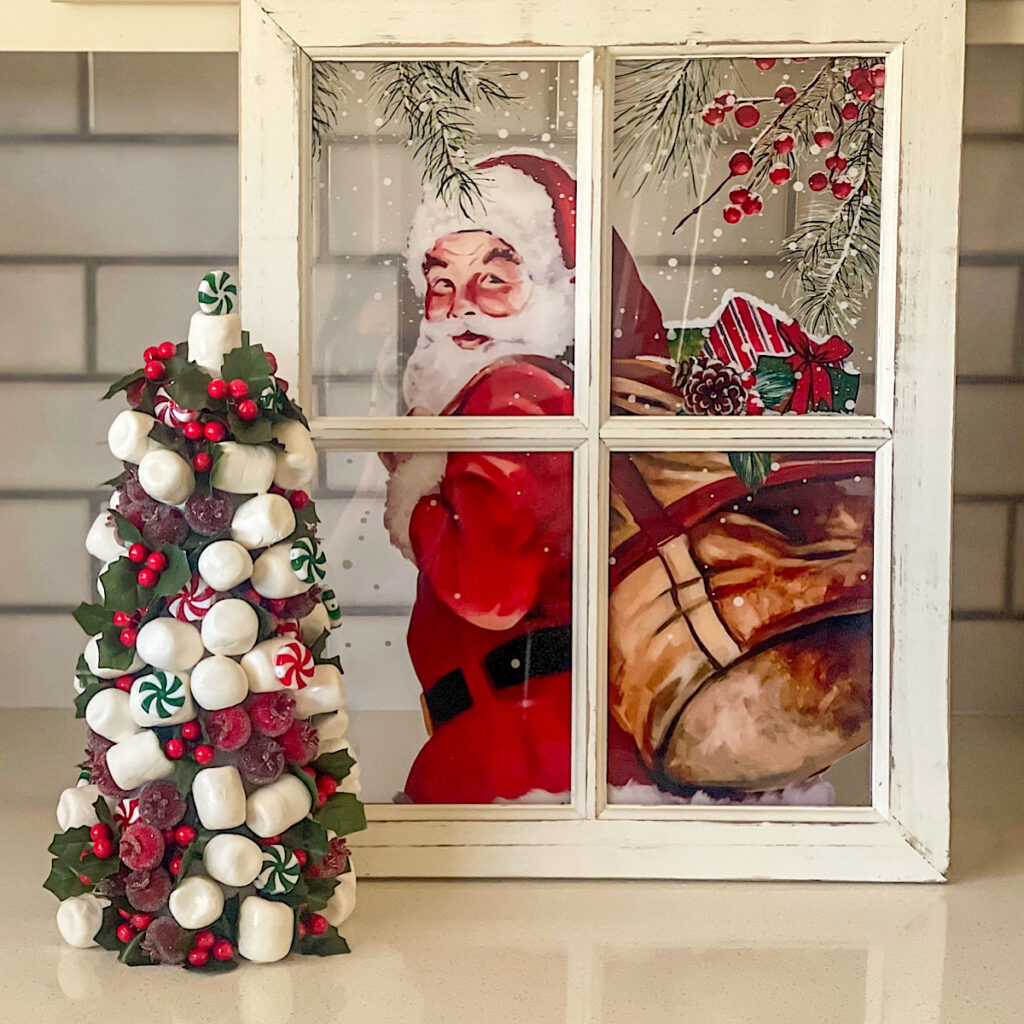
Making this tree was so relaxing for me. Although I was working towards the end result… I did get to play with clay for awhile! It was such fun that I am working on a second one now.
Should you decide to make one for your Christmas kitchen, I’ve linked everything you need below.
Just FYI… there is a Crayola air dry clay that is available everywhere. The color is listed as “white” but it most definitely is not. It is more of a cream color which instantly makes the marshmallows look incredibly fake. A good option if you don’t want to buy online, is Modelite white. Walmart does carry it but it’s been hit or miss at my store.
This page includes Amazon Affiliate Links. As an Amazon Associate, My Home of All Seasons may earn from qualifying purchases at no additional cost to you. Please see our full disclosure here.
Before you leave today, be sure to check out the latest post, Add a Touch of Luxury to Your Holiday Home. I couldn’t resist sharing my favorite purchase of 2024 with all of you! And don’t forget to pop on over to the Printable Library to see what’s new as well! If you’re a current subscriber, simply add your password where prompted and print your favorites today!
If you haven’t joined us yet, your email in the box below will put you on the list. You’ll have immediate access to everything currently offered. In addition, you will always be the first to know when new prints are added.
My Christmas decorating is well underway and I’ll be sharing photos with you in the coming days. Until then… have a wonderful day! See you soon!



This is really lovely—looks good enough to nibble on. And, it would got with almost any traditionaly holiday decor. Great project for kids, too…they love mooshing clay around, Sandi
Thank you Sandi. It would be a great project for kids. I was actually surprised though how much I enjoyed mooshing clay around myself.
Oh my goodness, that is just the most adorable…and deliciously real looking…tree! I need to pin this and put it on my Christmas crafty to do list! Thanks for the great directions!!
Thanks Kim! Honestly, the process was so relaxing for me. I forgot how much fun it is to play with clay!
This is possibly the cutest thing I’ve ever seen you make! Well, I know I say that about everything but I just never cease to be amazed. I love it!
Thank you Rhonda!
So cute!
Thanks so much Dena!
This is so creative and adorable. It would be so fun to work on over the long weekend because I have work off from my cabinet refacing company. Love a holiday craft! Thanks for sharing!!!
Thanks so much Jackie! It really is a pretty relaxing afternoon craft. Happy Holidays to you!
This is so adorable and so clever, Denise! Thanks so much for sharing at Tuesday Turn About. I’m delighted to be featuring your post at this week’s party!
Thank you so much Julie! Merry Christmas to you!
Denise,
I hope you had a lovely Thanksgiving!! I love this sweet treat tree!! So cute!! Thanks so much for sharing it!! Pinned….I hope you are having a great week!
Hugs,
Deb
Debbie-Dabble Blog
Thanks so much for the pin Deb! It was such a relaxing thing to make. I forgot how much fun it is to play with clay.
Denise,
wow, this is so adorable and it looks real. Congratulations, you are being featured on TFT. I hope you stop by. https://eclecticredbarn.blogspot.com/2024/12/yummy-christmas-goodies-on-tft.html
Happy Holidays,
Bev
Thanks so much Beverly!