Sometimes I like to surprise the people who mean the most to me with just a little gift. No special occasion. Just a little “thank you for being a blessing in my life” gift. This DIY Tissue Holder is a fun, easy, project and something useful to all.
I found these little jars while walking through Hobby Lobby last fall. Consequently, when I saw them back on the shelves last week, I decided to do a quick DIY post for the blog.
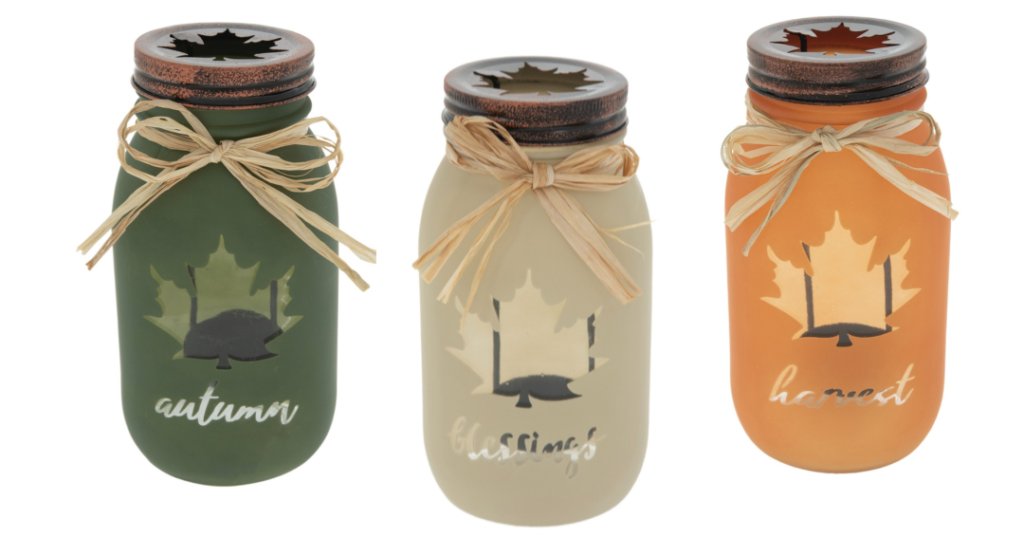
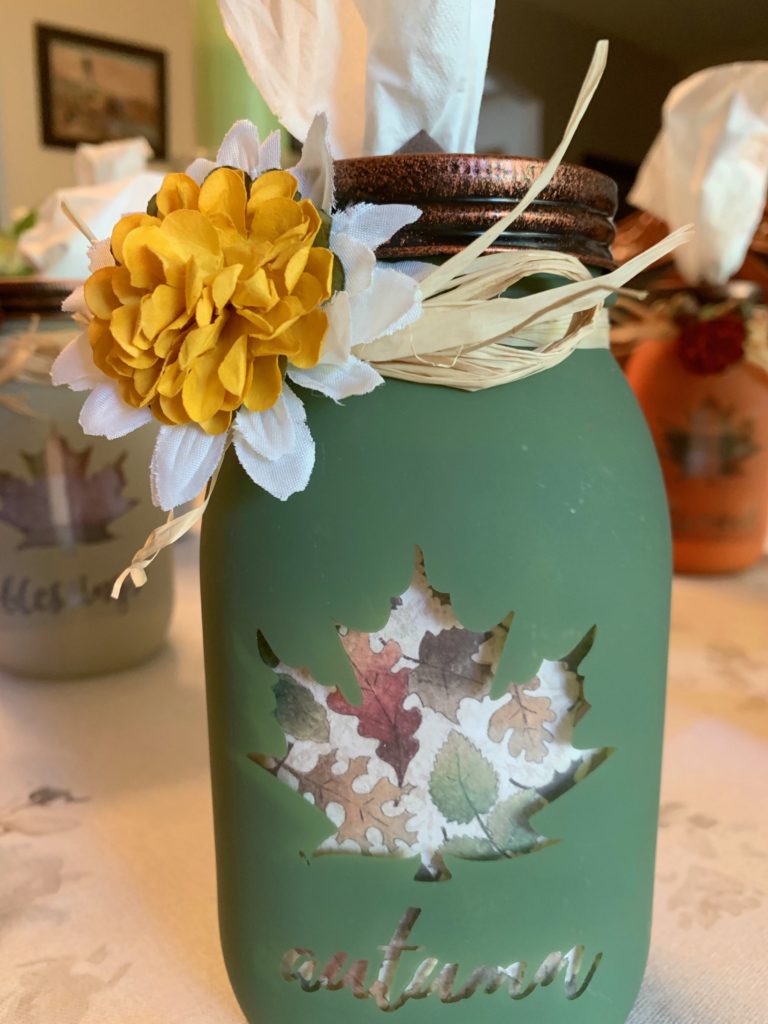
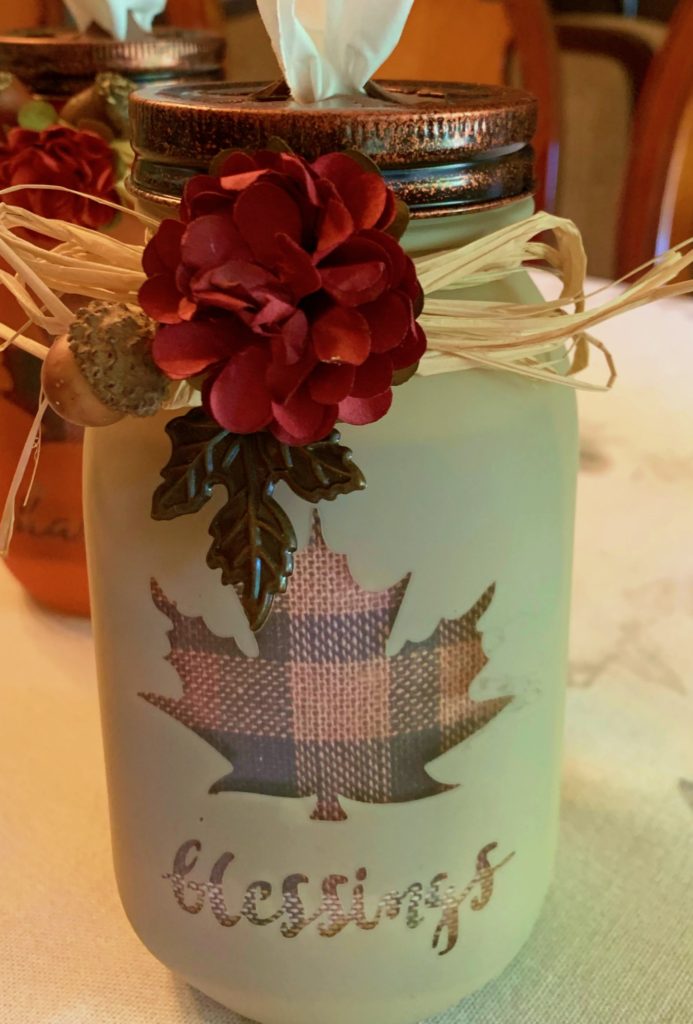
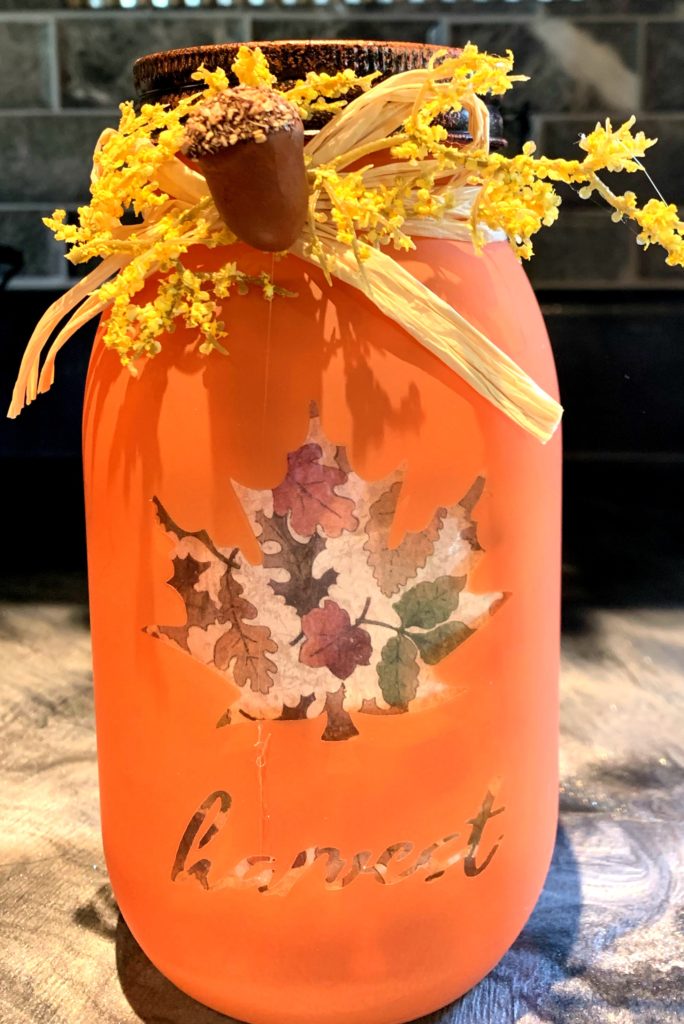
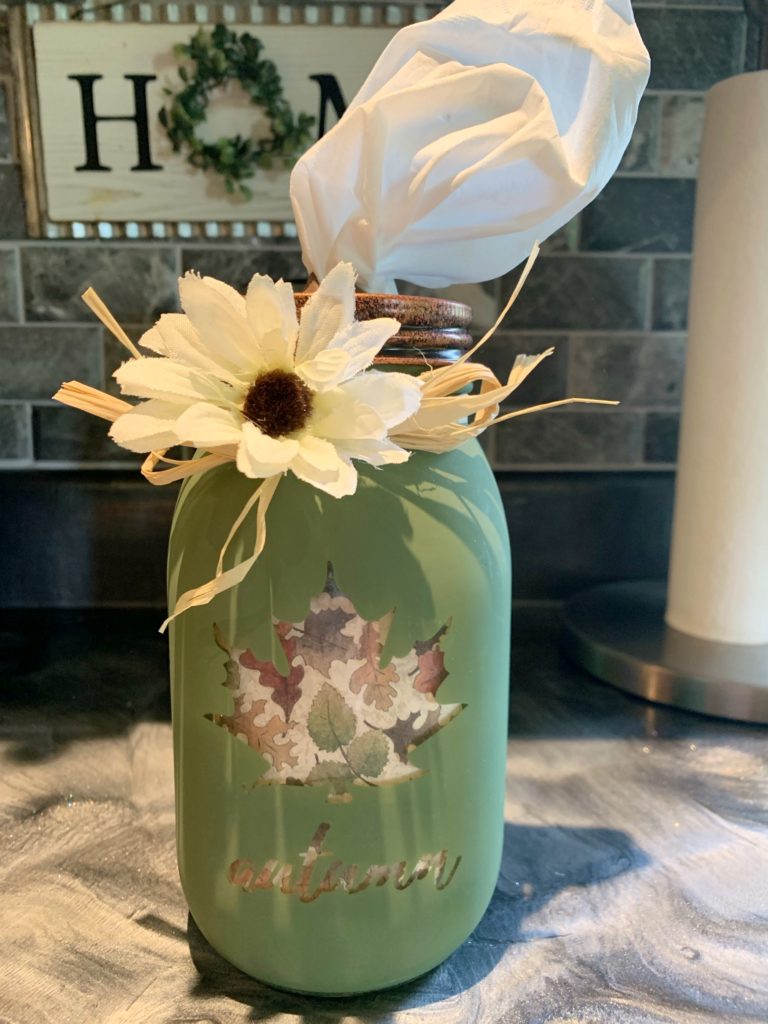
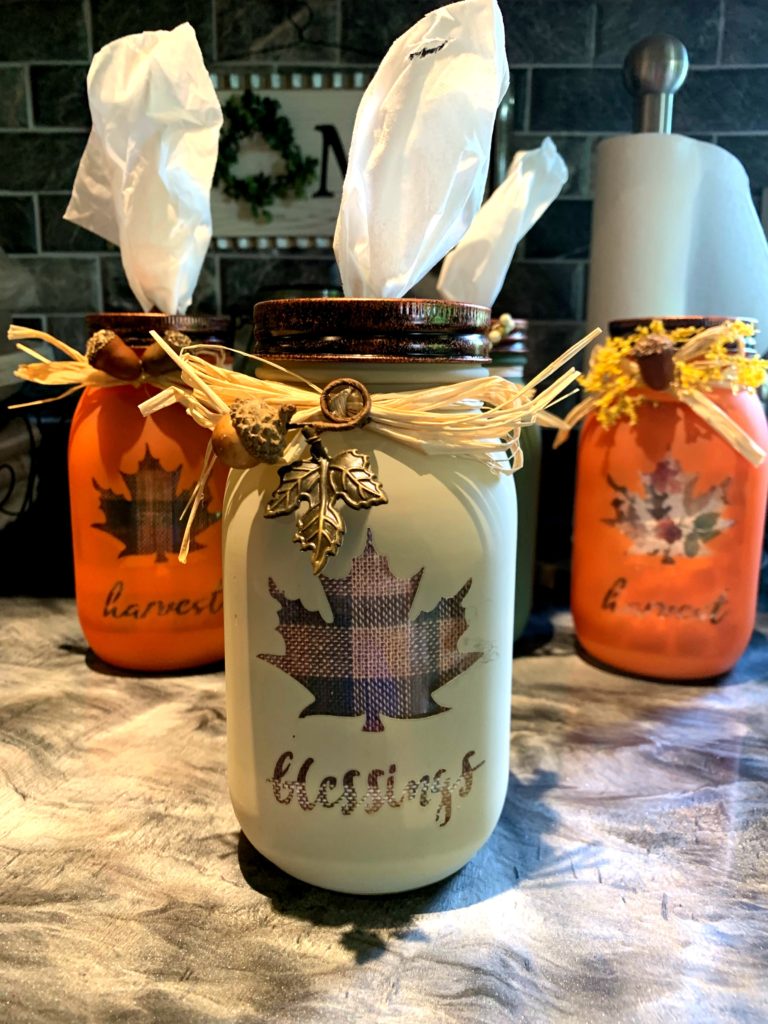
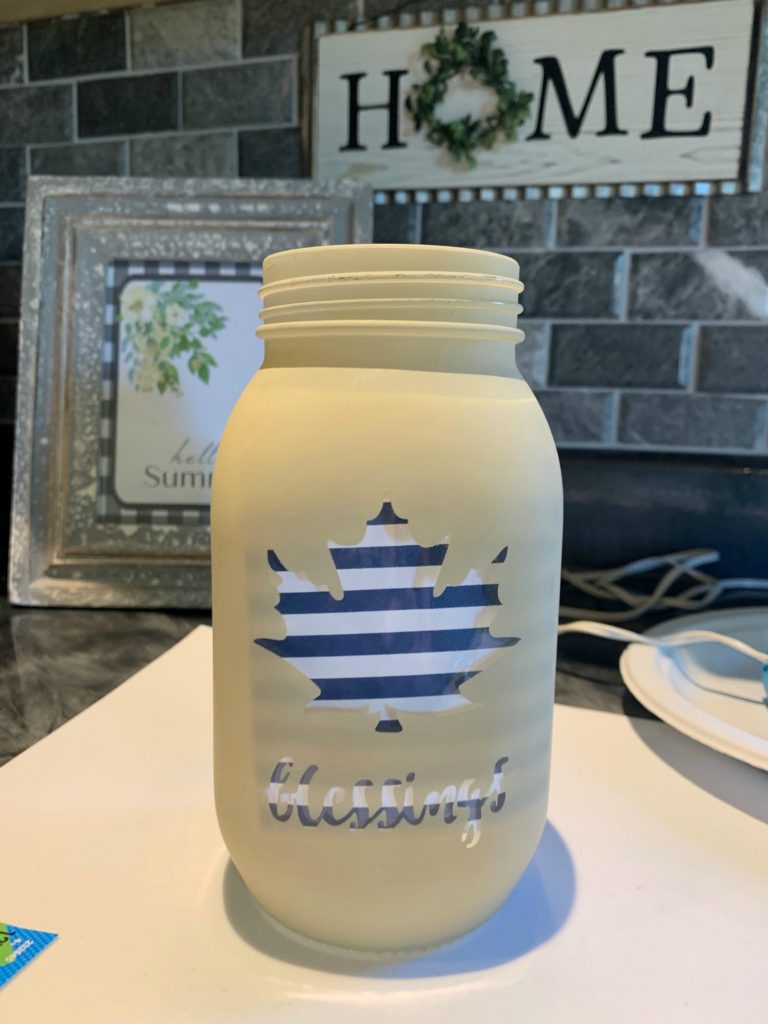
They come in three different colors with three different sentiments etched in the glass. A tan “blessings” jar, a green “autumn”, and an orange “harvest” jar. All are as pretty as can be but the blessings jar is something you can use all year with minor changes here and there.
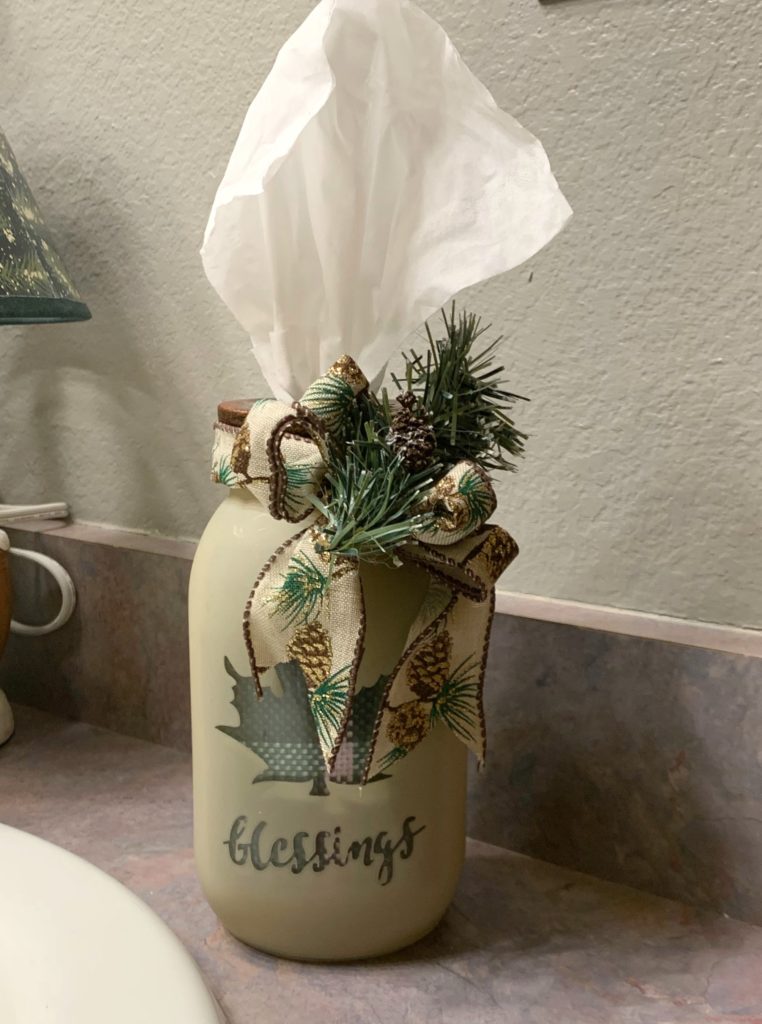
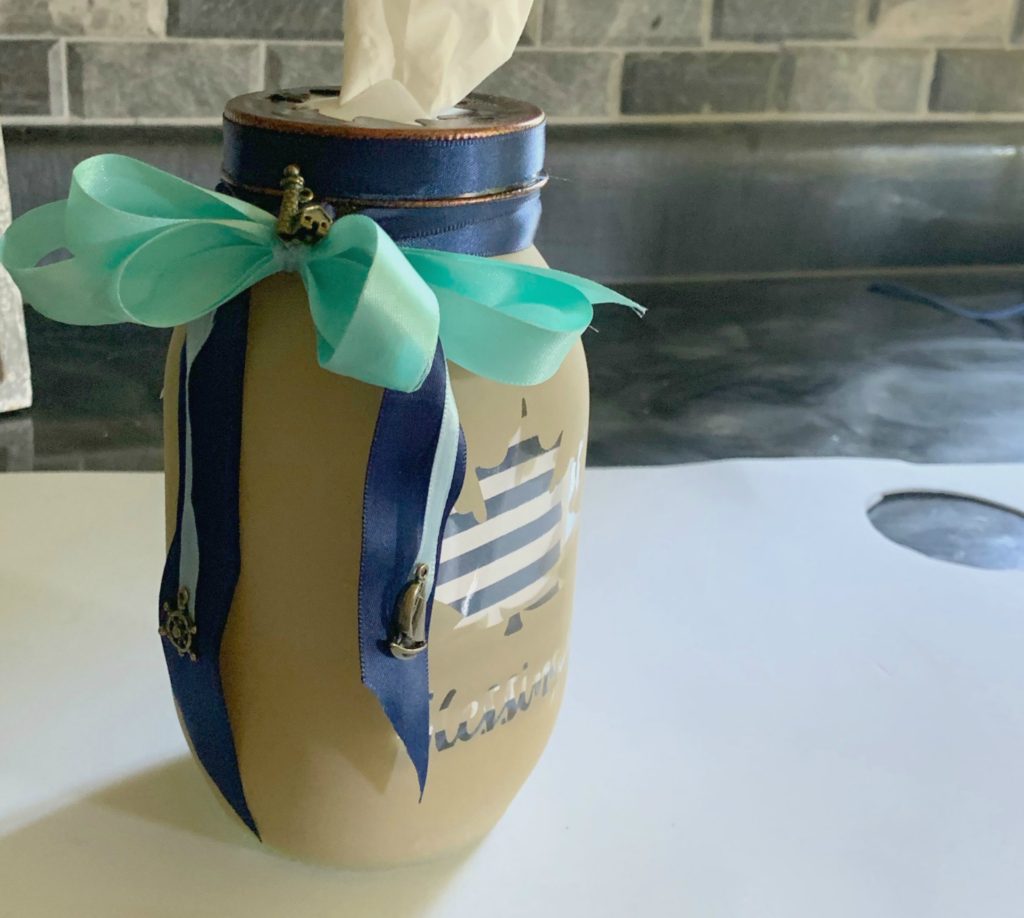
Since I had just been thinking that I needed to add a tissue box to the family room, I picked up another blessings jar to use for that purpose. This will let me show you just how quick and easy this is to make. The end result is always so pretty. These were my “thank you” gifts last fall. I also updated my own for Christmas. You can really use your DIY tissue holder all year long.
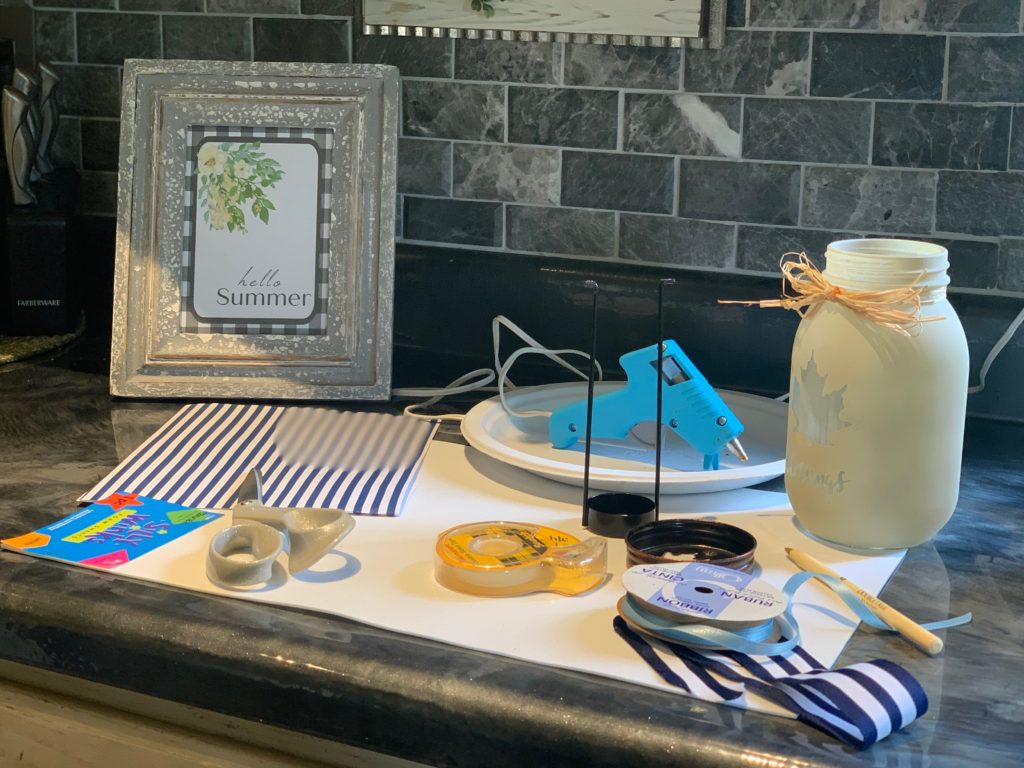
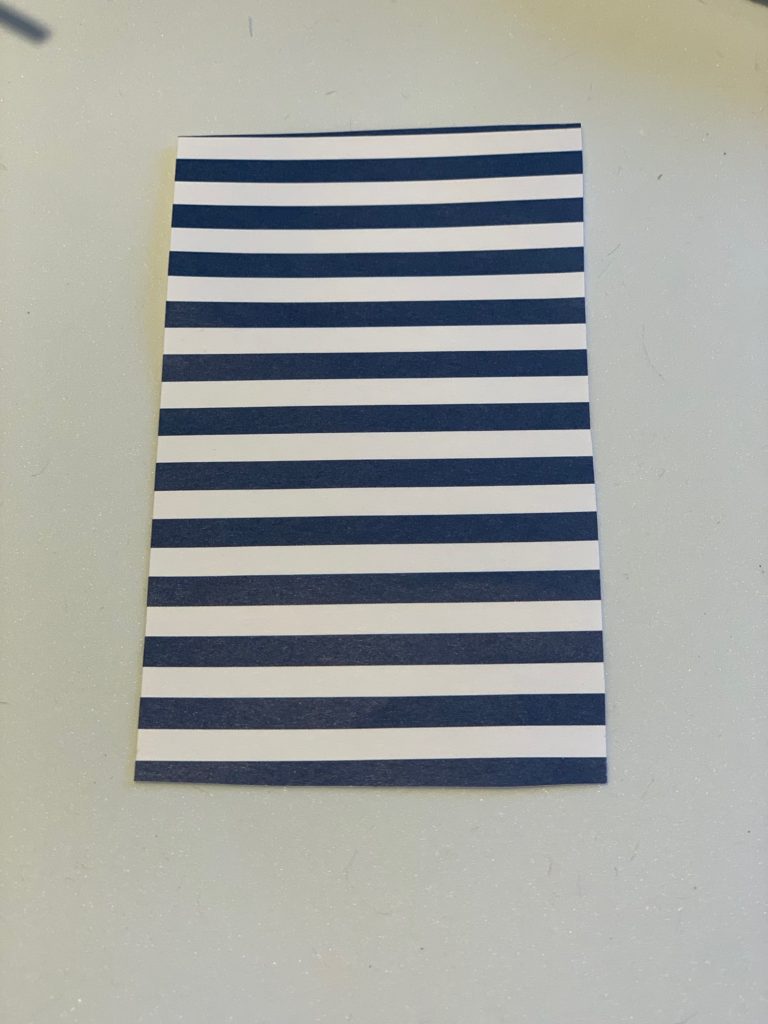
This jar however, I want to use now and I need it to match my summer coastal theme. I decided to use a blue and white striped paper that I had on hand. Scrapbooking paper is perfect. Besides the actual jar, the supply list can probably be found at home in your craft box.
Supply list – DIY Tissue Holder
The supply list is simply: blessings jar, scrapbook paper, foam sheet, scissors, double sided tape, a glue gun, ribbon, Kleenex, and whatever embellishments you would like.
Directions – DIY Tissue Holder
Before getting started, twist the metal candle holder until is separates from the jar lid. Jiggling it back and forth will easily pull it apart. This needs to be removed to make room for the tissues.
- Cut a piece of the scrapbook paper 3 inches wide and 4 inches long
- Place a small piece of the double sided tape on all four sides of the front of your paper. Tape along the edges as the overhanging tape will attach the paper to the jar.
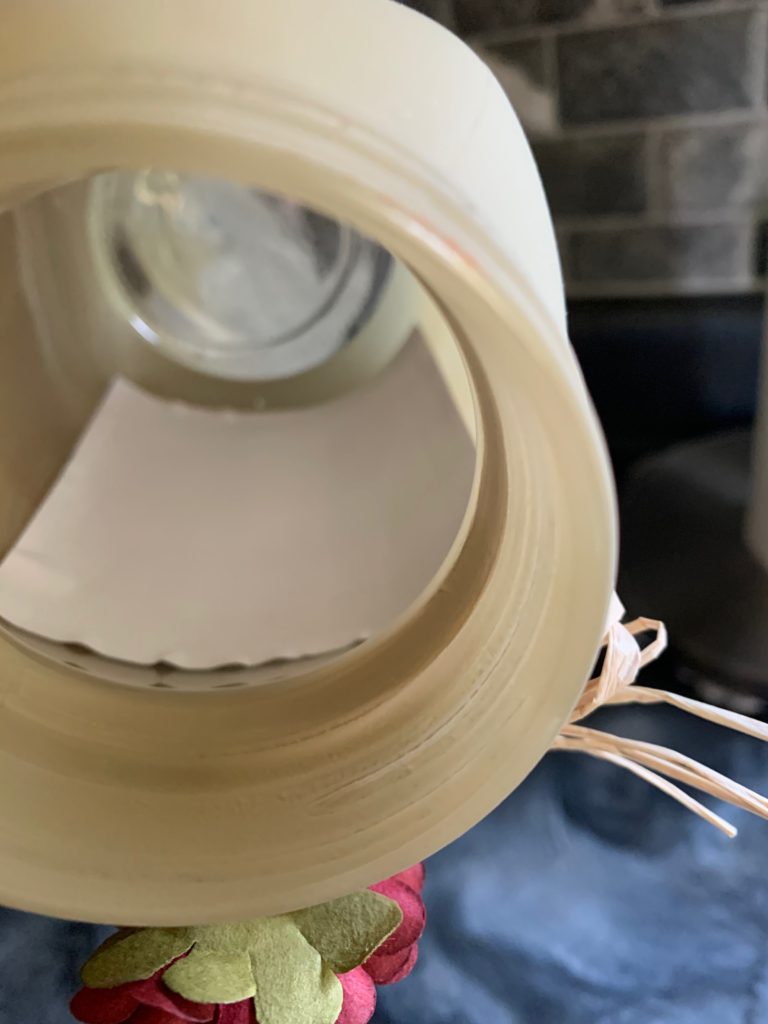
- Place the paper inside of the jar and adjust to be sure it can be seen through the leaf as well as the writing. Press it tightly against the jar using the point of your scissors to reach all sides inside of the jar.
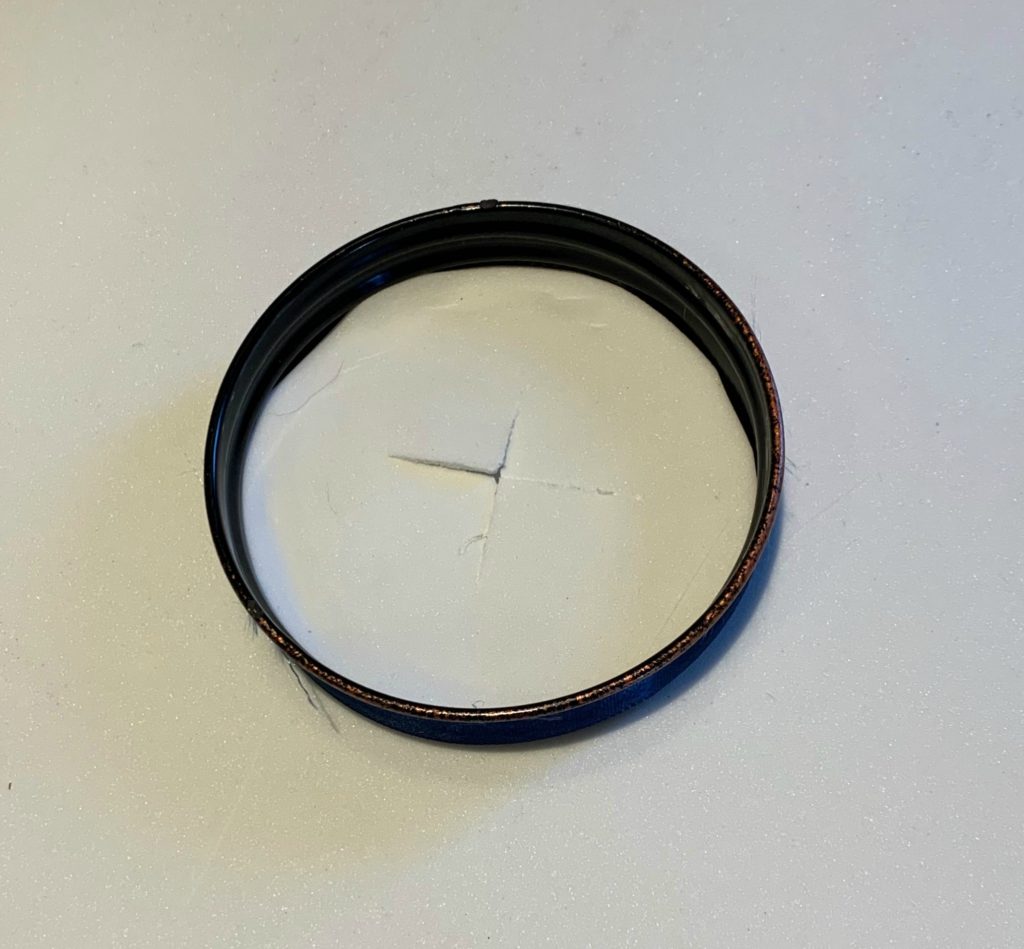
- Place the cap on the foam and trace it. Cut out a foam cap using the inside of your trace line as a guide.
- Cut a cross in the center of your foam circle.
- Use your glue gun and lightly spread glue on the outer edge of the foam circle and press it firmly inside the cap.
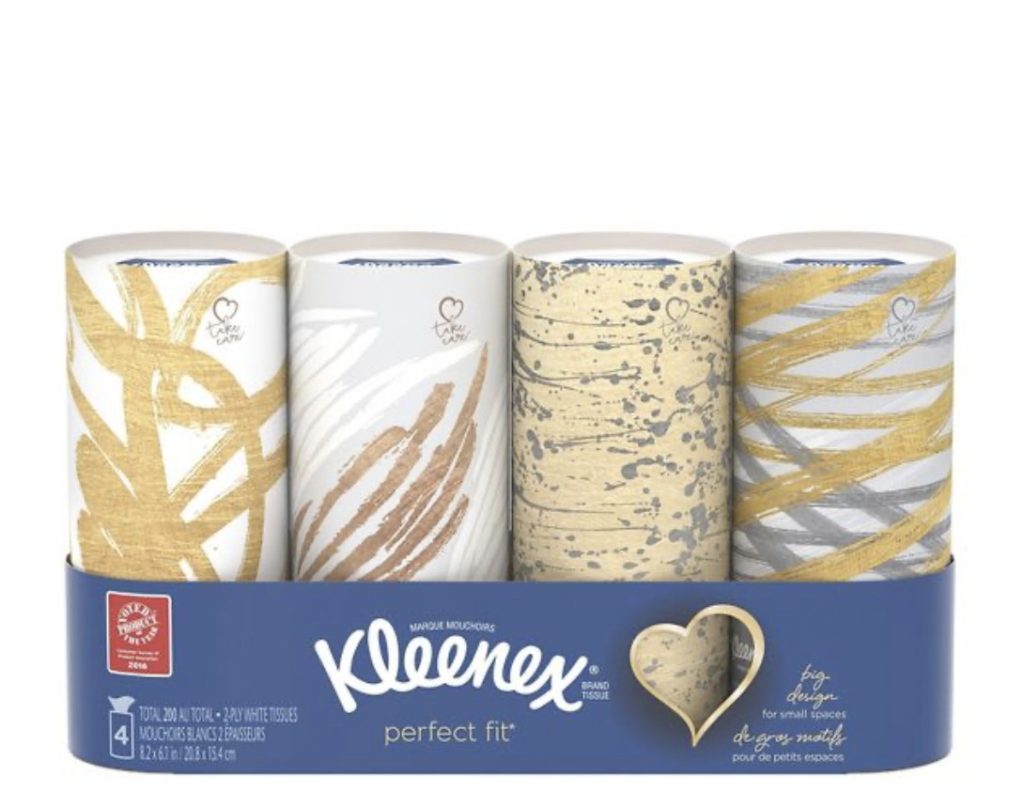
- Pop out the top of the kleenex tube and remove the tissues exactly as they are. Pulling the center kleenex up and through the cross in the foam.
- Put the tissue bundle into the jar and screw on the cap.
- Add ribbon and decorations.
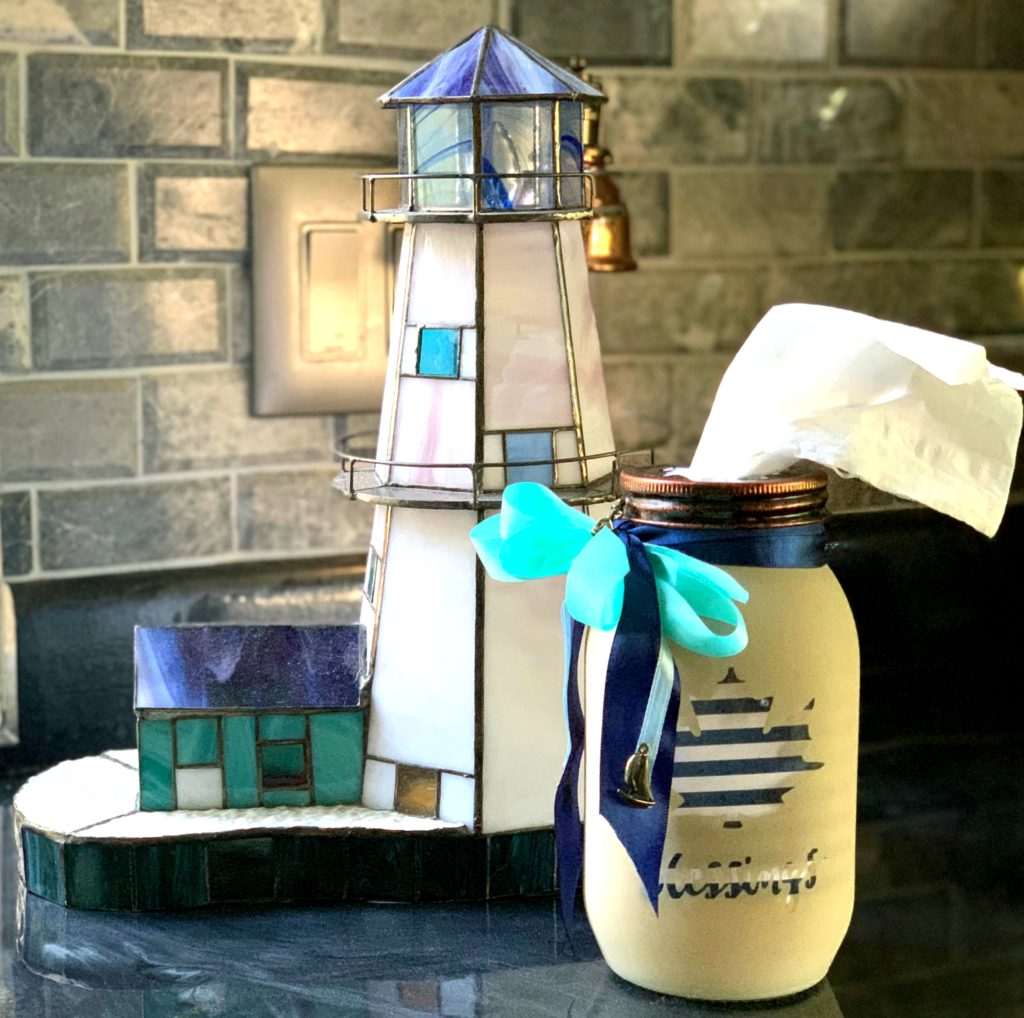
I used several ribbon scraps and some nautical charms from my craft box to finish things off. So happy with the end result!
Just a thought…
Another fun way to use this jar is simply to actually count your blessings! Leave the leaf and writing clear, find pretty stripes of paper to write your blessings on. Family, friends, home, health…before you know it, the jar will be full! When you are feeling overwhelmed, take a look through those strips and it will help you remember that your blessings far outweigh your struggles!
If you still need a pick me up, hop on over to the library. There are several inspirational quotes to have you feeling better in no time. As a member, you can print and frame whatever you like.
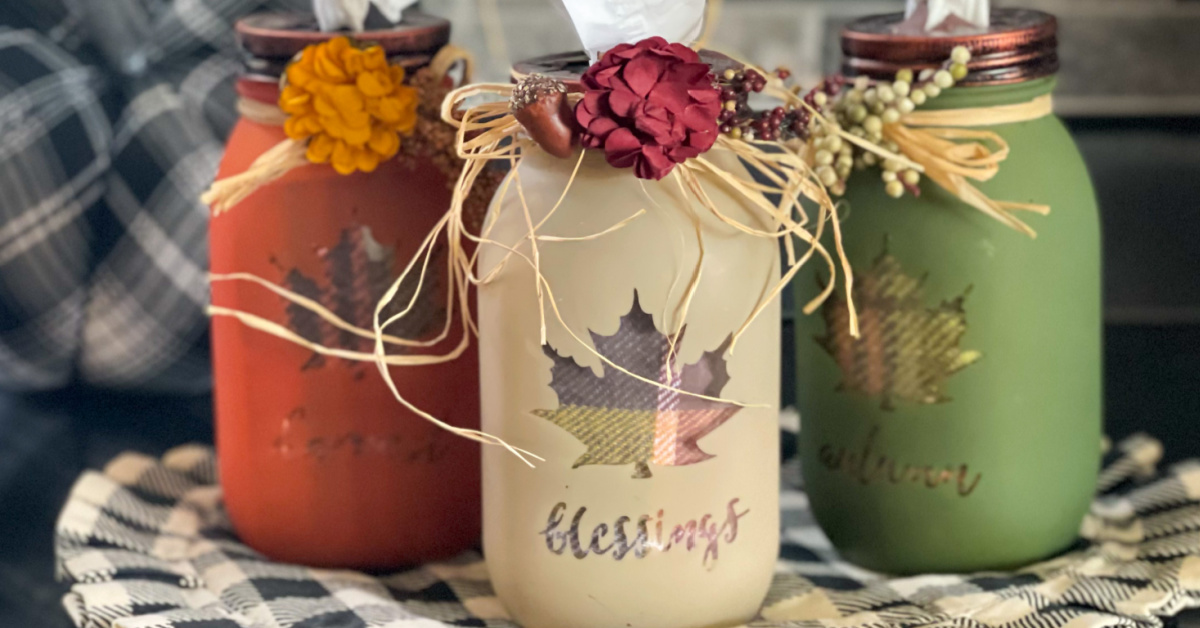
Haven’t joined us yet? Please sign up below, confirm your subscription, and your welcome email will be in your inbox in seconds. That’s where you will find the password to everything in the library! Here’s a sneak peek at a few of the fall printables available now. Have a blessed day!

What a great idea!! Thanks so much for taking the time to stop by and for letting me know you did by leaving such a kind comment!!
Hugs,
Debbie
Thank you Debbie! Thrilled you came by! Absolutely love your blog and I wish Joe well in his retirement! It’s crazy times right now but we will all get through this I know! Take care!
These are adorable, Denise! Have you thought about adding Amazon affiliate links to your posts for readers to easily purchase the items needed for this? 😉
Thanks so much Julie! I was actually just sitting down to read your tips on that very thing!
I hope they are helpful… let me know if I can assist in any way! BTW, your tissue holders are so lovely, I’ll be featuring them at TTA tomorrow! Woo hoo! Pinned!
Yay! I love TTA. Thanks so much Julie and thanks for the pin! And yes…your link in Tuesday Turn About #55 gave me all the info I needed!
Love the nautical theme, looks nice! Thanks so much for linking up at A Themed Linkup 79 for Crafting with Bottles and Jars. Pinned!
Thanks Dee! All things coastal right?!! It’s been over a year now since I’ve seen the ocean and I’m definitely feeling the pull. Soon I hope! Have a great day!
Oh, gosh. I know you are needing some vitamin sea for sure! It does a body good 🙂
So true! I’m definitely missing it!
CONGRATS! Your post is FEATURED at A Themed Linkup 80 for What Do You Sell? from my previous linkup for Crafting with Bottles and Jars!
Thanks so much Dee! Heading over to check out your newest party!
Too cute! I like the nautical look.