I have seen so many gorgeous fall mantels this year and I am jealous of every one! To have a traditional wood mantel over my fireplace has long been a dream of mine. I’ve accepted that it’s not to be in this house. However, what I do have is a lot of space to work with and that sends my creative spirit soaring! The truth is, you can accomplish a pretty fall mantel makeover in 6 easy steps no matter what the size or style is in your home. So here we go:
Step 1 – Where Are You Going
The first step is always to find your vision. Are you creating a traditional autumn mantel, a popular farmhouse look, or something in between? Do you have a theme in mind? Harvest time maybe or even Halloween. The process is the same. Once you know where you are going, let your creativity soar!
Step 2 – Start With a Clean Slate
Even though you have a vision, starting a makeover without a clean slate is always counterproductive. Removing the elements already there will help your vision take hold. With that being said, it’s a great idea to look at the accents already in place and ask yourself if they can be redesigned for the fall season.
Step 3 – Finding an Anchor
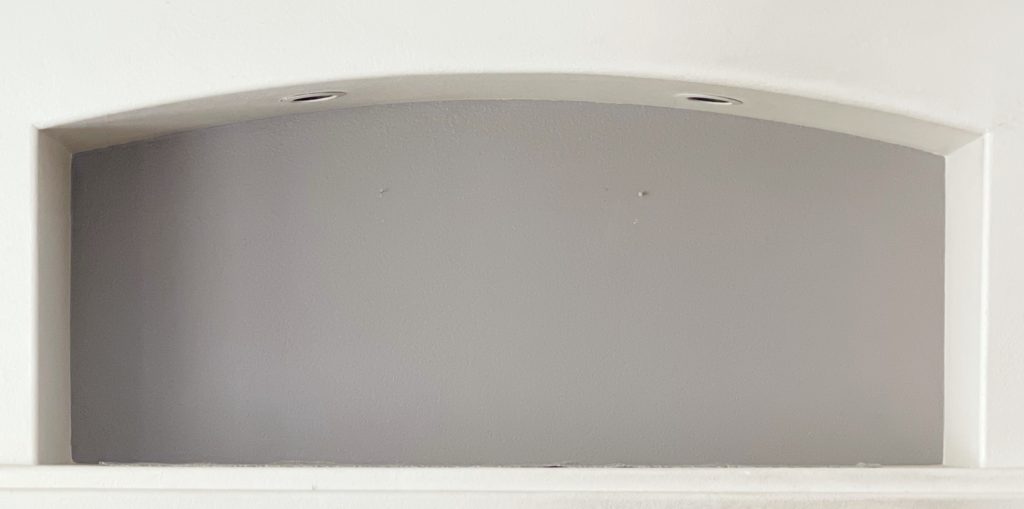
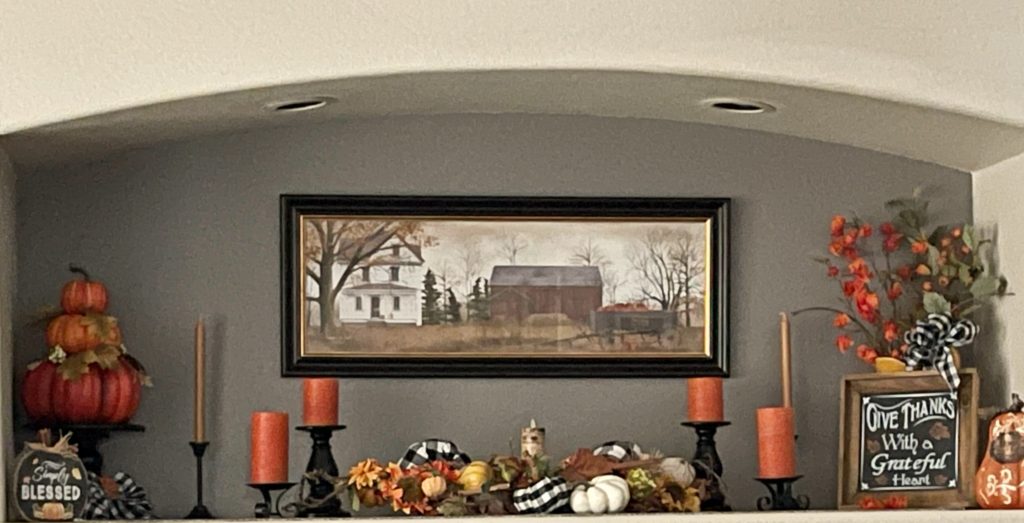
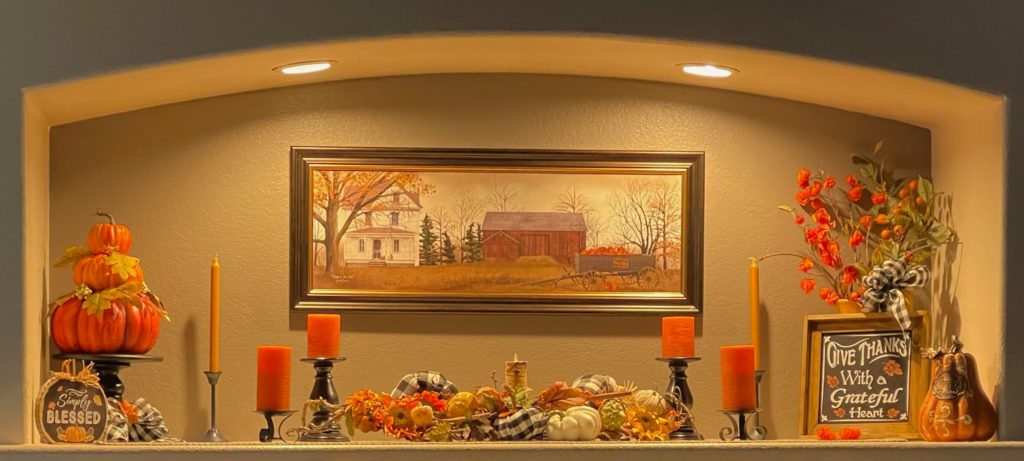
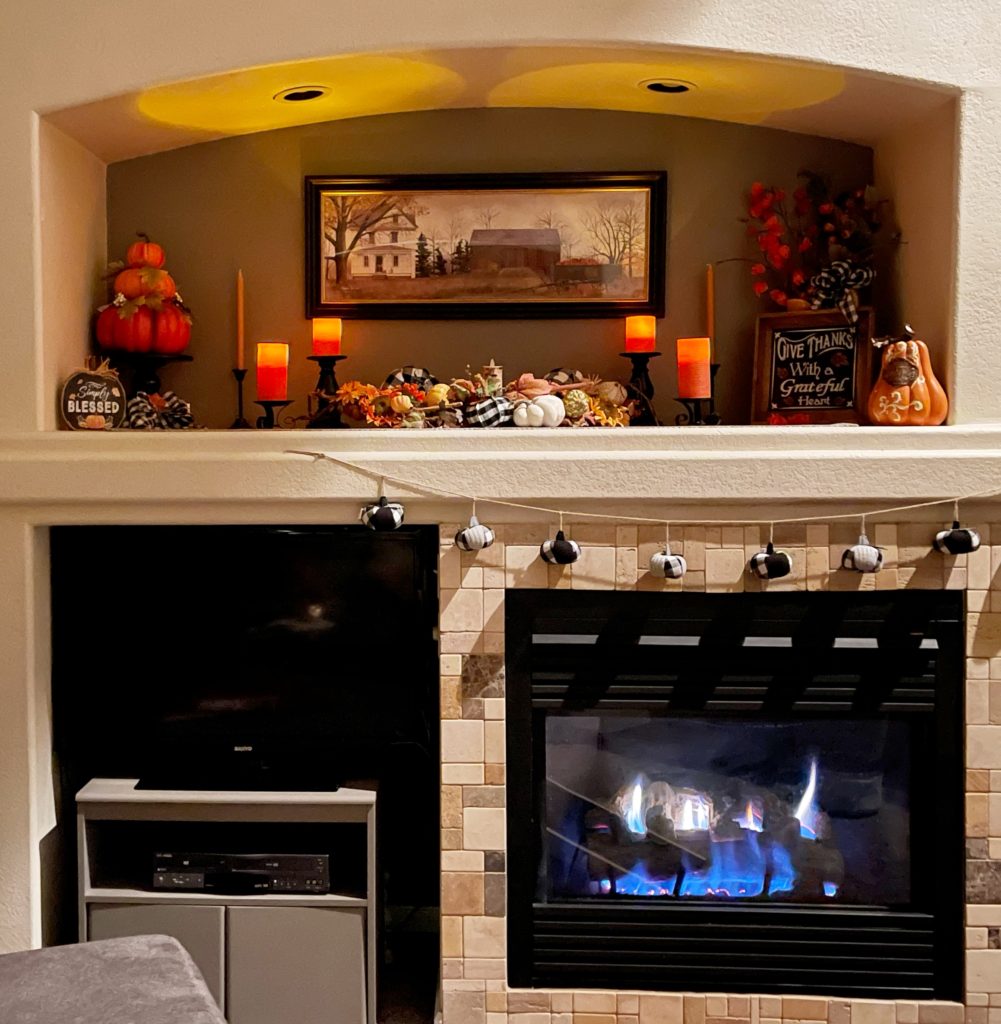
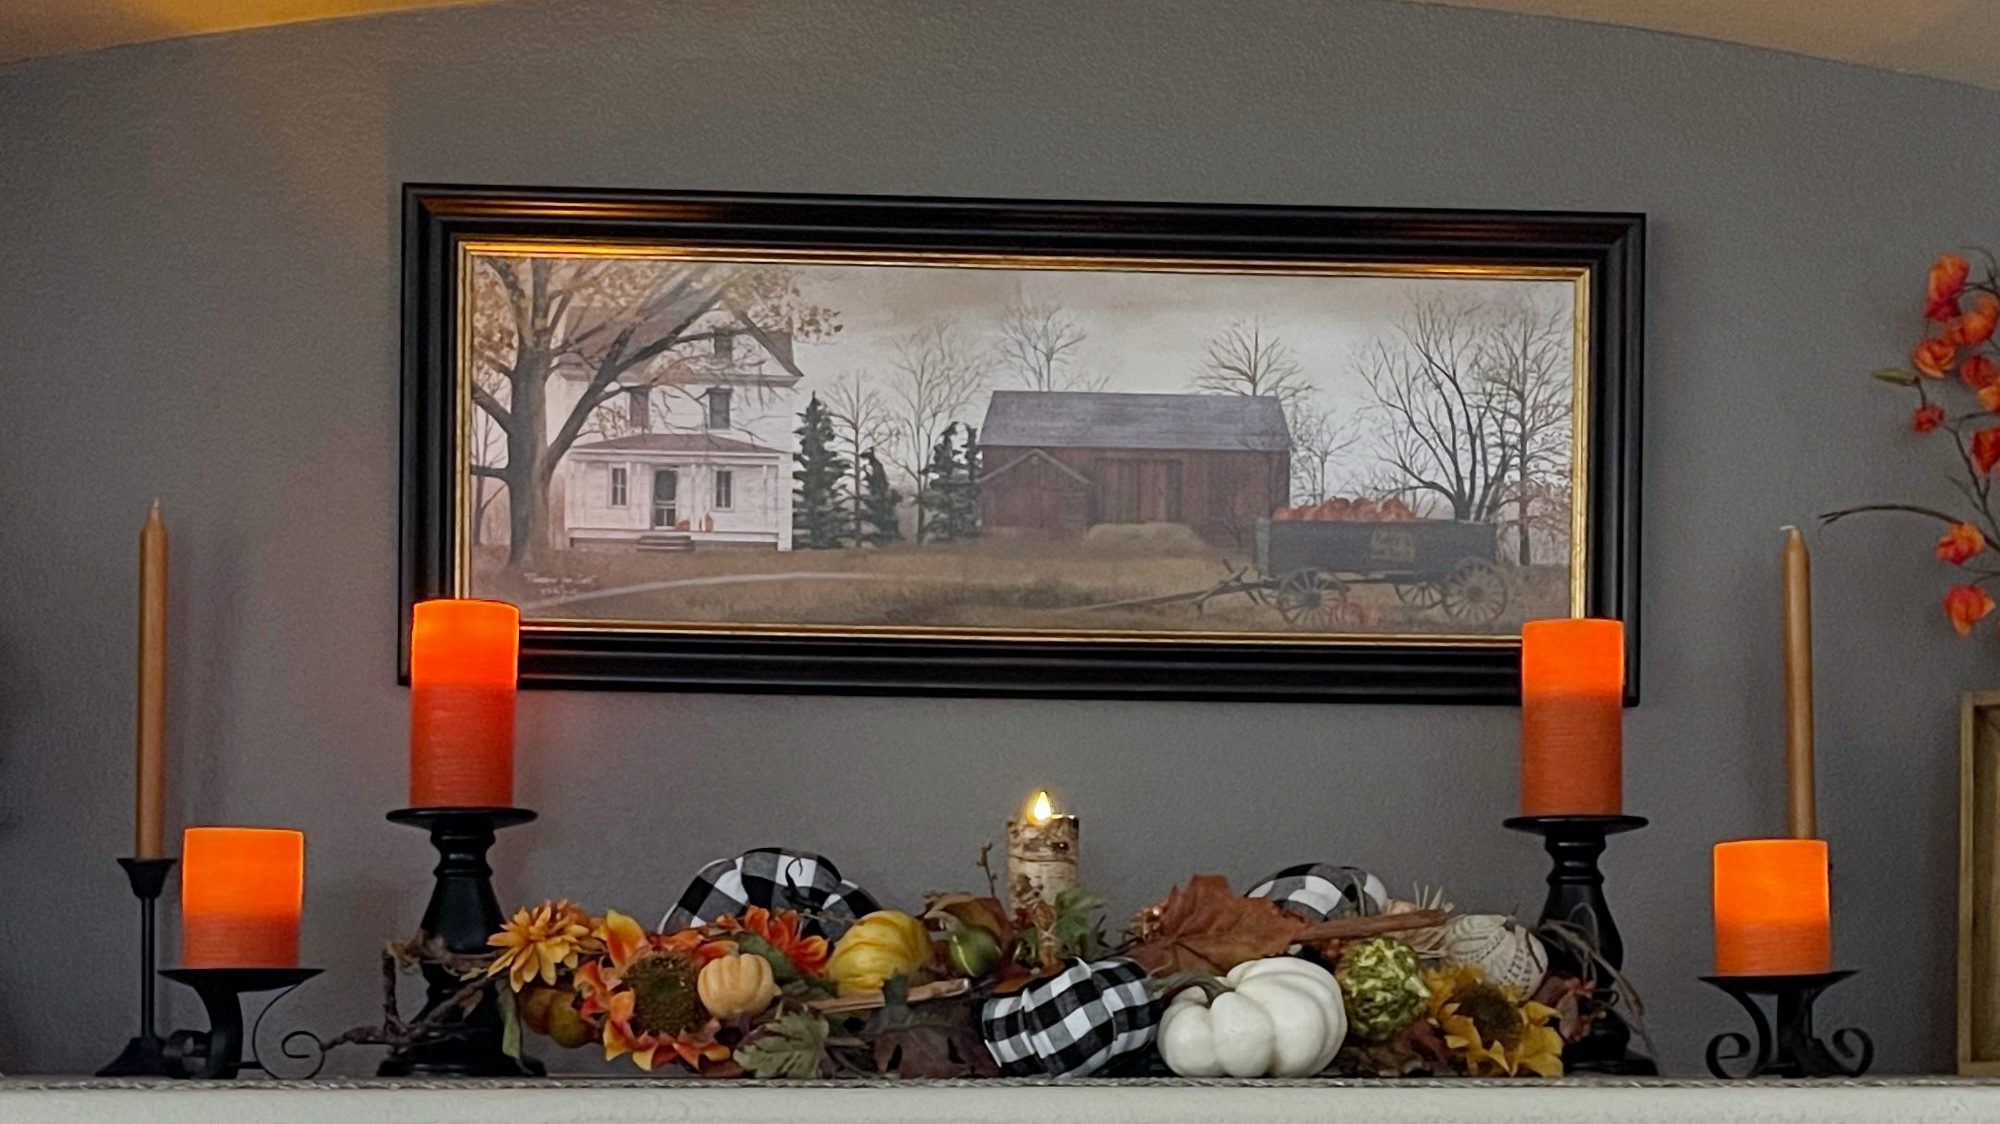
Regardless of whether your fireplace is a stand alone fixture or a built in entity like mine, you will need to find an anchor. A fireplace itself is not tall and will require a focal point above it to look complete. Art is always a great addition here. A wreath or a seasonal swag works as well. I chose a seasonal print which in year’s past graced the kitchen. While favoring the traditional colors of autumn, my vision has a farmhouse vibe this time. This Billy Jacobs print of a house, barn, and pumpkin wagon fits in perfectly.

Step 4 – Choose a Centerpiece
Start in the center and work your way outward. This has always been a bit tricky for me. My fireplace is built into a wall and not centered itself. It’s hard for me to ignore that while I’m arranging things in the space above. But everything has a center. Working out from there ensures you’ll have a balanced look when the job is done.
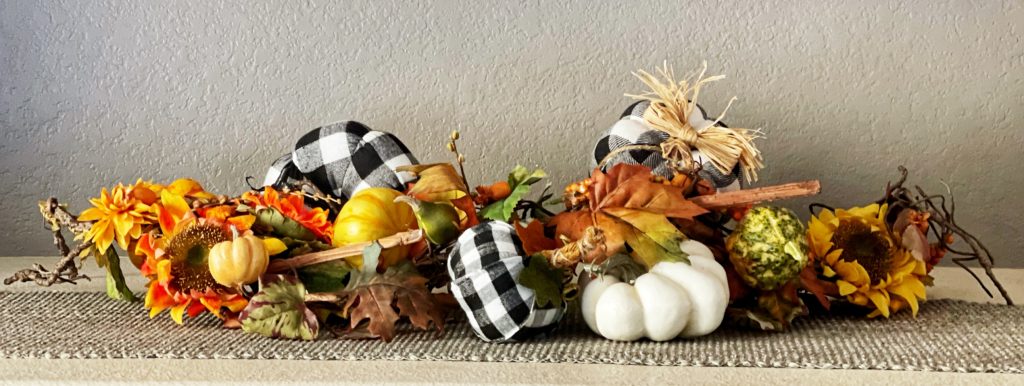
Your centerpiece should reflect your theme. Mine is very much a harvest motif so pumpkins and gourds are prominent here. In addition, I’m expanding the black and white buffalo checked decor in the connecting kitchen to this room as well. Using an old fall swag I had on hand, I’ve added a few buffalo checked pumpkins to enhance the look.
Step 5 – Adding the Beauty of the Season
Part of what we all love about the autumn months are the leaves, the flowers, and of course the pumpkins! These are the accents that will make your fall mantel makeover a work of art in its own right. Choosing balancing elements is important to the overall look. ( This may be a good time to utilize the risers that are found everywhere these days. )
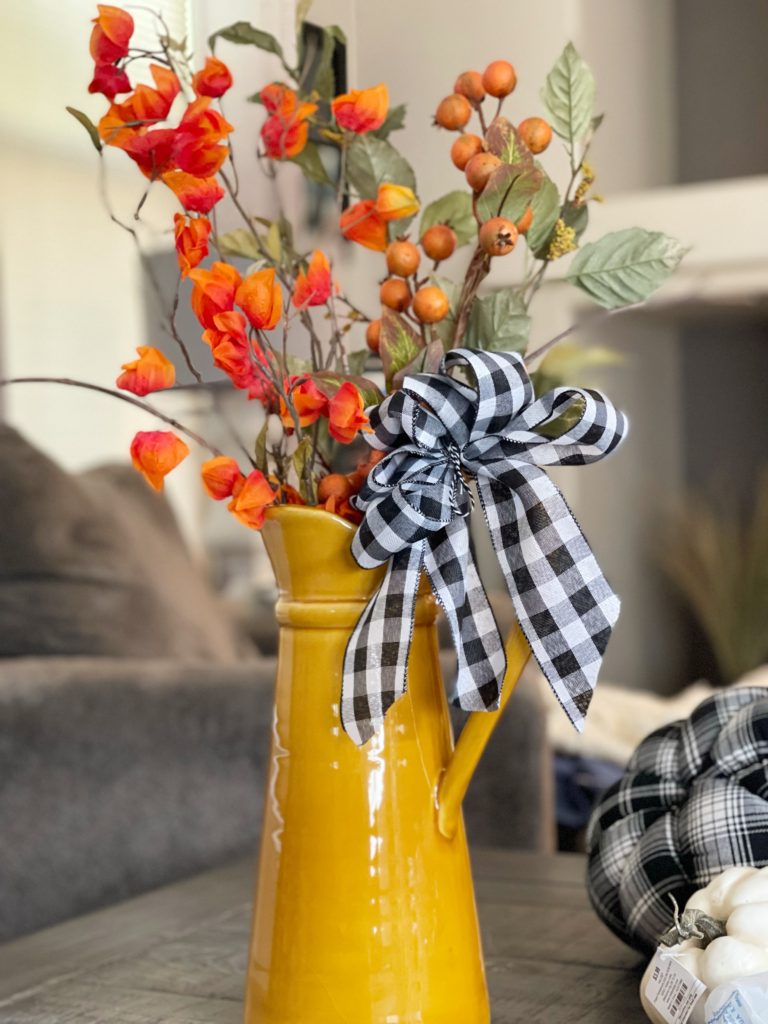
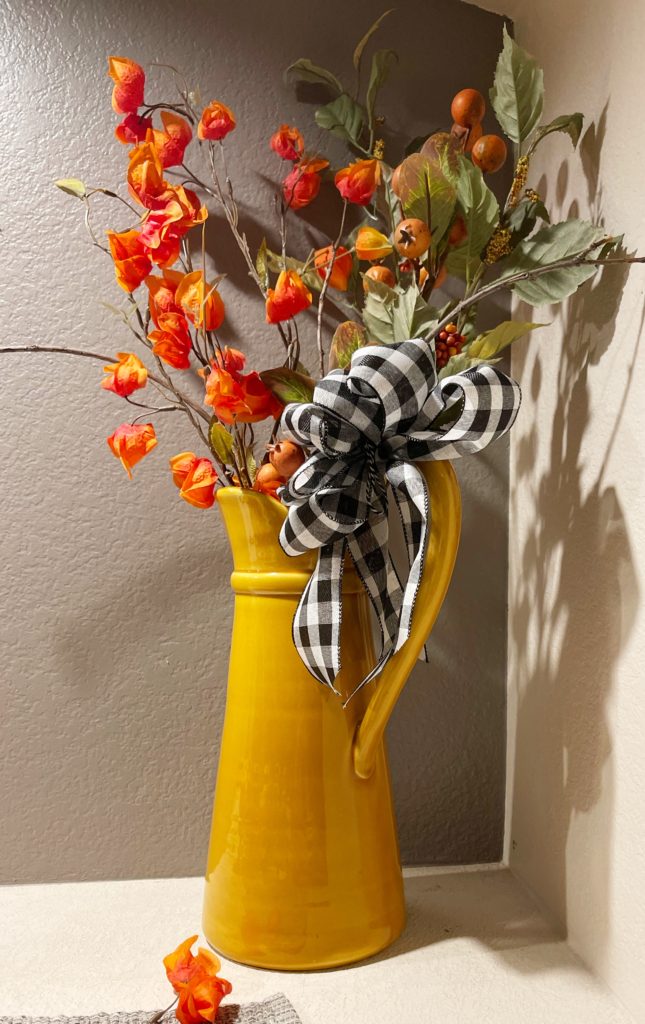
This is also the perfect time to shop your home for pitchers, decorative dishes, or containers to showcase some of the fall pieces you love. I used a large gold pitcher that is always part of my thanksgiving table to hold some faux fall flowers and branches that I found in the yard. I added a buffalo checked bow to the handle in keeping with my theme.
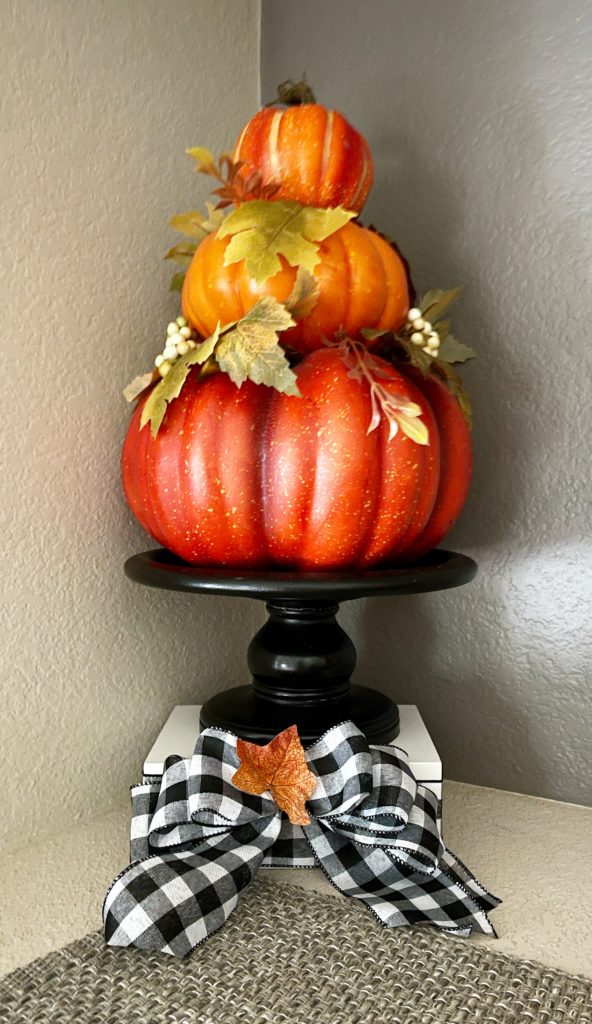
I wanted to use stacked pumpkins on the opposite side of the mantel but with the pitcher being so tall, it didn’t give me the balance I was looking for. Not giving up on this, I found an old black cake stand I thought might be enough. Better but not quite there! So improvising, I took a set of faux books, wrapped them with buffalo checked ribbon and placed the cake stand on top. Perfect!
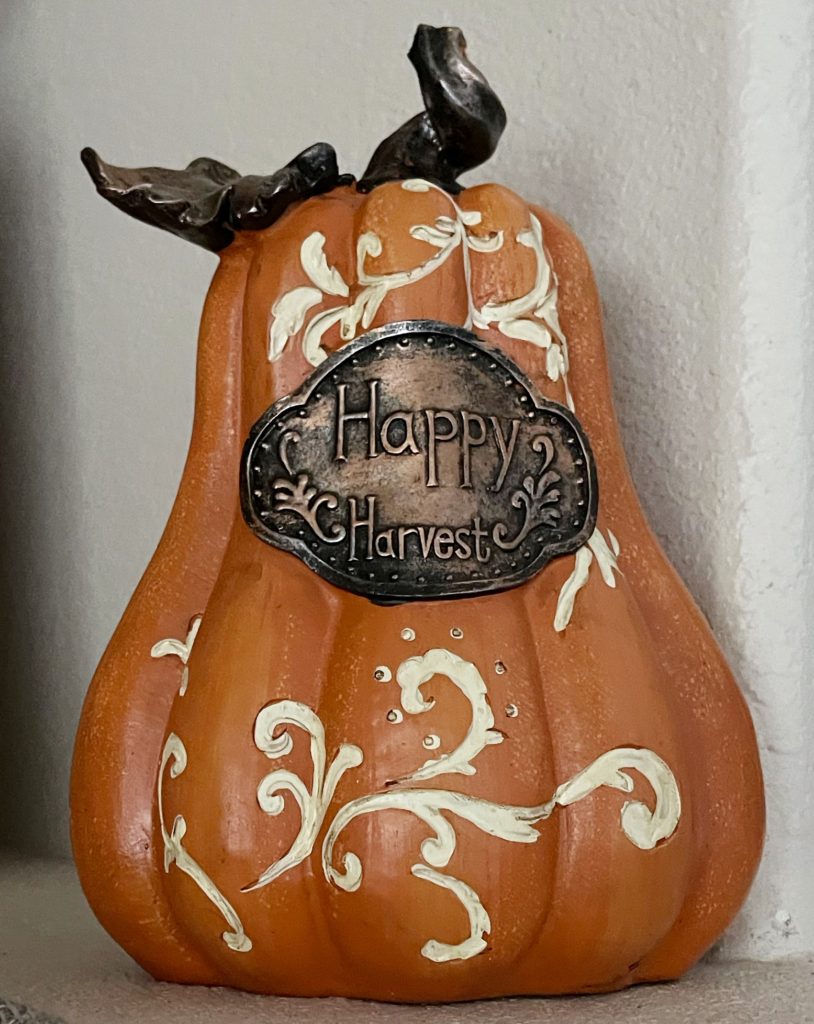
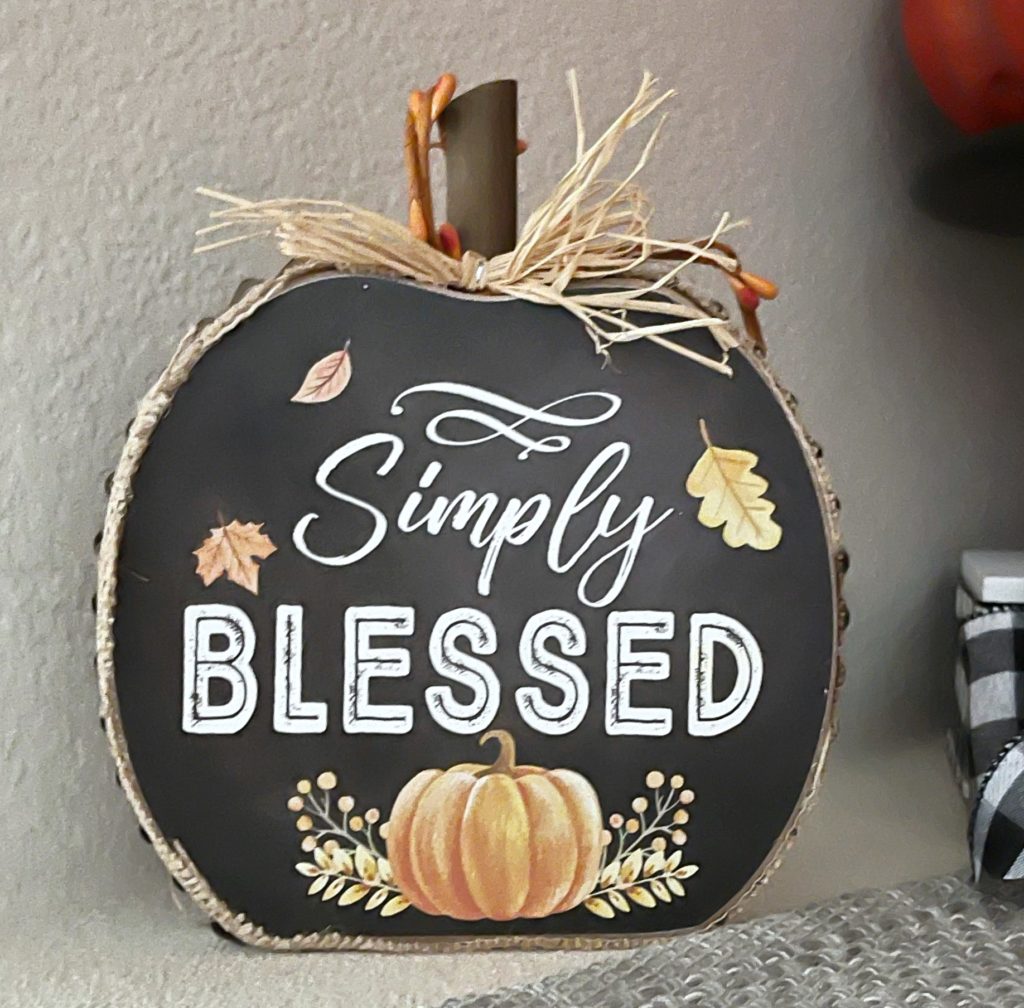
Those of us who love autumn know that the beauty goes much deeper than the physical aspects of the season. A big part of it, perhaps the most important part, is the beauty of the feelings it inspires. Thankfulness for the family we will surround ourselves with on the upcoming holidays. Gratitude for the many blessings we’ve received despite the awful year we’ve just come through. I wanted my fall mantel to reflect that so I added a few signs as a reminder of the real beauty of the season.
Step 6 – Light it Up
Although some may see this as an optional step, to me it is essential to my vision. This space does have canned lighting that I turn on occasionally, but if your ultimate goal is to create a warm and cozy aura, then candles are a must. I chose several orange battery operated candles to accomplish that feel. My love for all shades of orange developed long before I became the Denver Broncos fan I am! Although it is up to the fireplace itself to provide the warmth, the candles bring the cozy to the room.
I hope you’ll find these steps helpful in creating a beautiful fall mantel makeover in your home this year! Be sure to check the Create the Look section of the blog for links to many of the items used here and several other ideas as well.
In addition, the fall printables are here and there may be one that works well with your vision. Always free to subscribers, simply add your password where prompted, download and print. Not a member yet? No worries! Adding your email to the form below gives you immediate access to everything in the Printable Library and the weekly/bi-weekly newsletter will ensure you’re the first to know of any new additions. Come along as we decorate our way through the new season!
See you soon!


Oh, gosh! That makes me yearn for “blanket-covered movie nights” and warm cider! I get a very “Zen feeling” just looking at it. 😊
Bravo! Bravo! 👏🏻👏🏻👏🏻
Oh that sounds perfect Rhonda! Thanks so much!
gorgeous
Thank you Rebecca! Hope you’re having a beautiful Sunday! Happy almost Fall!
Oh, yes. Light it up! Looks nice! Thanks so much for linking up at the Unlimited Link Party 34. Pinned!
Thanks Dee and as always, thanks for hosting! Such great inspiration at your parties!
This could not have come at a better time. I plan on decorating for fall this weekend and I always find the fireplace challenging to decorate. Your tips were very helpful and I drew out a plan while reading your post. Thank you and Happy Fall, Denise!
Thanks so much Marie. I know whatever you do it will be gorgeous! You have a knack for taking the simplest thing and transforming it into something beautiful. Have fun and I hope you’ll share it on your blog. Have a great weekend and Happy Fall to you!
Your fall mantel looks great! The tips are so helpful. Thanks for sharing on Happiness is Homemade at LifeasaLEOWife.com!
Thanks Niki! So glad to finally be getting some fall weather!
Wonderful, workable steps to follow! You’ve created a lovely mantel; thank you for sharing your process.
Thanks so much for joining the Grace at Home party at Imparting Grace. I’m featuring you this week!