Super Simple Springtime Decoration
With all the awful storms across the country last week, everyone is working on cleanup right now. But I know soon enough, you will all be feathering your nest for spring! It’s my hope that I catch you before you get rid of all the downed branches that it seems are everywhere right now!
While we had a week of negative single digit temps, we did not get the ice and snow that so many did. Nonetheless, we did lose quite a few branches from the wind. Before we hauled them off, I grabbed one of the smaller ones to use in my spring decor.

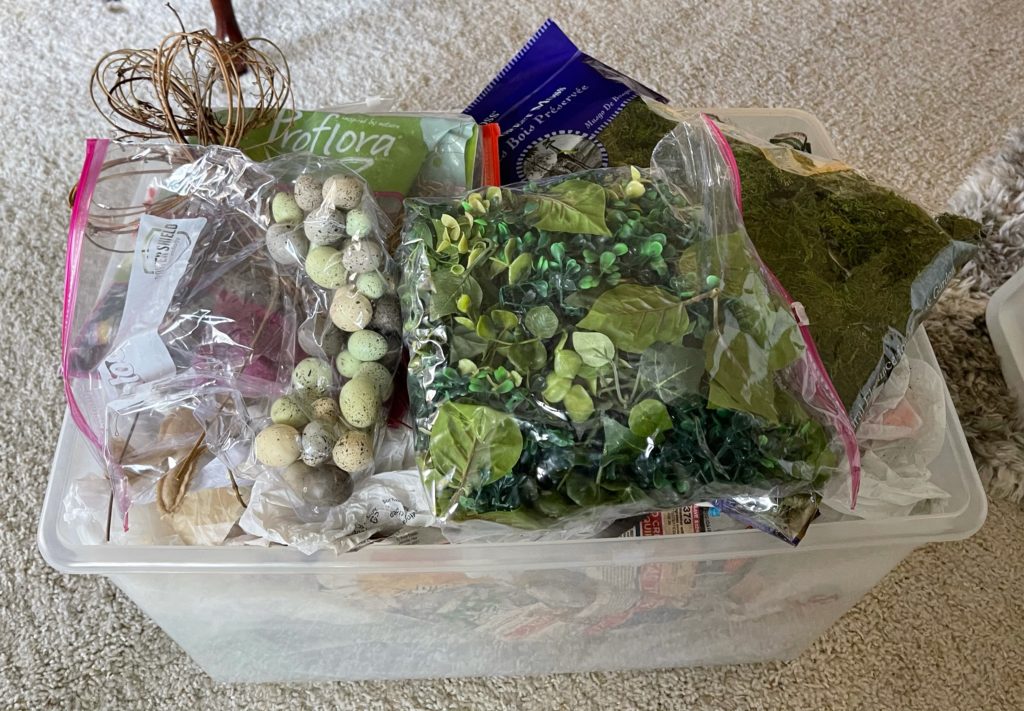
If you follow the blog, you know I’ve been set on emptying out my craft boxes these days. I’ll always have one because… well just because! But at the beginning of the year, I had three rather large bins. That’s too much! So I’m determined to whittle it down this year.
I’ve organized them a bit by season and this one is for spring. I decided a branch with a bird nest and birds will be perfect for my first spring craft. Over the years, I’ve made several birds nests for my spring decor. The problem is… they are still packed away. However, I know I will find a use for all of them once I really start decorating so why not add one more to the mix? You can never have too many when you are feathering your nest!
Making a Bird’s Nest from Scratch
If you’re not feeling particularly crafty at the moment, the birds nests found in any craft department will work just fine. But with the quest to limit myself to one supply bin, I will be making my own today. I have too much moss of every type and color on hand and spring is the season to use it. So let’s start right here.
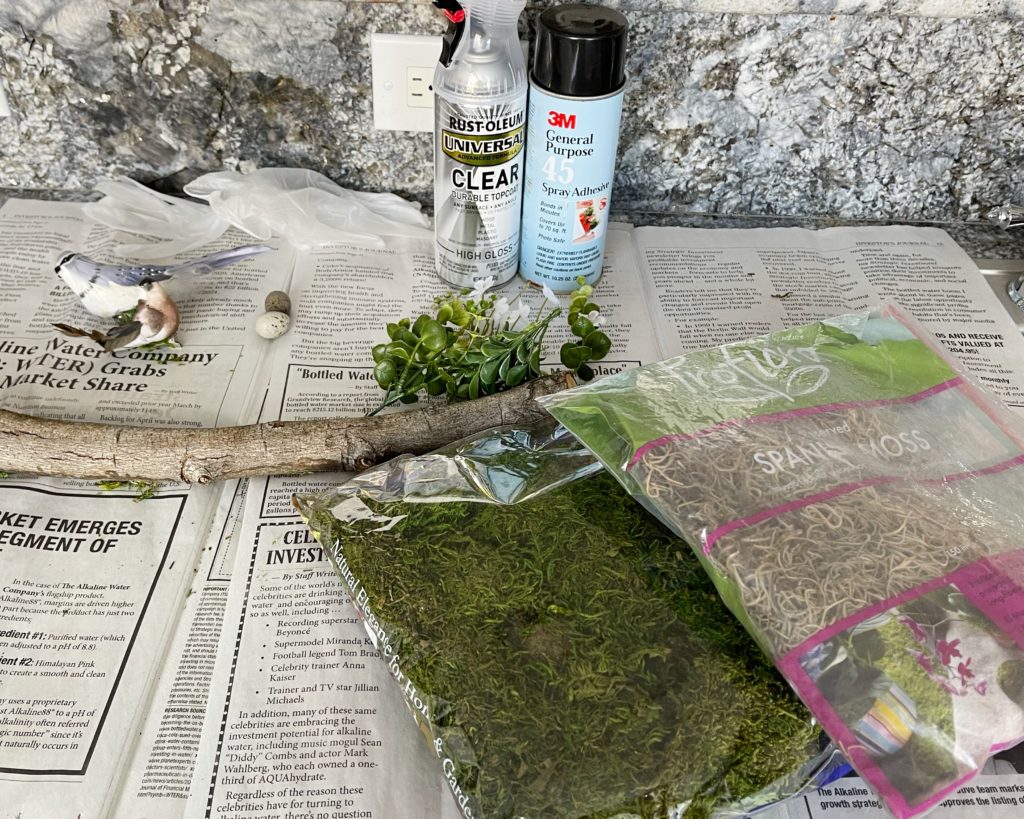
What you’ll need:
- spanish moss
- green preserved moss
- small flowers, greenery, or twigs
- mini robin eggs
- small craft birds
- spray adhesive
- clear topcoat/sealer
- rubber gloves
- glue gun
This page includes Amazon Affiliate Links. As an Amazon Associate, My Home of AlI Seasons may earn from qualifying purchases at no additional cost to you. Please see our full disclosure here.
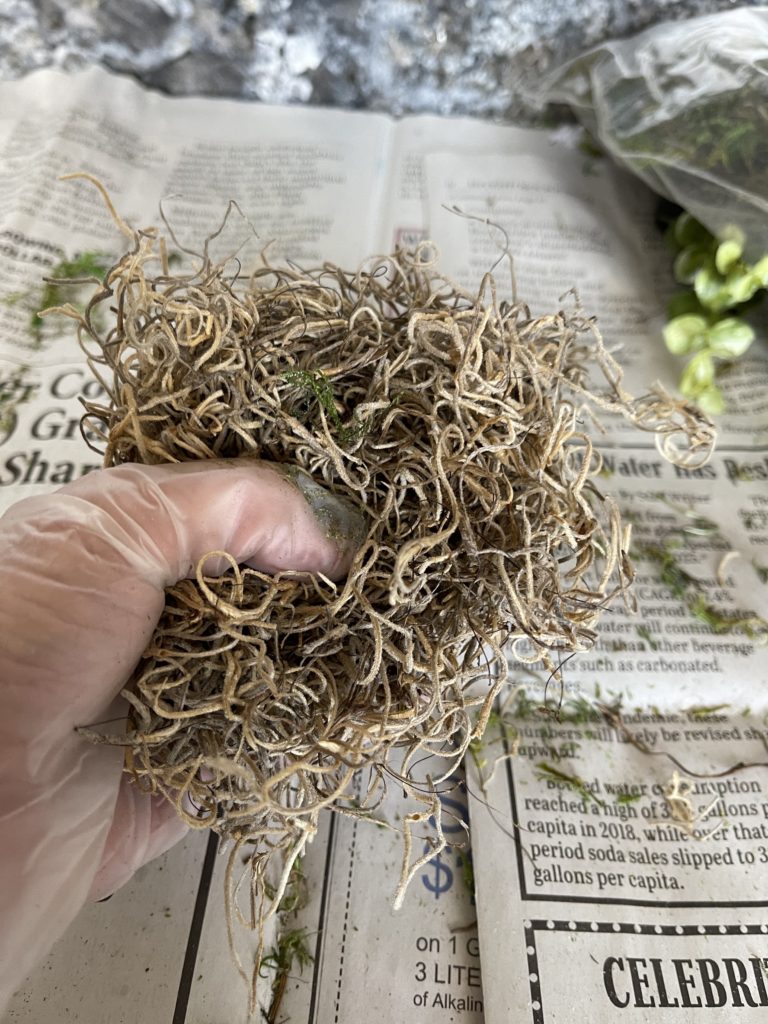
With a handful of Spanish moss, work it into a round/oval shape. Pressing the moss down in the center with your thumb, work the edges with your other hand to form a nest shape. While a real nest has a definite shape, keep in mind that they are rarely uniform.
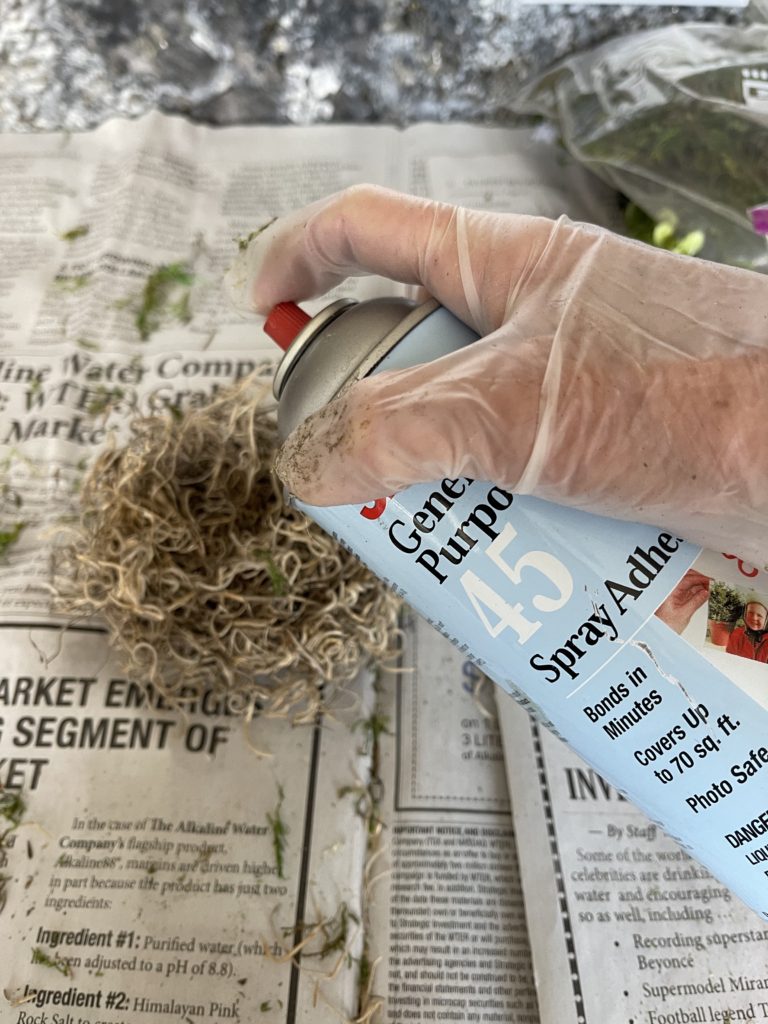
Once you have your nest formed and it’s the size you want, give it a light spray with the adhesive. Now comes the fun part. It’s time to make it your own.
Add some green moss here and there. Little twigs, leaves, or some tiny flowers. Anything goes when you’re feathering your nest!
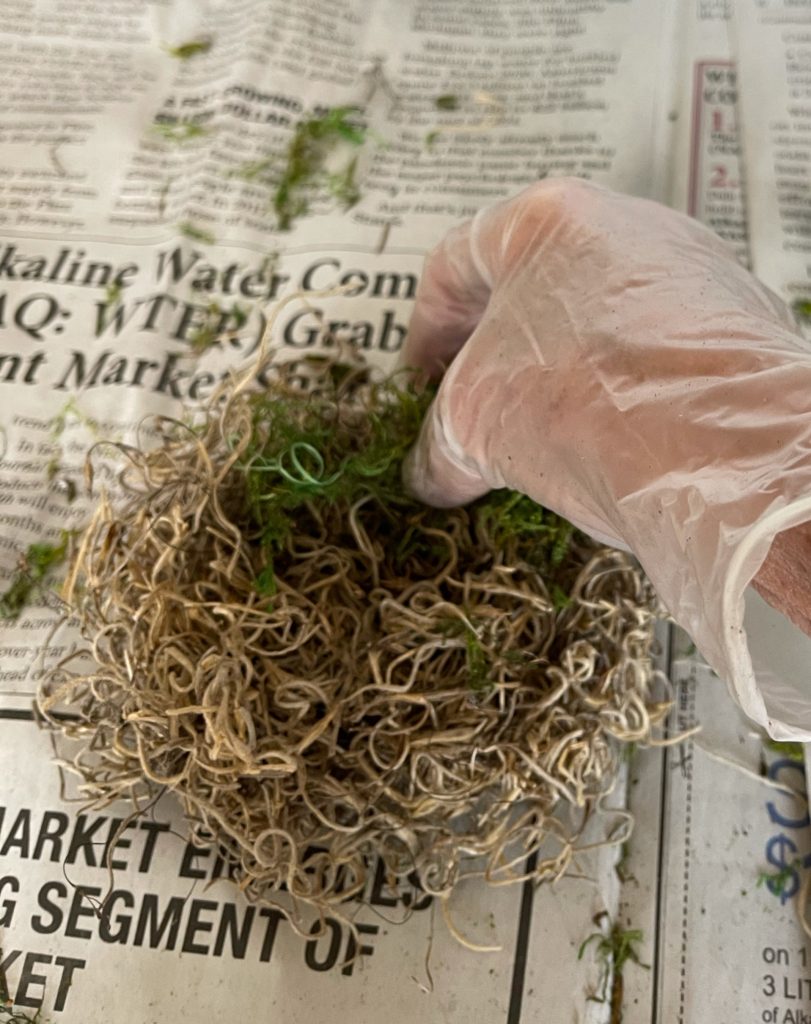
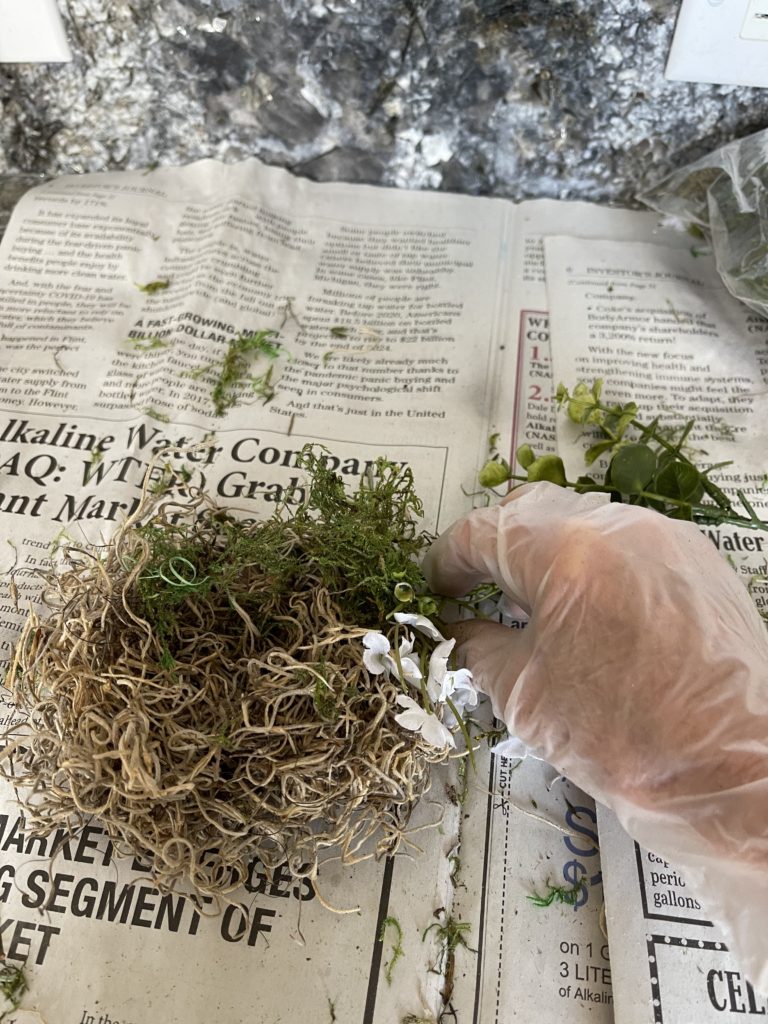
With a little more adhesive, press your little eggs into the nest. I’m adding a mama bird as well! As a final touch and to make sure it holds together, spray the entire nest with a clear acrylic sealer.
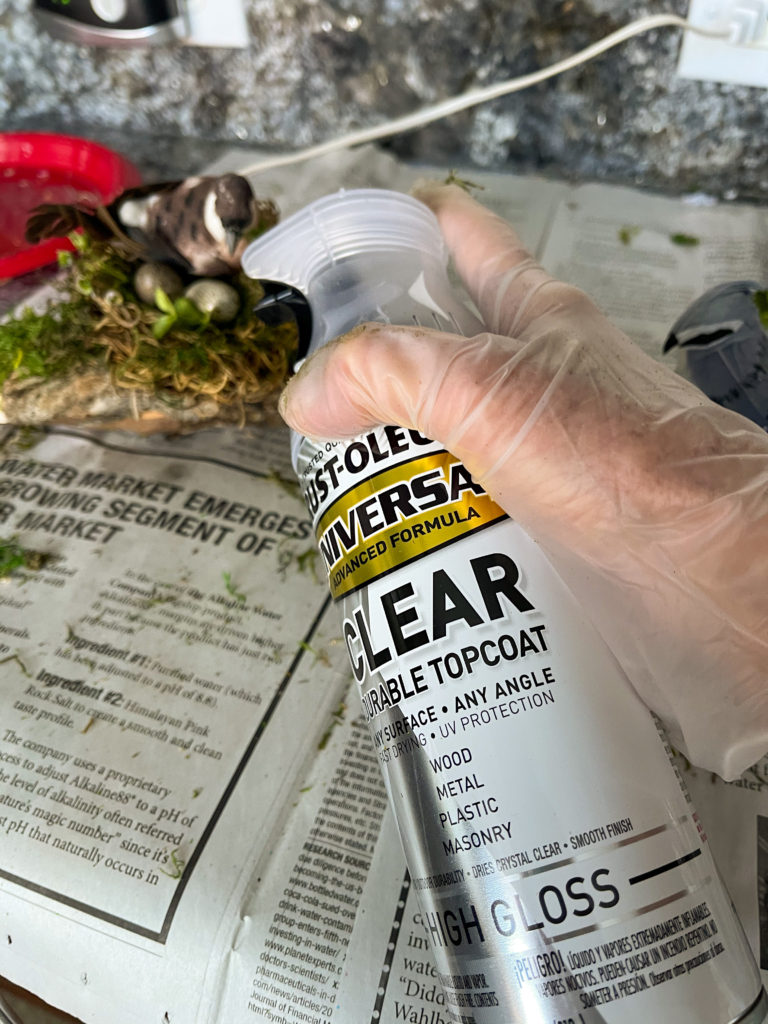
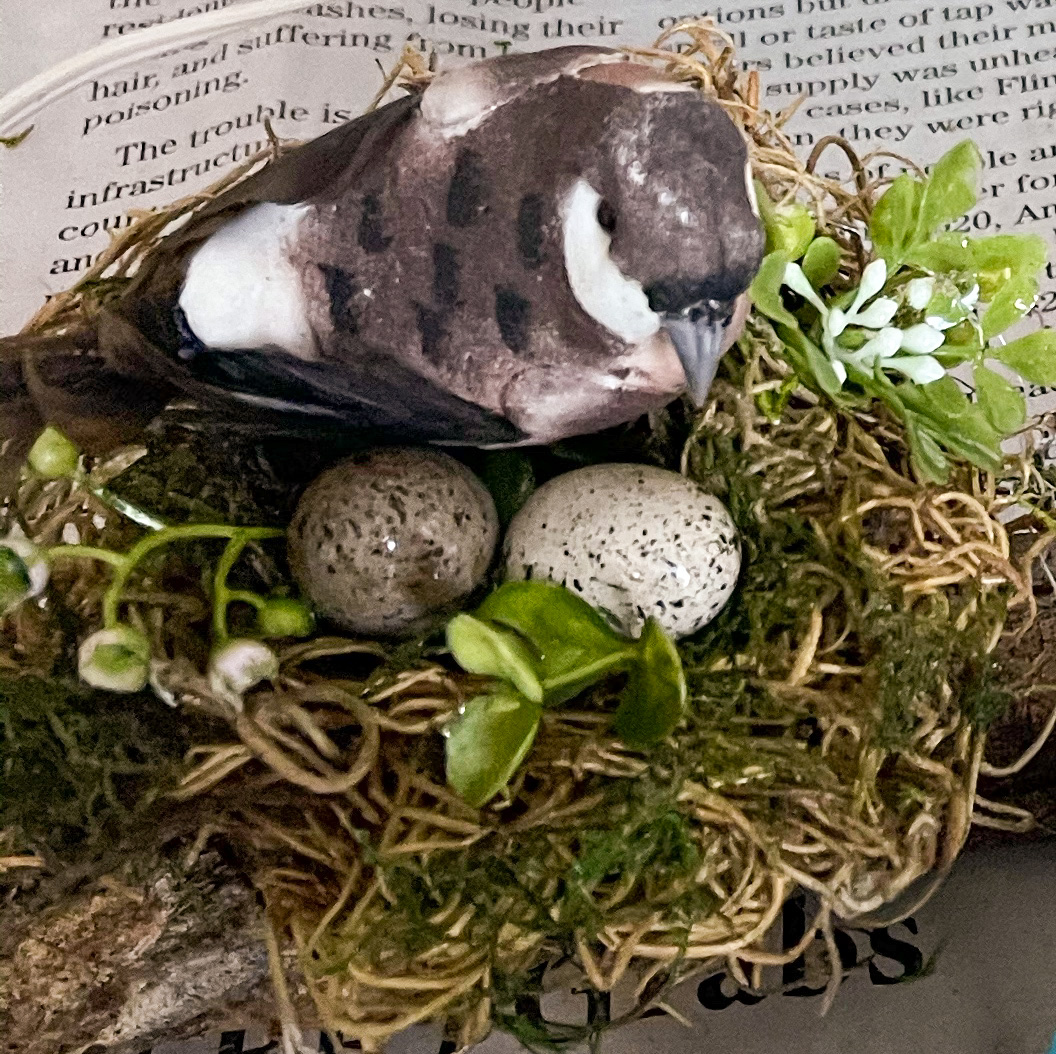
Now that we have our nest, it’s time to move on to our Super Simple Springtime Decoration!
Bird on a Branch
While the spray adhesive worked well on the nest, I will be using my glue gun for the rest of this project. To make the branch a bit prettier, I will add some of the green moss .
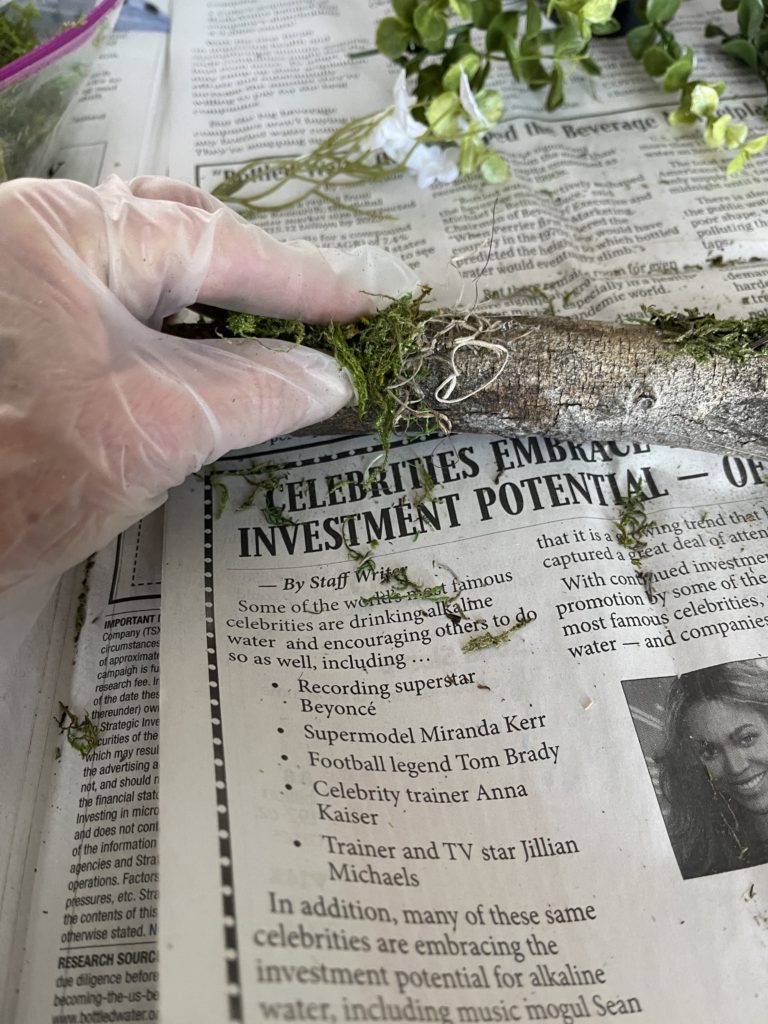
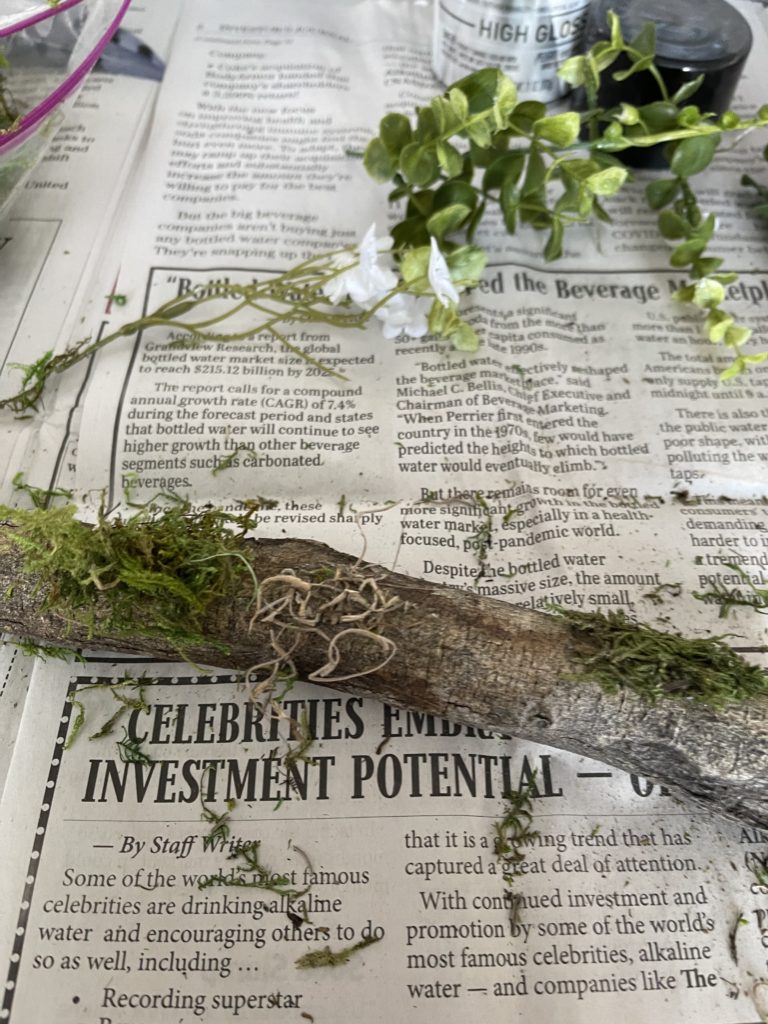
Place your nest where you want it on your branch and add a few dots from your gun. I’ve added an extra bird as well.
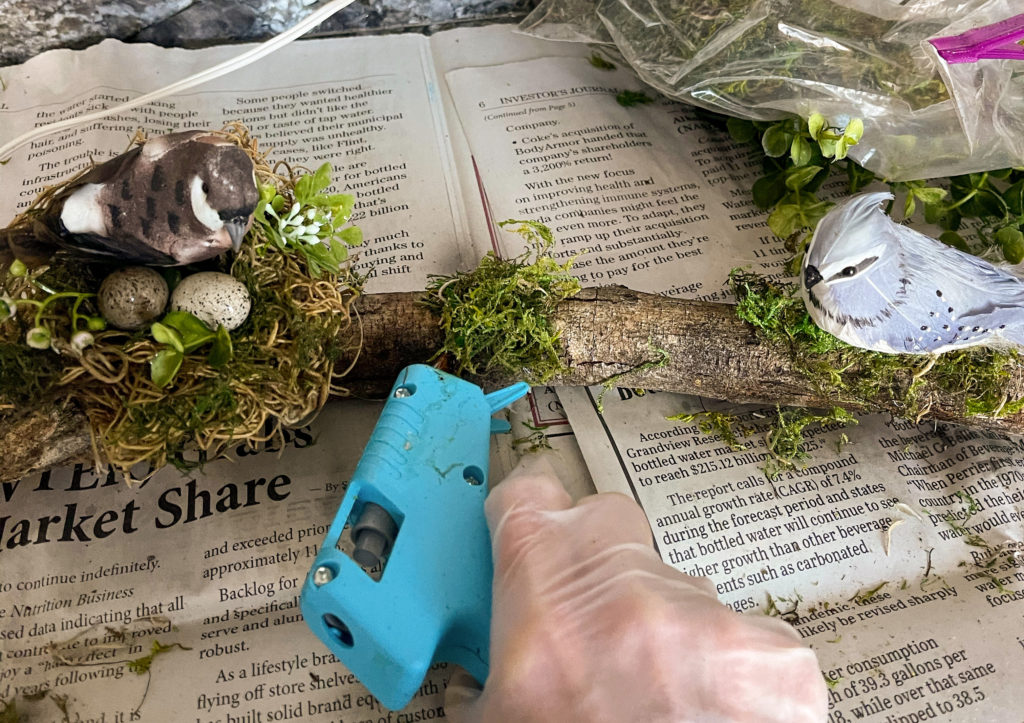
Since my branch will be sitting directly on my table, I am adding some felt furniture protectors to the bottom. Virtually invisible, it’s nice to know should the table be bumped by someone who is not as careful as I am ( you know who you are… honey) there will not be a scratch!
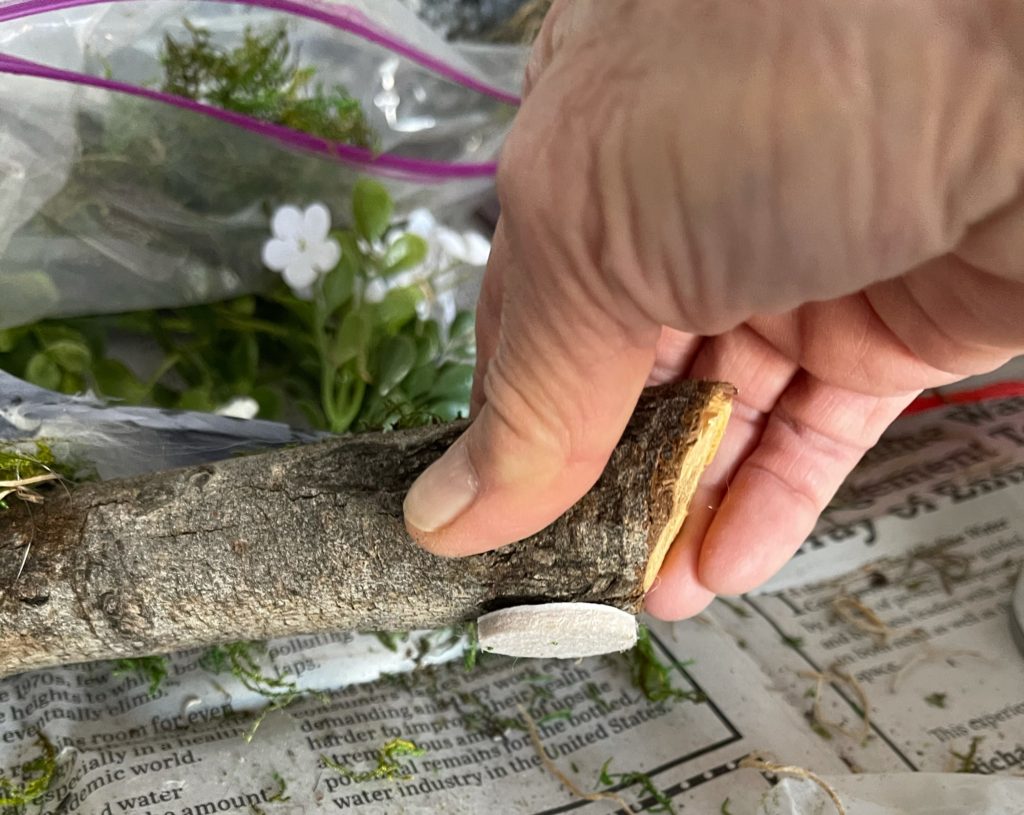
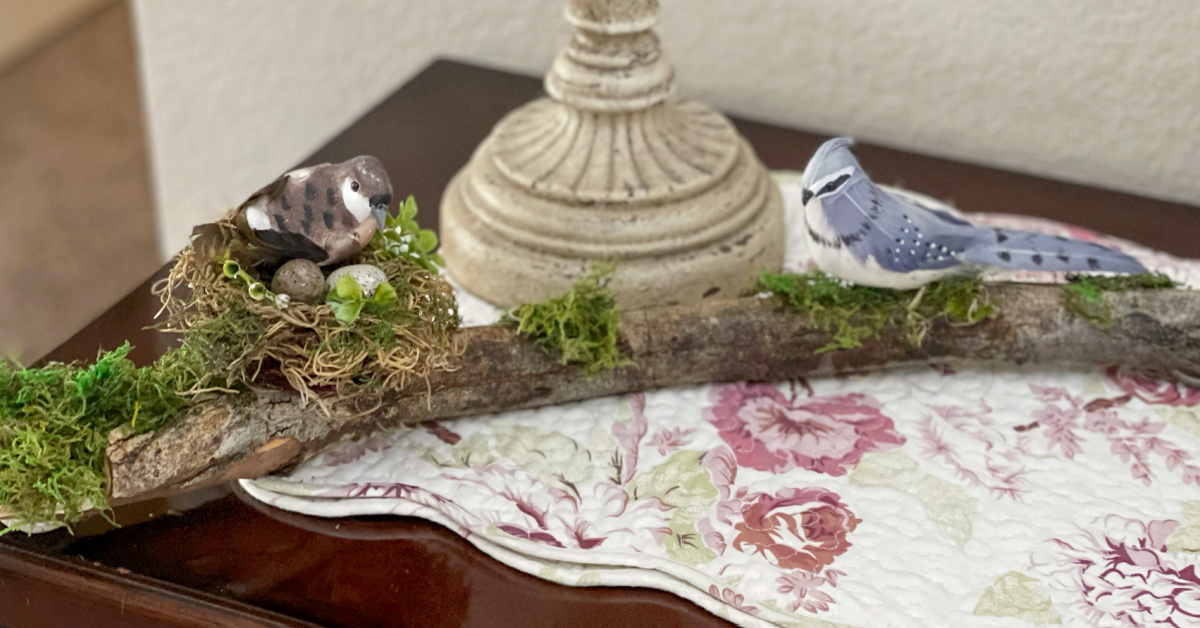
I set aside 30 minutes for this project. I am finding I still have 10 to spare! Let’s see how it will look displayed on the table in the entryway!
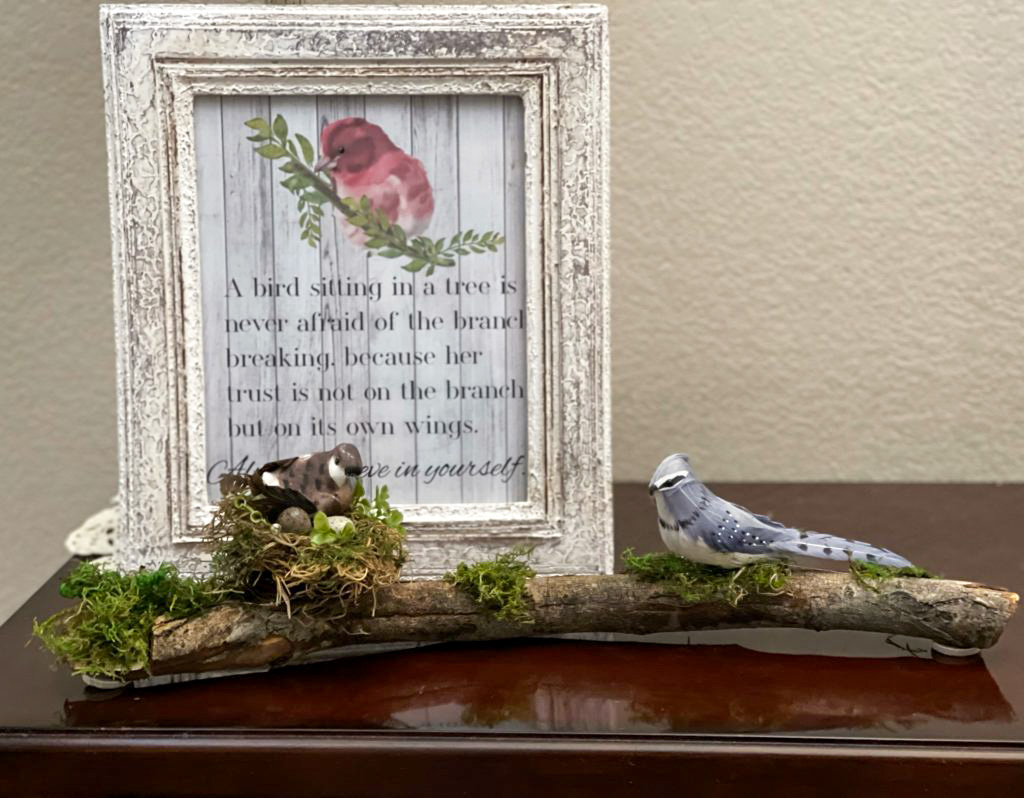
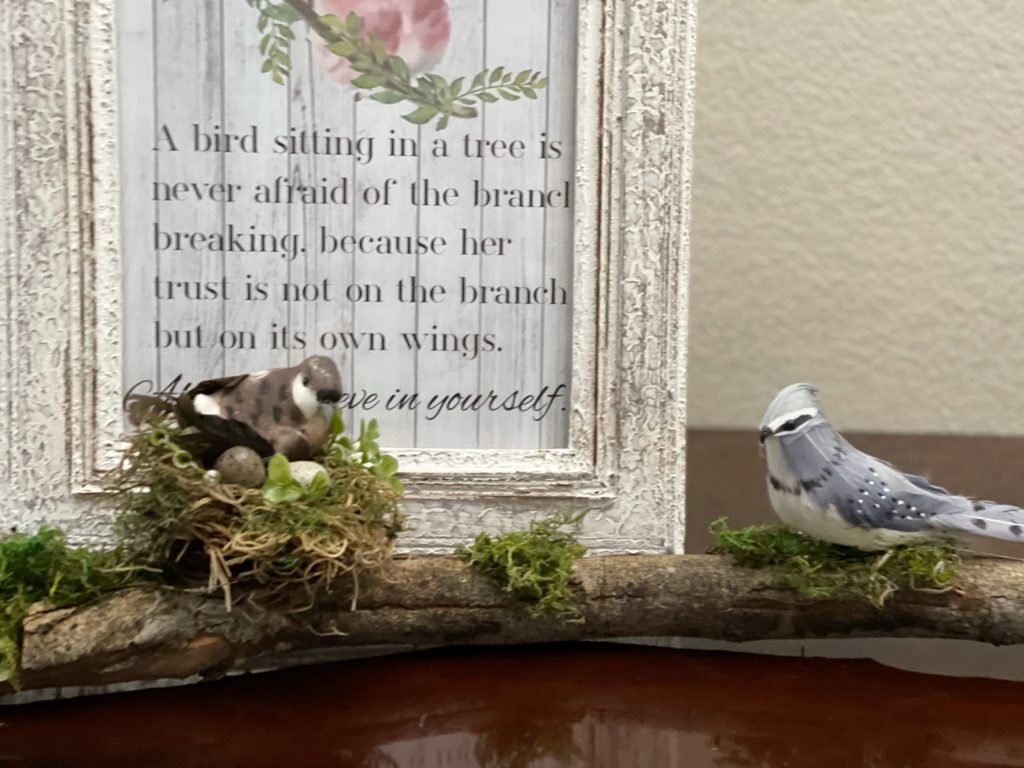
Love it! I am definitely in the mood now to continue feathering my own nest! I’m shooting for March 1st and will have pictures in the gallery soon.
In the meantime, you will find everything you need for this Super Simple Springtime Decoration in the links below!


However, I have already started adding some new printables to the library this week. Be sure to check out my latest post Spring Printable Art before you leave today. Printables are free to all members and are a great way to bring a little bit of the new season to your home.
Not yet a member? No worries! Simply add your email to the form below and you’ll have immediate access to everything in the Printable Library. I’ll be sending you a weekly/ bi-weekly newsletter with all the latest seasonal decor ideas directly to your inbox. Hope to see you again soon!

I really love this project. Exactly what I want for this spring. Thank you!
I’m so glad Dorothy! It’s very quick and easy. You have a gorgeous website by the way! I just popped over but I’m anxious to go back and explore it!
This is really quite cute!! Love it!!
Stay safe, healthy and happy!!
Hugs,
Debbie
Thank you Debbie! Hope all is well and I hope you have a wonderful weekend. I’ll be stopping by soon to see what amazing things you’re doing for spring!
This is so cute and I have most of what I need right out my back door. I’m going to give this a try.
It looks nice! I love that you used an actual branch from outside and are making use of items in your overflowing boxes of supplies! Thanks so much for linking up with me at A Themed Linkup 45 for Spring Crafts and Décor. Shared!
Thanks Dee. We had so many downed branches from the wind that I thought I’d put some to use. Have a great week ahead!
Loved this project! So far this winter I have made 3 birds’ “nests” of Spanish moss in the bottom of heart shaped baskets with sprays of forsythia. Winter in Maine is just plain TOO long!
Oh my gosh! I bet those turned out gorgeous Kathy! I would love to see a picture if you have one. Winter is way too long here too! Take care and have a wonderful week.
A real bout of spring in your home ! This decor turned out so cute.
Thank you for sharing with us at Meraki Link Party.
Much Love
Naush
Thanks you so much Naush! Hope you have a wonderful week!
So cute! Thanks for sharing at All About Home!
Thanks so much Amber! Have a great week!
Denies, I love these cute little nests! Thank you for sharing at Celebrate Your Story! Link Party. You’ve been featured this week 🙂
Thank you Rebecca! So glad you liked them.
Darn spell check! I meant Denise
Hahaha! It’s okay Rebecca! My spellcheck changes my name to Densie. I admit…that’s not really all that far off these days!
This project is so very pretty. I have a yard full of branches all the time but especially now that we had some trees cut down this week. I might make one of my own. Thank you for sharing some inspiration. #HomeMattersParty
Thanks Donna! We had quite a few branches just from the wind lately. Have a great rest of your week!