This is the perfect time of year to pull out those tiered trays and make a little Christmas magic! Following a few simple guidelines will help you create a Christmas Tray that everyone will love!

My tiered trays are what I consider a “must have” in my seasonal decorating arsenal. I use them year round but at Christmas, they are just my favorites! I follow the same simple guidelines every time and I’m always thrilled with the outcome.
Before we get started though, I just want to give a shout out to Katherine of Katherine’s Corner. Once again she has put together a group of the most talented ladies for a “Christmas on a Tray” blog tour. I am thrilled to be included and I hope you’ll find some amazing inspiration while touring from blog to blog!

If you’re joining us from Sandra’s Dinner at Eight blog, welcome. Her tray is absolutely gorgeous isn’t it? She’s a tough act to follow but I’ll give it a try!
Decide the Purpose
As I was saying… creating a tiered tray is such an easy thing to do if you follow the Tiered Tray 101 guidelines! OK… I made that up but these simple tips are all you really need.
The first thing you need is a purpose. Is your tray to be simply decorative or is it to be useful? The tray I’m featuring today has no other purpose than to sit on the kitchen island and look pretty.
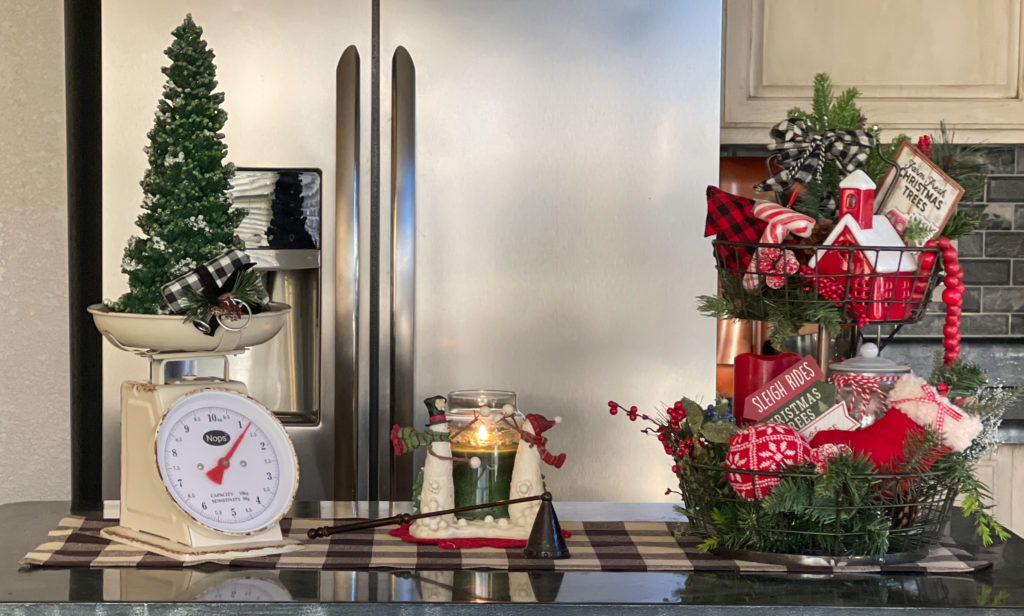
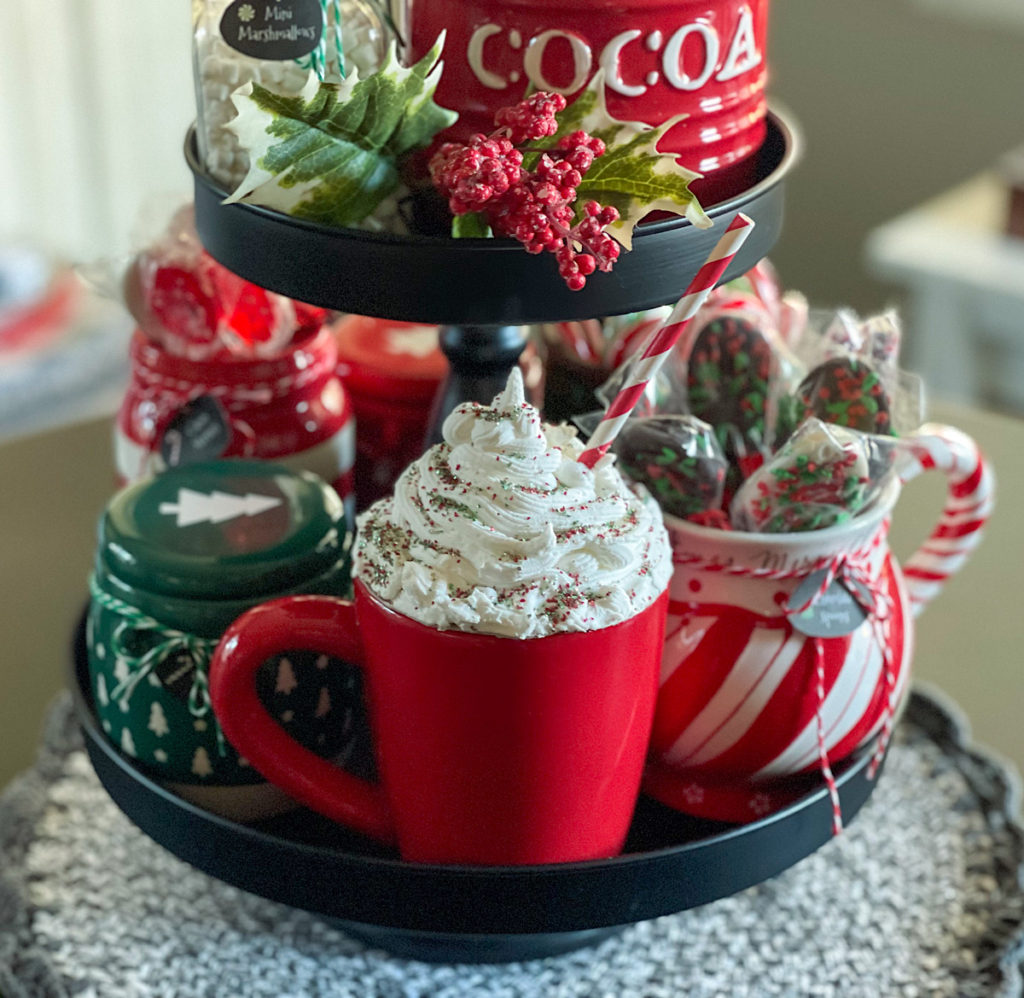
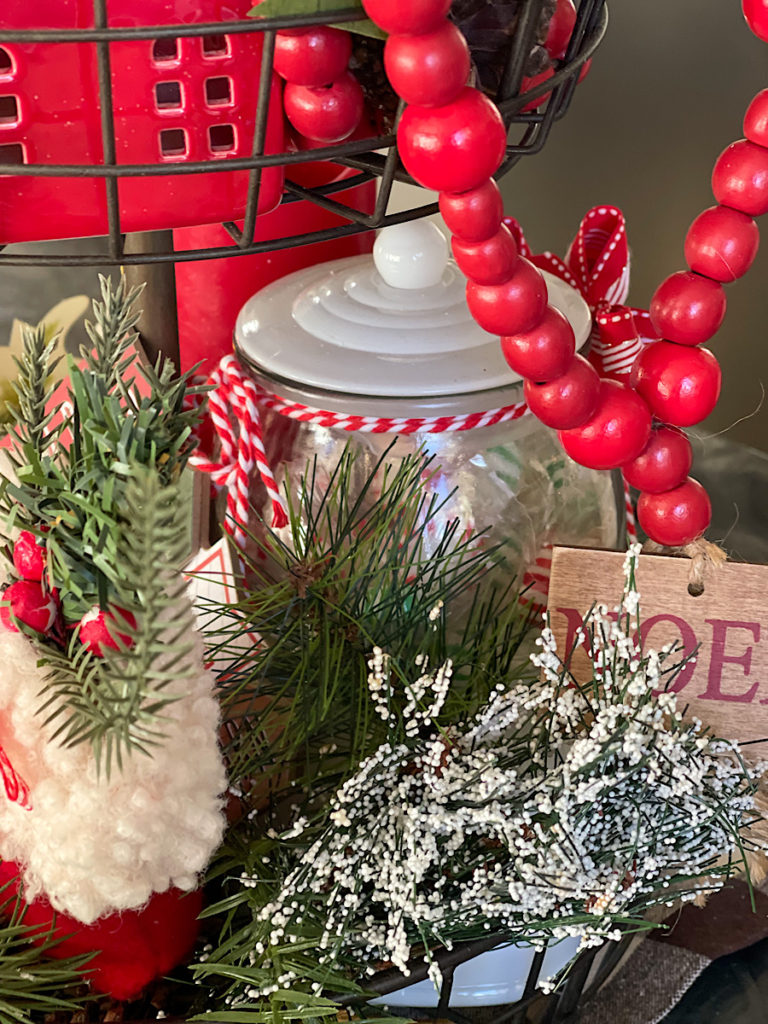
However, the tray on my Cocoa Bar, while still cute, holds all the toppings needed for a great cup of cocoa. Very Useful!
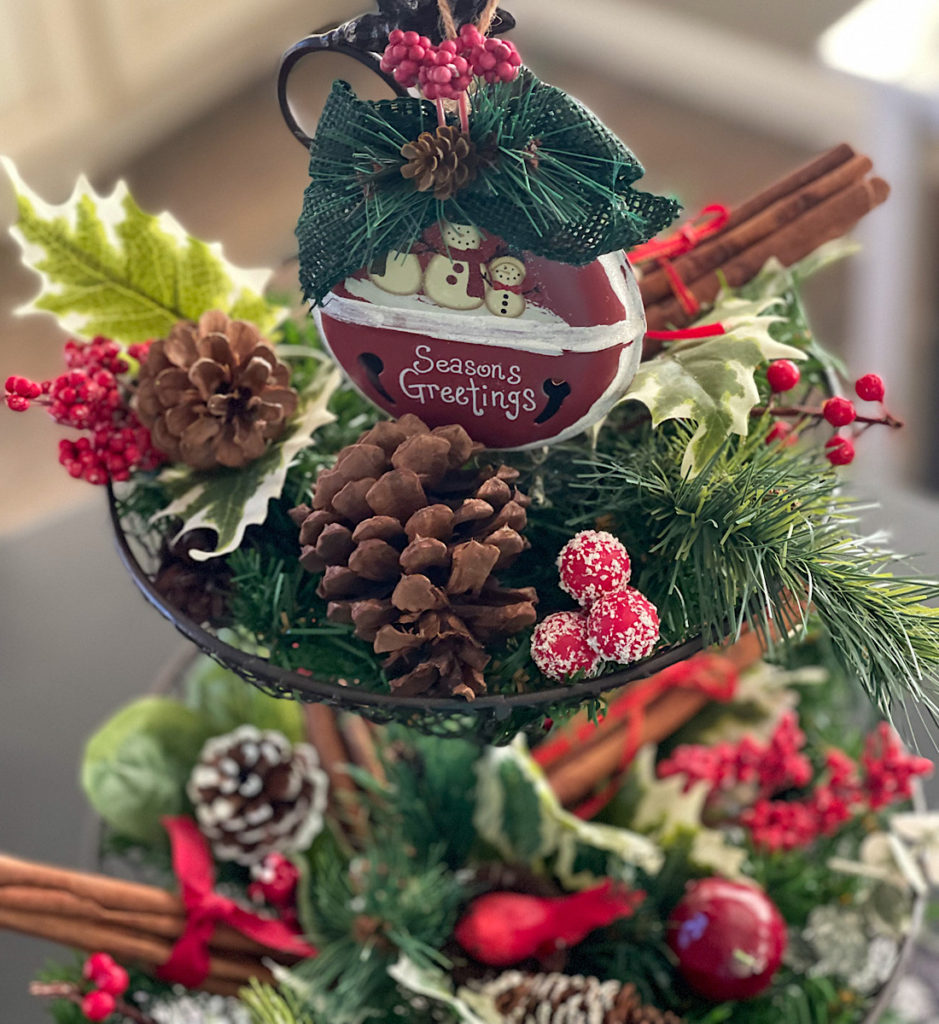
In addition, I used a third tray with a dual purpose. This tiered fruit basket is full of the prettiest filler greenery. The main elements are bundles of cinnamon sticks to fill my kitchen with their wonderful scent! I guess that makes this tray pretty and useful!
Once you have your purpose, you can start creating the perfect tray for your home.
Create a Theme
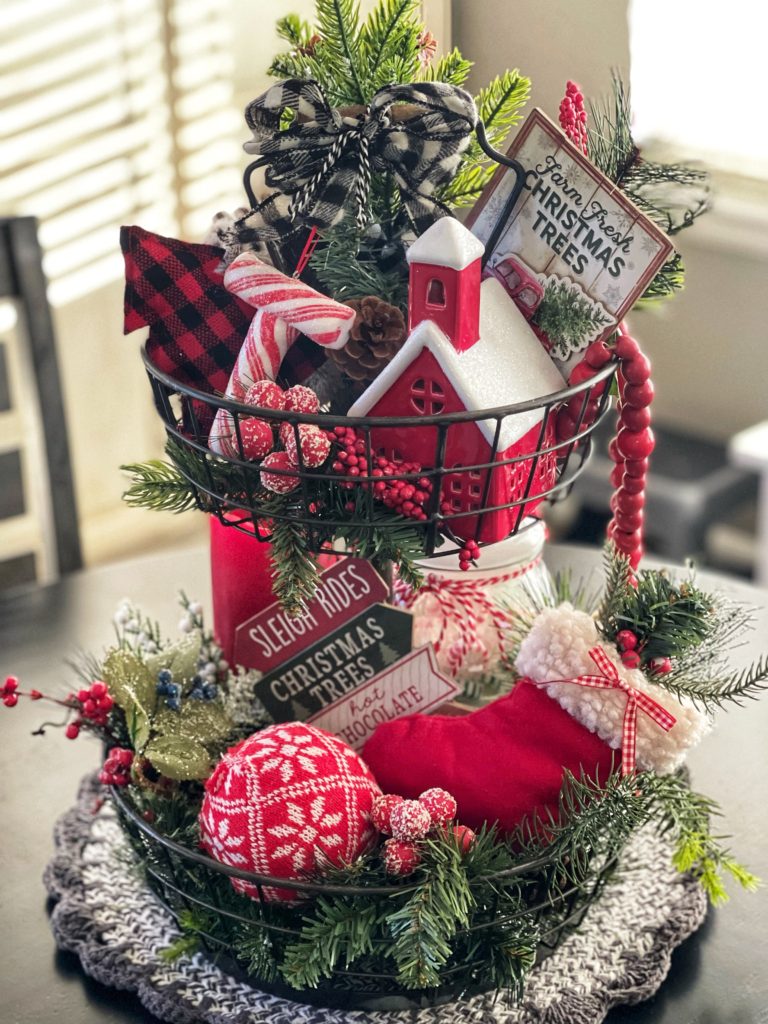
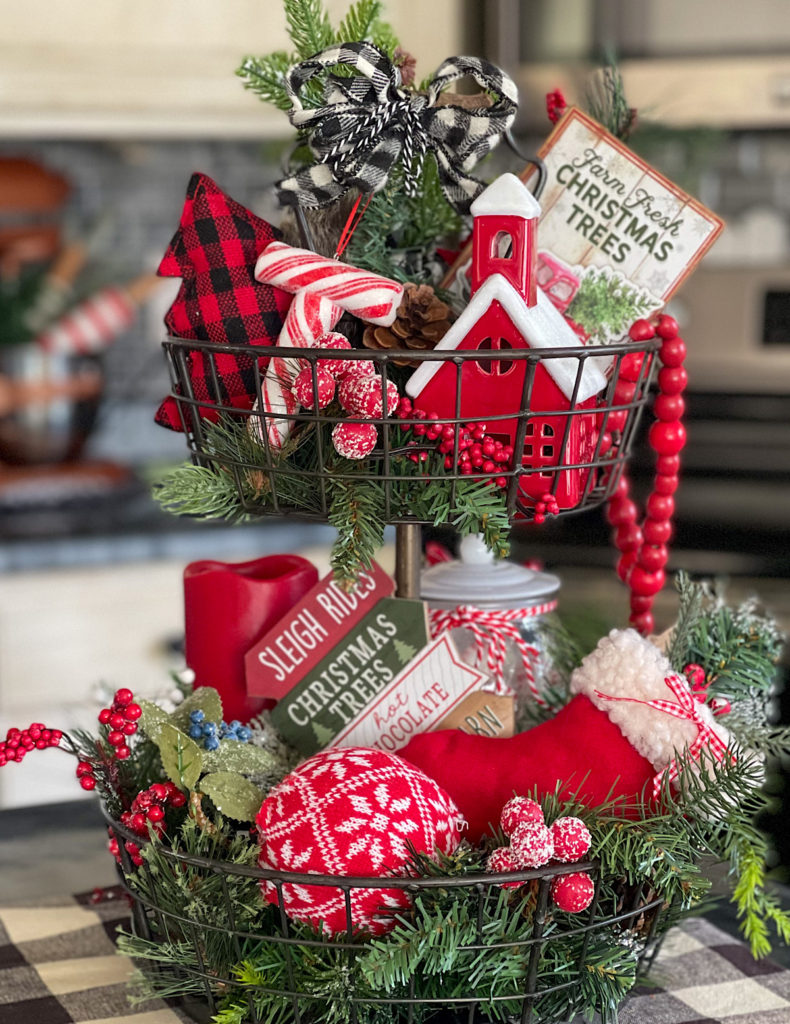
Creating a theme is the next step. Your theme can be as broad as simply “Christmas” or as fine tuned as “Gingerbread people.” I chose a “all things red Christmas” theme. I love the color but it really has no place in my everyday decor. So when Christmas rolls around, I take full advantage!
Choosing a theme allows you to gather everything together before you even start. It’s so much easier if you know what your elements will be instead of piecing things together.
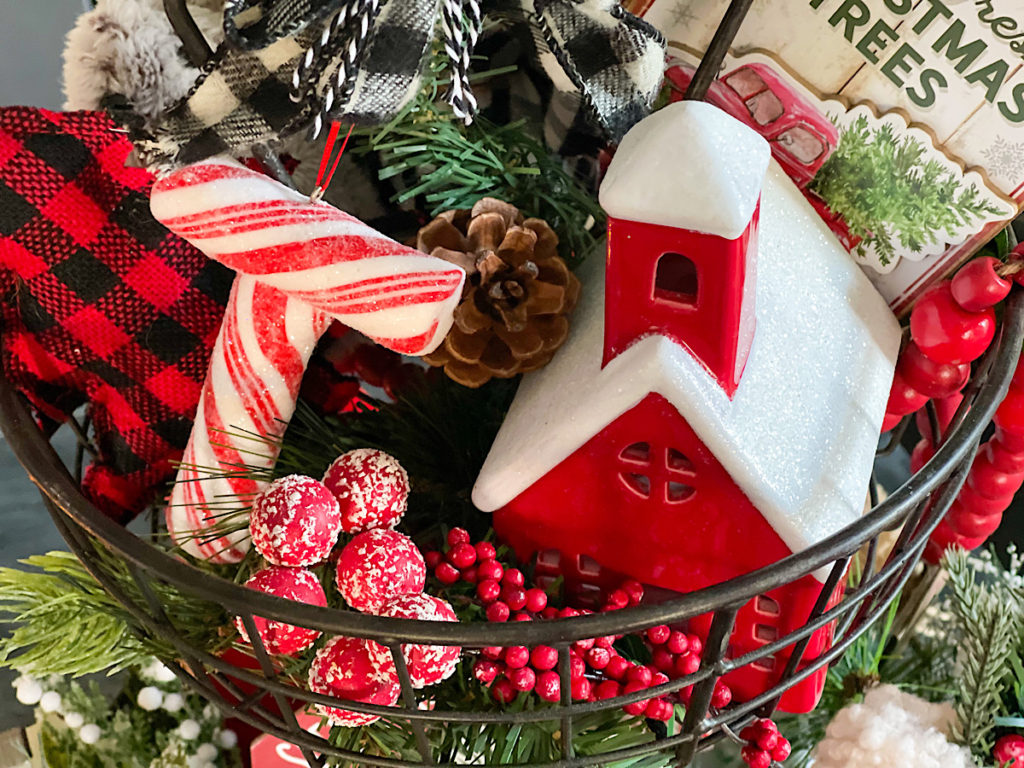
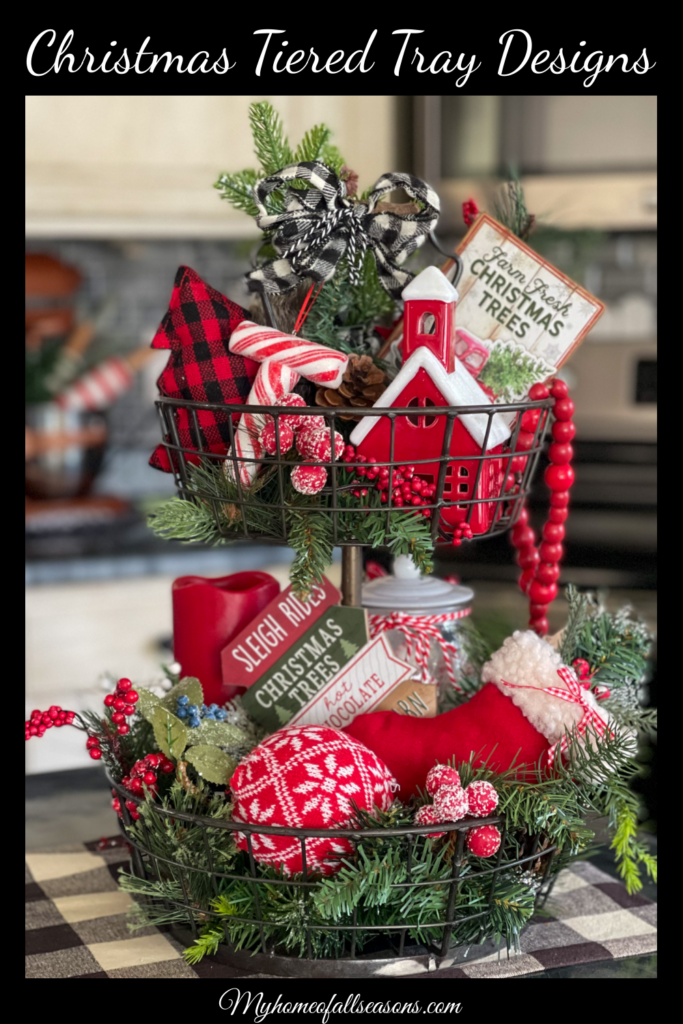
I fell in love with this little red church and its snow covered roof and steeple. I made this the focus of the top tier.
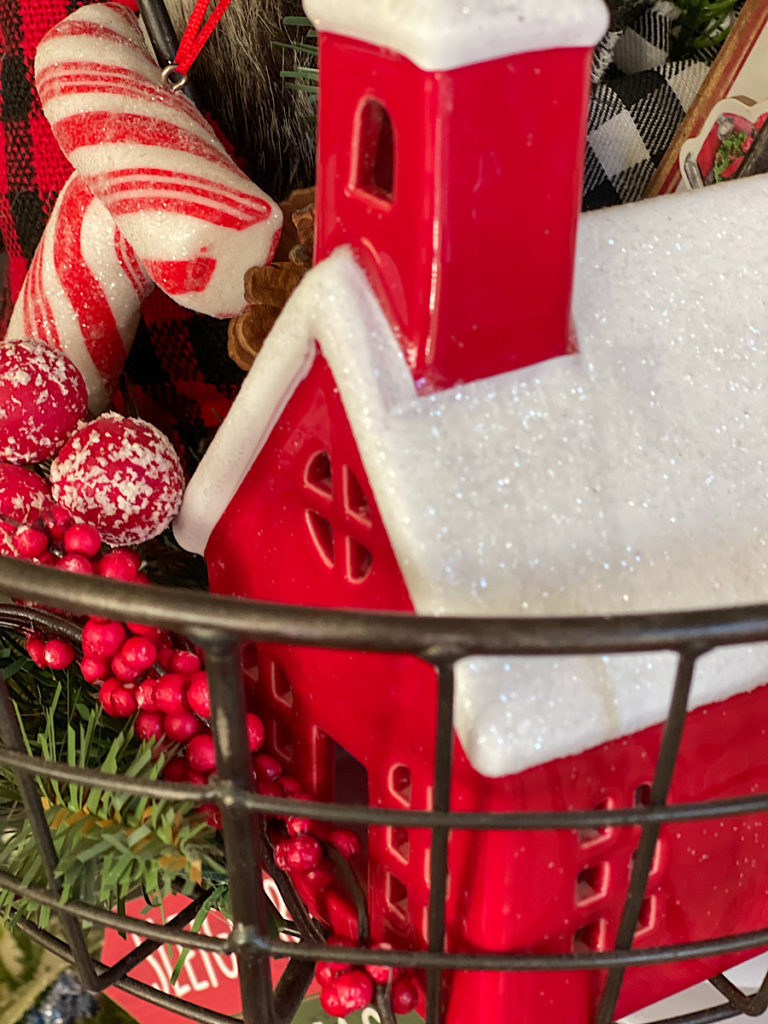
I added my candy cane initial ornament that I found at Michaels early this season. I built out the front of the top tier with a red plaid Christmas tree, a beaded “Noel” sign, red berries, pine cones, and greenery.
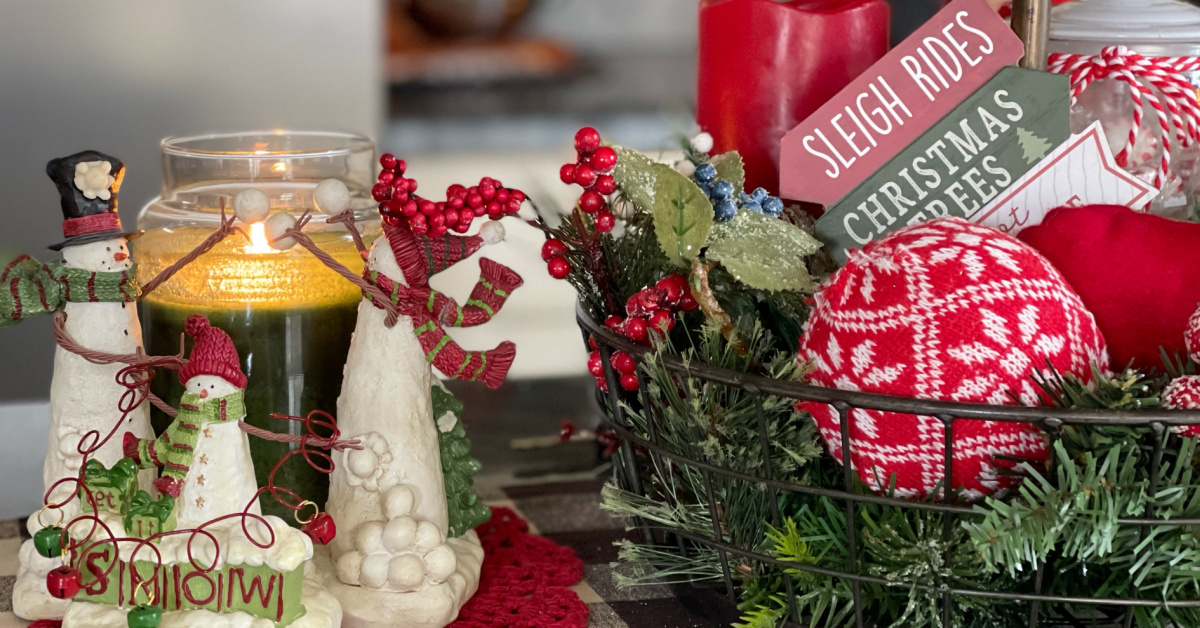
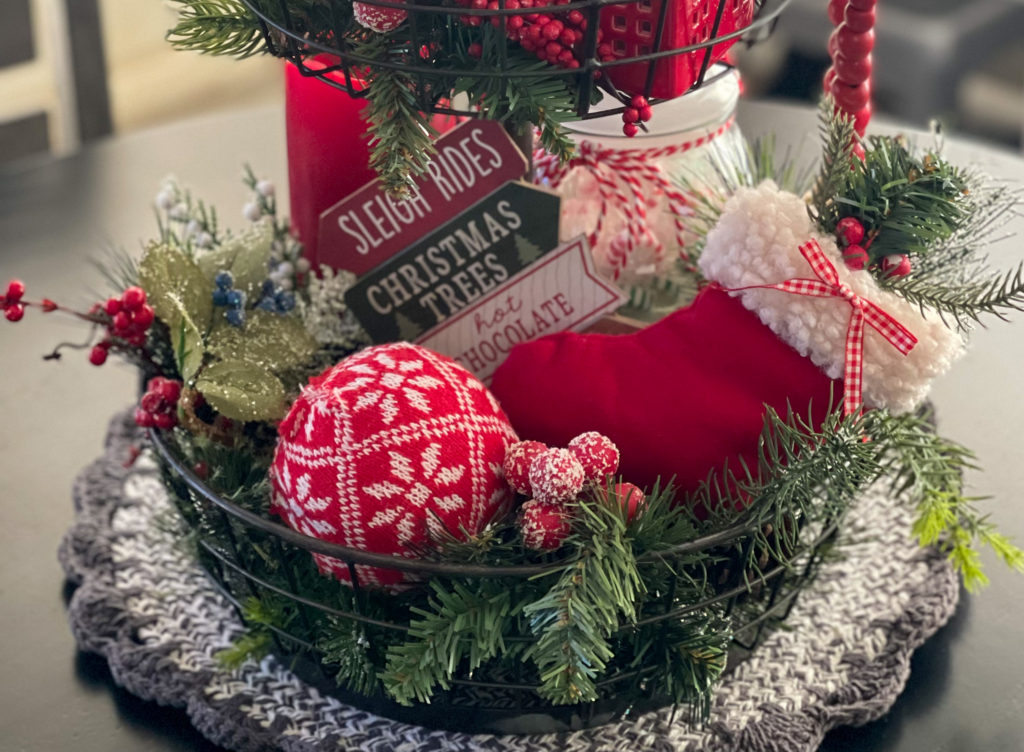
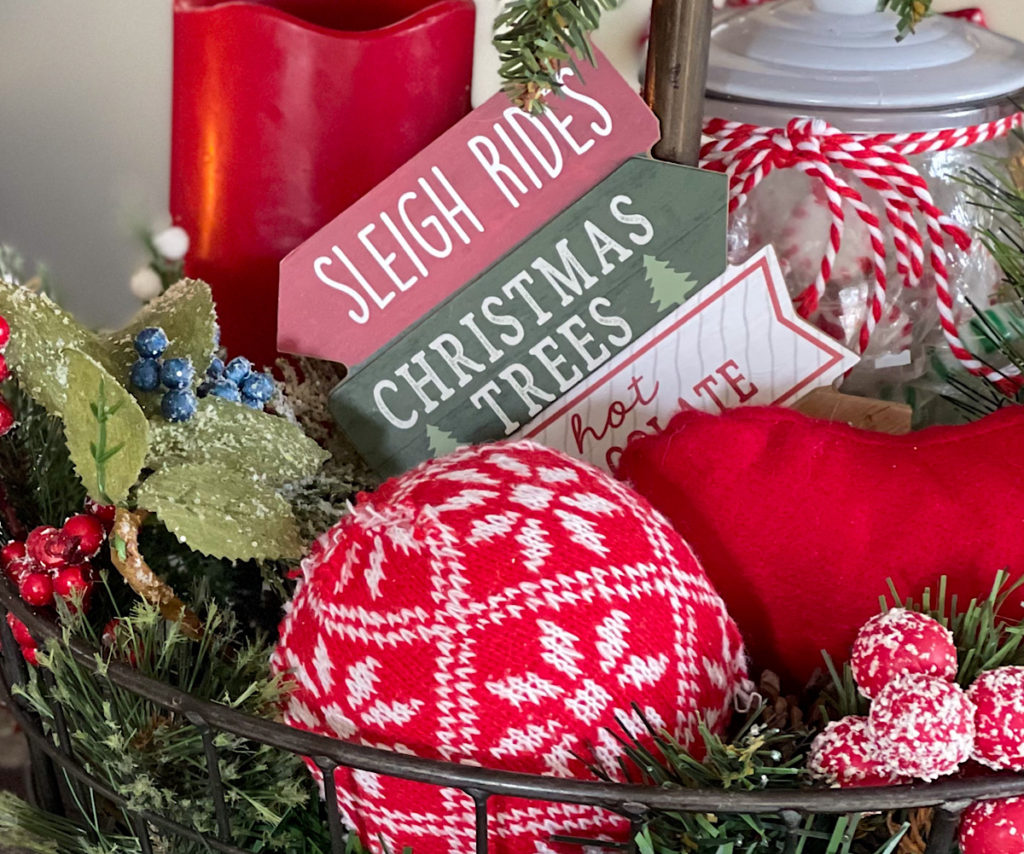
On the bottom tier, I added more red in the form of a knitted ball, cute little stocking and a candle.
Choosing Your Filler
The filler you choose is every bit as important as your main elements. This time of year there are so many options. Evergreen boughs, holly leaves, or cedar picks to name a few. Pine cones and berries or a combination of all!

The filler can take your tray from cute to absolutely gorgeous. It is not meant to take the place of your themed items, but simply to enhance them. Placing them strategically around the main pieces adds so much to the overall look.
Finishing Touches
To finish your tray, choose a few defining elements. Small signs that reflect your theme are a great way to go. Another idea is to add a small set of lights spread out among the elements. Finishing touches here and there will make your tray uniquely yours.
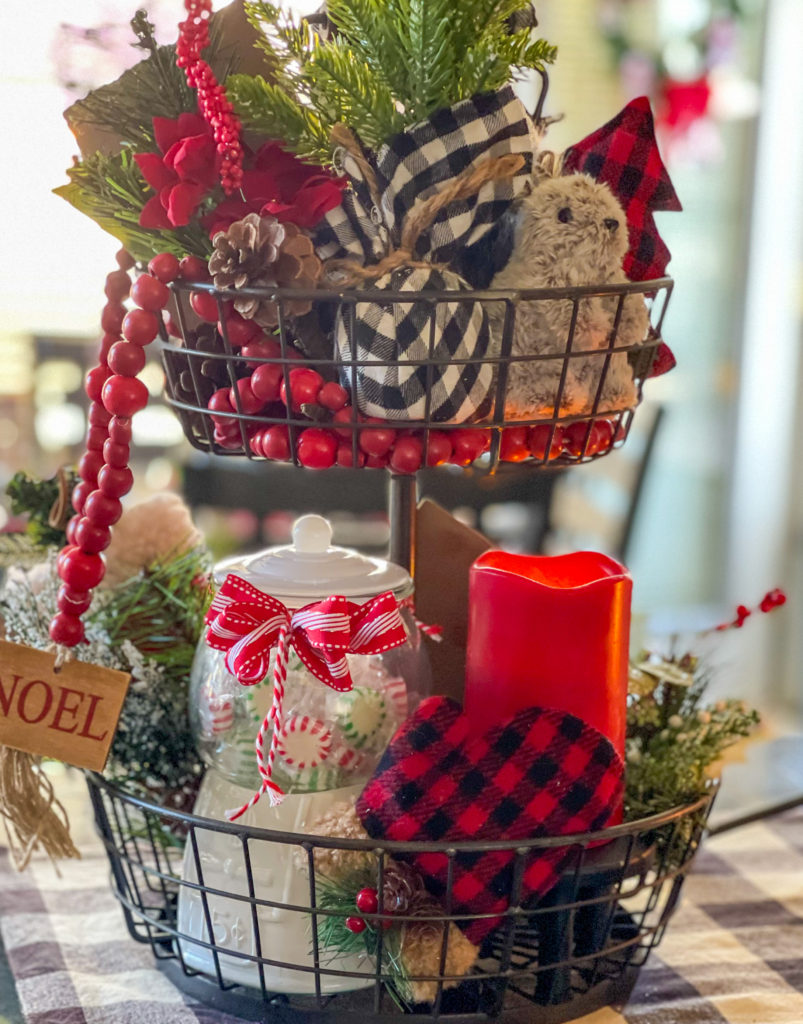
Keep in mind, if your tray will be on island where it is visible from either side like mine, you will need to fill in the backside as well. I added a few items, red in color, and a few others that simply make me smile.
I hope you’ve enjoyed your visit here today and will stop by often! If you’d like to make sure you’re always the first to know when new posts are added, simply add your email to the blue box below. Your subscription also gives you immediate access to all the seasonal prints in the Printable Library as well.
Next up…
Please continue on the tour with a visit to Linda at Crafts A La Mode Get your pinterest button ready because I know you’ll be pinning a lot from her post. She always has the best ideas!
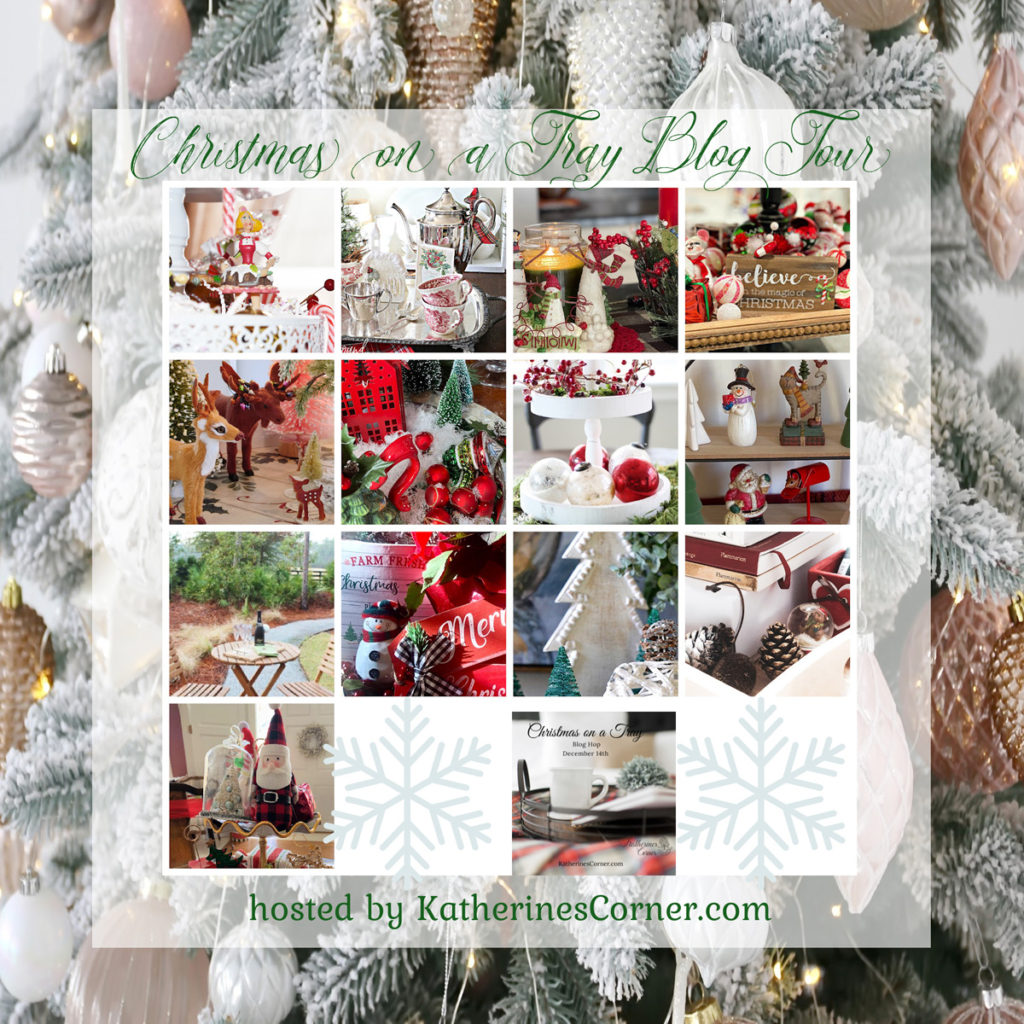
Christmas on a Tray Participating Blogs
Be sure to stop back and join me for my 2021 Holiday Home Tour!
Thank you for stopping by! Be sure to check out the Create the Look page for a few of my favorite tiered trays. That way when Santa asks what you want for Christmas… well, it’s always best to be prepared!
Merry Christmas Everyone!
I love your tray, well… I love them all! Thank you for sharing tips too. Thank you for participating in the tour my friend xo
Thanks so much Katherine! I so appreciate the time you’ve put into this and I’m so glad to be included!
It’s adorable Denise, I love the greenery and your little snowy red church! Wonderful combination of textures, and traditional red and green! I love tiered trays too, endless possibilities and so much fun to style!
Beautiful tray! I enjoyed every photo on this post!
Denise, I think people appreciate 101 instructions to walk them through the process. You’ve provided a perfect formula to follow and your end results are very cute and very merry!
Happy Christmas hugs,
RR
Hi Denise! I did a tiered tray too! I love yours! This is such a fun tour
Laura in Colorado
Can you believe I still don’t have a tiered tray?! Such a sad situation. Love how you decorated yours. So fun and festive. Merry Christmas!
Your tiered tray is super cute and festive! There’s so much to see, with lovely views all around. Best of all, being tiered, you get double the fun! I’m sure folks new to designing seasonal trays will find your guide/tips very helpful! Happy Holidays!
Thanks Sandra! It was such fun touring with you!
Your tray is stunning, love all the treats
Thanks so much Maria! Happy Holidays!
Looks so pretty! Thanks so much for linking up at the Unlimited Link Party 63. Pinned and/or shared!
Thanks Dee! Merry Christmas to you!
Hi Denise, so many cute ideas. I love the cocoa bar ideas and that adorable red church. Have a wonderful Christmas week!
Thanks Debra! I love that church too. Wishing you a wonderful Christmas!
Your tiered tray is so fun and festive! Thanks for sharing at Vintage Charm–pinned!
Thank you Cecilia! So appreciate the pin!
I’m a huge fan of tiered trays as well! Just changed out my fall-inspired one to my Christmas one — such fun! Thanks for sharing at Vintage Charm. xo Kathleen
Thanks Kathleen! Love the party!
It looks like we have some of the same ideas when it comes to styling a tiered tray! You have styled yours so pretty! I love all of the icy and snowy accents combined with all of the red and white. This is truly an expression of Christmas and winter! I hope you have a blessed holiday with family!
We do Chloe! I loved your tray! Merry Christmas to you!
Your tray is so festive! We’ve made several tiered trays from reclaimed items and sold them in our vendor booth at the local shop where we sell our items. Sadly, I haven’t kept even one of them! Yours is lovely!
Thank you Cindy! That’s fantastic and your willpower is amazing. I’d want to keep every one! Have a wonderful holiday!
Gosh, Denise, I was certain I left you a comment before on how much I love your tray, but I don’t see it. Well, now I’m going to prove it! I’m featuring you tomorrow at the TFT party! 🙂 Happy New Year!
Thanks so much Theresa! Wishing you a wonderful New Year!