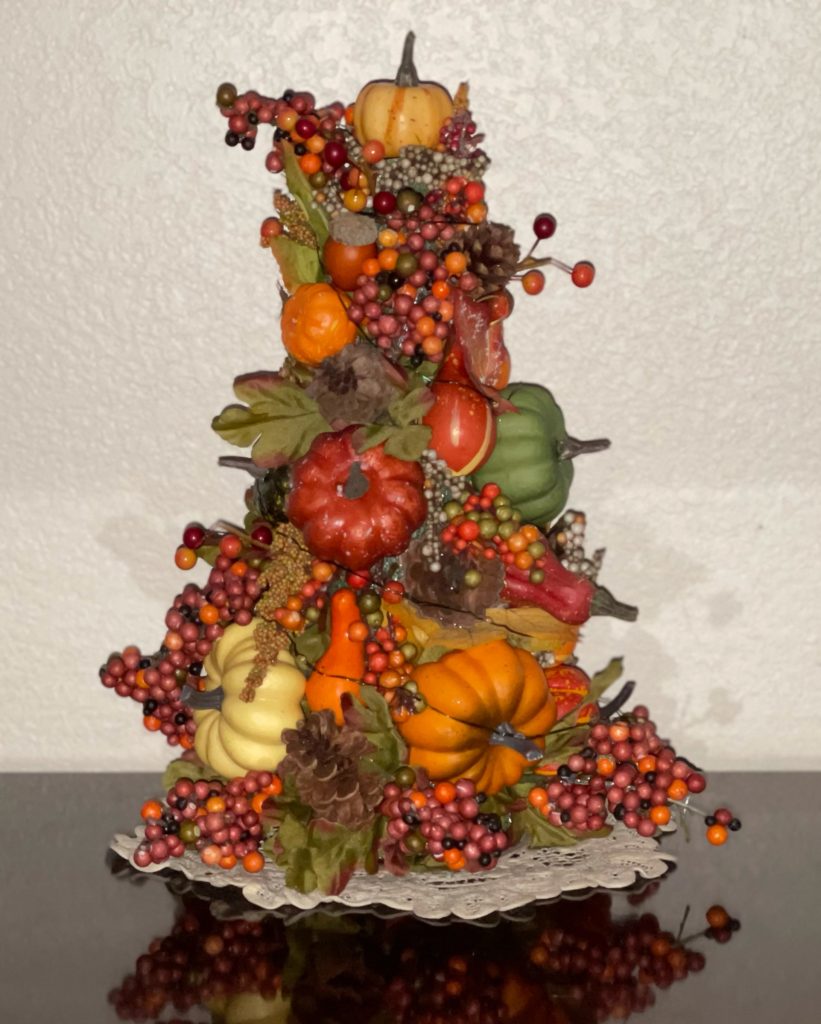
Although we still have a few weeks to go, I can definitely feel fall in the air today! I’ve barely started decorating but I decided I needed a fun little project to help me let go of the passing summer. So… lets make a pretty harvest tree together!

I love welcoming in a new season with a decoration that’s brand new too. While checking my craft bins earlier this week and hoping for some inspiration, I found a floral styrofoam cone still in its wrapping. I’ve used them in the past to make tabletop Christmas trees so I thought a fall themed tree might be fun to try.
Digging further into the bin, I found leaves, pine cones, and several fall picks. Bingo! Grabbing a few bags of mini pumpkins as well, I went to town! I loved the end result so I thought I’d share it with you today in case you’d like to make a pretty harvest tree of your very own!
Fall Tree Supply List
- 9 inch Floral styrofoam cone
- 8-10 fall picks
- 2 bags of mini pumpkins and gourds
- 1 bag of 2- 2 ½ inch pumpkins
- 1 bag of fall leaves
- Small piece of cardboard
- Wire Cutters
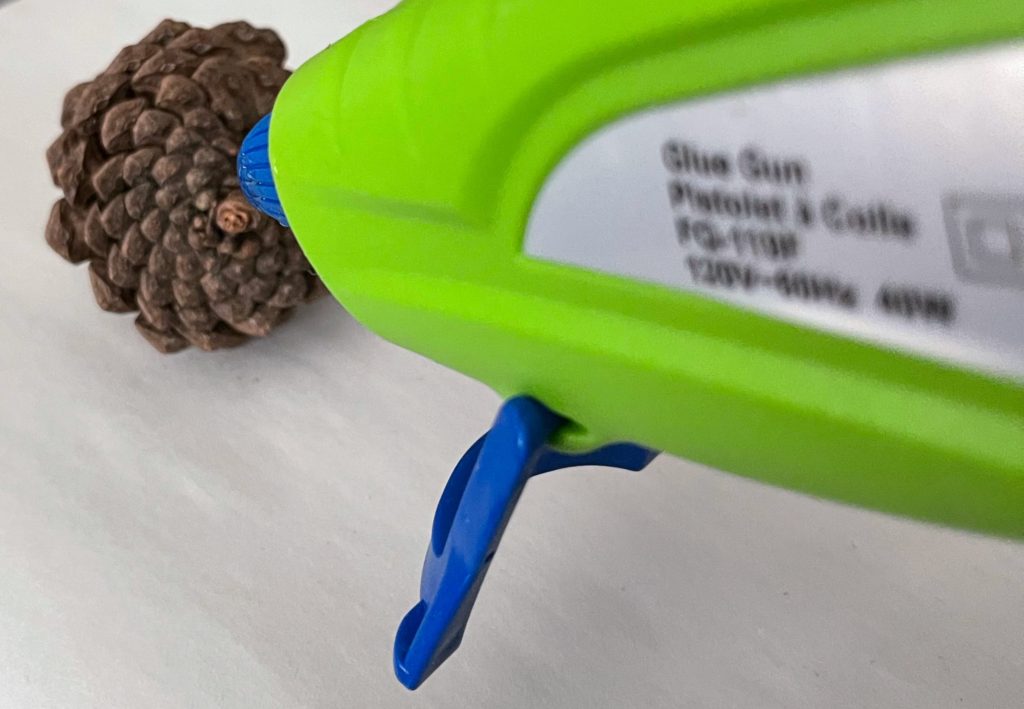
- Glue Gun
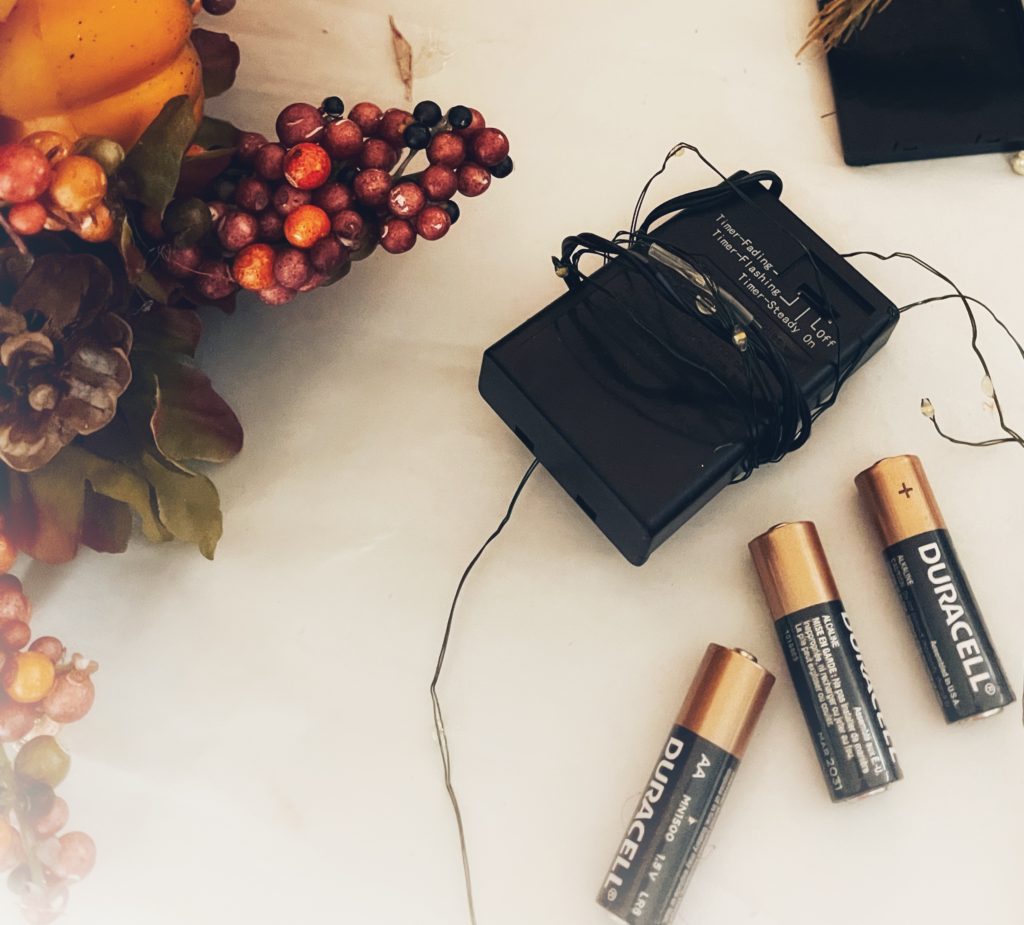
- Small strand of Fairy lights (20 to 30 lights)
Step 1 – Getting Started
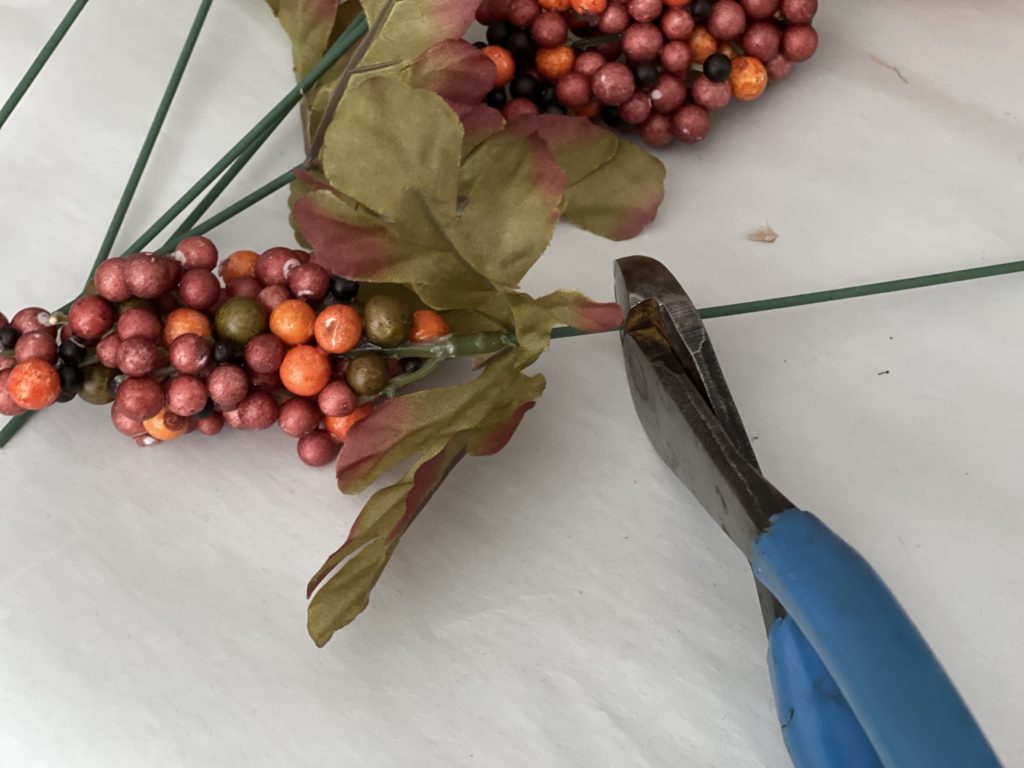
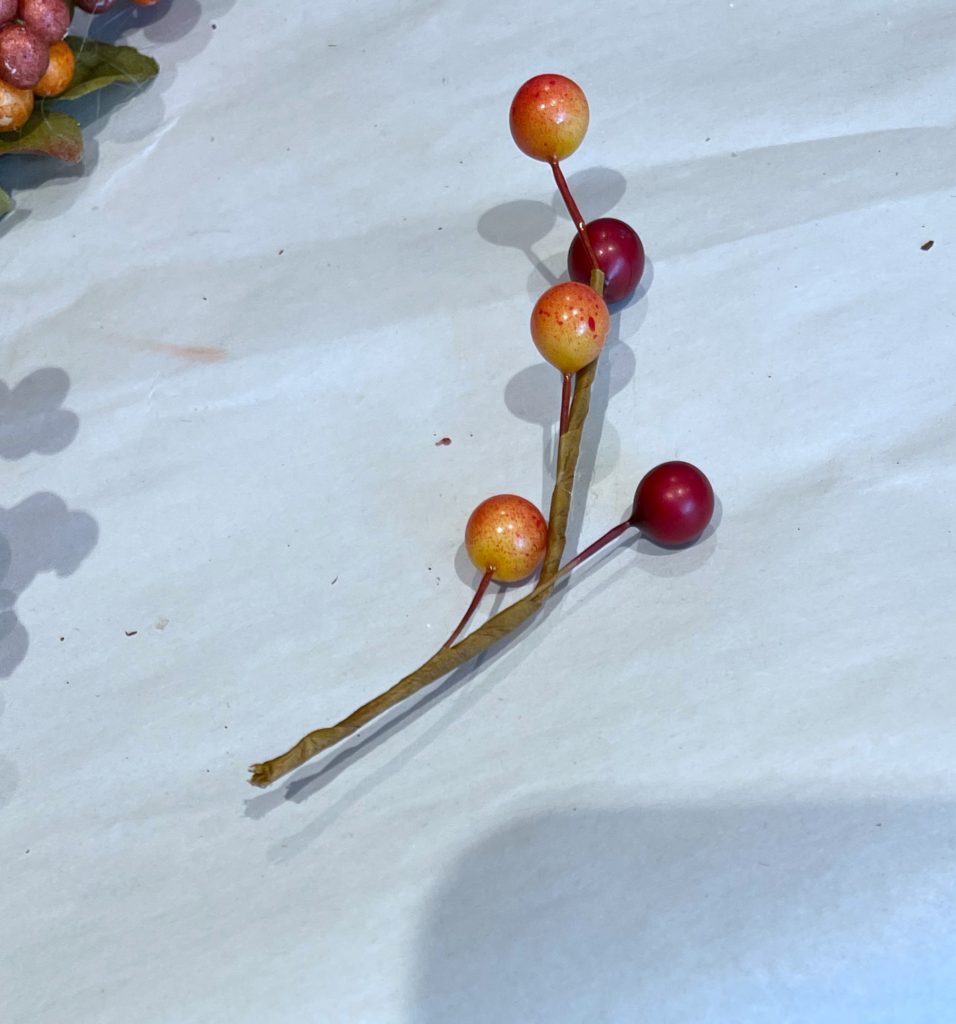
Using your wire cutters, trim each part of the picks leaving a 1 to 1 ½ inch stem.
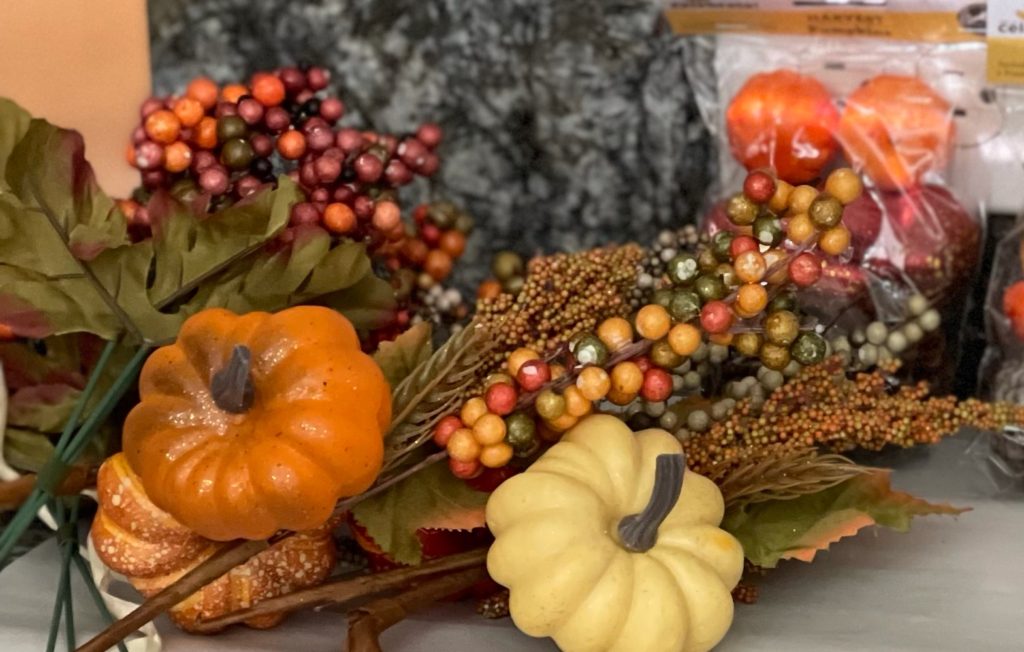
Tip: Choose picks that have numerous parts to them. I found several last year that had pumpkins, pip berries, and leaves. Three or more elements on one pick will go a long way to fill in your harvest tree.
Step 2 – Adding Fall Picks
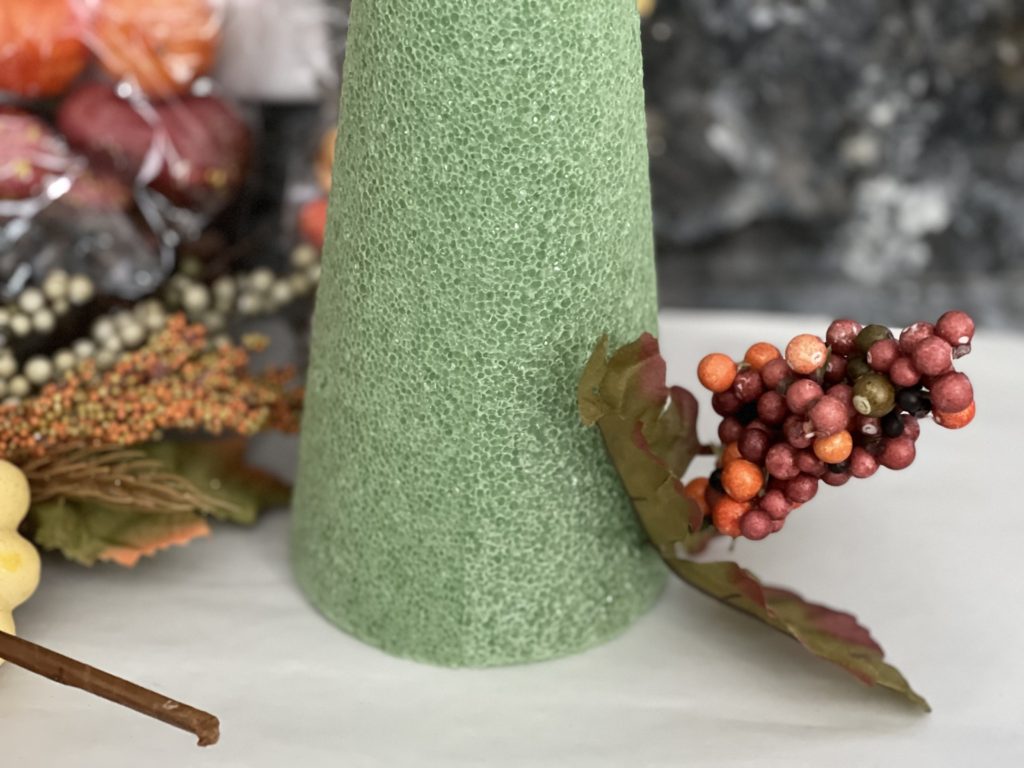
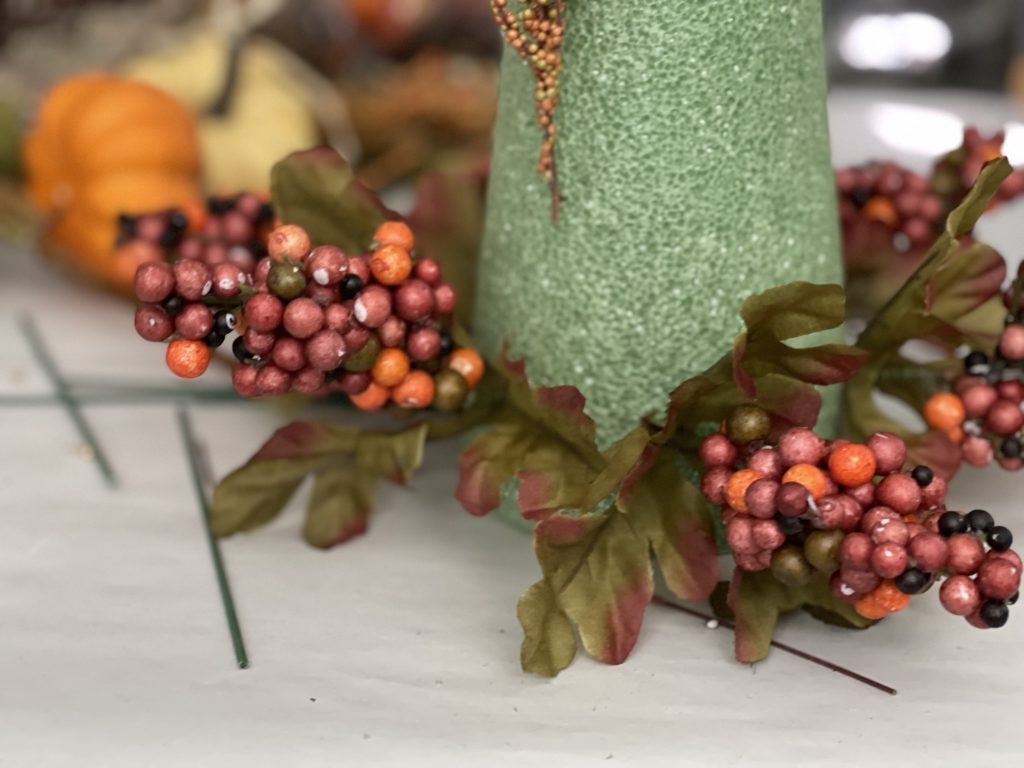
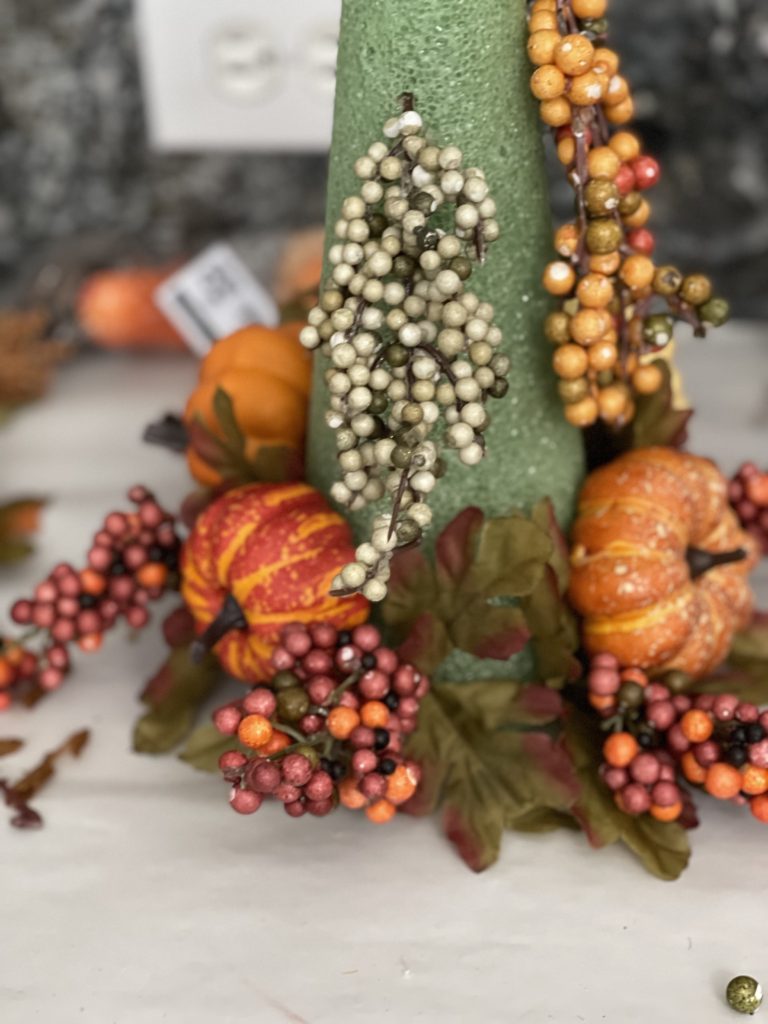
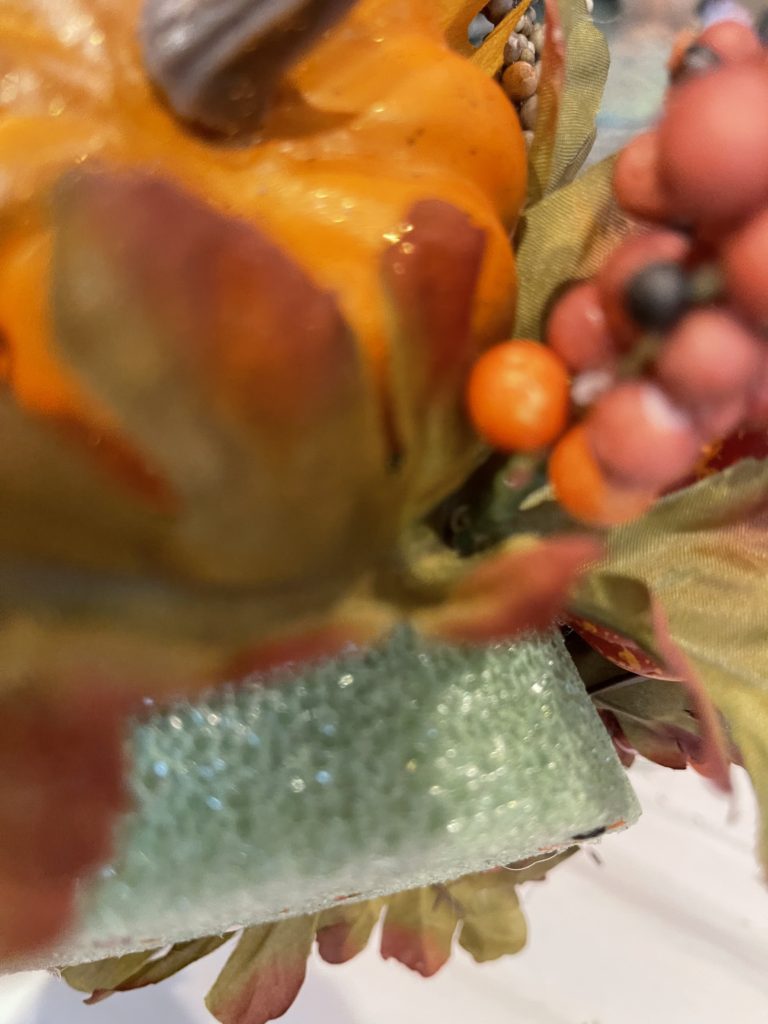
Starting at the bottom, add your picks intermittently all the way around the base. Add another staggered layer 1 ½ inches above the first row. Continue adding rows to the top of the cone.
Tip: Add a dot of glue to each stem before poking it into the styrofoam for extra strength.
Step 3 – Adding Fall Elements
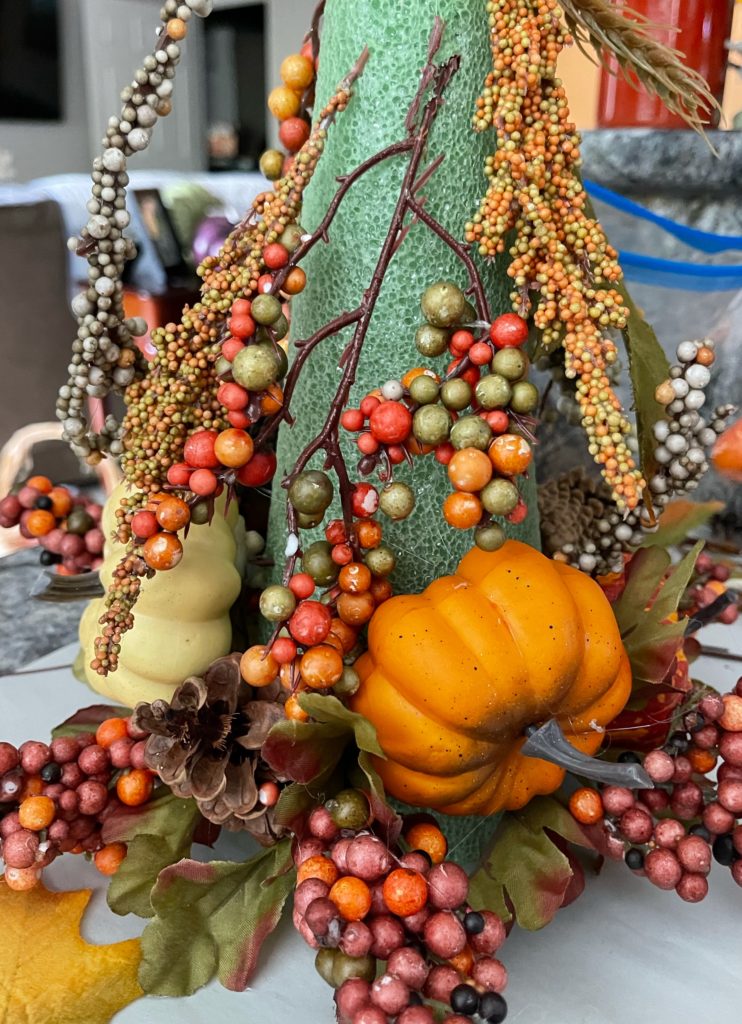
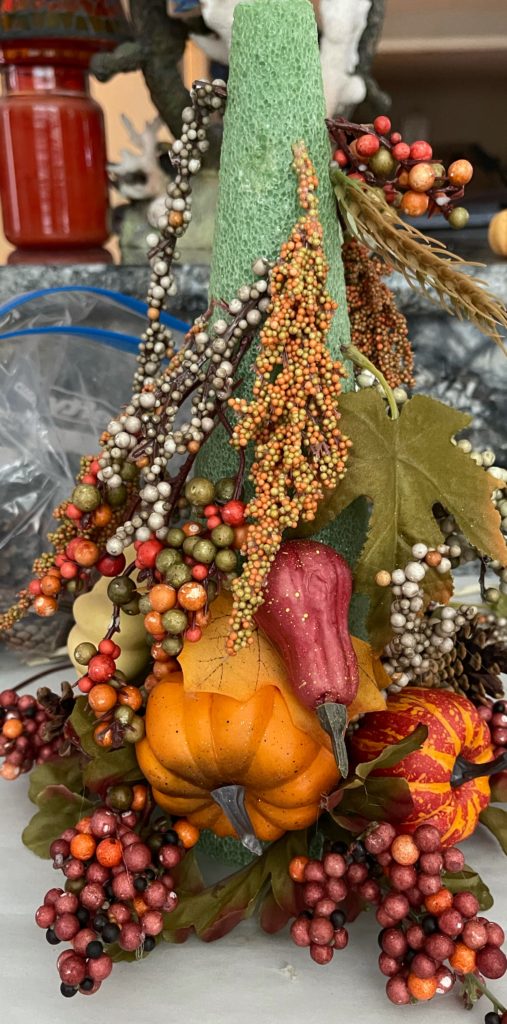
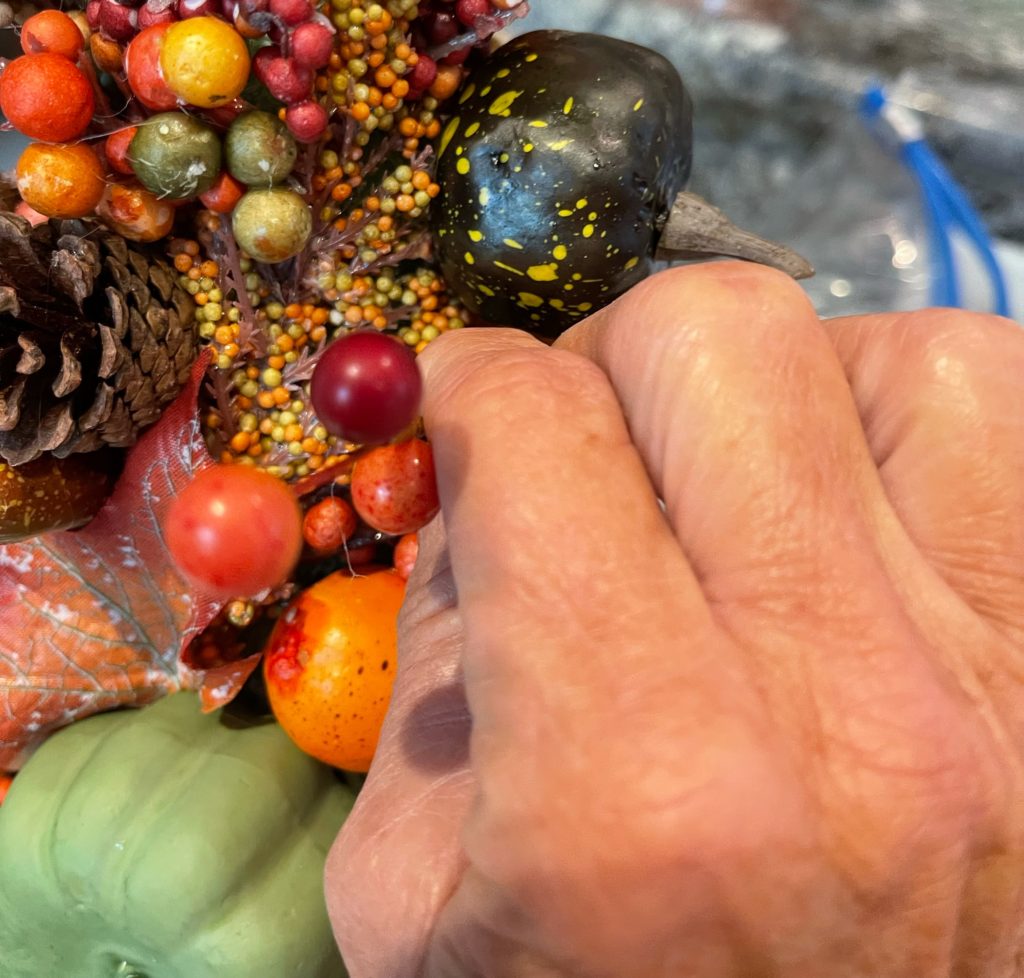
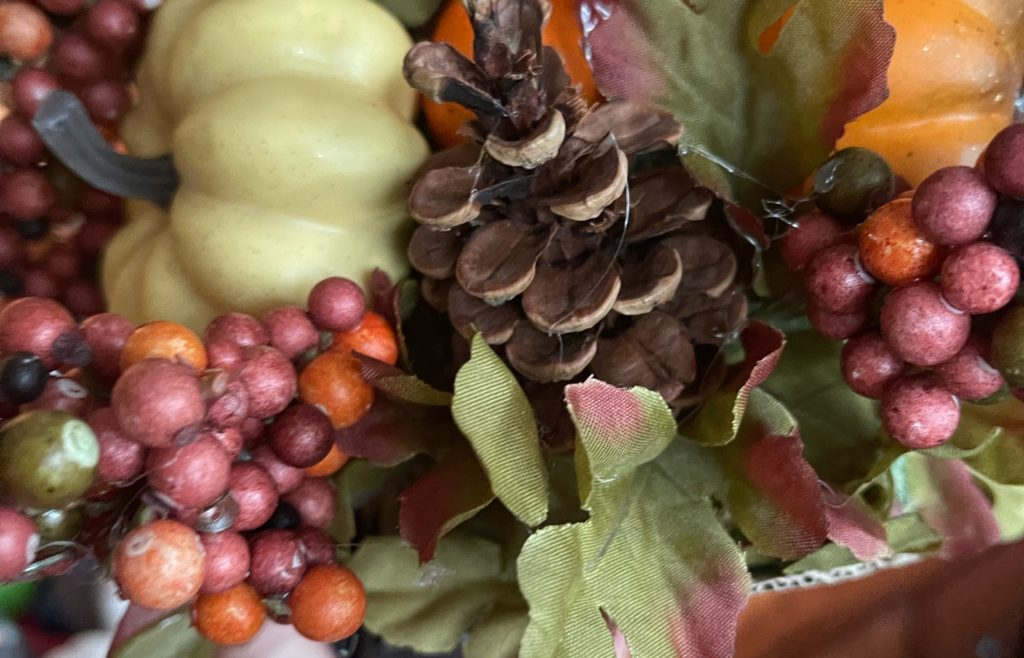
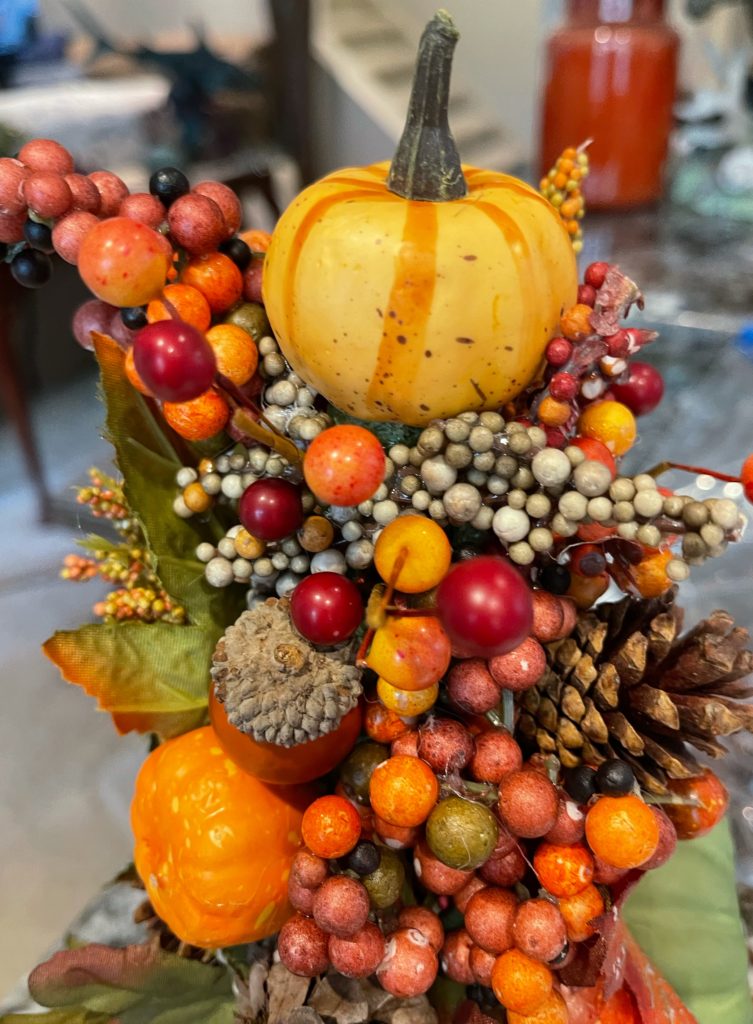
Using your glue gun, add pine cones, leaves, pumpkins, gourds, and acorns to fill in the spaces between the picks. As you work your way up, your harvest tree should be starting to take shape! Set aside smaller elements to use as filler in the next step.
Tip: Choose your prettiest pumpkin to crown your finished tree.
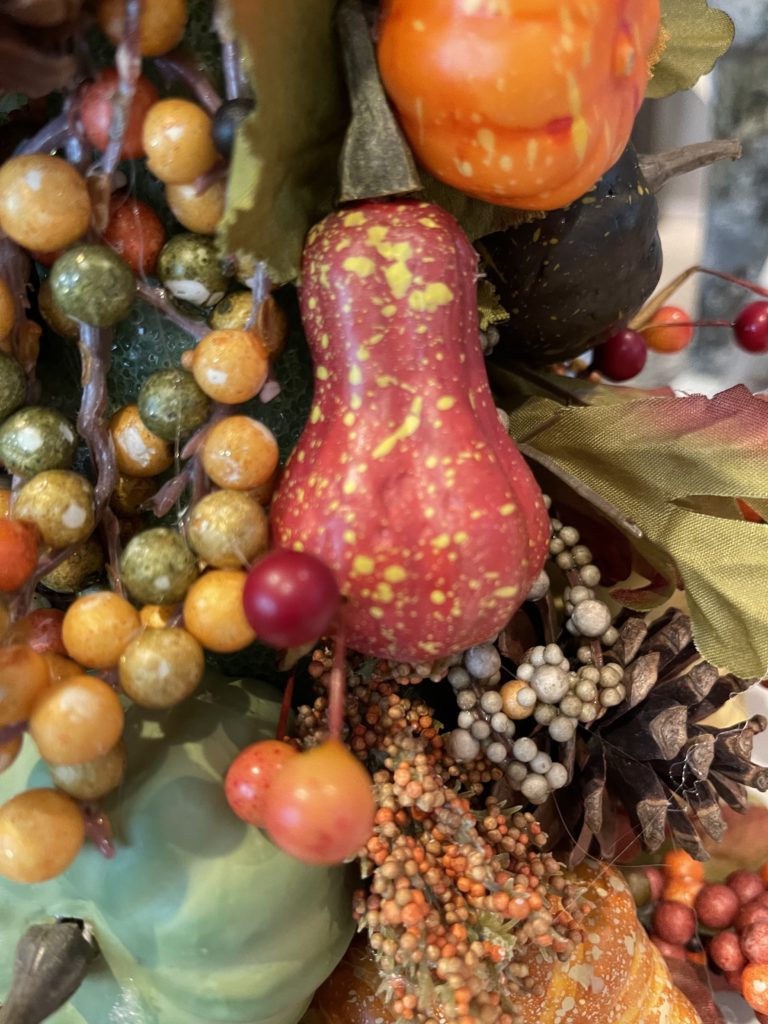
Step 4 – Adding Fillers
Turning your tree, check for noticeable bare spots. Use smaller elements as filler to these areas.
Tip: Leaves can be folded to fit in just about anywhere.
Step 5 – Finishing the Crown and Base
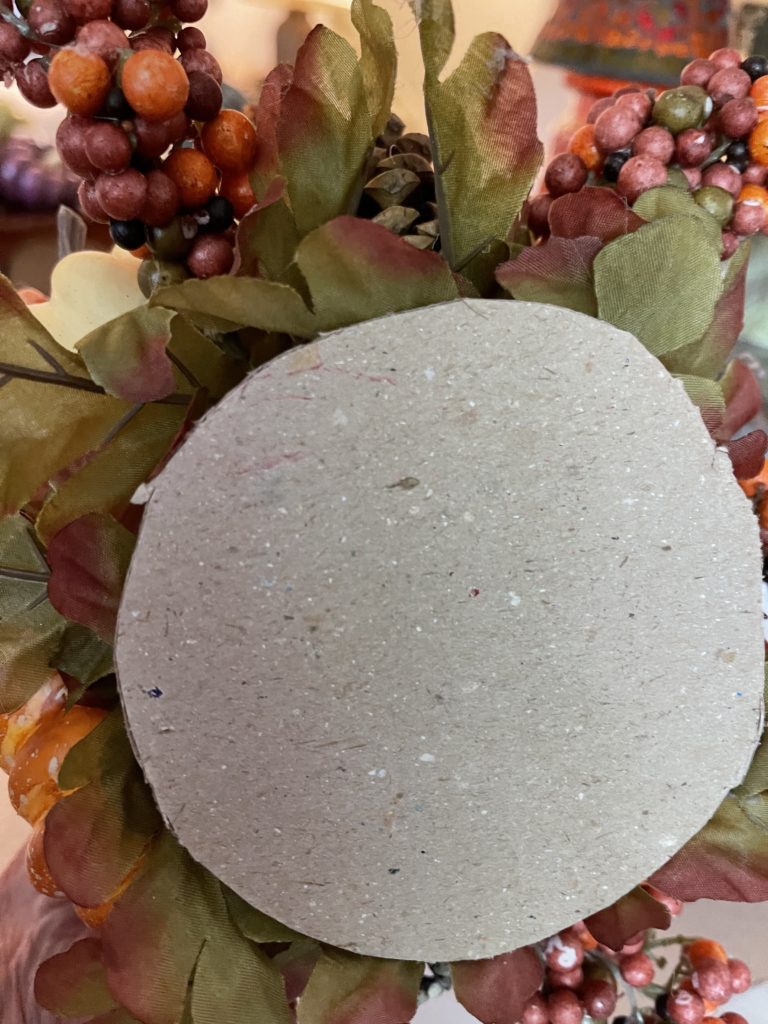
Starting again at the bottom of your tree, glue leaves to cover the styrofoam below your first row of picks. Cut a piece of cardboard to fit the circumference of the tree and glue it to the bottom. Crown your tree with a small pumpkin.
Tip: Lightly spray a clear sealer on your tree. This will keep the pip berries from fading.
I love my harvest tree but there’s just one more step to follow before it’s complete.
Step 6 – Light it Up
The final touch to make your harvest tree a new fall favorite is to light it up. A single small strand of battery operated fairy lights will do nicely.
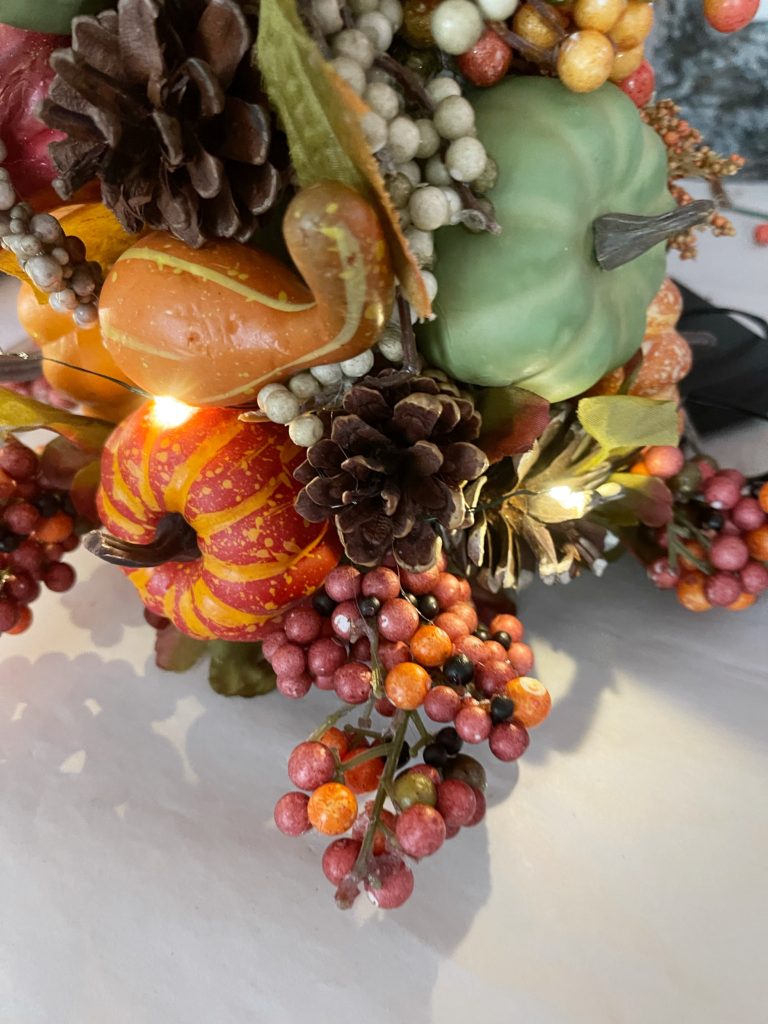
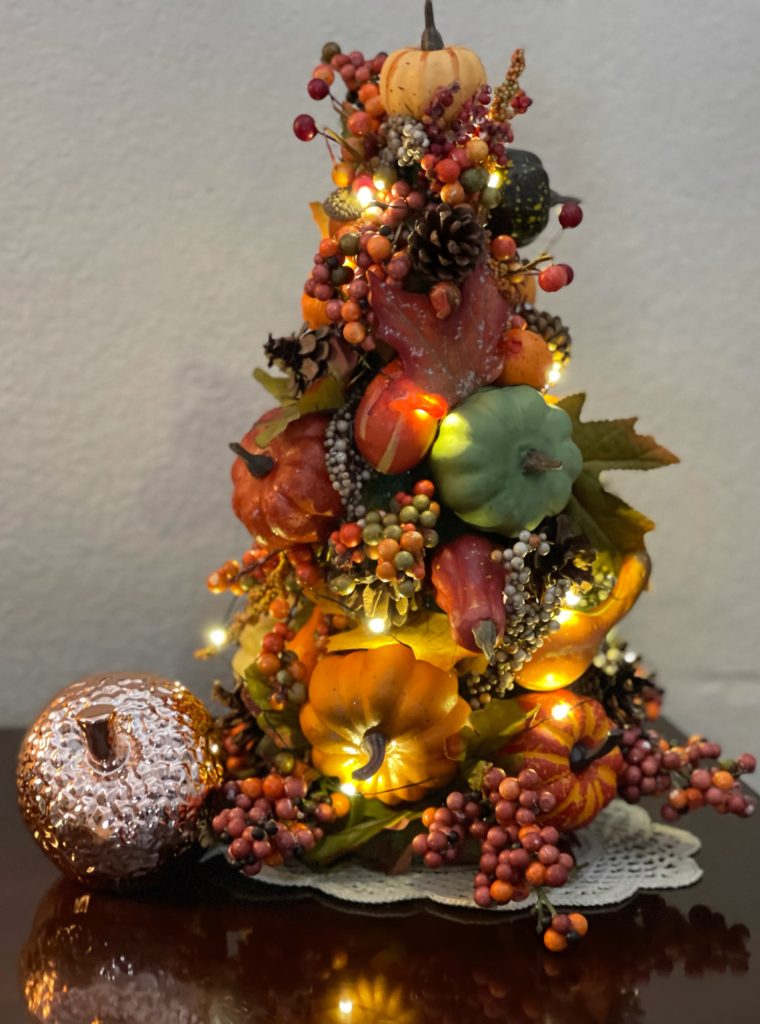
All that’s left to do is to decide where your new harvest tree will go. I’m working on that right now…
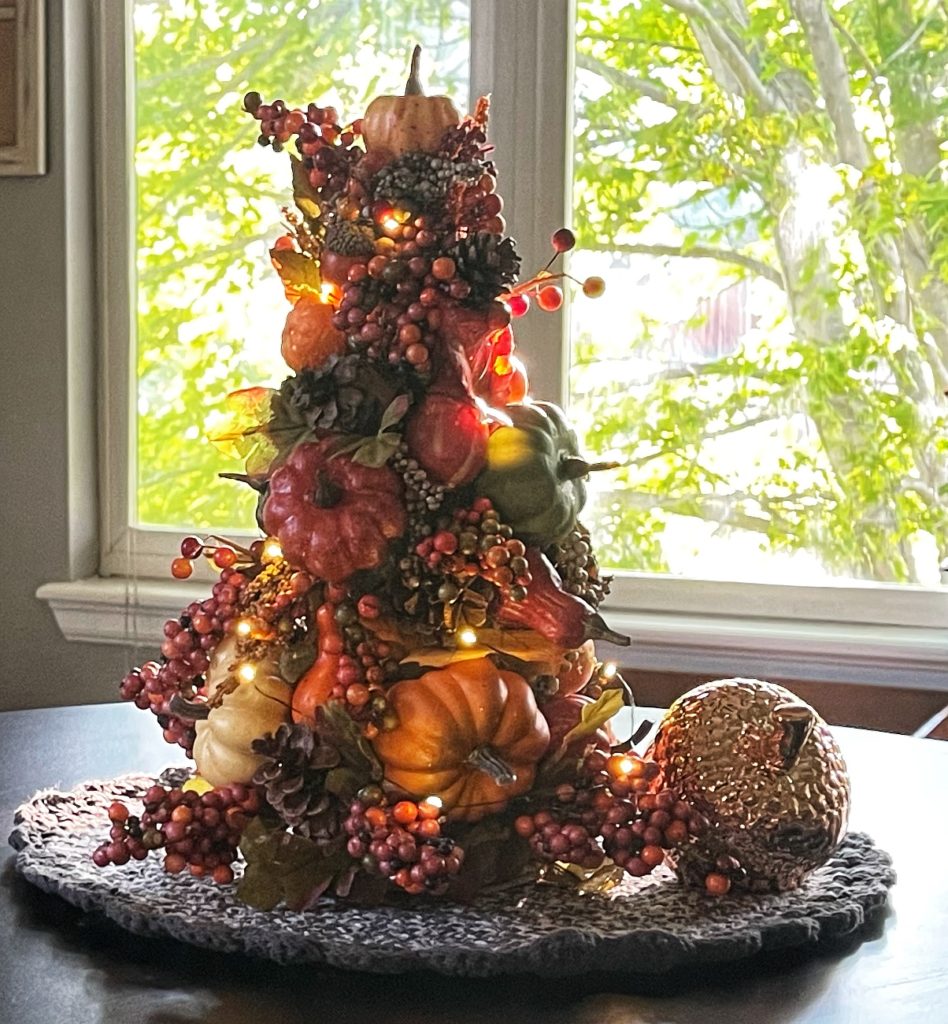
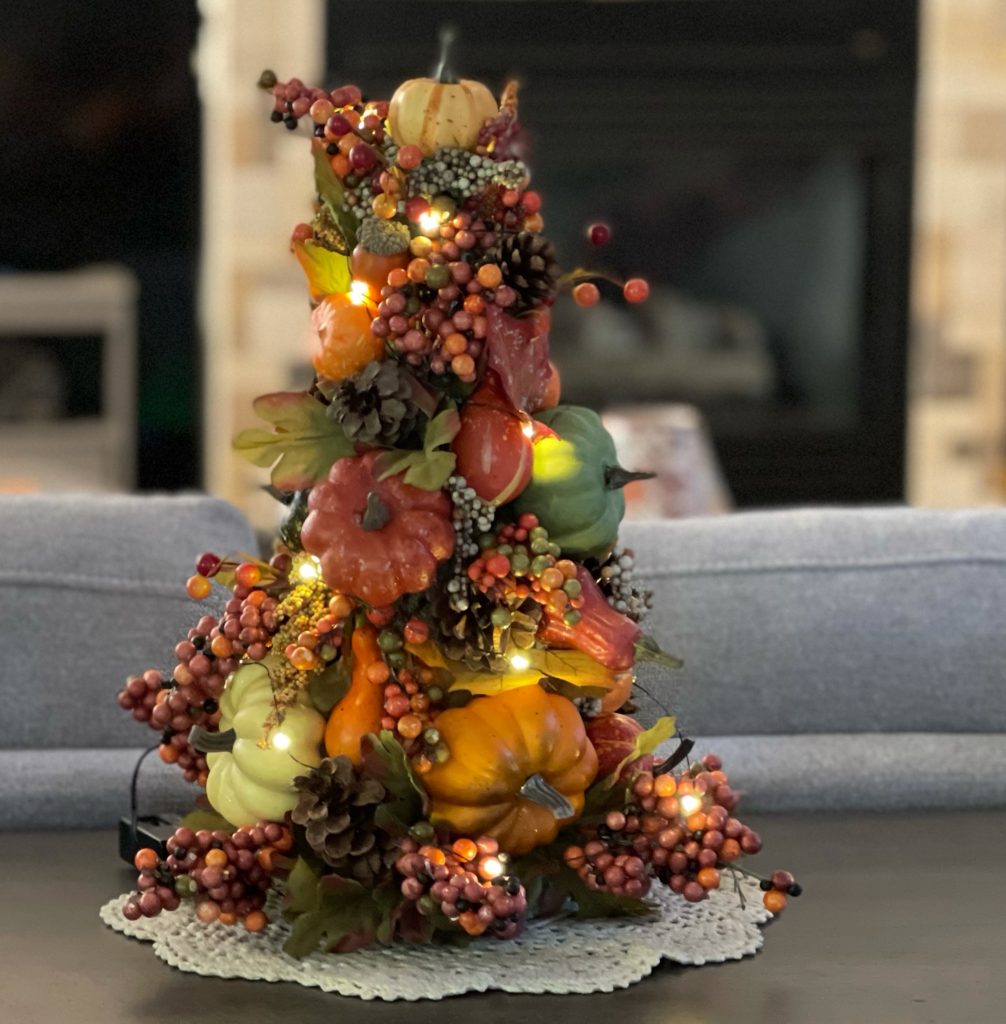
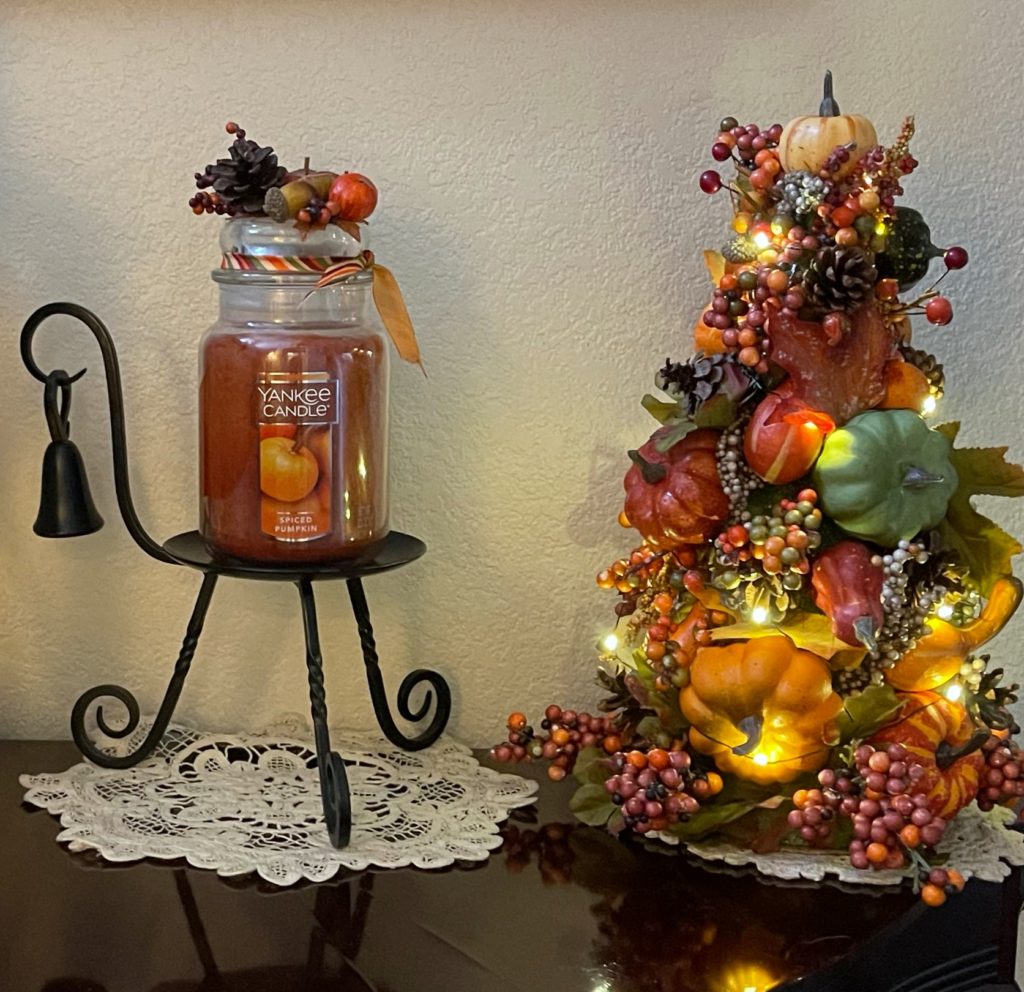
No need to decide today! I will be jumping into a full on fall decorating mode soon enough and there will be a place for it. Taking less than 20 minutes to put together, I know it will be a favorite for years to come. I fully intend to make a second one as a gift for someone special. I love a quick and easy project!
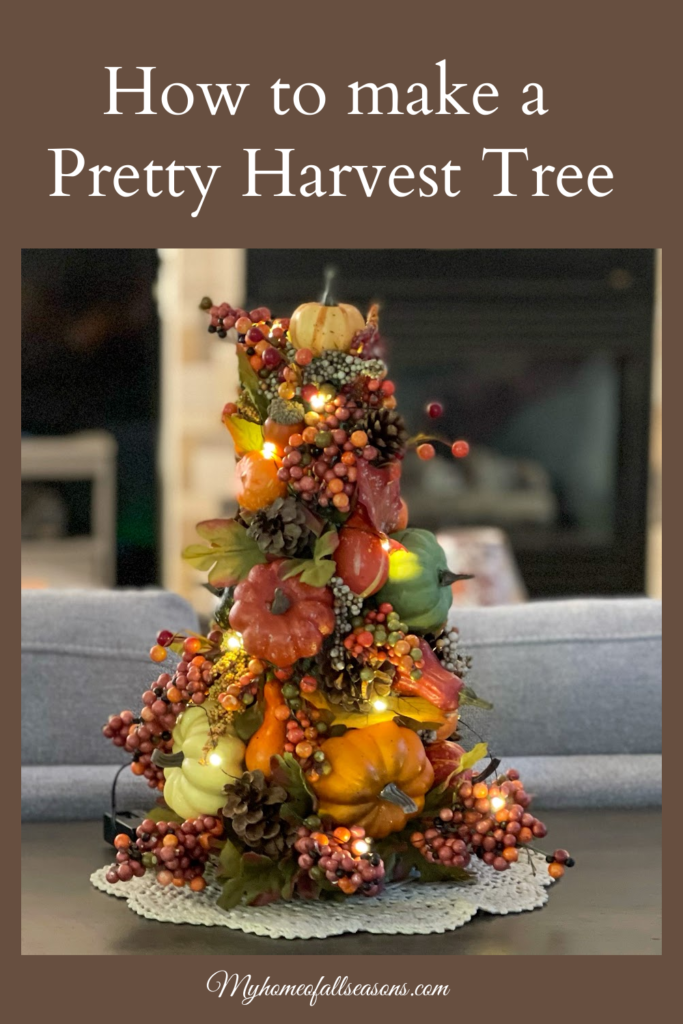
Depending on where you live, a quick trip to the Dollar Tree or Walmart will get you everything you need. Maybe you even have a few bottomless craft bins like I do and can find it all right there. I am aware, however, that there are those who are experiencing new lockdowns or simply feel better shopping from home. I’ve added this section with you in mind.
This page includes Amazon Affiliate Links. As an Amazon Associate, My Home of AlI Seasons may earn from qualifying purchases at no additional cost to you. Please see our full disclosure here.


I hope you’ve enjoyed this post and I am looking forward to seeing you again soon! Before you leave be sure to check out my latest post Kick Off Fall With A New Autumn Printable.
If you haven’t yet subscribed, I hope you will! Your subscription will give you immediate access to everything in the Printable Library. In addition, the weekly/bi-weekly newsletter will keep you up to date on everything new in seasonal home decor! Add your email to the form below, confirm your subscription, and come along as we decorate our way through a new season!


One of the prettiest fall decorations I have seen. Thanks
Thank you Patti! If you decide to make one I would love to see your version of it. Happy Sunday to you!
I love this centerpiece. Great job! Thank you for sharing.
Thanks so much Rebecca! Our daughter is here visiting from San Diego this week and has claimed it as her own! Guess I better get started on a 2nd one. Have a great week!
This is so pretty. I love what the fairy lights add.
Thanks so much Janet! Have a great week ahead.
Just beautiful! Smiles, Linda at Paper Seedlings
Thank you Linda! So glad you stopped by!
This is so pretty and such a wonderful idea. Loving the fairy lights, they add such a magical touch!
Thanks so much Debra! Have a great week!
Love this! So Pretty!
Thanks Jenna! So glad you stopped by! Have a great week.
How lovely is your fall tree! I would love to try this!
Be a sweetie,
Shelia 😉
Thanks so much Shelia! Would love to see your rendition if you decide to do one!
This is so perfectly fall! I love it. Hoping to make one for myself. Pinned
Thanks so much Cindy! I would love to see what you do with it! Your projects are always so gorgeous! Glad you stopped by and happy almost fall!
How pretty and so cool that it lights up!! Thanks so much for linking up at the Unlimited Link Party 33. Pinned!
Thanks Dee! I love adding lights to just about everything!
So cute! I will be featuring this as my feature on Happiness is Homemade this Sunday. Thanks for sharing!
Thanks so much Niki! Have a great weekend!
What a lovely idea, a perfect for this time of year. The lights add a beautiful extra touch.
Thanks so much Julie! I love adding lights to just about everything this time of year! Thanks so much for stopping by and have a great week.
How pretty! Thanks for sharing.
Thank you Sarah! I sent this one home to San Diego with my daughter. I’m working on a second one. So much fun to make!
I love this idea, Denise! The addition of the lights adds some nice warmth to it. You’ve got my wheels spinning. Thanks for sharing, Suzanne
Thank you Suzanne! They are so much fun to make. Glad you stopped by and have a great weekend ahead.
CONGRATS! Your post is FEATURED at my Unlimited Link Party 34!
Thank you Dee! That little tree is now living by the sea in San Diego. I sent it home with Katie and I’m extremely jealous! Thanks again and have a great weekend.
This is such a great idea. I probably have most the supplies in my craft room as well. Thanks for the inspiration. #HomeMattersParty
Thanks Donna! They are such an easy thing to make. So jealous of your “craft room!” Someday maybe. Right now it’s always a little like living out of a suitcase with all my crafting supplies in endless bins. Have a great weekend.
This is the sweetest little tree, I dont usually like fall colors but I love the choices you made to create this centerpiece. Beautiful!!
Thank you for sharing on #omhgww, hope you will stop by and join us again next week.
Thanks so much Karren! I appreciate you stopping by and I will definitely be at the next #omhgww party. I find such great inspiration there and I thank you again for hosting each week! Have a wonderful day!
Denise,
I absolutely love this!! So pretty!! Thanks so much for sharing!!
Hugs,
Debbie
Thank you Debbie! I’m so glad you stopped by! Take care my friend!