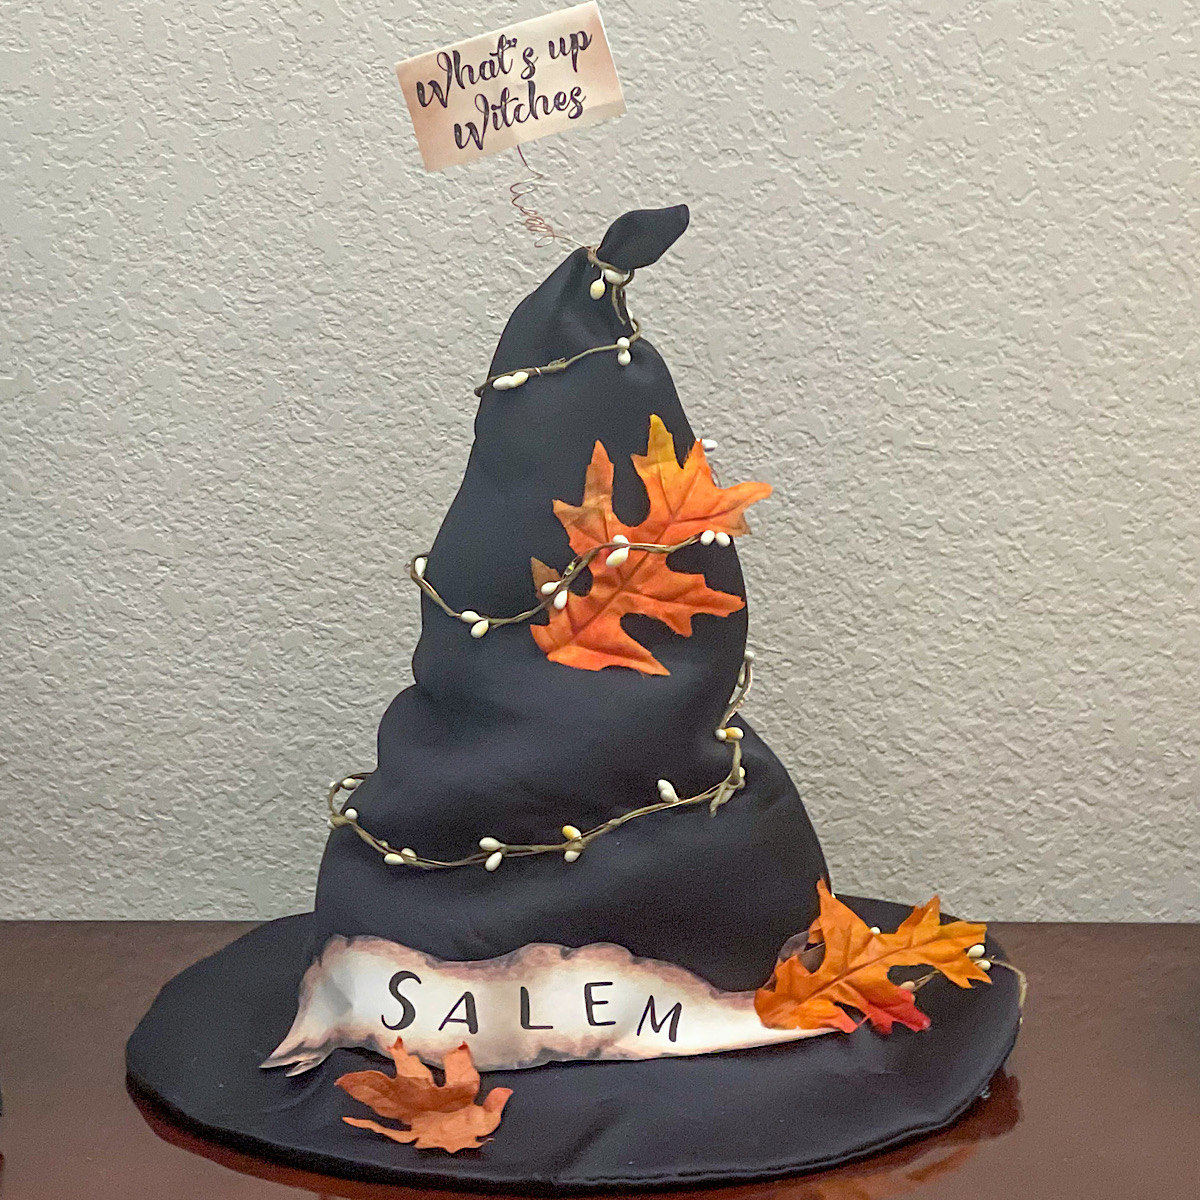
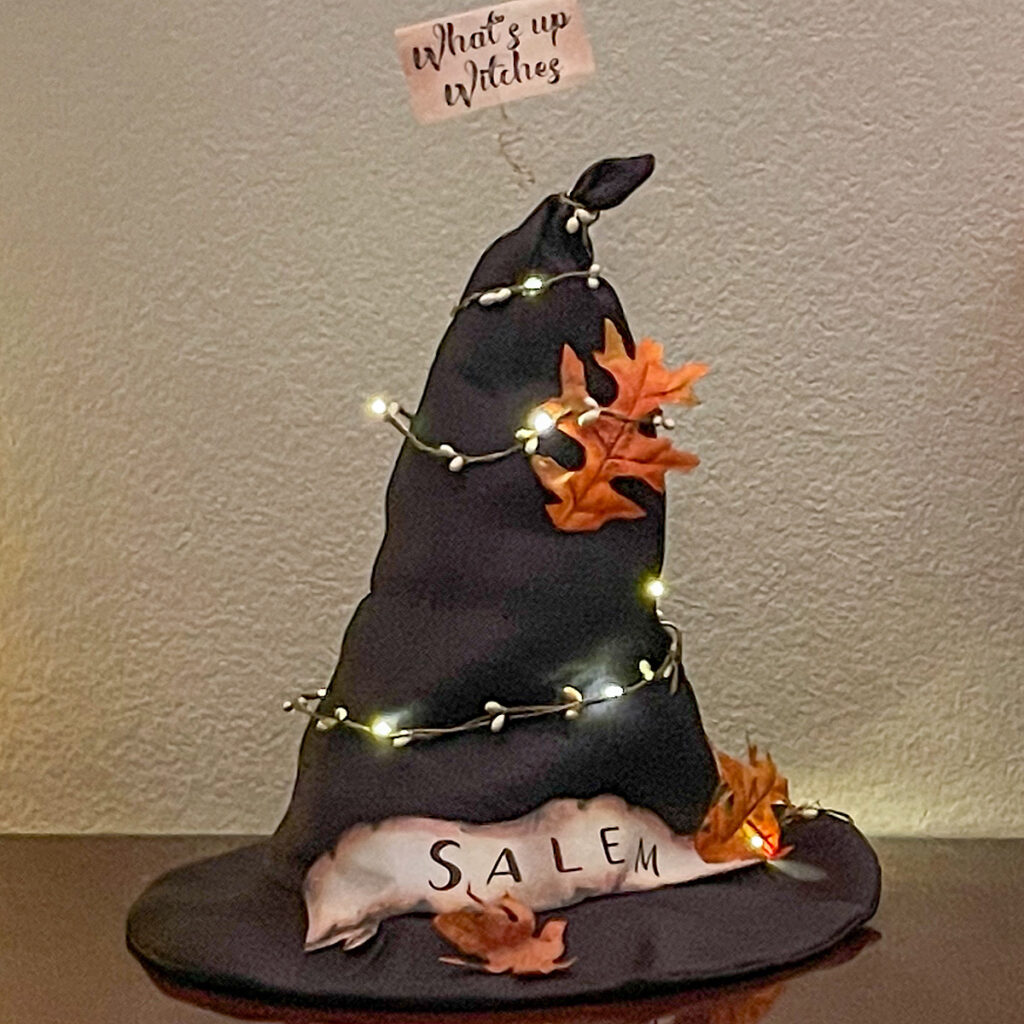
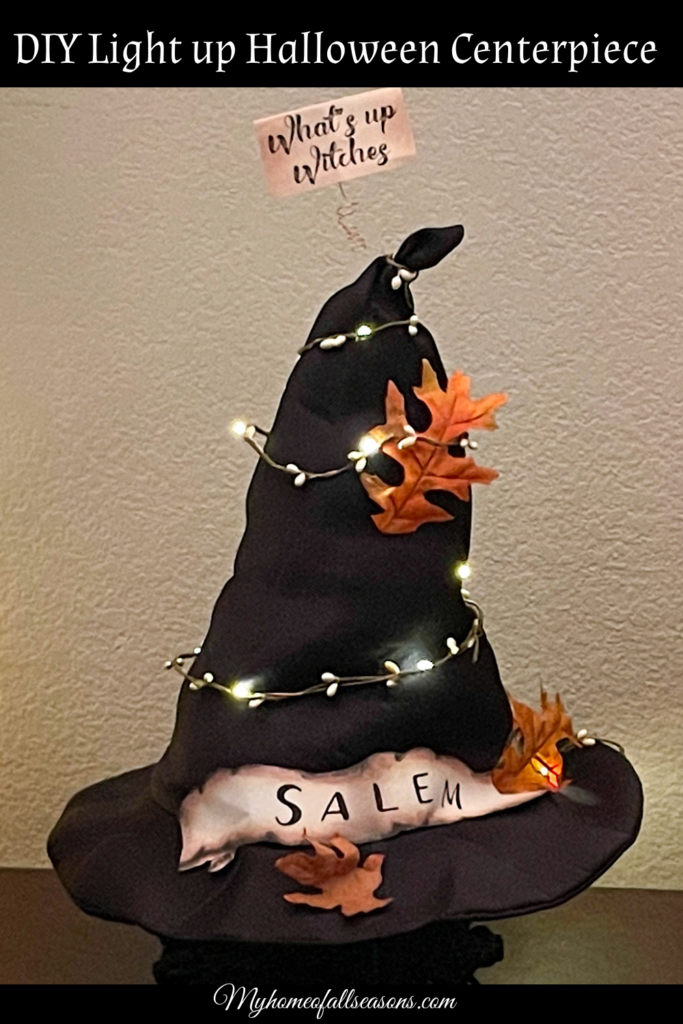
Halloween is on it’s way and I’m just not ready! The house is decked out for fall but there’s not much spooky going on inside. So I put together a witchy centerpiece and I’m sharing it with you. Got 10 minutes? That’s really all you need!

Halloween is such a fun Holiday! I love driving through town and seeing all the ghosts and goblins that decorate the streets. So cute, but my absolute favorite displays are the ones with a witch or two!
With that in mind, I wanted to add a bit of a witchy vibe inside my home as well. I had a witch’s hat in my craft bin and that got me thinking. That’s usually a very dangerous thing! When I’m contemplating a project, it normally means I’ll be missing in action for days. I’ll make numerous trips to the craft store and change it 10 times before I’m satisfied.
But… not this time! I had a plan in mind and everything I needed to make it a reality on hand. Once I gathered my supplies, it took less then 10 minutes start to finish. I love the end result and today I’m making a 2nd one to take to my daughter when we visit her next week. I’m sharing the process here today.
This page includes Amazon Affiliate Links. As an Amazon Associate, My Home of AlI Seasons may earn from qualifying purchases at no additional cost to you. Please see our full disclosure here.
Witchy Centerpiece Supplies
- Witch Hat ( I used a satin foam backed hat -linked below)
- 16- 20 ounce bag of Poly-fill
- White pip berries
- Fall faux leaves
- Double-sided tape
- Glue gun
- Needle/Black Thread
- Cardboard ( a dinner sized paper plate worked perfectly)
- Copper crafting wire
- Salem/What’s up printable (shared below)
- Mini lights
Instructions
Step 1 – Twist the top of the hat about two inches down and add a few stitches to hold the point to one side. It’s not necessary but I love the look!
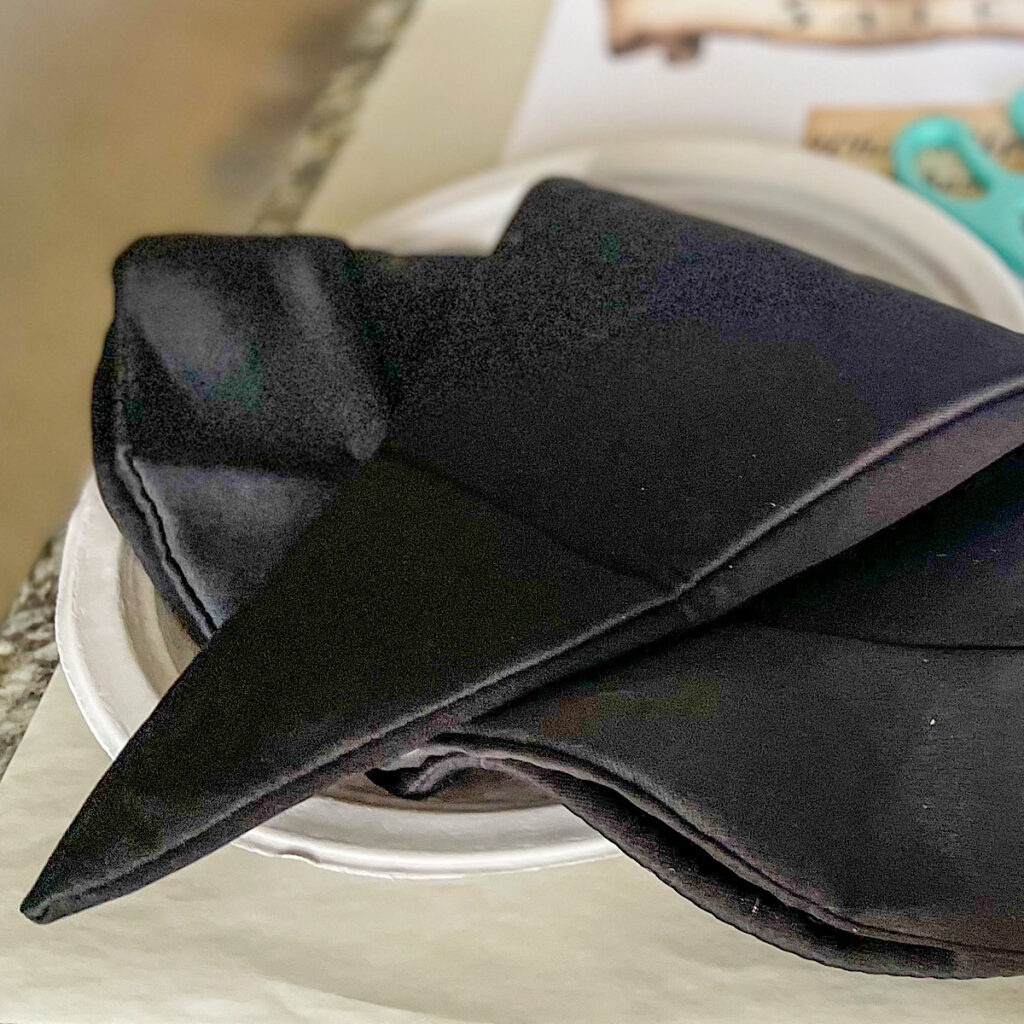
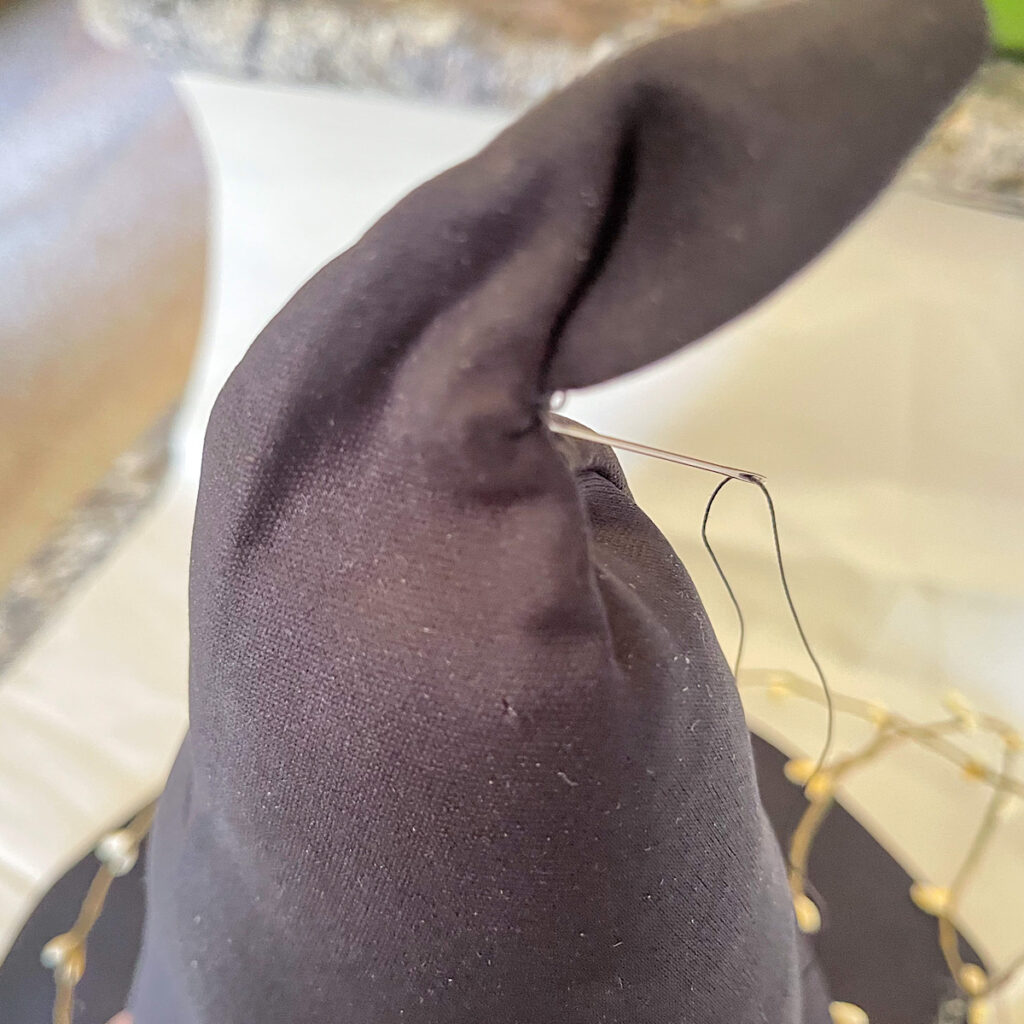
Step 2 – Stuff the hat with Poly-fill up to the stitched point, leaving that part empty. Push down to give it a scrunched look.
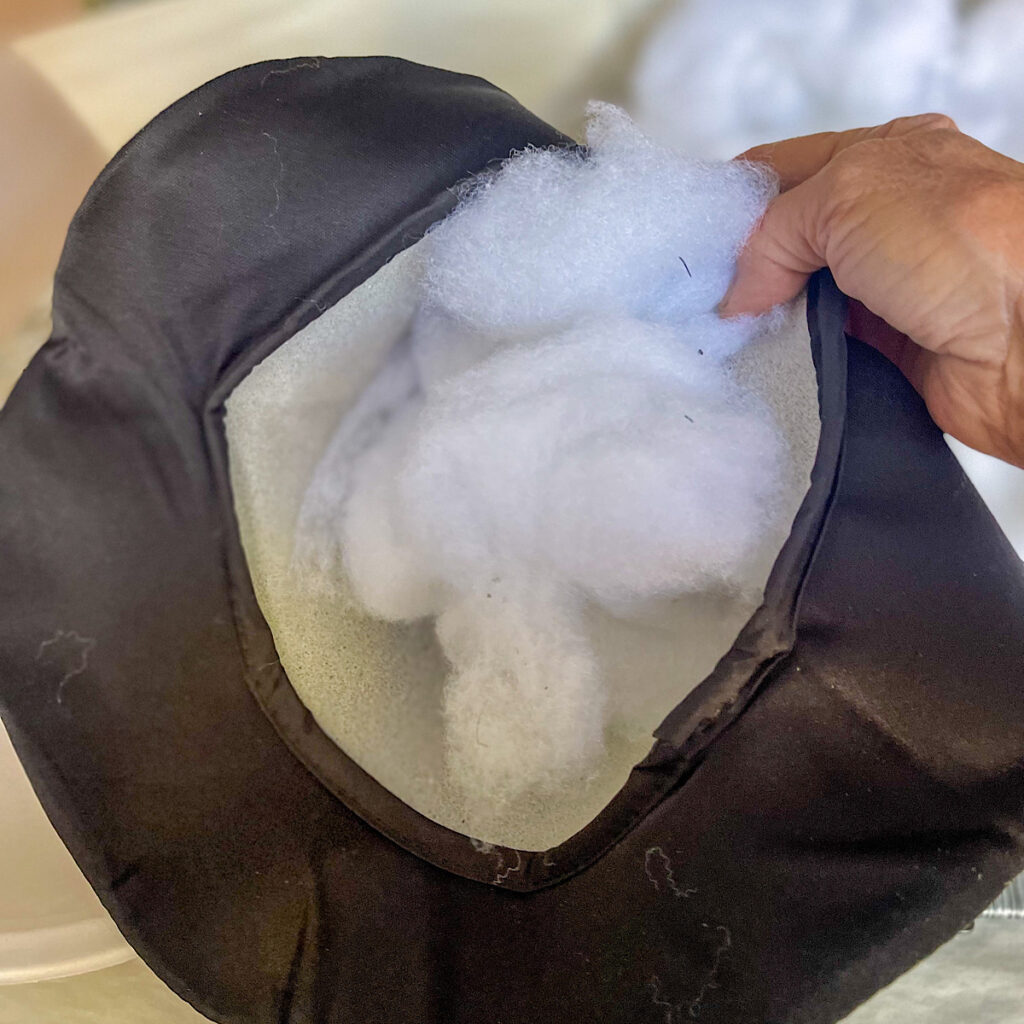
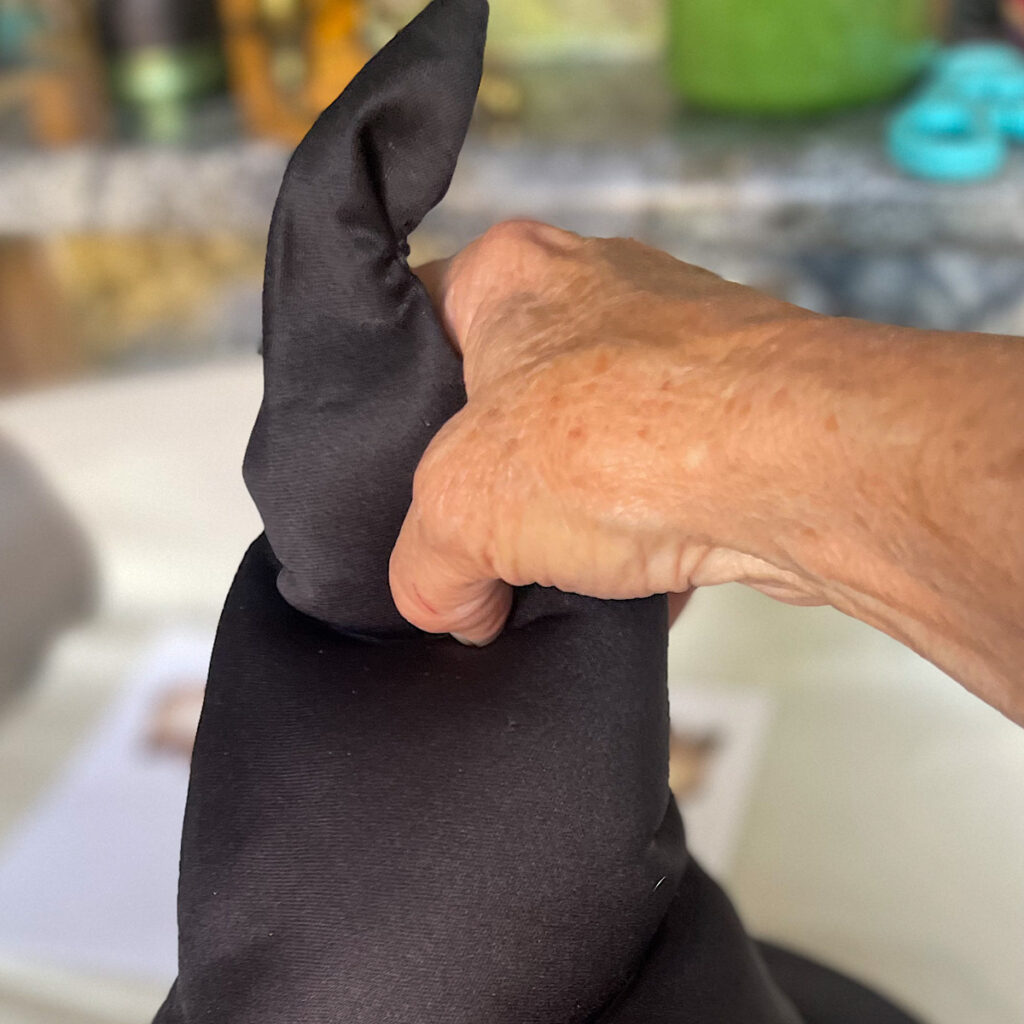
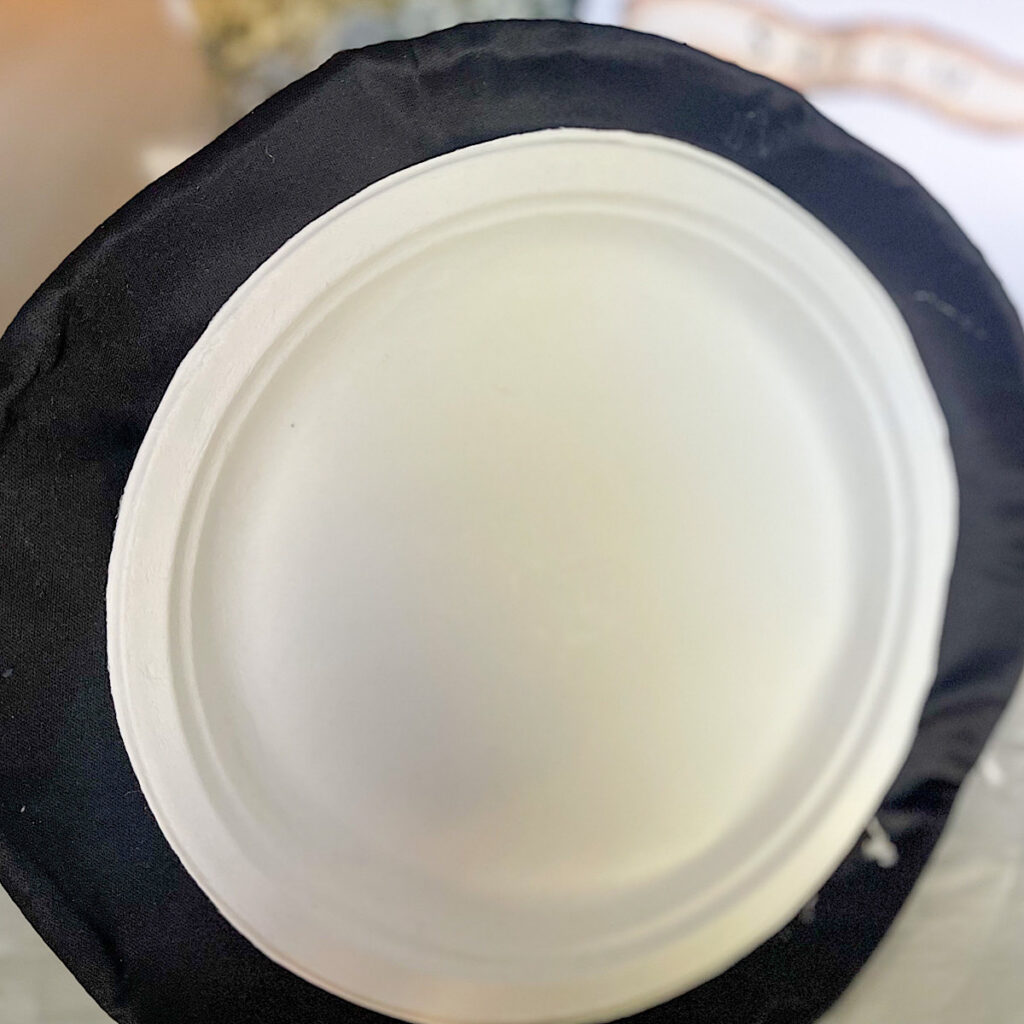
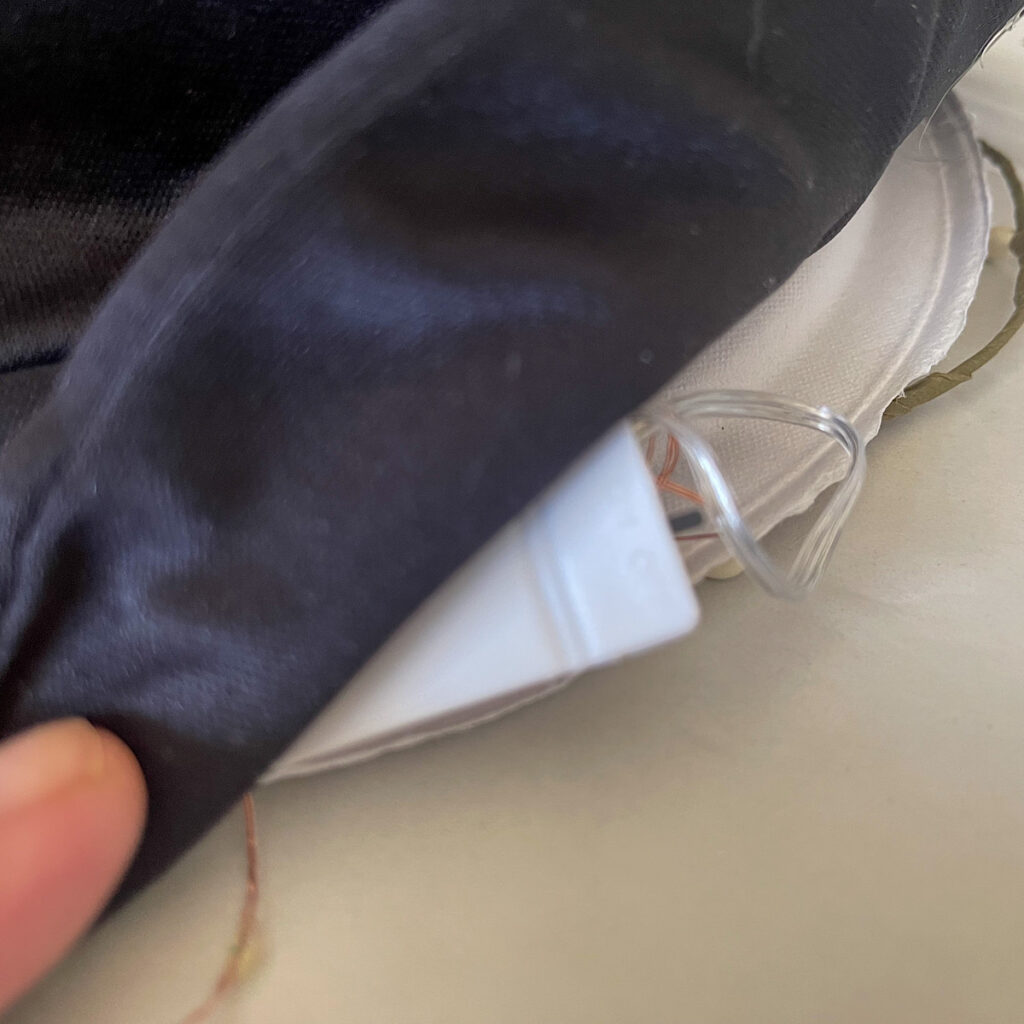
Step 3 – Glue the hat by the inner rim to the cardboard or plate leaving a 1 inch opening in the back (see step 6). This will seal the fill inside and give the centerpiece a nice base.


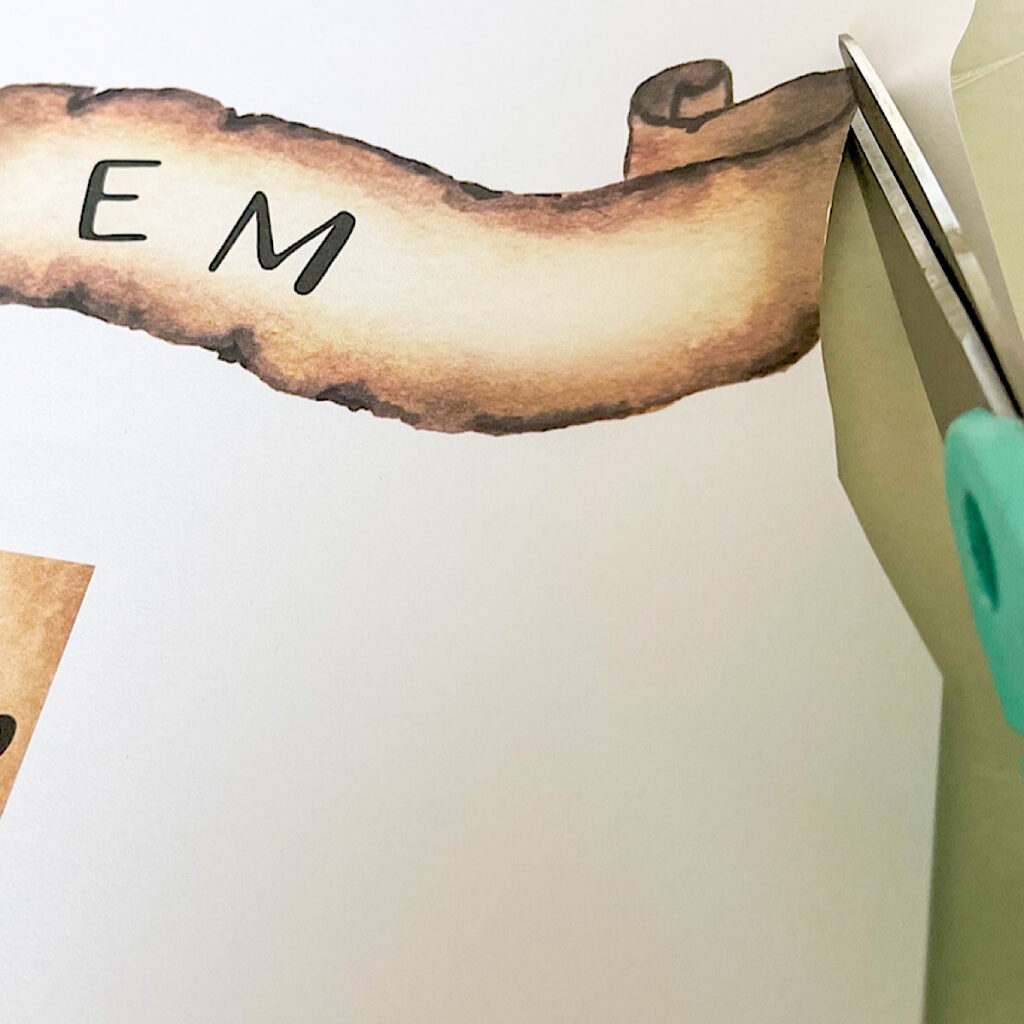
Step 4 – Cut out the two pieces of your printable. Apply your double sided tape generously to the back of the Salem sign. Attach it to the brim of the hat. I used tape rather than the glue gun to make sure it can be easily changed in the future.
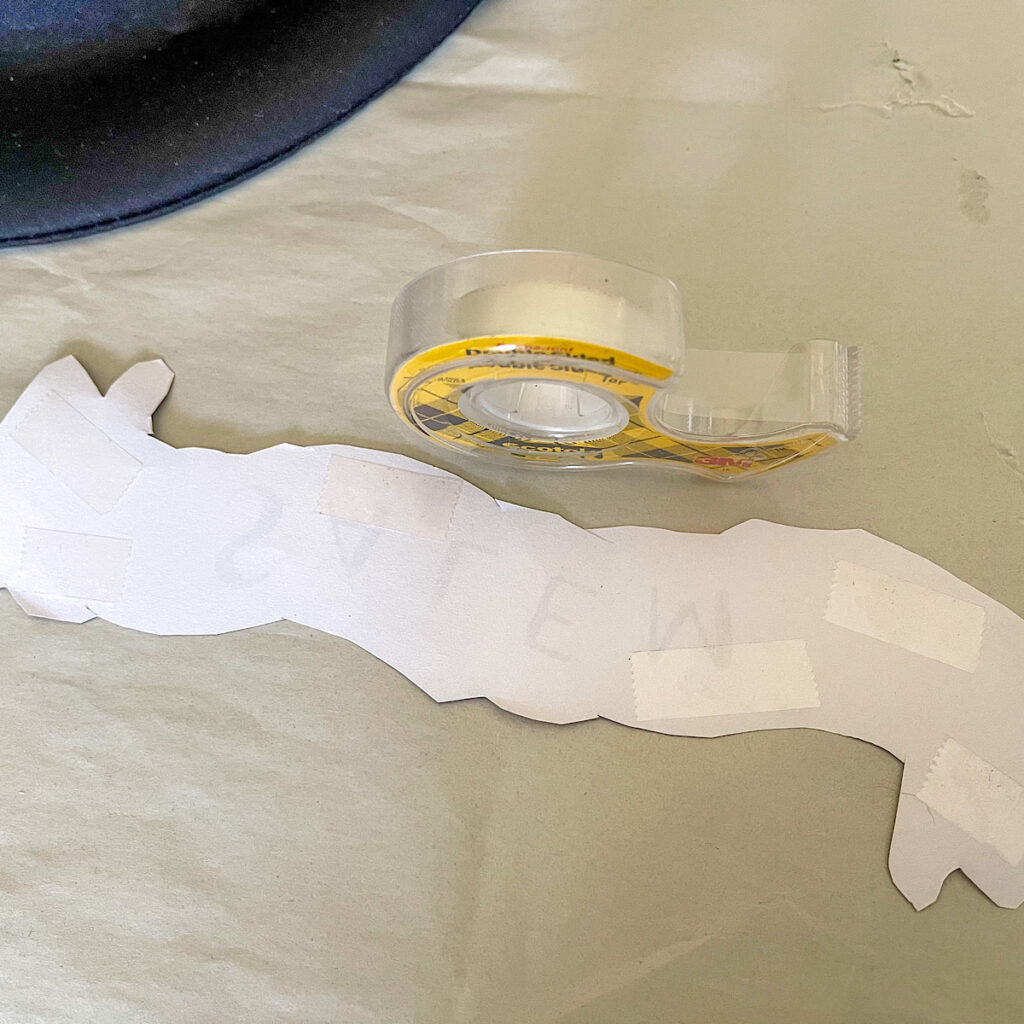

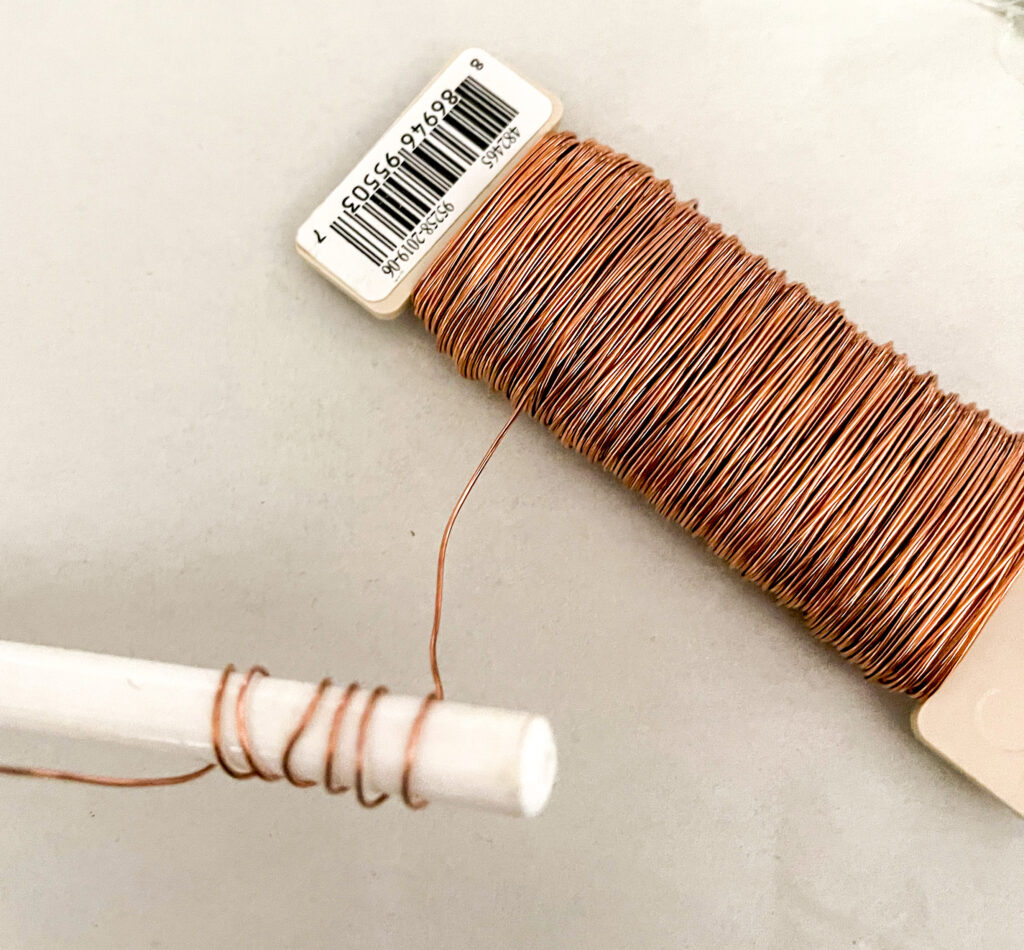
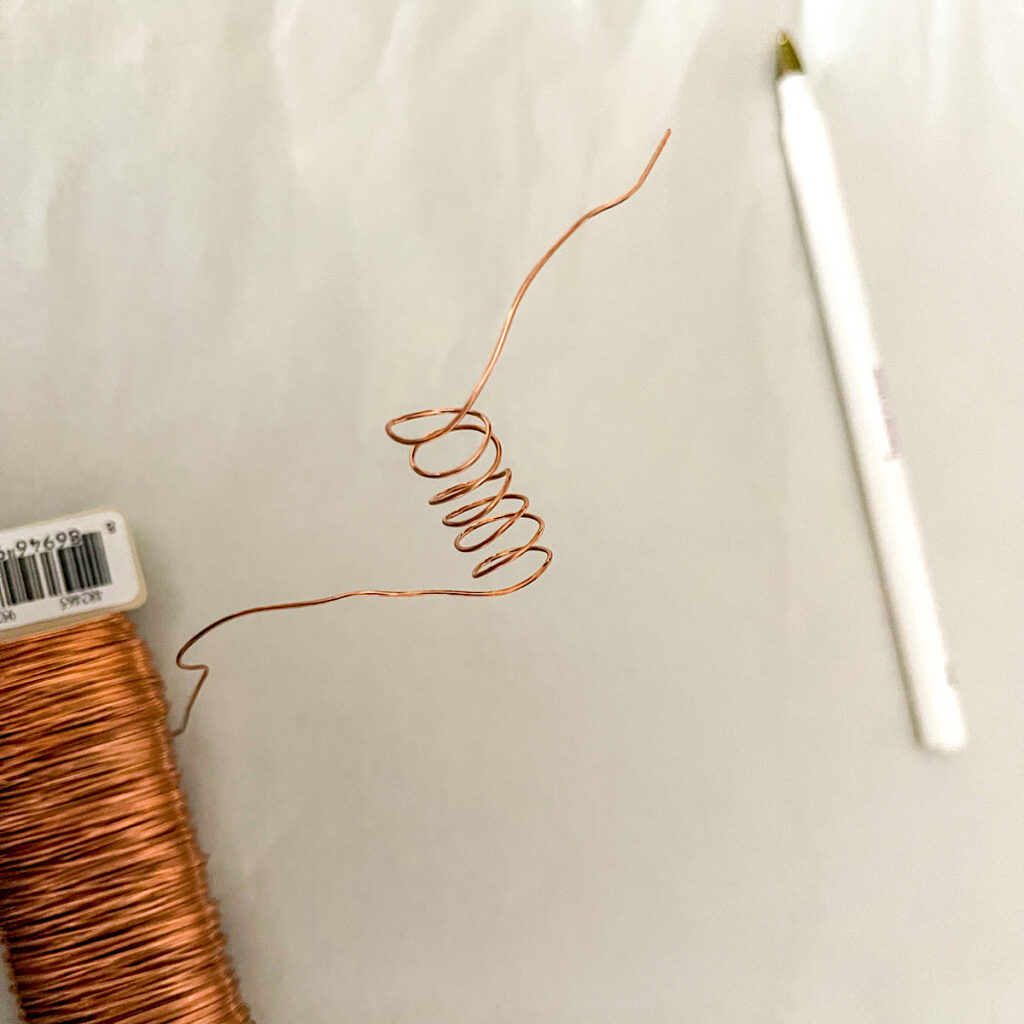
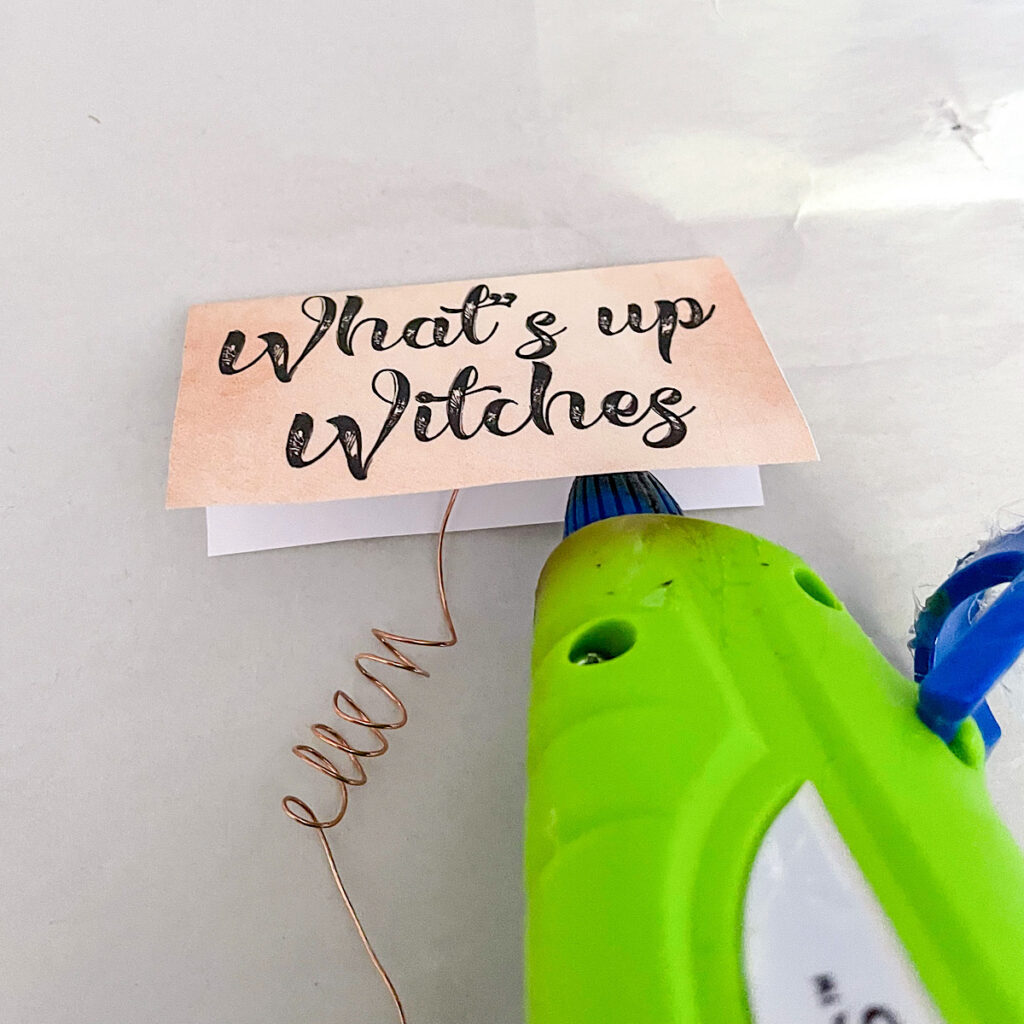
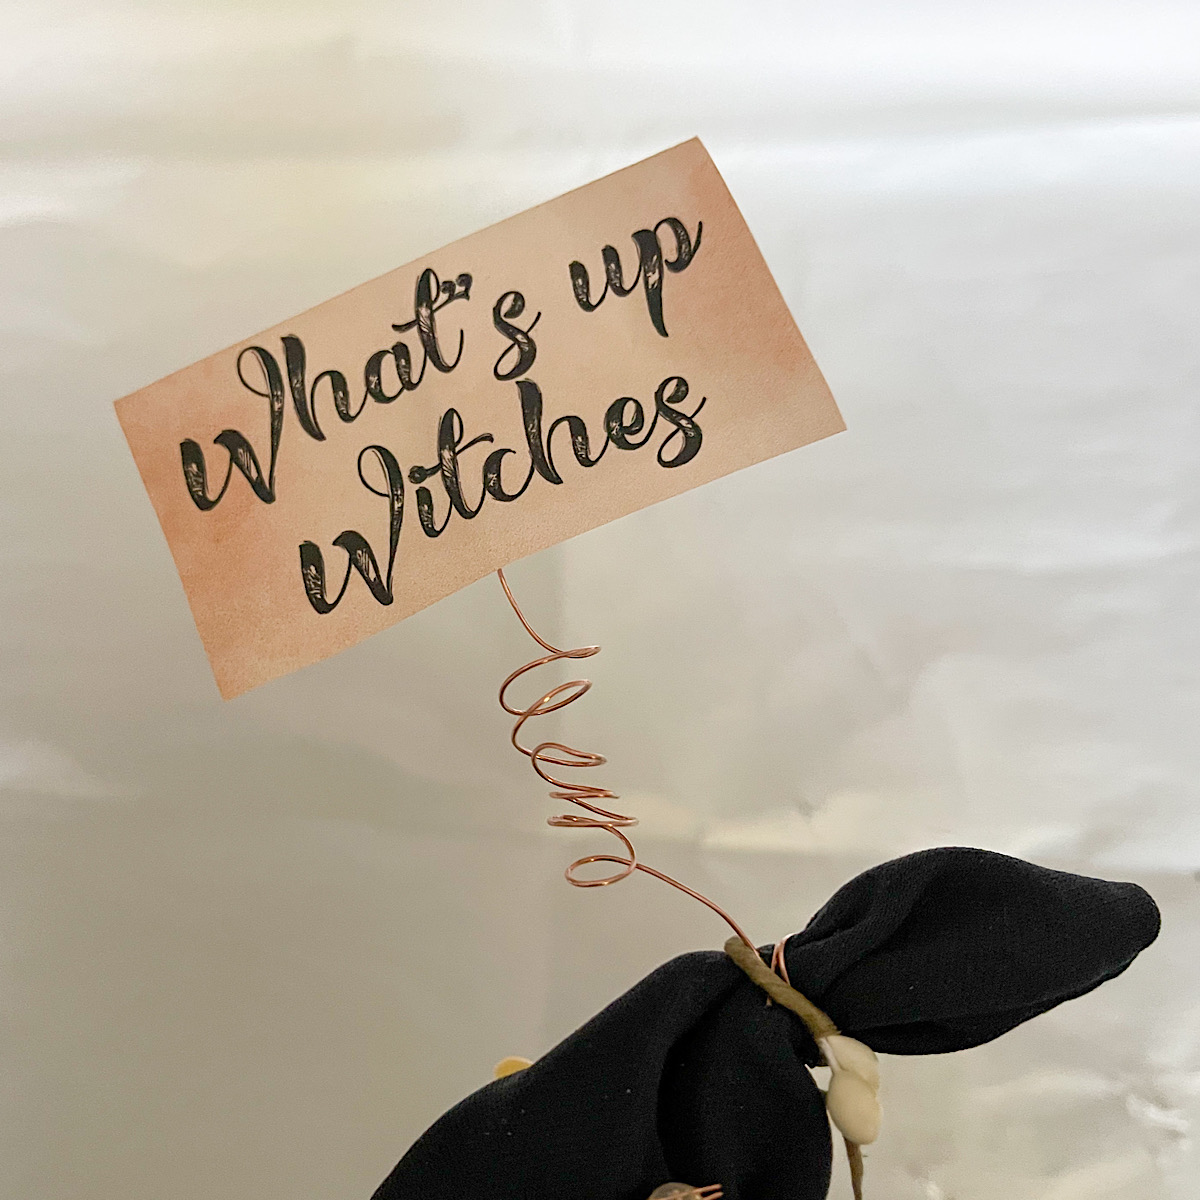
Step 5 – Fold your what’s up sign in half. Cut a 10 inch piece of copper wire. Leaving a 2 inch tail, wrap half of the remaining wire around a pencil to make a spring. Remove the pencil and attach the the 2 inch tail inside the folded What’s Up sign with glue. Glue the two sides together. Wrap the longer tail around the point of the hat.
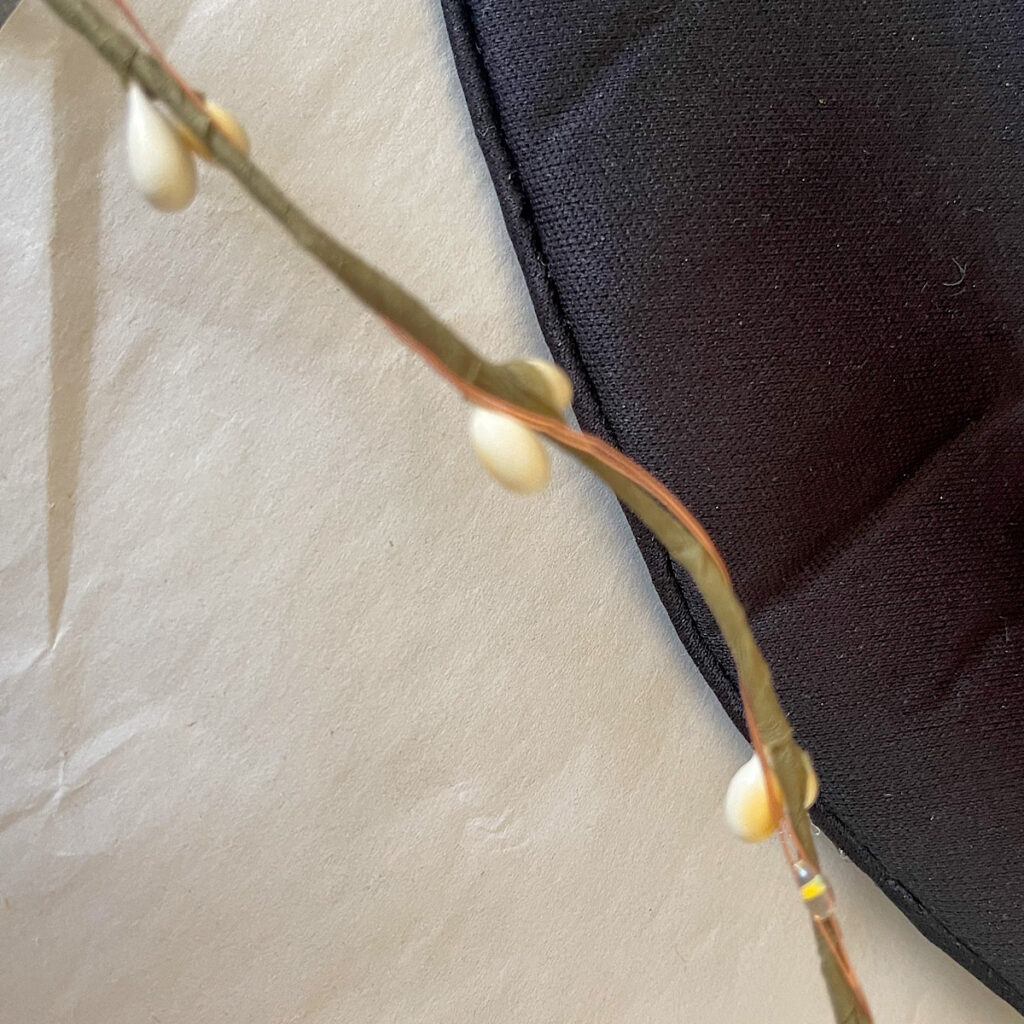
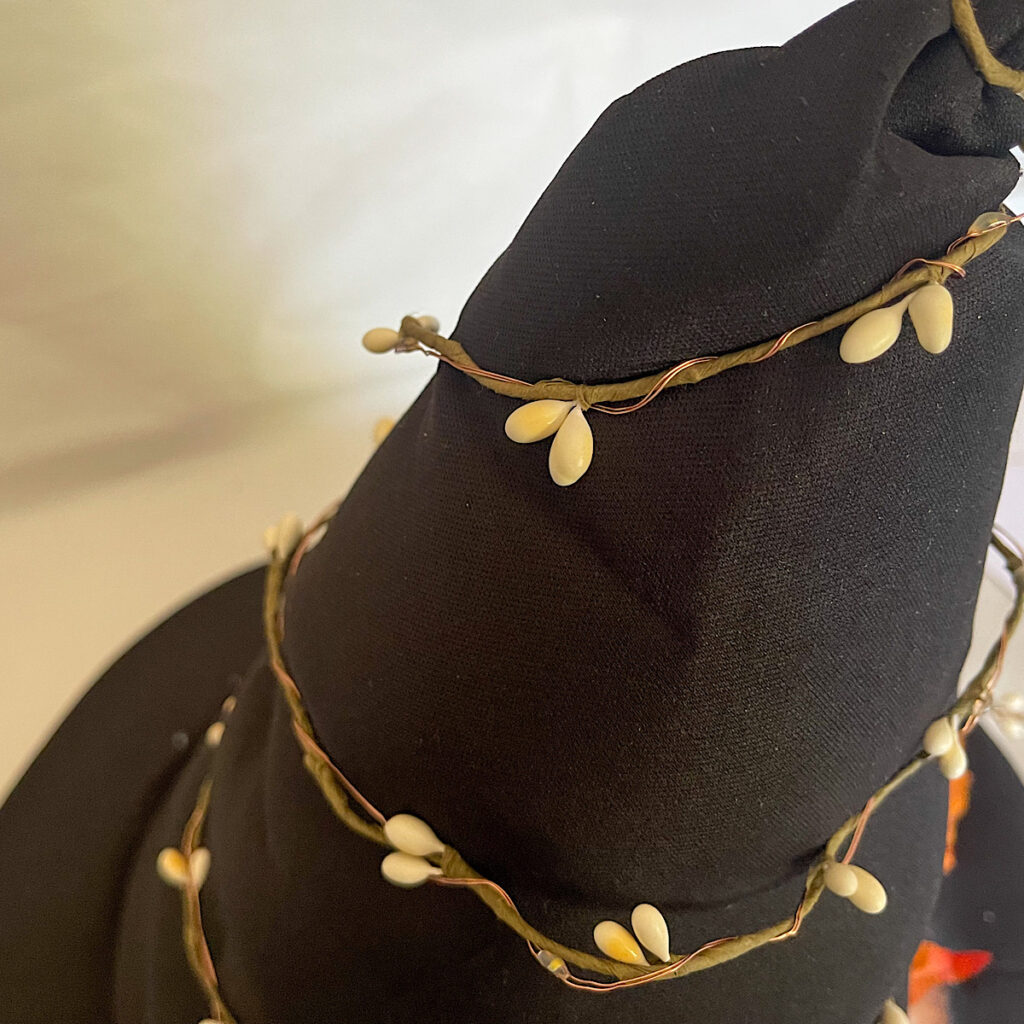
Step 6 – Twist the mini lights around the pip berries to camouflage the wire and hold them together. Attach the end to the top of the hat and wind it down to the brim. Take the battery pack and the end of the pip berry strand and slide it inside the inch you’ve left open between the plate and the hat.
Step 7 – For a final touch, add some fall leaves to your hat.


Now… LIGHT IT UP!
Pin it for later!
Printable and Supply links
Click on the button below to download the Salem/What’s Up Printable. All the other supplies used are linked below as well. The witch hat is the exact one that I purchased as are the mini lights. Everything else I had on hand and chances are you do too. So… check those craft bins before you purchase!
Click here to see how I used the hat in my Halloween decor.
If you haven’t joined us yet, I sincerely hope you do! Adding your email to the form below will have your welcome letter to your inbox in seconds. You’ll have immediate access to everything in the Printable Library and always be the first to know when new prints are added. The weekly/bi-weekly newsletter keeps you up to date on all the latest trends in seasonal home decor!
See you soon!





Very cute.
Thanks so much Janet!
Oh, my goodness. Your top paragraph got me to laughing where it says (I put together a witchy centerpiece). I misread and my mind, having already seen the witch in the yard, thought is said (I put on a witchy costume). That was a good laugh even if it was between me, myself, and I 🙂 Anyway, on to your post – the hat looks cute, especially when lit up, love the mini lights! Thanks so much for linking up at the Unlimited Link Party 85. Shared.
So funny! Putting on a witchy costume would mean giving up my everyday uniform… yoga pants and a sweatshirt. I’m all about comfort these days!
Yeah my everyday is nice and comfy too. Gotta be comfortable, no matter what!!
I love this Denise! It is so cute. Stop by my Home Imagined link party today and link up. -Meagan
Thanks Meagan! I will be by!
Such a great centrepiece for Halloween Denise.
Thanks for sharing it at Create, Bake, Grow & Gather this week. I’m delighted to be featuring your witchy centrepiece at the party tonight and pinning too.
Happy fall,
Kerryanne