With summer fast approaching, I have already started putting little touches of the season around the house. I tend to start decorating earlier this time of year for many reasons. First, I absolutely love the summer months. I cannot wait for the beautiful sunny days that are coming! Second, I can bring all my coastal decor to our main living spaces. And third, the creative juices really ramp up this time of year. Which brings me to this post… How to Turn a Favorite Photo into Art!
My Inspiration
A friend of mine has a window installation business. One of his projects involved replacing all the original windows in a 100 year old house. He knew that old wood windows were a big deal in home decorating at the time and asked me if I wanted one. Of course I jumped on it!
The large open space above my fireplace is the main focal point for my family room and kitchen. I change it every season. Mostly with canvas art since it is so easy to move around. I have pictures for spring, fall, and winter. Although I don’t use canvases at Christmas time, I’ve definitely got that covered as well.
Summer is another story. I have never quite found just the right picture. But… with the arrival of the window, I had a plan! Wouldn’t it be nice if I could look out my window and see the ocean I love so much??? Of course, that’s not possible since I’m here in Colorado. But… I was determined to make it happen anyways.


How to Turn a Favorite Photo into Art – The Process
Given that I’ve never found that perfect summer picture, I decided I would probably need to make one of my own. I wished for the umpteenth time that I had my daughter’s talent for painting but that is not the case. Still, art comes in many forms. While I am also not a photographer, sometimes the subject is so beautiful that it more than makes up for that.
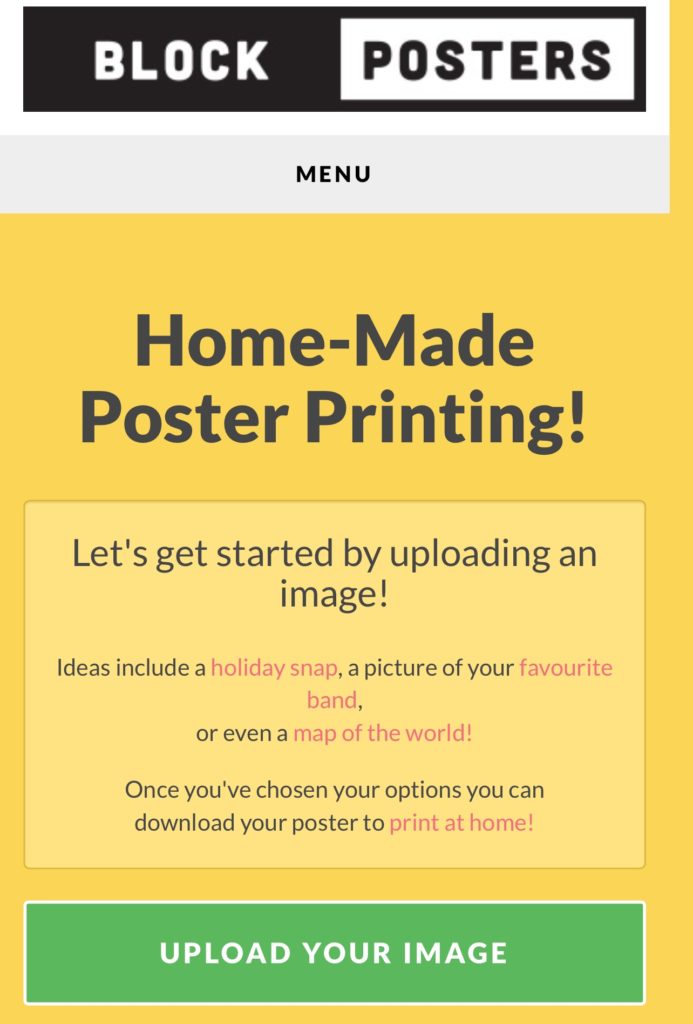
I did some research and I found a place that would allow me to turn a photo into a poster without ever leaving my home. Perfect right? I know there are several different apps for this but my favorite is Block Poster. Incredibly easy to use, very reasonable, and such a fun final product.
Choosing a Photo
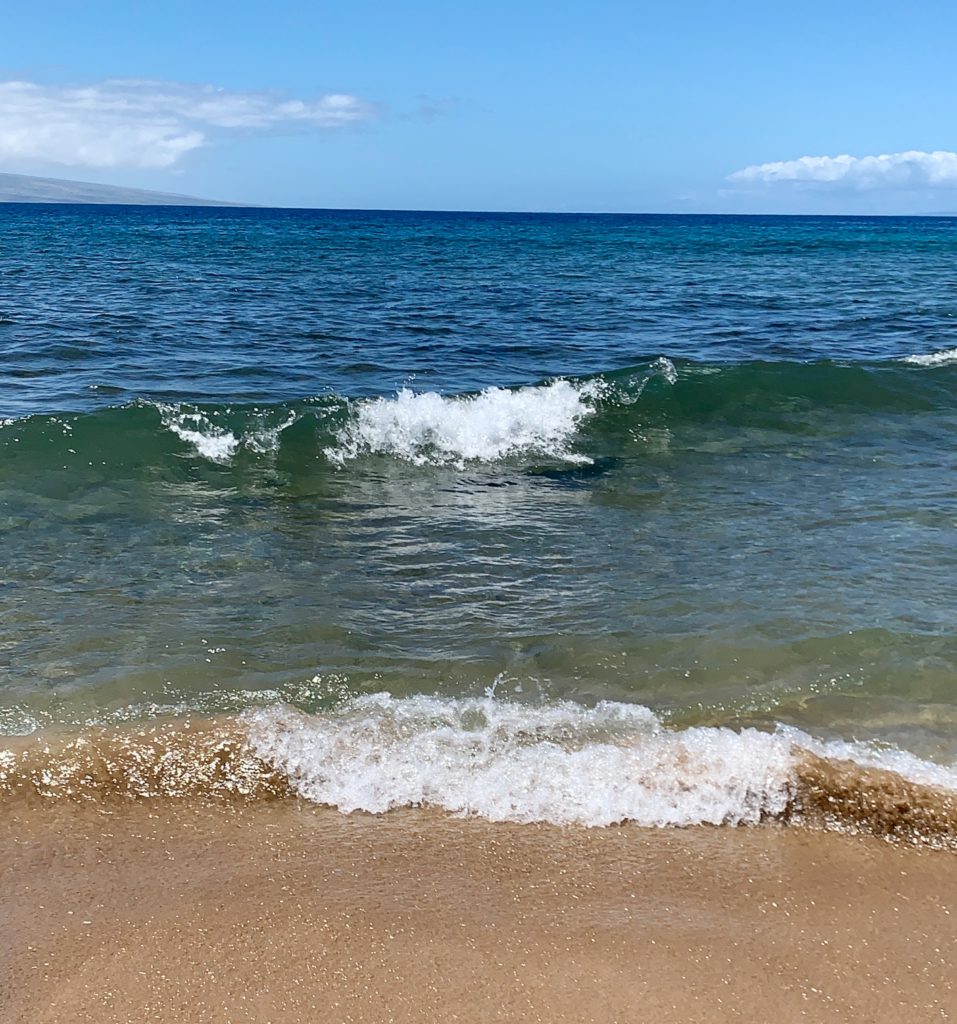
First I needed to find a picture that I would love to look at everyday. Of course it had to have the ocean in it! My entire photo app on my phone seems to be beach and ocean pictures so it was just a matter of choosing. There were quite a few from Hawaii, countless others from San Diego and Southern California where our daughter lives, and many more from Seattle just because it’s beautiful.
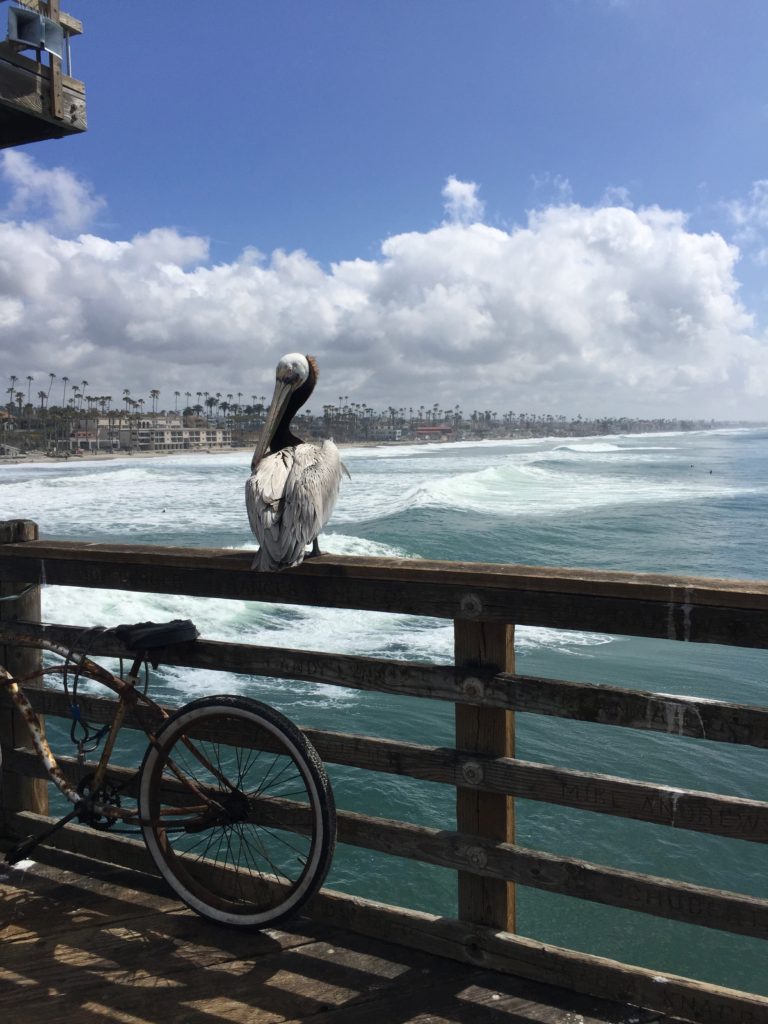
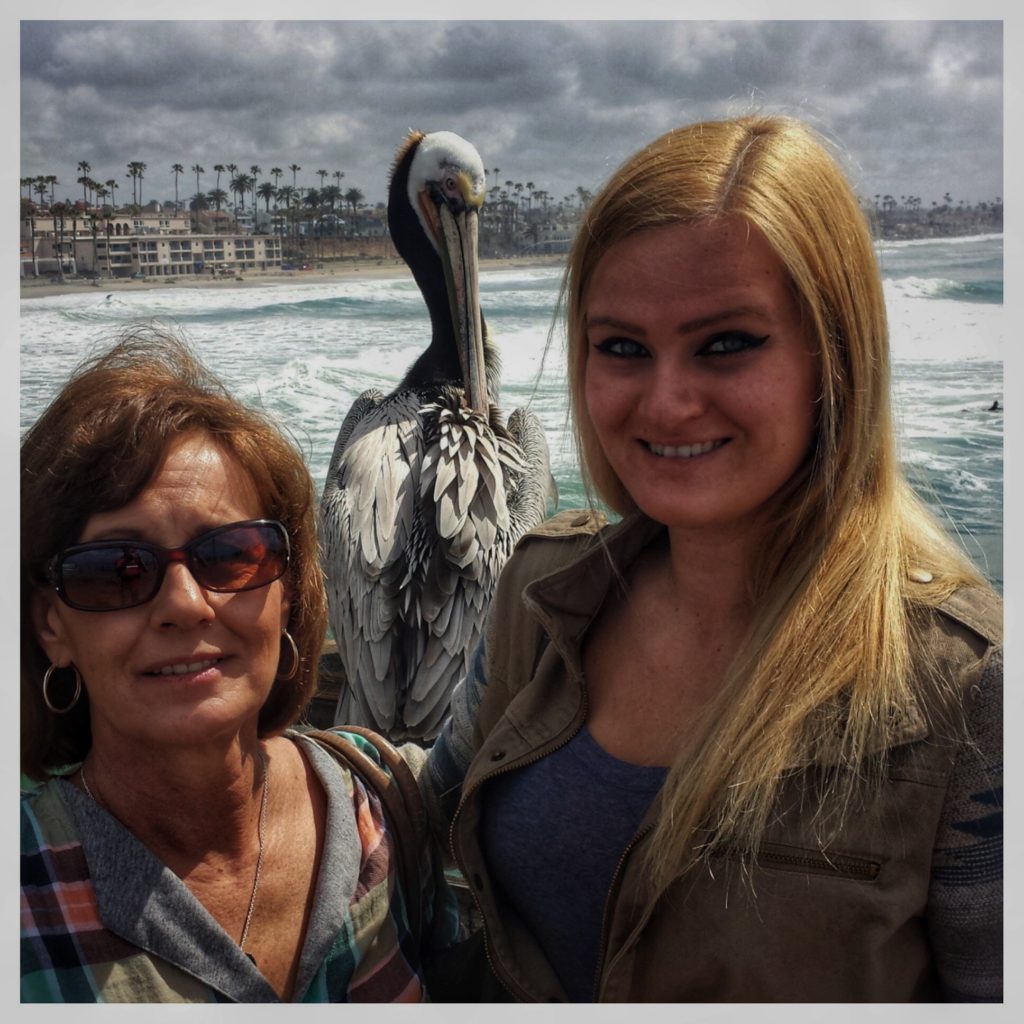
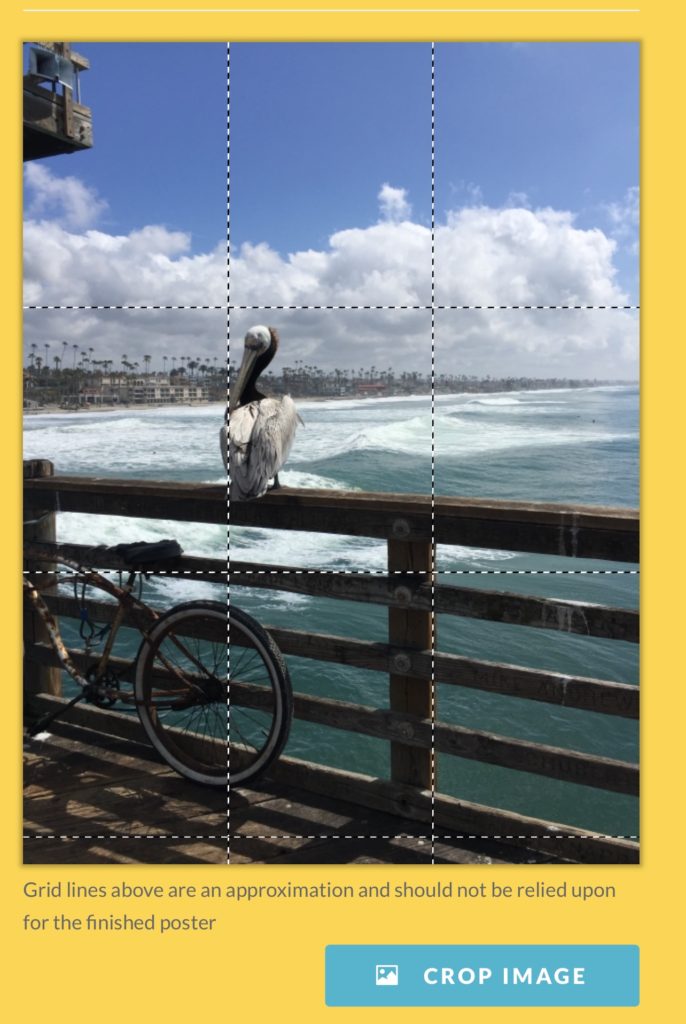
But I wanted something in the picture to focus on. This picture we took years ago on the pier in San Diego was just what I wanted. A pelican! I simply adore them.
This guy was quite photogenic and very willing to pose for a few shots with Katie and I!
Leaving our slip in Newport Beach during the years we kept a boat there, we always passed under the highway leaving the harbor. The underpass was full of pelicans just hanging out. It felt like I was home there and they were my welcoming committee!
Anyways, that is where my love of pelicans started. So I decided if I could really look out my window and see the ocean, I would hope to see a pelican there too.
With my picture chosen, I did a little editing and then uploaded the picture to the Block Poster site. Easy peasy!
Block Posters
Block Posters is an easy way to take a normal photo and turn it into a large poster right from your own desk.
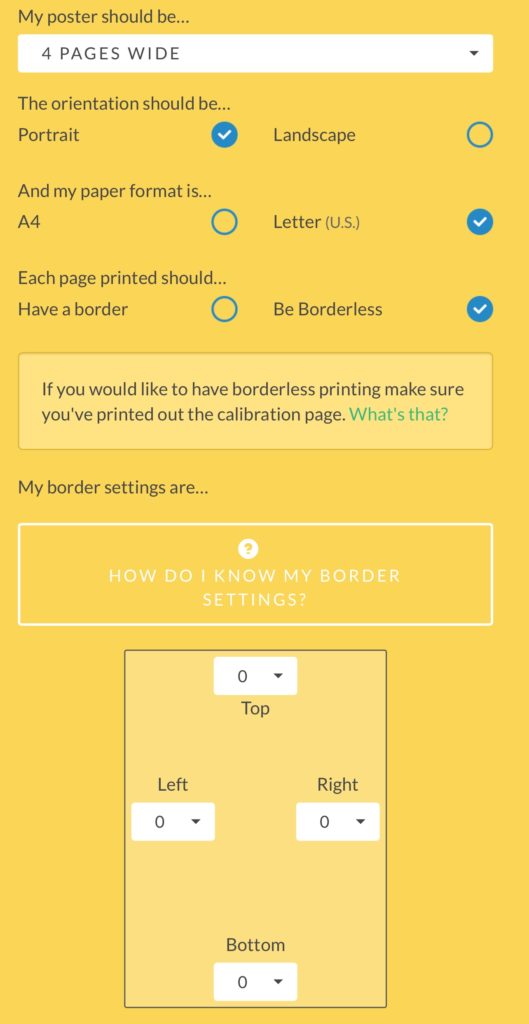
I filled in all the requested information… how wide it should be, what size paper I was using, portrait or landscape printing. I paid a $5.00 fee to have their logo removed from printing on my picture. That’s it, all there was to it! That’s how you turn a favorite photo into art…well almost.
A poster isn’t really art. It’s a poster. But how you display is the distinction. That is where my old window would come into play.
Displaying Art
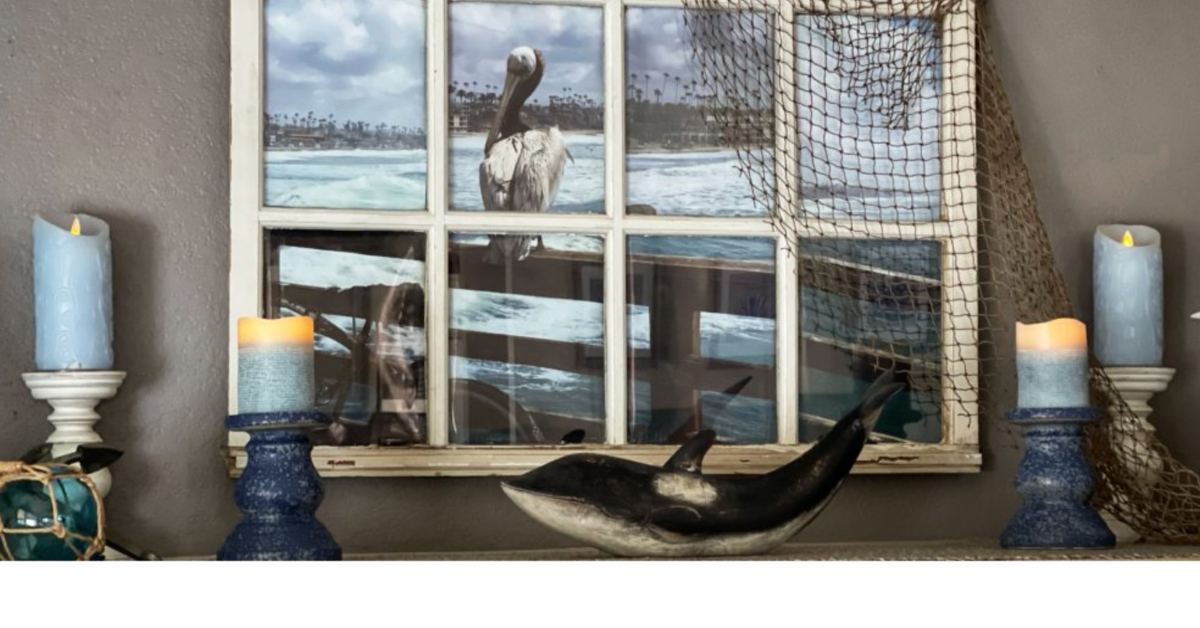
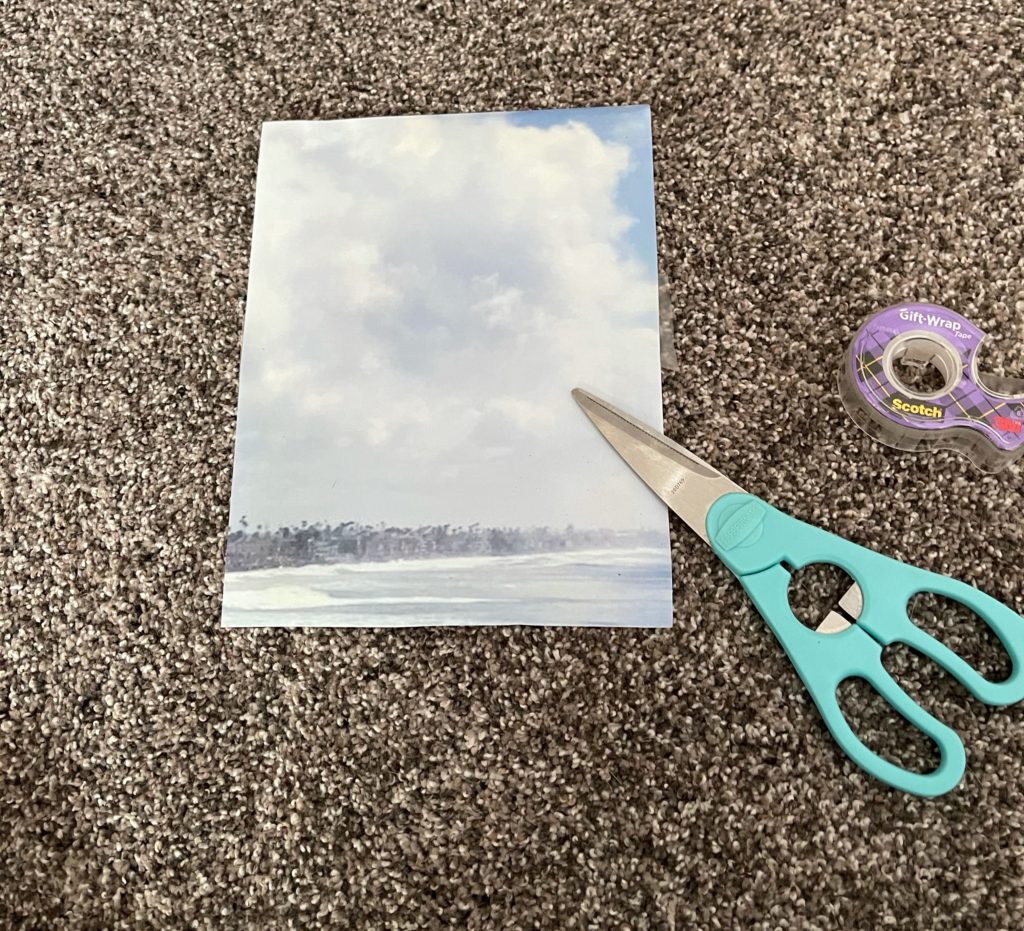
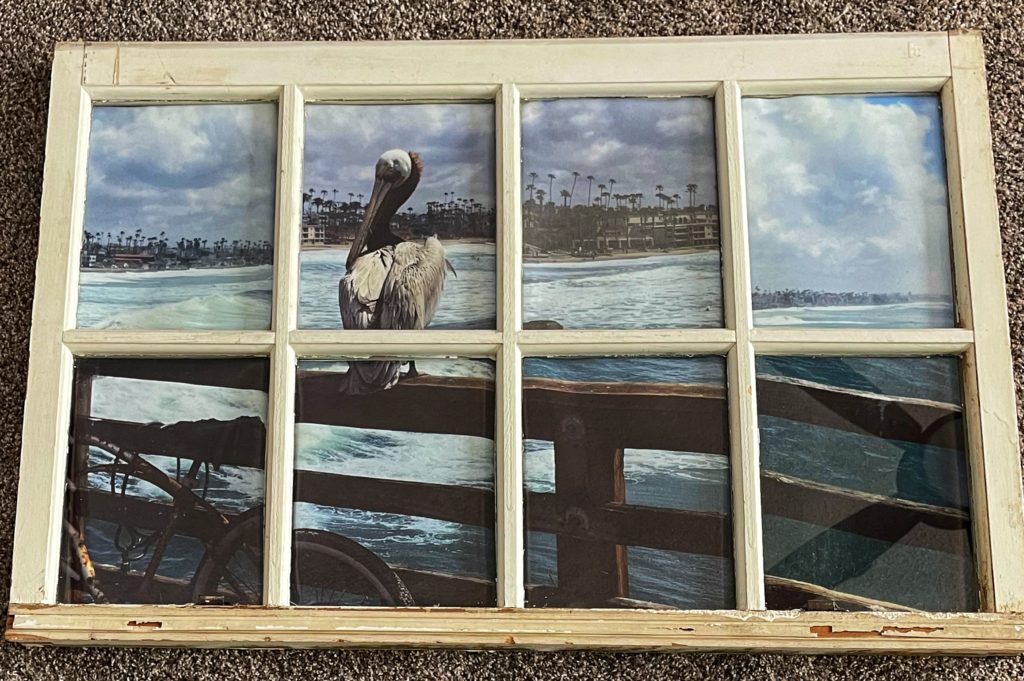
Once I had printed all the pieces of my picture, I needed to put them into the window panels. I decided it was safer to work on the carpet instead of my craft table. It’s an old, old, window and very fragile so a soft surface was best.
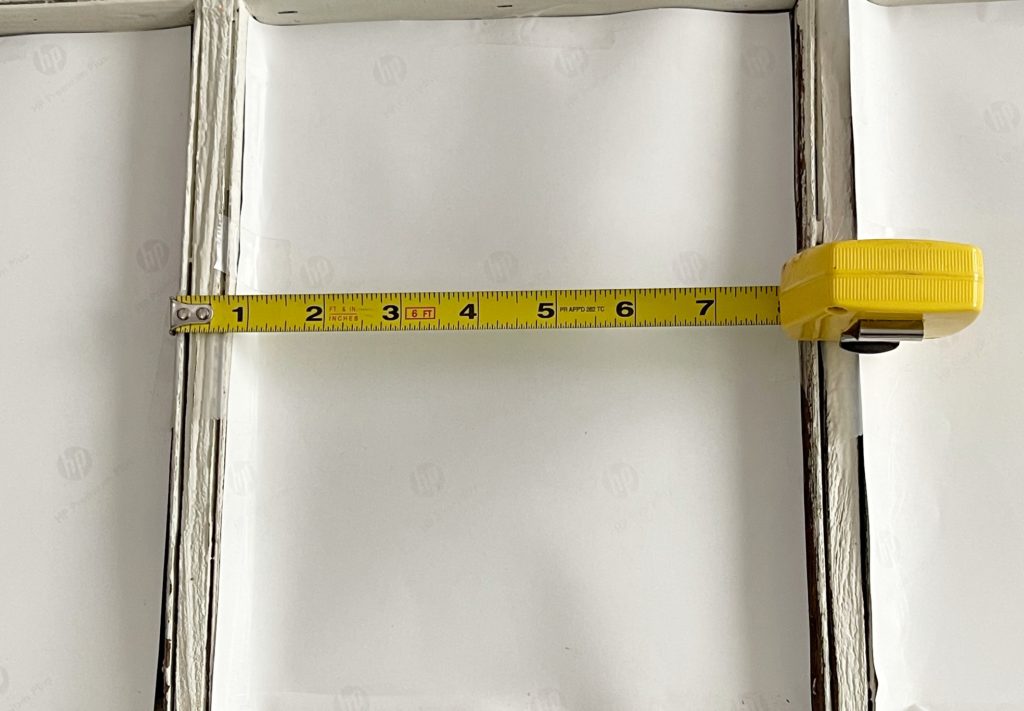
I started by laying it out in the panels to recreate the picture. I measured it for a general idea of the length and width but I had no intention of cutting it down to fit perfectly. Knowing I might want to change it sometime, I wanted to make sure that it could be easily removed. I left a tail on all sides for that reason. The pictures do not lay flat but I knew that would not be noticeable in the end.
I used scotch tape to attach it to the wood of each panel. I did not want to take a chance that the glass could break on my watch after withstanding all the weather over the years!
Once I flipped it over on the carpet, I was so thrilled with the end result!
How to Turn a Favorite Photo into Art – The Final Step
The final step in the process of How to turn a Favorite Photo into Art is to hang it in a way that catches the eye.
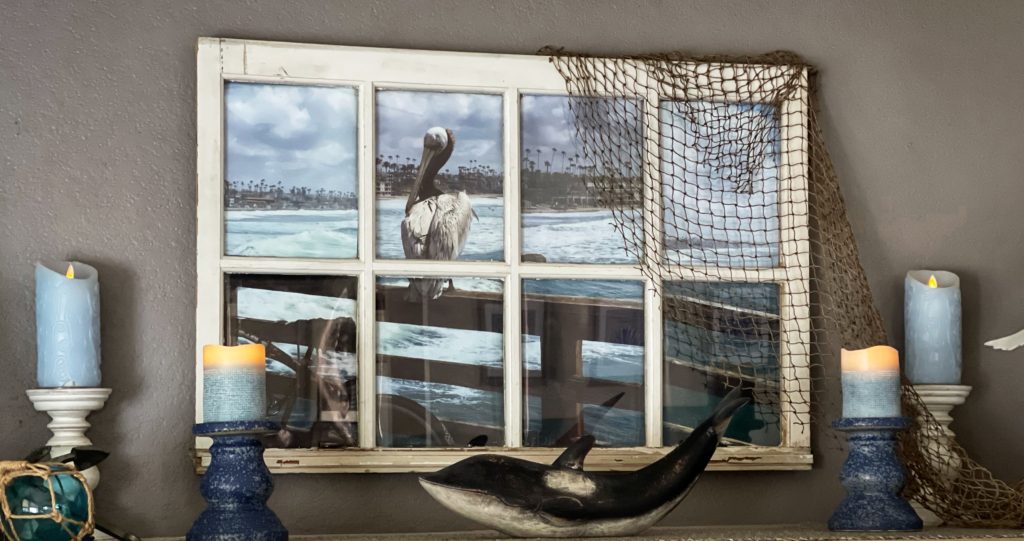
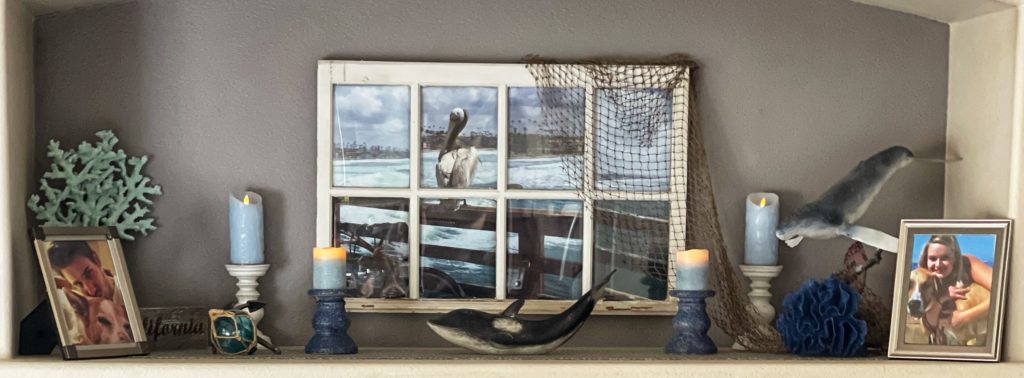
It was always my intention that this picture would become the focal point in my family room. Hung above the fireplace, surrounded by some of my favorite coastal pieces, I think it’s mission accomplished!
I’m happy with the end result but I sure wish this was really my view!
Adding coastal and nautical accents around your art are the finishing touches that make such a difference to the overall display.
Although you may not have a 100 year old window laying around, you can still do this fun project! Hanging several distressed picture frames side by side will accomplish a similar look. I’ve linked to a few below and several great coastal accents to go along with it!


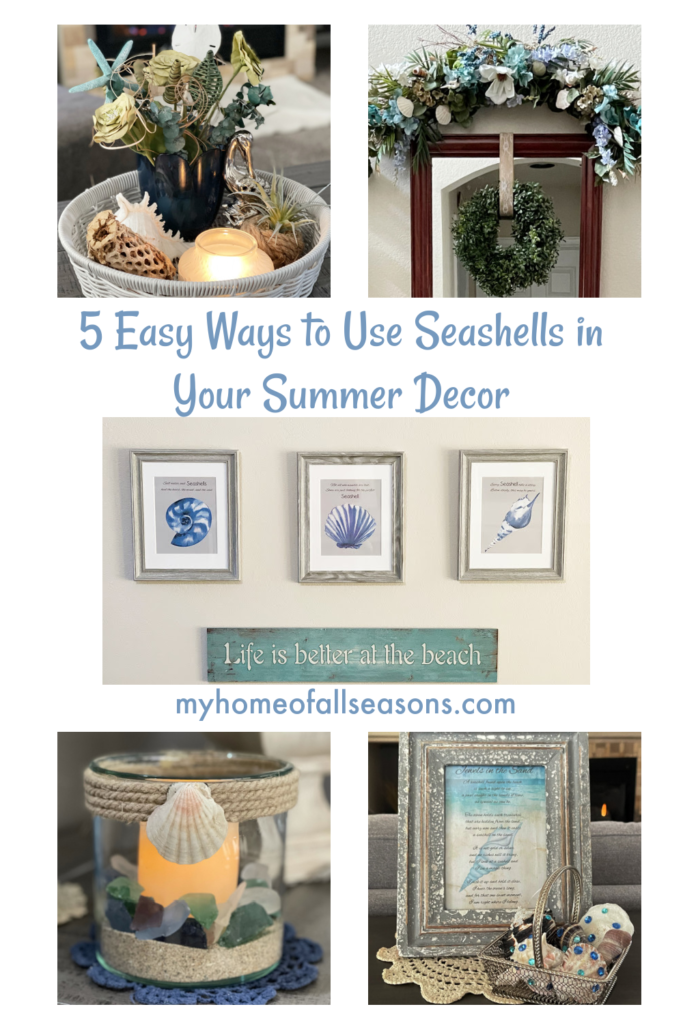
Having my family room focal point completed for summer, I am ready to move on from spring. Don’t get me wrong, I love spring but this year winter seemed to last forever! I am ready for the warmth and the sunshine of summer. I am also ready to deck the house out in coastal style for the upcoming season as well. If you are going coastal this year too… be sure to check out my latest post 5 Easy Ways to Use Seashells in Summer Decor.
There are some great coastal prints in the Printable Library too. Always free to subscribers, simply add your password in the space below your favorite, download, print, and frame! If you haven’t joined us yet… please do! Enter your email in the form below and your welcome letter will give you access to everything in the library instantly. The weekly/bi-weekly newsletter will make sure you’re the first to know when new prints are added! Hope to see you soon!


Oh, how pretty! Love it! Thanks so much for linking up with me at the Unlimited Link Party 25. Pinned!
Thanks Dee. I thought of you when I put this together. I remember a beachy picture you shared not that long ago that I thought would make a beautiful poster. We are headed for the ocean next month and I can’t wait. Have a great upcoming weekend.
Beautifully done!
Thanks so much Debbee! Happy Mother’s Day to you!
Thank you for sharing this on Traffic Jam Weekend! It has been chosen as a fave feature for this week’s party that goes live on Thursday at 5:00 pm CST.
Thank you Kimberly! So appreciated!
Beautiful photo and it looks great in your home. So glad you found one you liked. Thanks for sharing. #HomeMattersParty
The window scene you created means much more to you with the picture you chose and the memories attached. It must put a smile on your face each time you look at it.
Thank for sharing at the FWF link party.
Thank you Rachelle! Any memory of time spent at the ocean makes me smile! I just love it there! Thanks for stopping by and have a great weekend.
LOVE this idea, Denise!! What a great idea!! I also love all your ideas on decorating with shells because after the 4th of July, I switch over to a “Under the Sea” theme in my Living Room!!
Thanks so much for stopping by!!
Hugs,
Debbie
Thanks so much Debbie! Love your patriotic decor but I can’t wait to see your “Under the Sea” theme. Have a great day!