Tiered trays are a great way to add a little seasonal decor to your home. They take up little space, can easily be moved, but automatically draw the eye.
For spring, I am so excited to bring out the birds and bunnies! My winter decor is very neutral so I am also anxious to bring in some color too!
I’ve put together two trays and a tiered fruit bowl this season. I was having so much fun designing them that I couldn’t just stop at one! I thought I would share them today in hopes you will find some inspiration for one or two of your own!
Tray 1 – A Tray With a Passion for Purple
My first tiered tray sits on the counter by the kitchen window. The location in and of itself is a focal point . In keeping with most of my kitchen decor, I decided to stick with a buffalo checked theme here too.
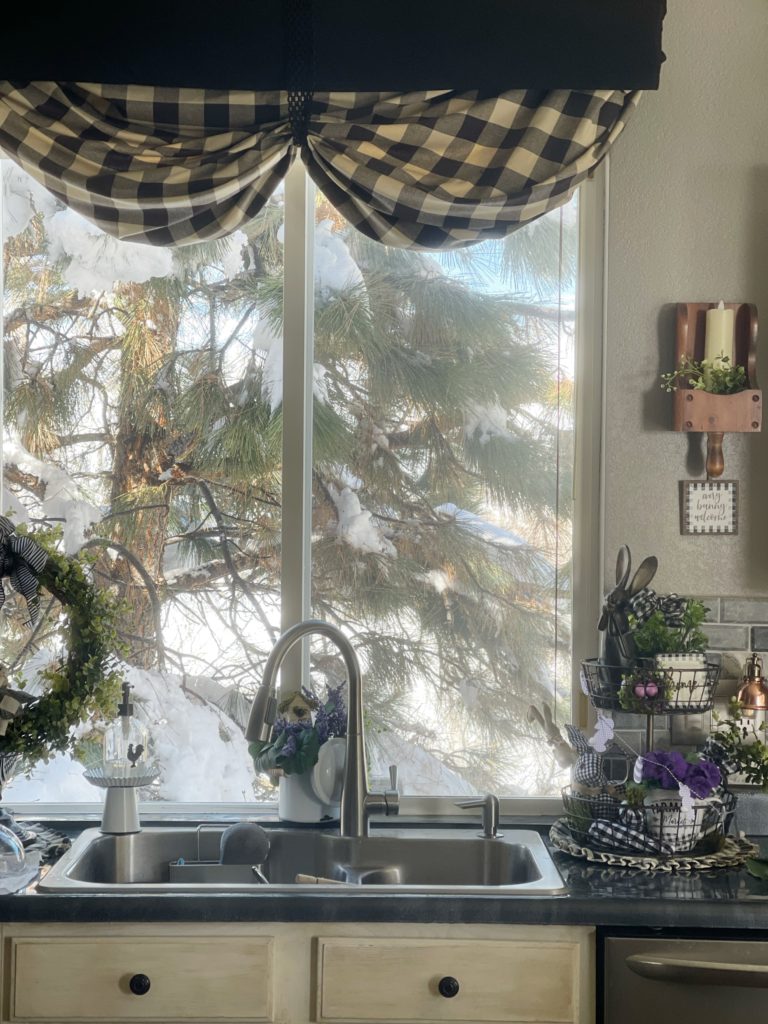
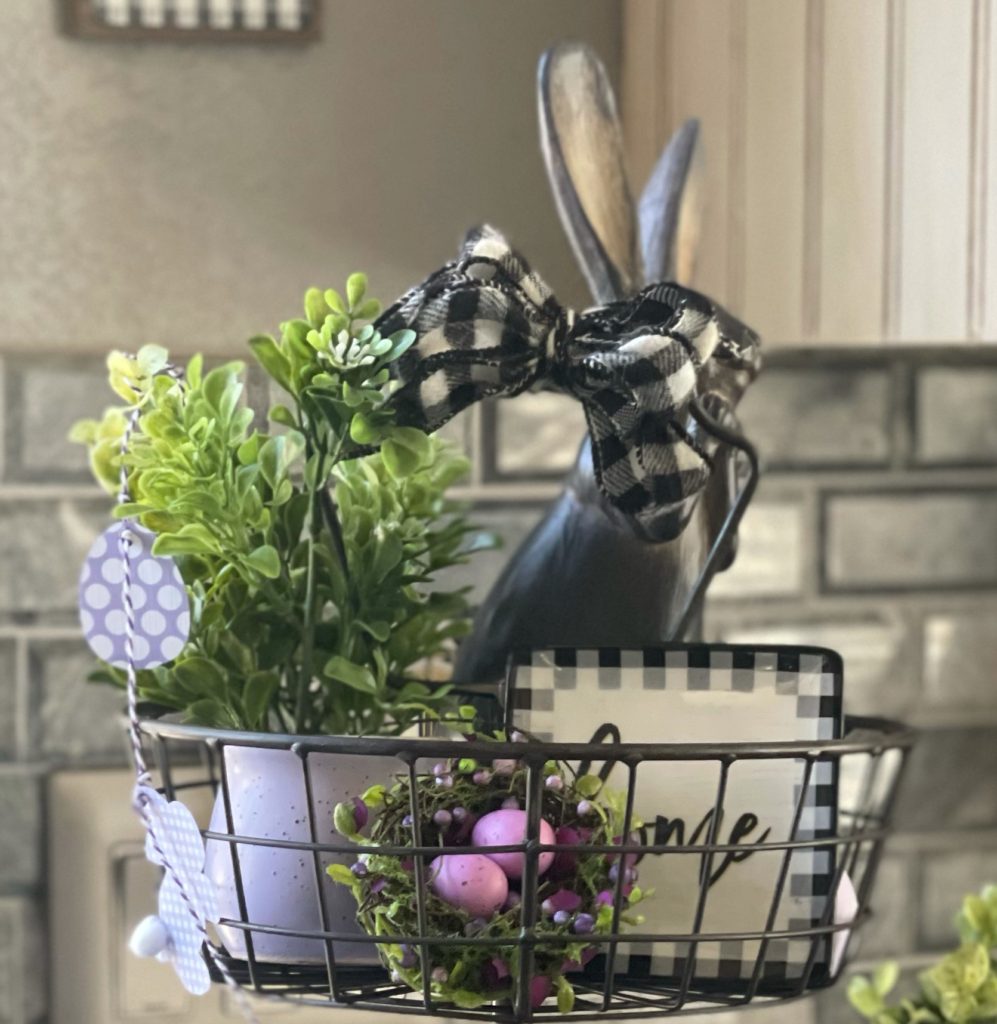
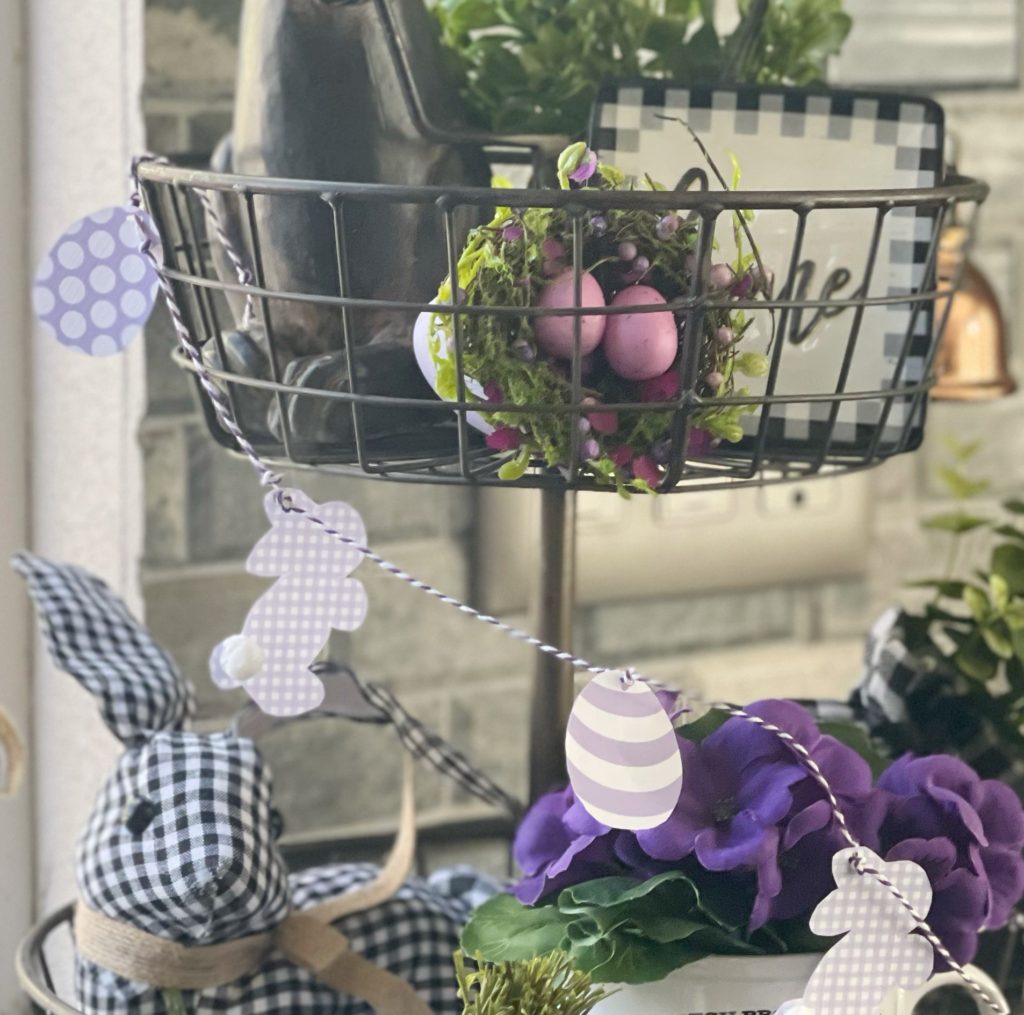
On the top tier, a buffalo checked bow and a cute little “Home” plate bring in that concept. How cute is this bunny’s face????
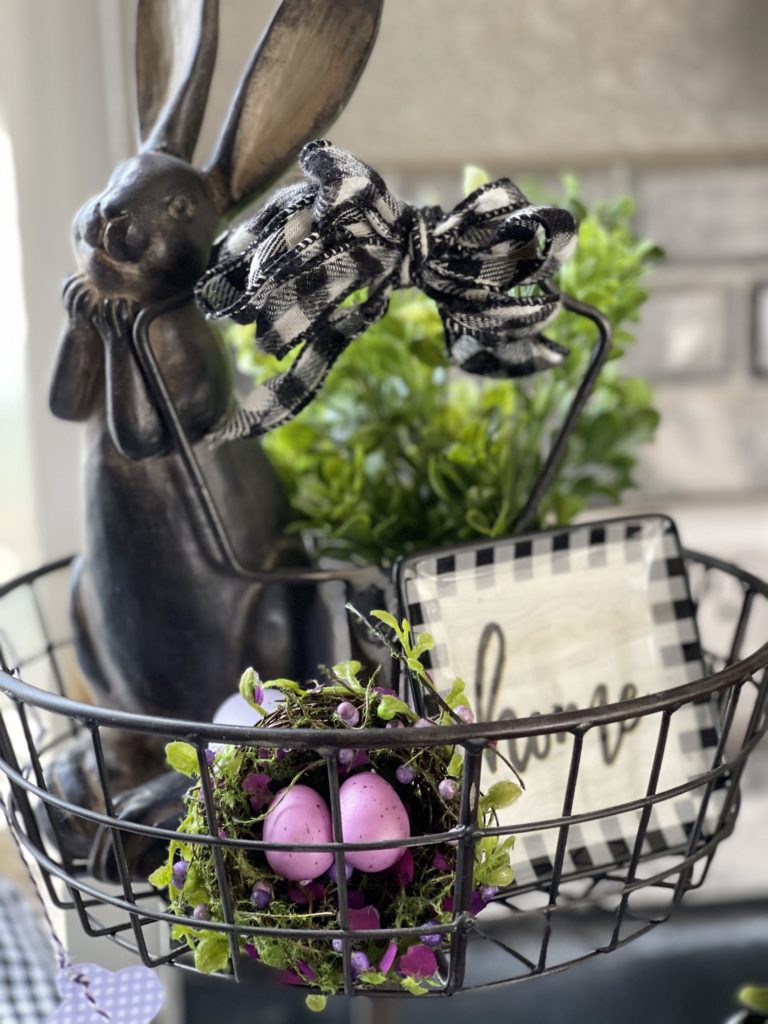
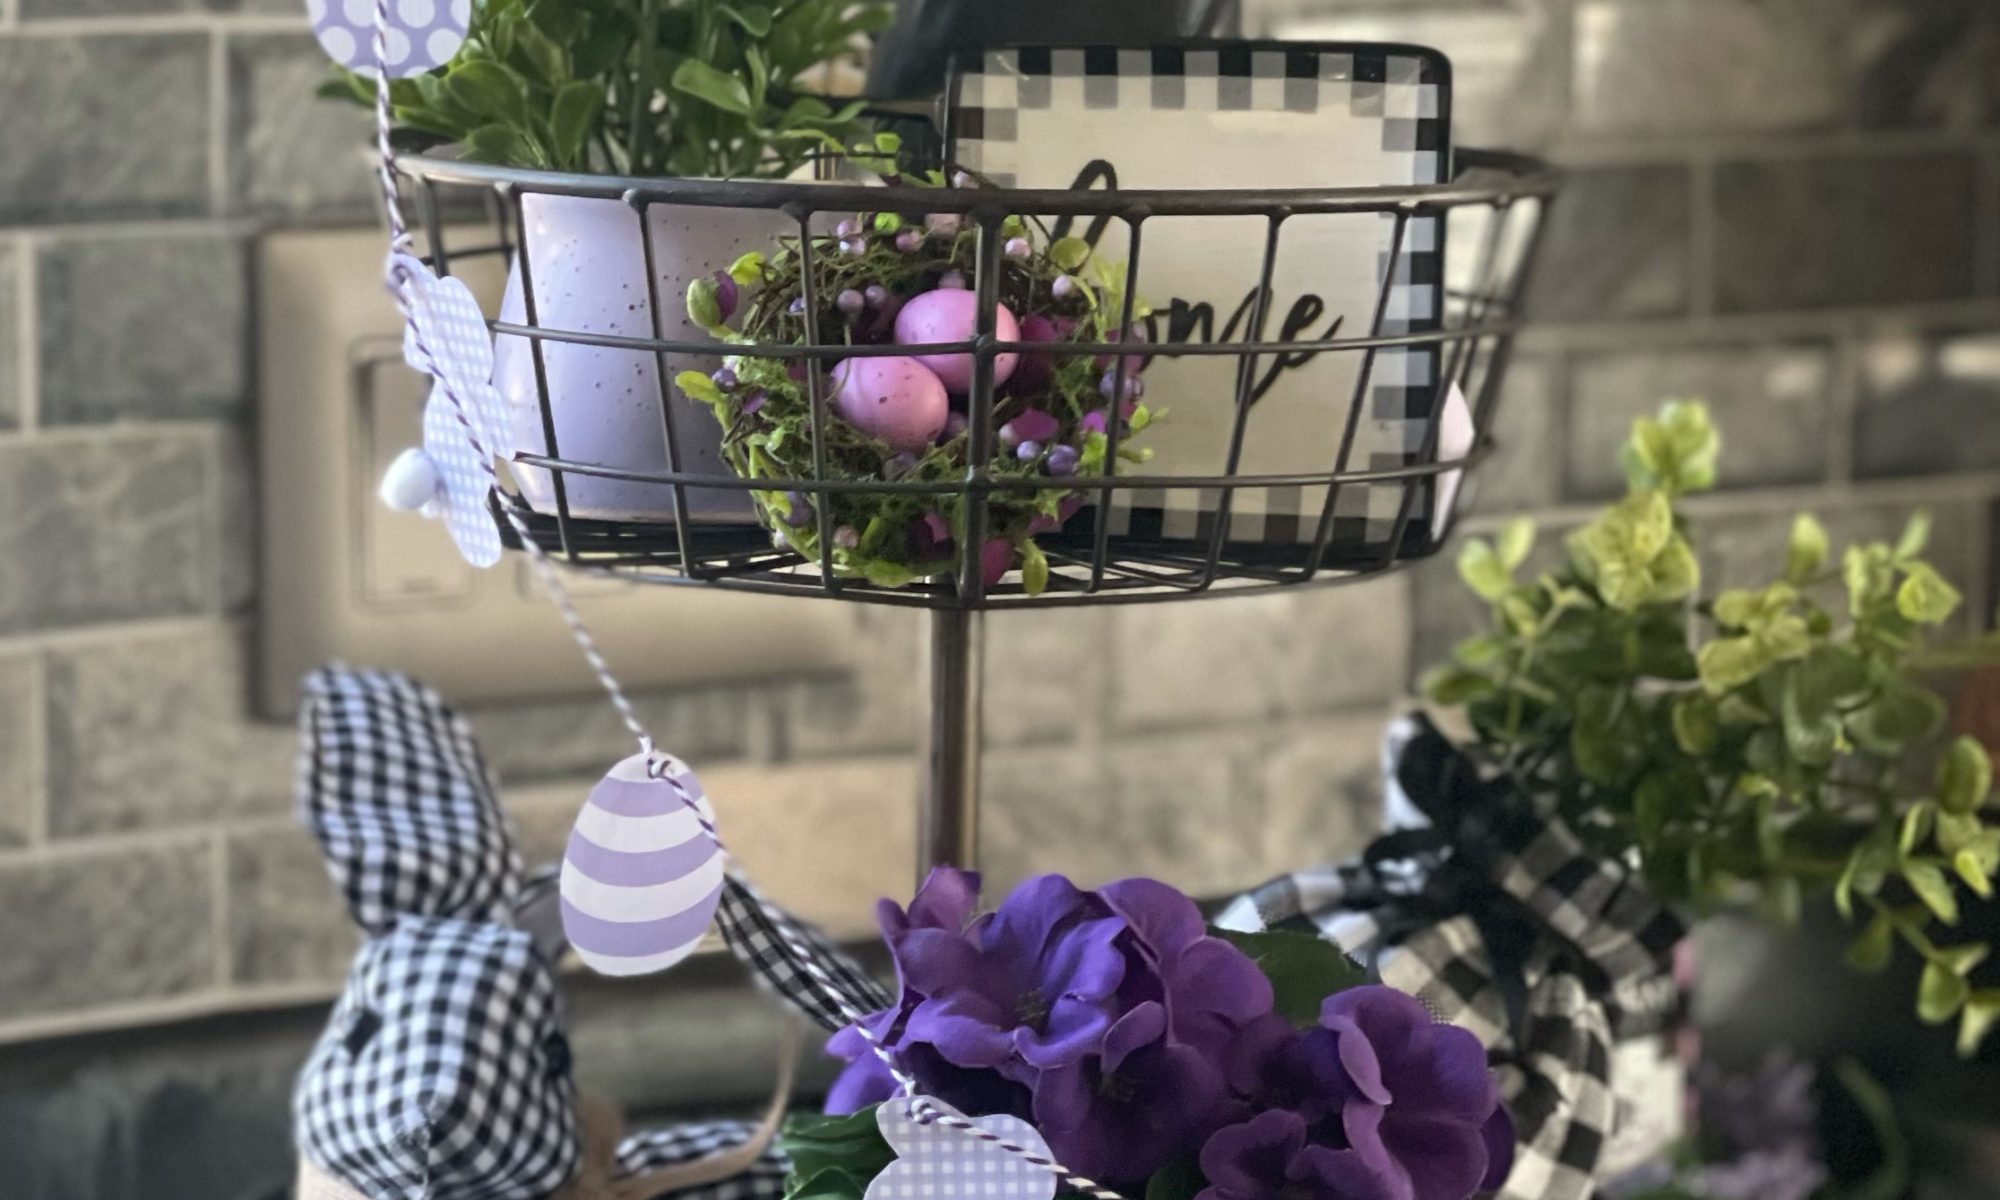
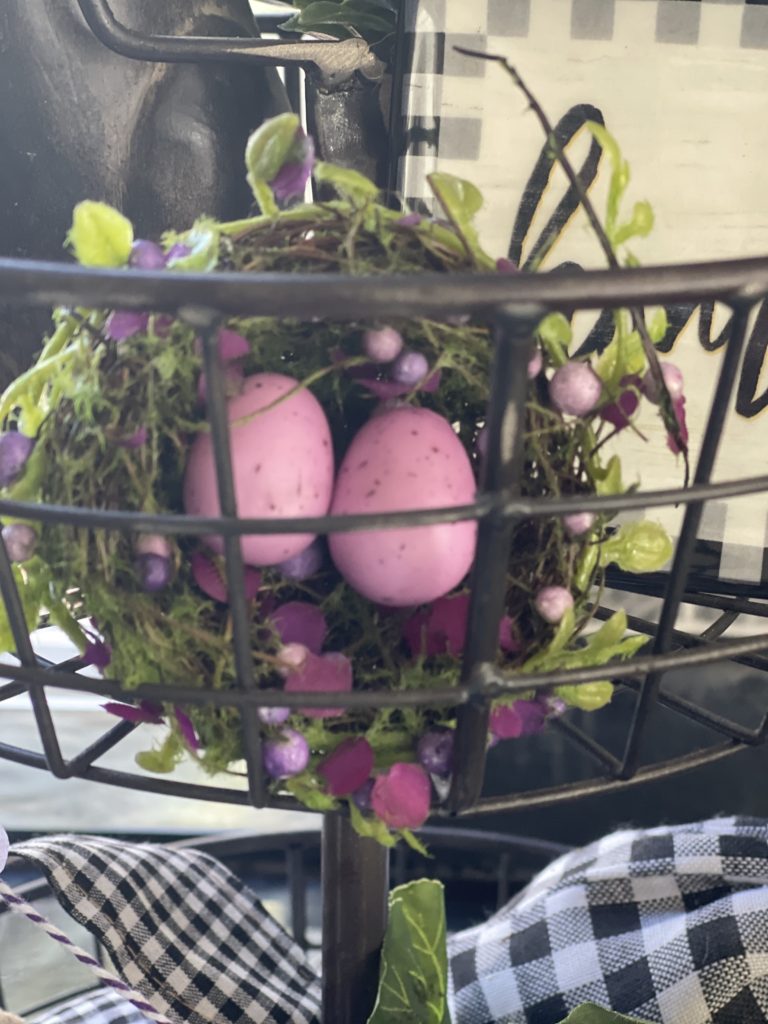
To bring a bit of color to the tier, I’ve add a bird’s nest with bright purple eggs. A lavender pot holds faux boxwood stems as well.
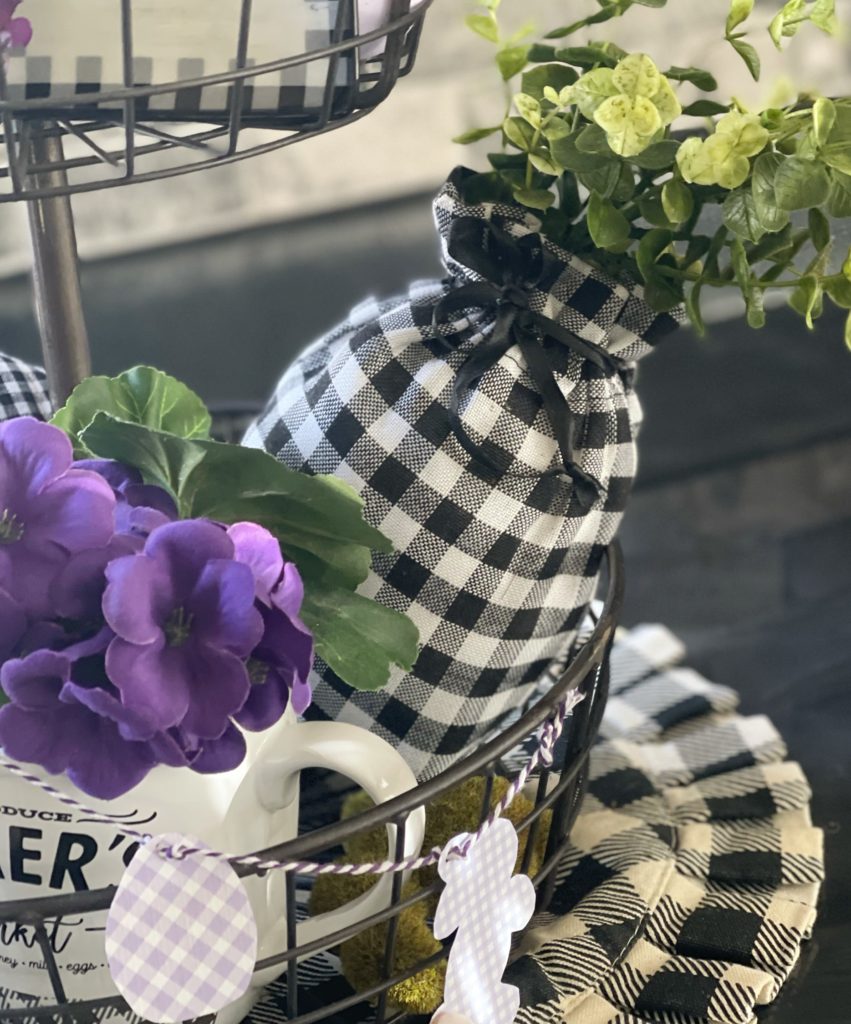
I love the simplicity and the farmhouse feel but the tray needed even more color. Dark purple pansies will be perfect. I’ve nestled them into a farmers market mug and I think they are just the thing to bring color to the lower tier as well.
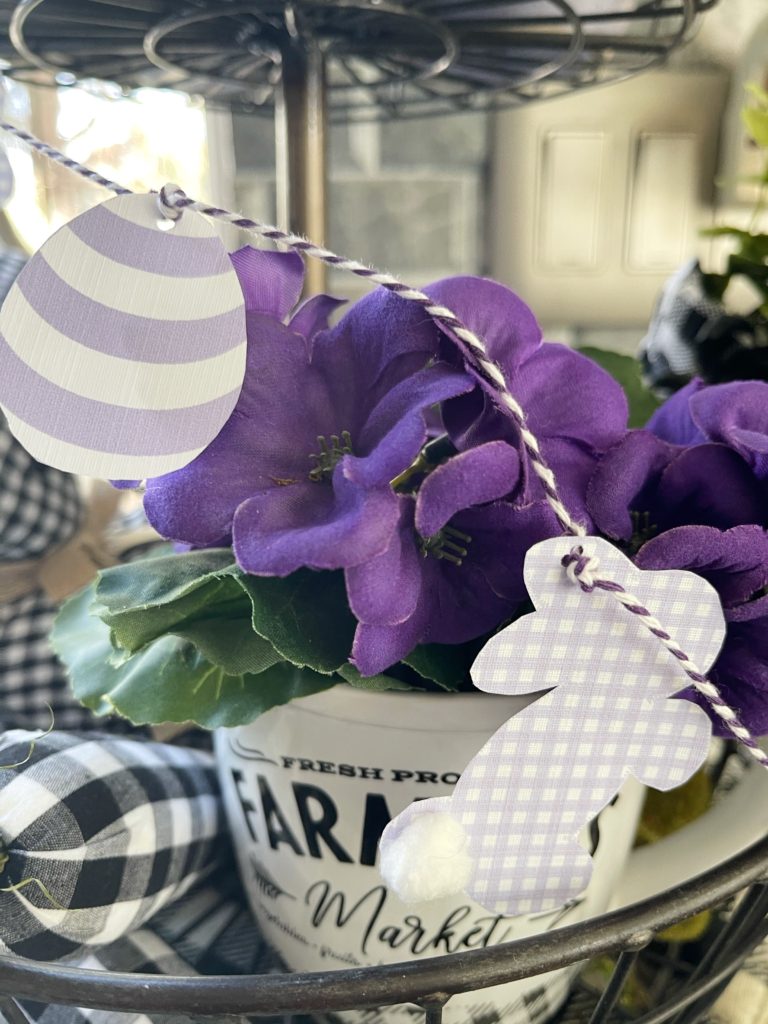
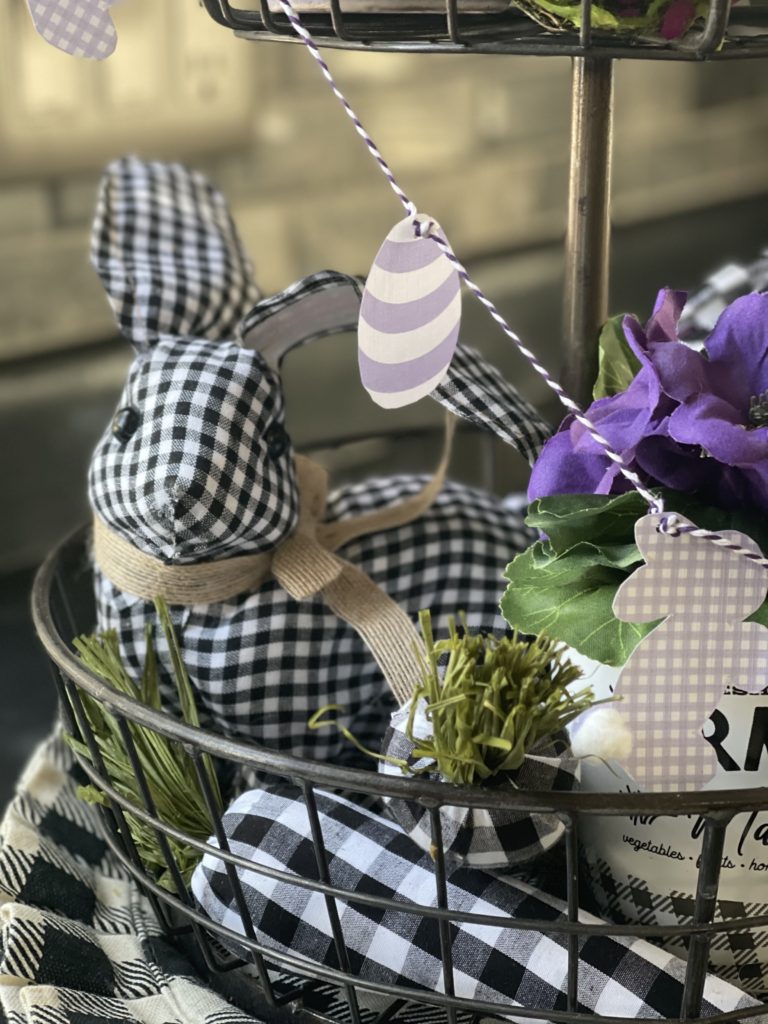
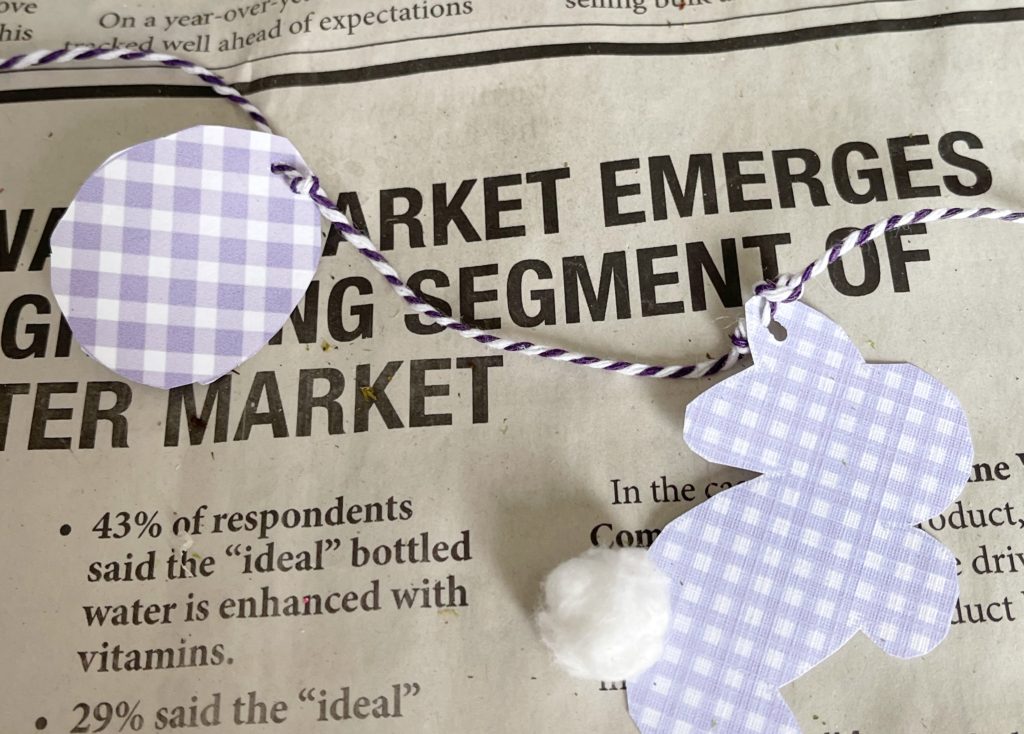
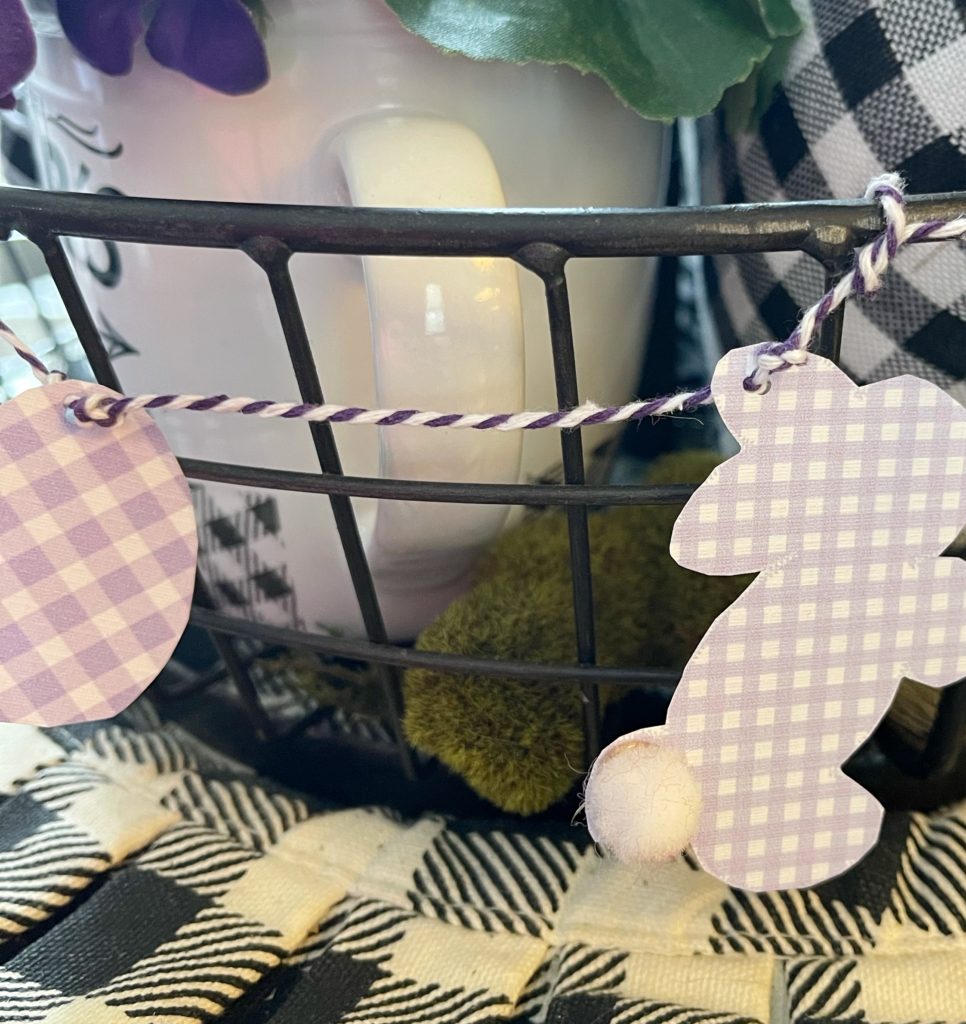
You will find a quick little tutorial below for the garland you see in this picture. Lilac bunnies and eggs with a purple baker’s twine and just the right size for a tiered tray design!
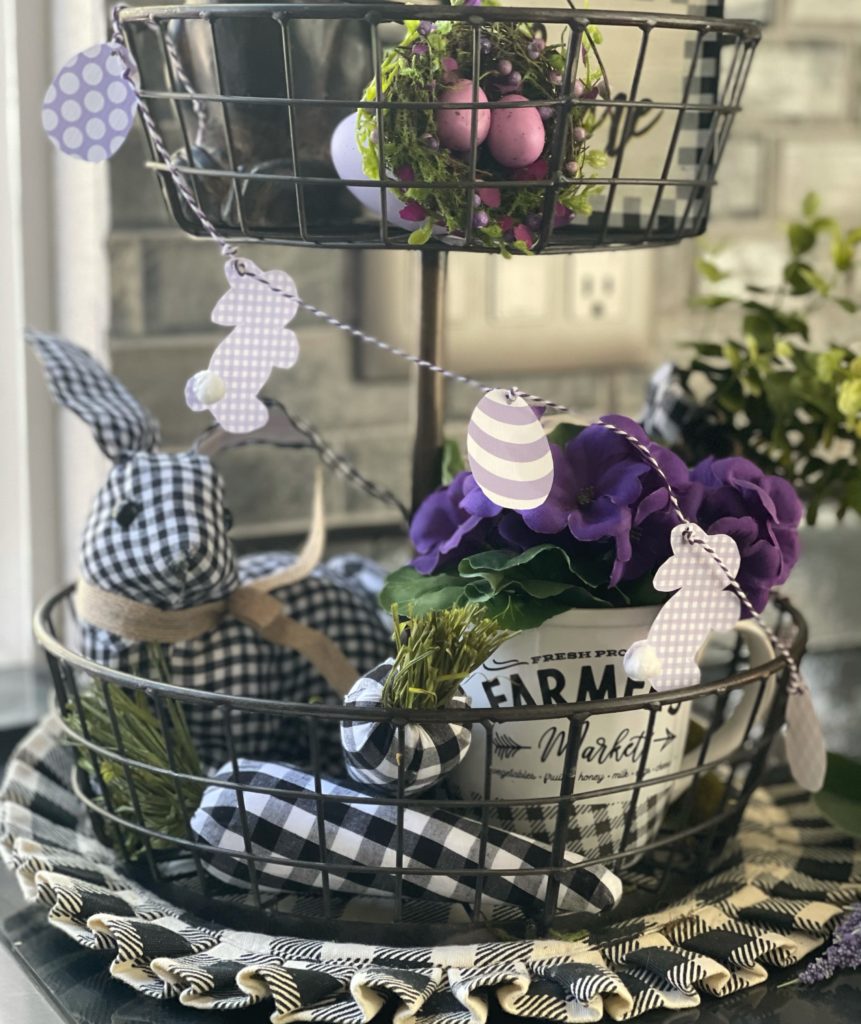
Each tier needs a bit of greenery this time of year. Faux boxwood tucked into a Buffalo checked bag keeps the theme going. Add to that, a buffalo checked bunny and some carrots and I think that’s a wrap for this tray!
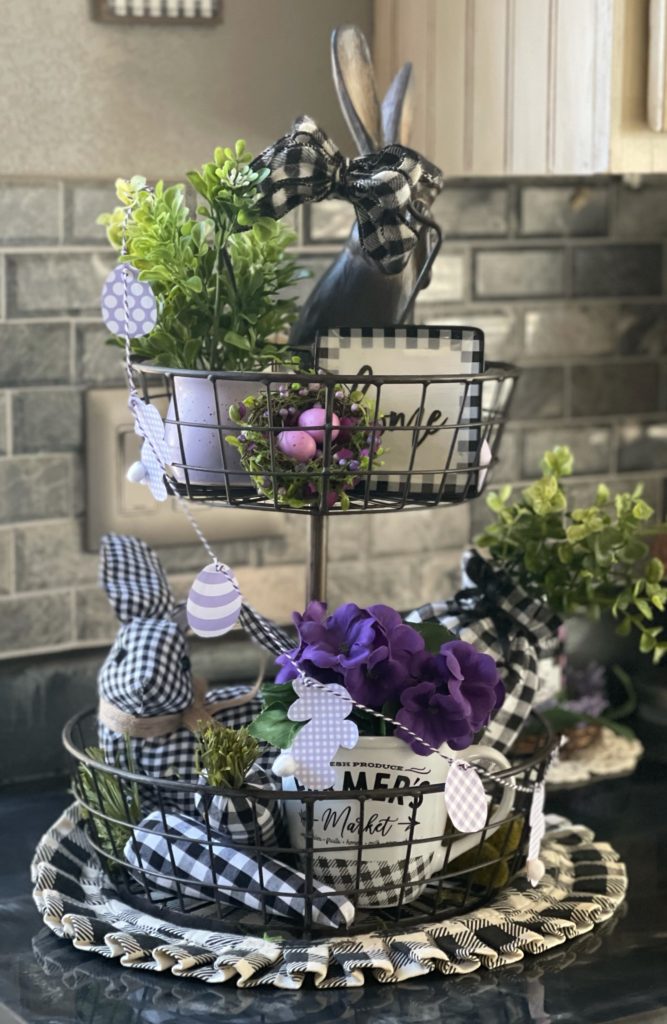
Tray 2 – A Tray With a Purpose
My next tiered tray will be on the spring coffee bar. For that reason I need to add in a few coffee necessities among all the cute little accents.
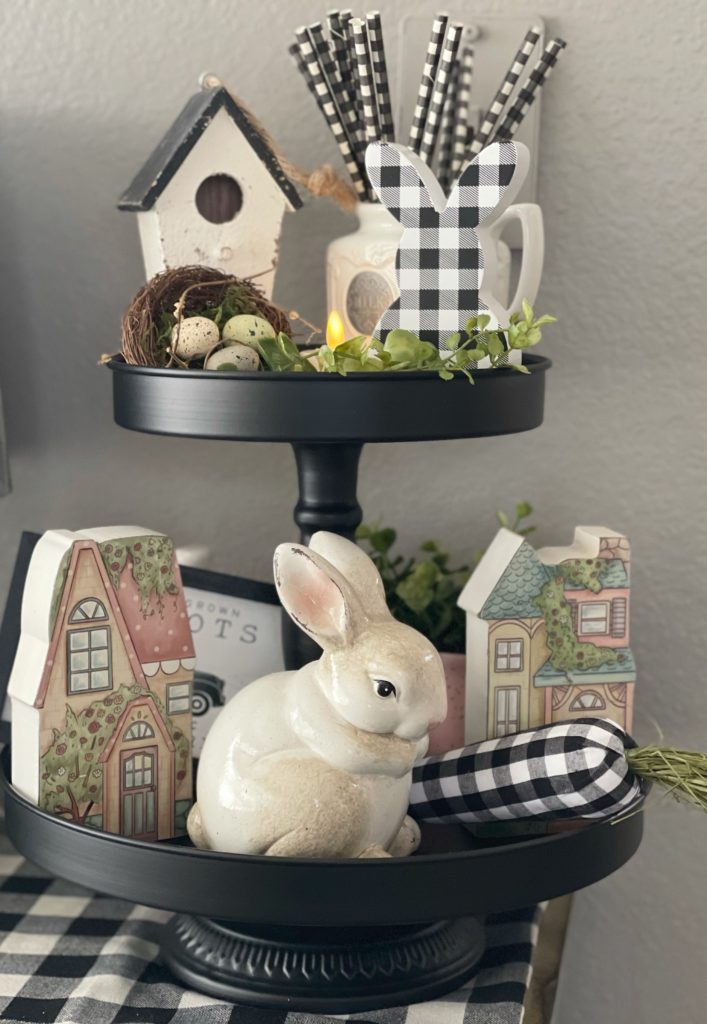
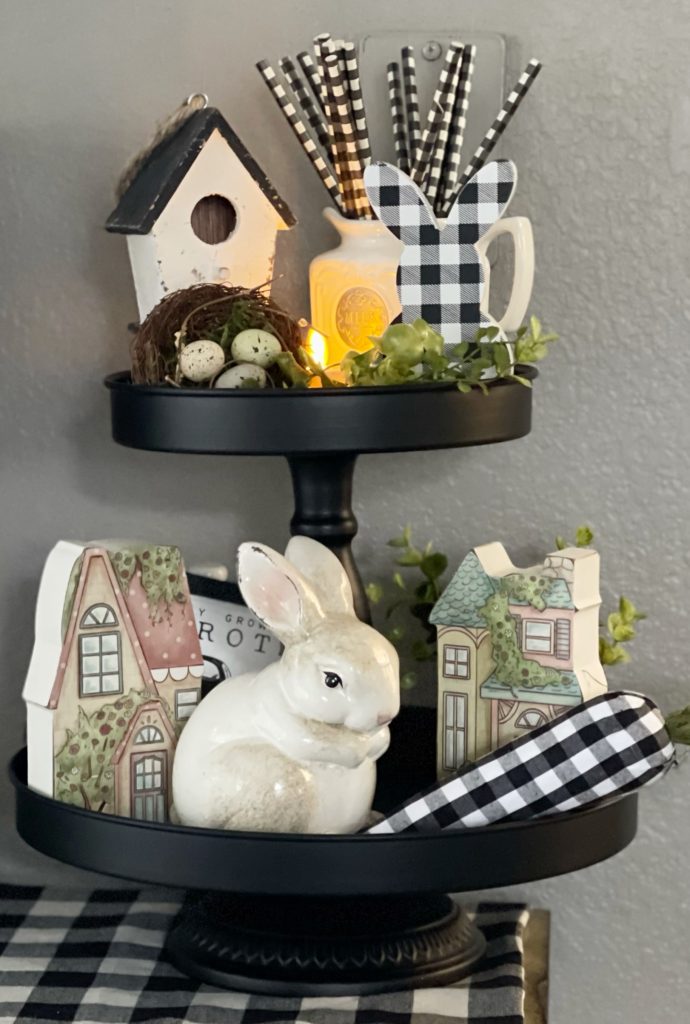
Still, it is spring! I have to start with a bunny! This pudgy little guy is just the thing.
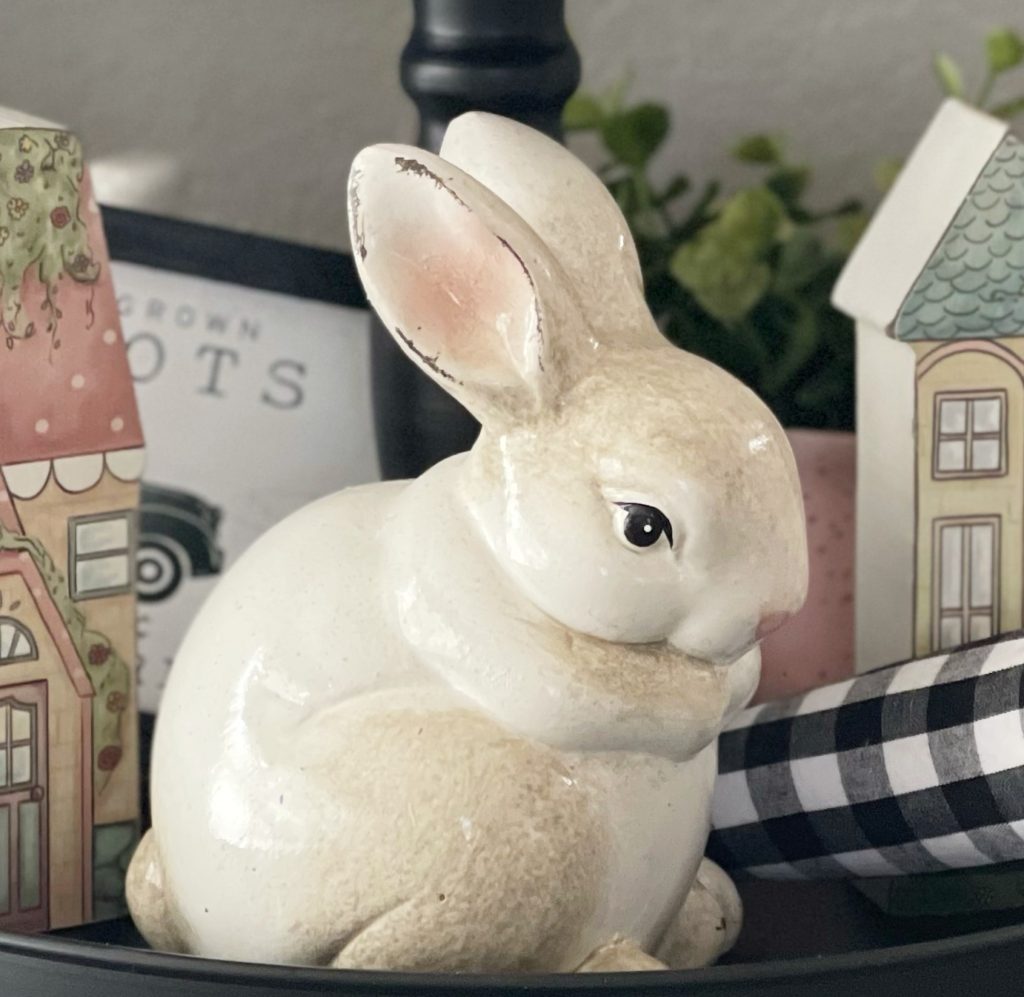
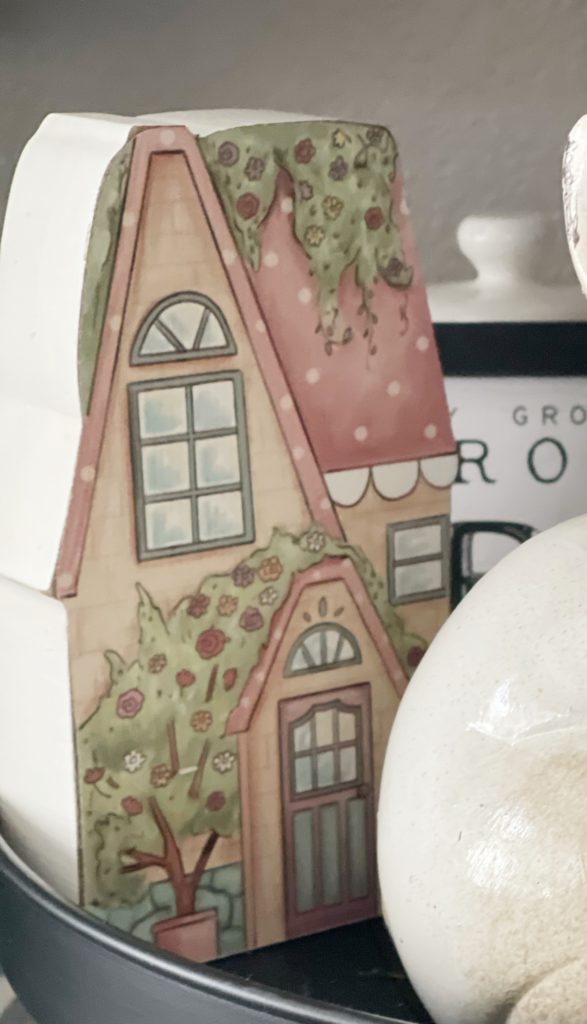
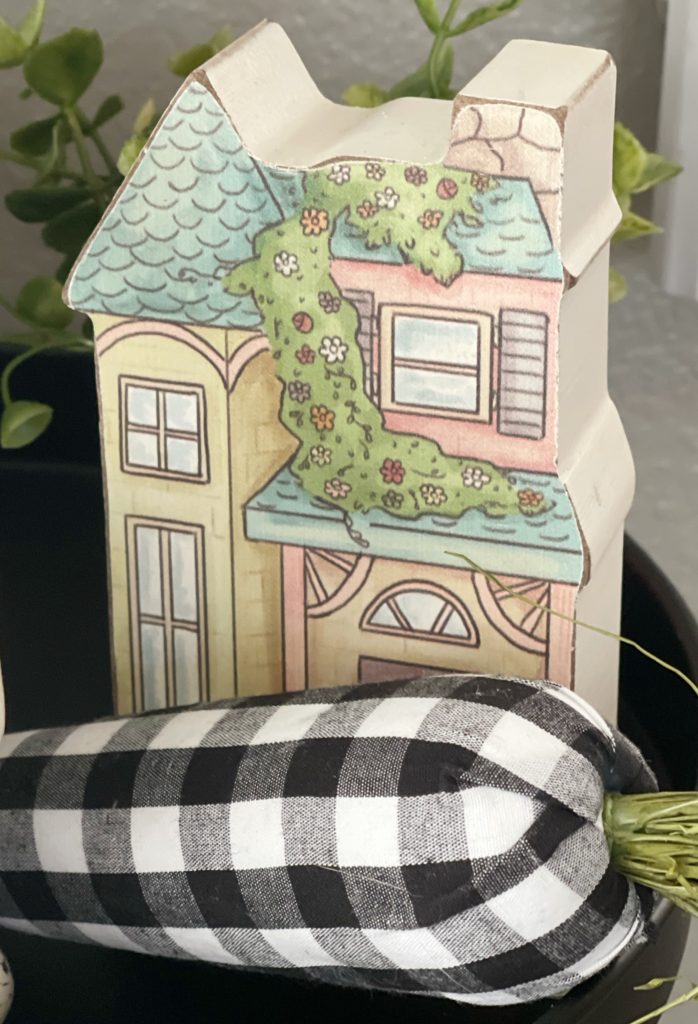
Of course this little bunny needs a buffalo checked carrot! I mean… is there any other kind at my house?? I think not! The bottom tier also holds some adorable little pink houses that I found on a trip to my favorite store, aptly named My Favorite Things!
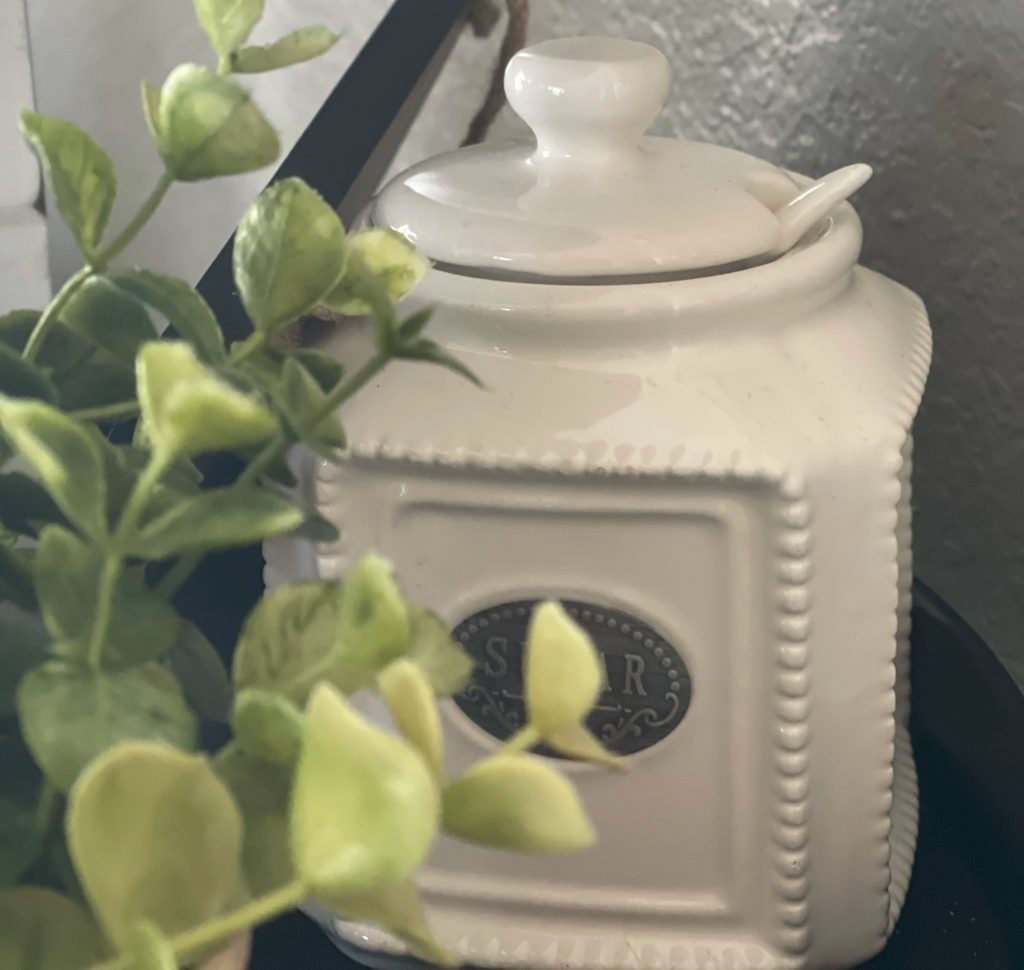
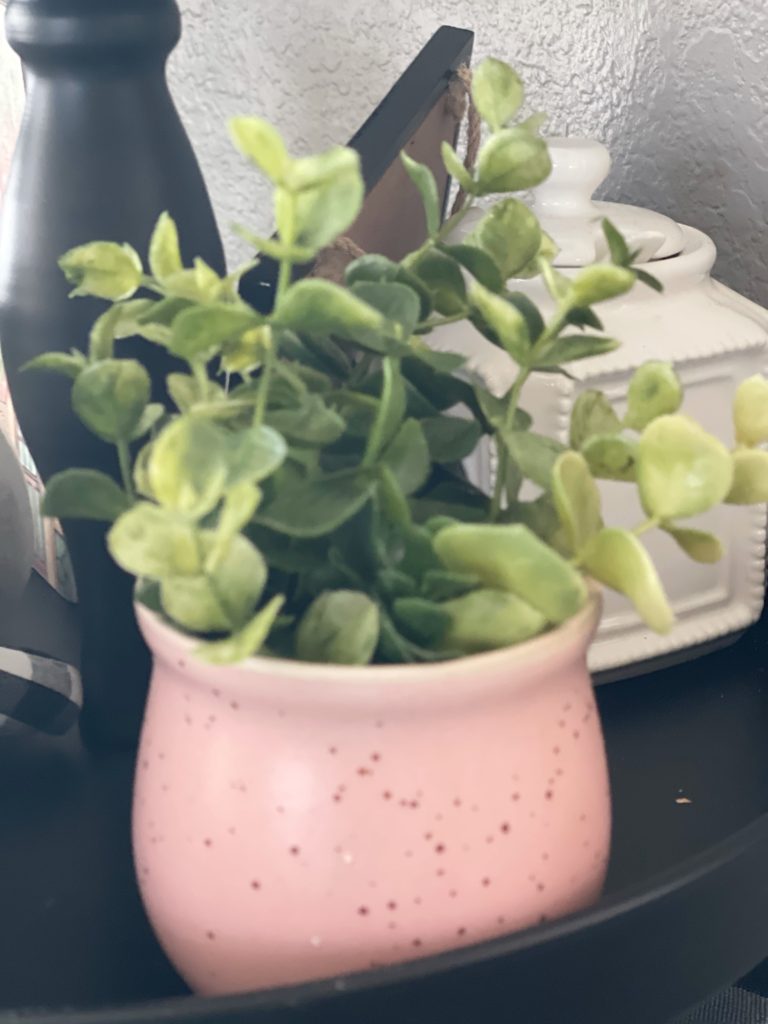
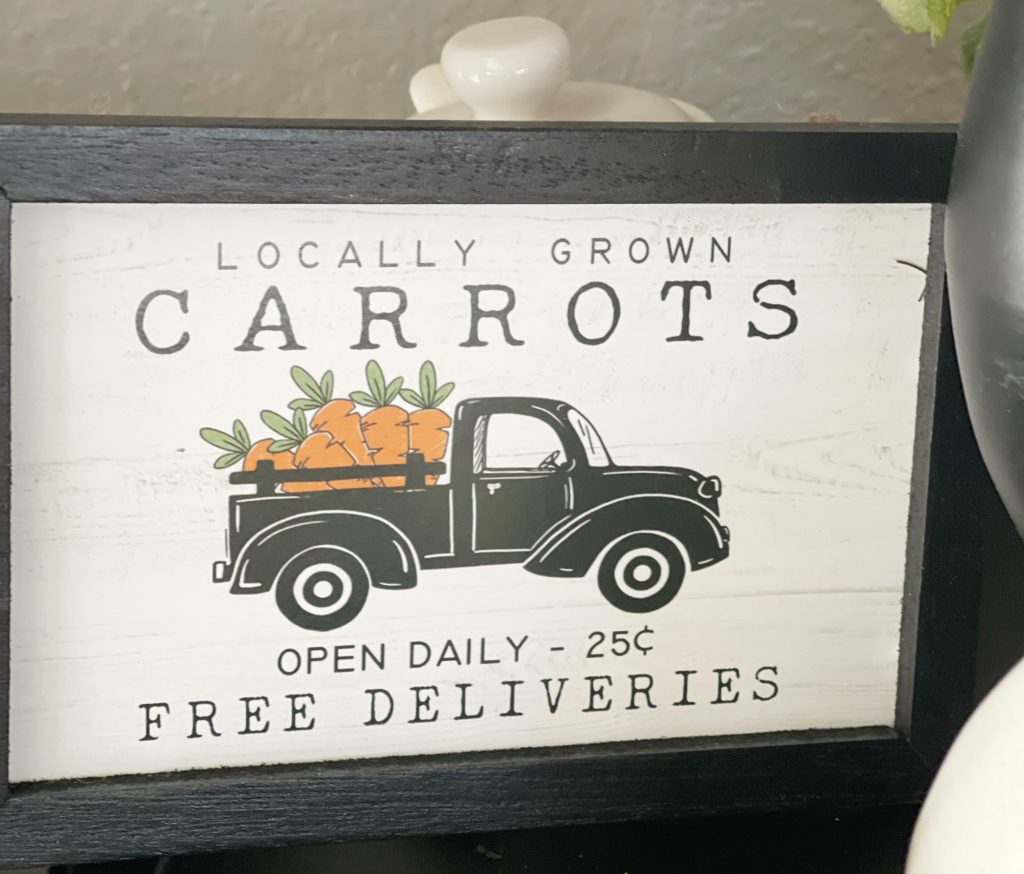
I have filled my favorite sugar bowl for our morning coffee and added a pretty little pot of greenery to this tier as well. A cute little carrots for sale sign completes the bottom tier.
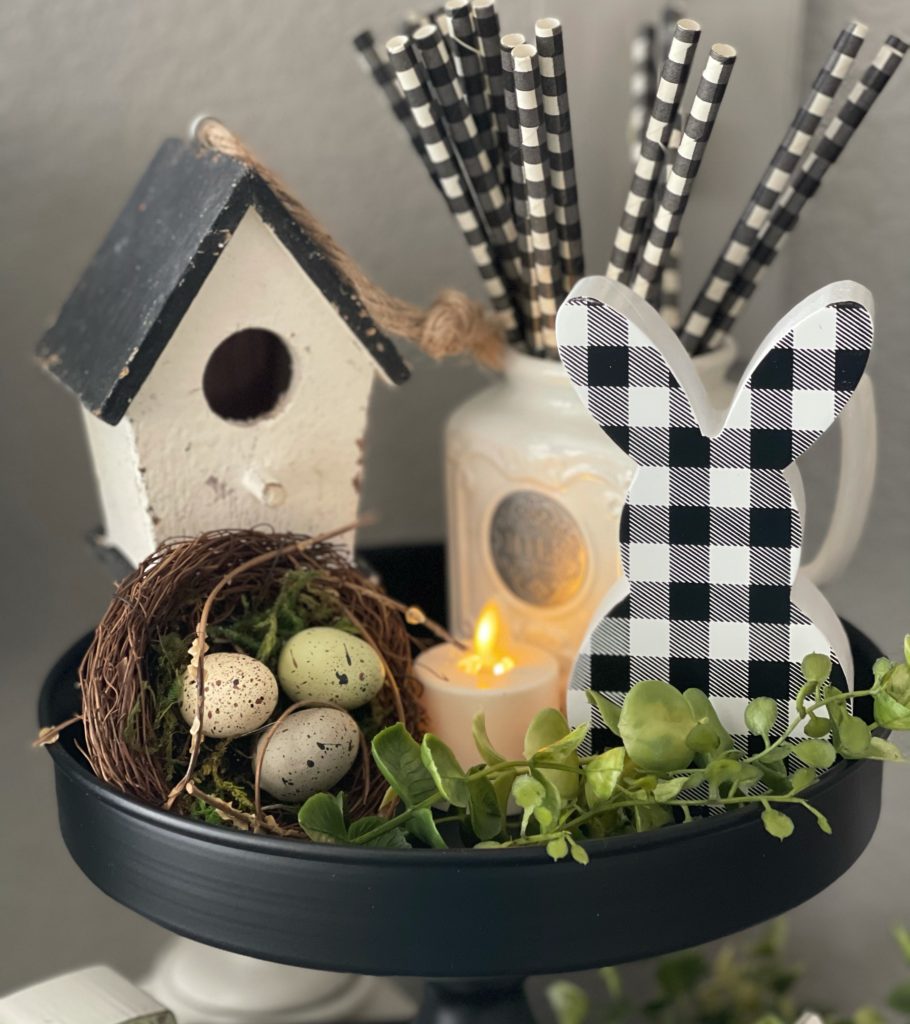
For the top tier, I’ve added some buffalo checked straws in a pretty creamer for our favorite iced coffee. A few seasonal accents, a sprig of greenery, and a little tea light candle will be just enough to complete this one.
Tray 3 – A Fruit Bowl With Ambition
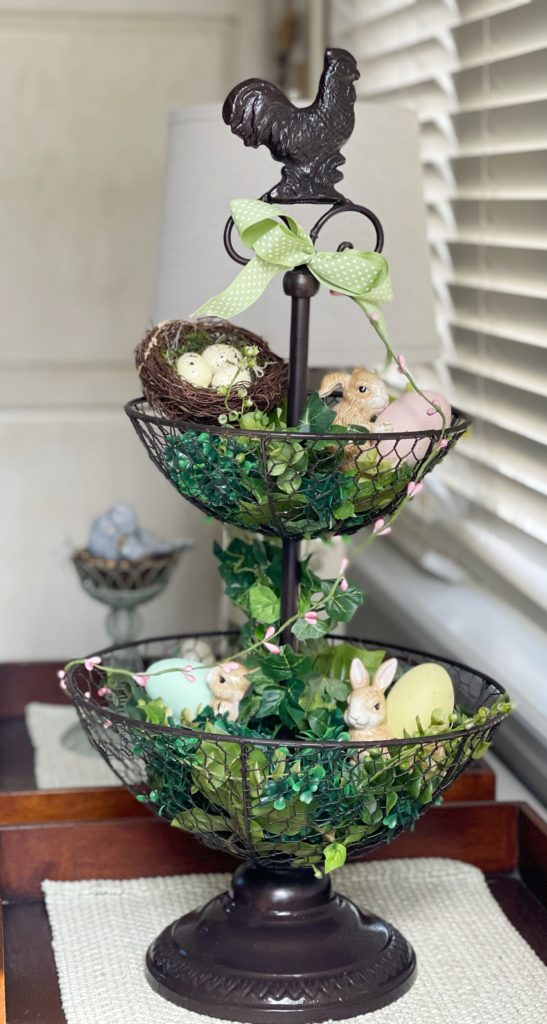
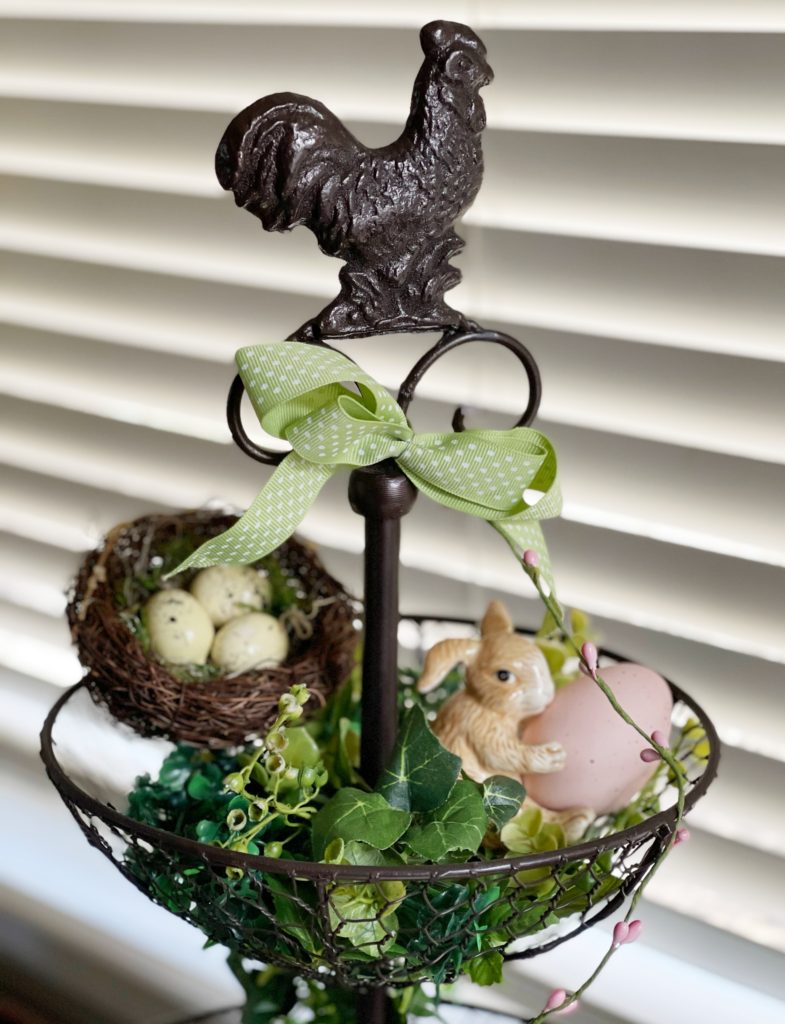
Finally, my tiered fruit bowl is always fun to decorate this time of year. It’s quite useful in the summer months holding all the fresh fruit we love but sits idle for most of the year. Seems silly that it should spend the spring in a cupboard!
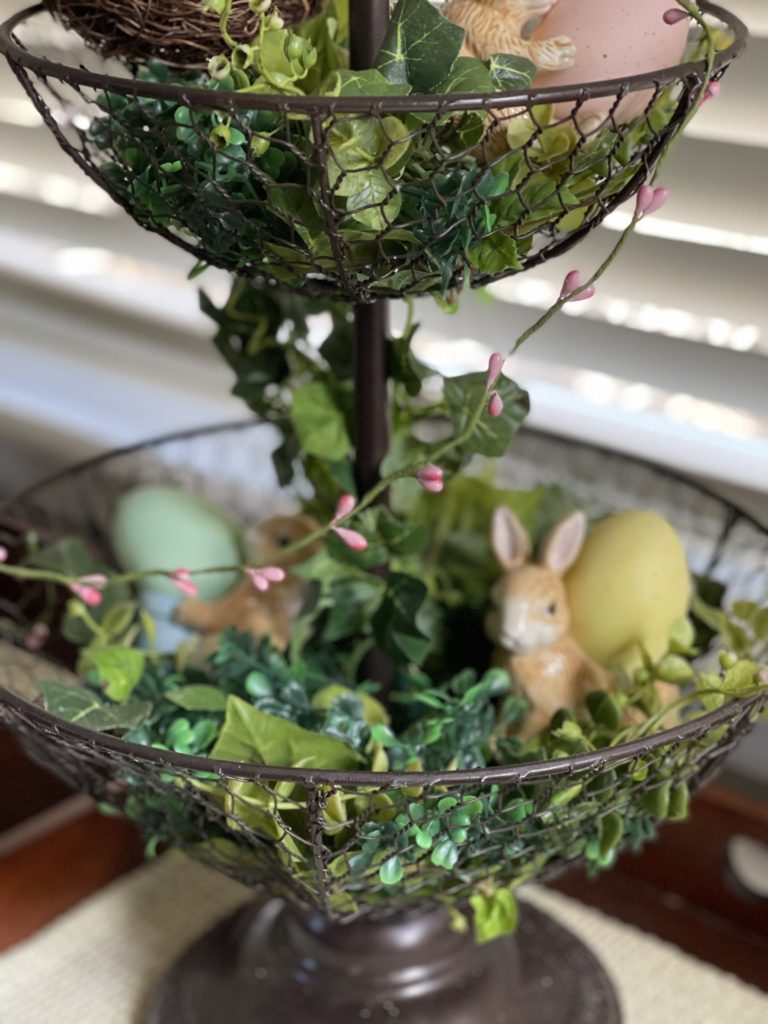
Filled with boxwood and ivy, it gives me the burst of green I’m craving right now.
The top tier holds a birds nest and a cute little bunny holding a pink egg.
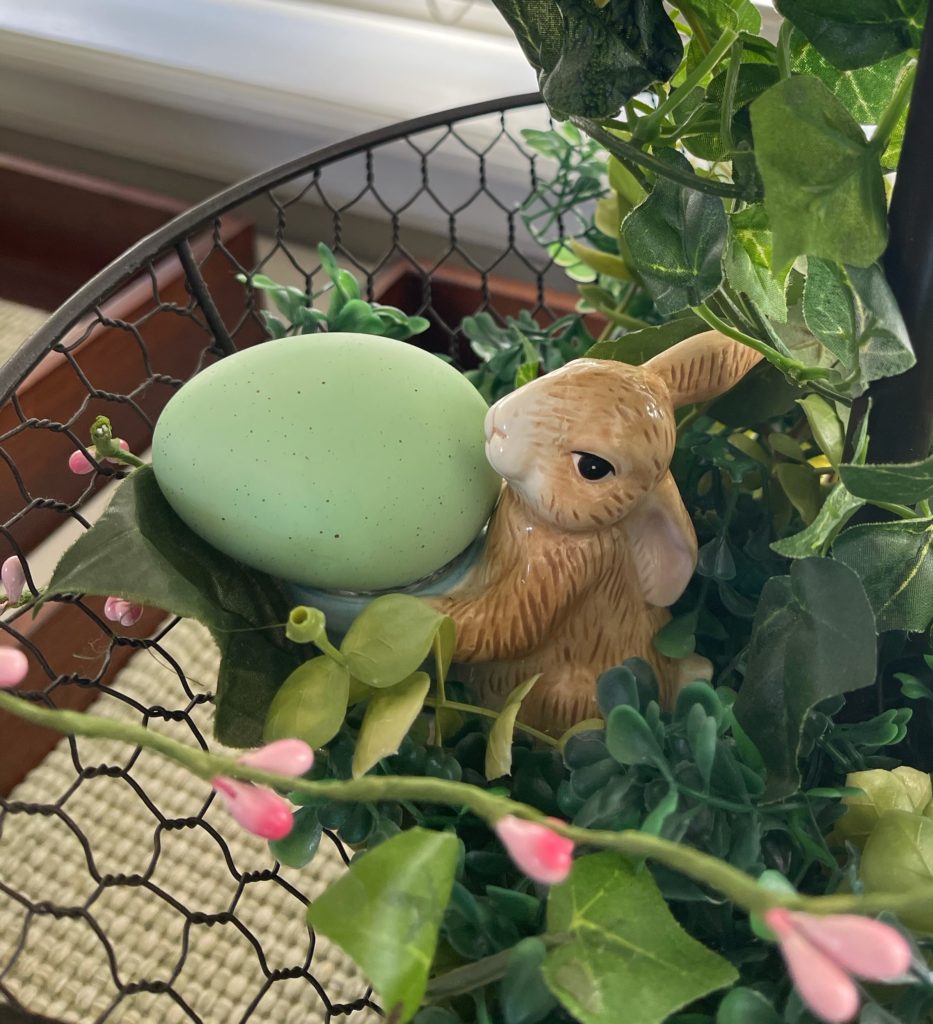
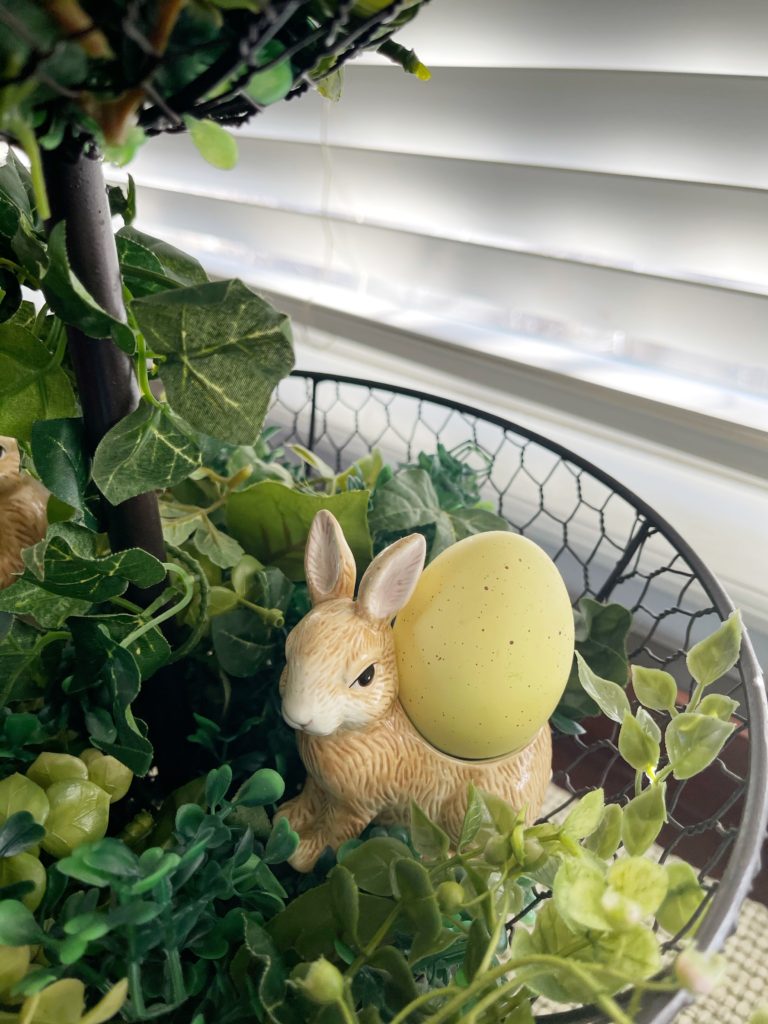
Two other bunnies with eggs sit inside the greenery on the bottom tier as well.
As a final touch, I’ve added a pink pip berry garland.
Spring has definitely arrived in my kitchen! The Create the Look page on the blog includes links to help you design a tiered tray of your own!
DIY Tiered Tray Bunny Garland
I love adding garland to my tiered trays. It always looks so pretty cascading from one tier to the next. This one is as easy as can be and is perfect for your Easter/Spring tiered trays.
Supplies
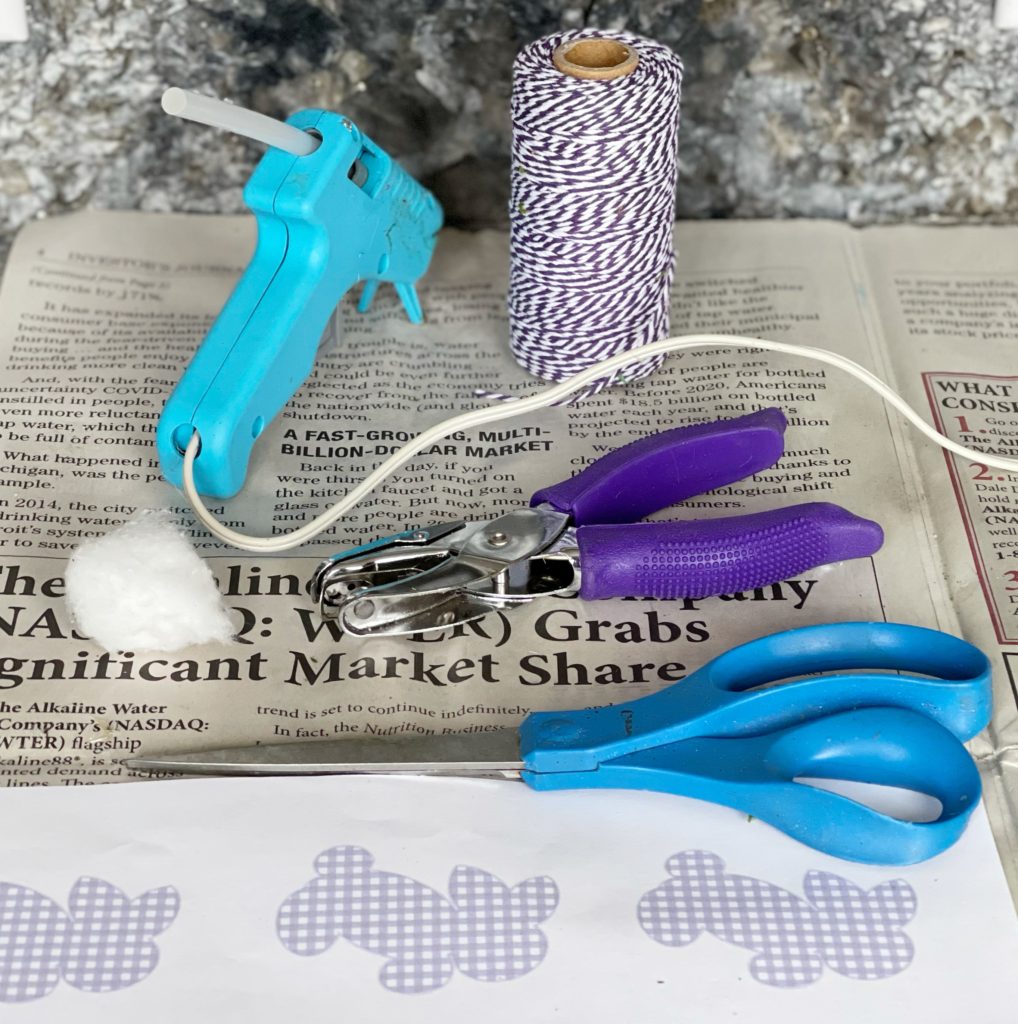
- Bakers Twine
- Hole punch
- Scissors
- Cotton ball
- Glue gun
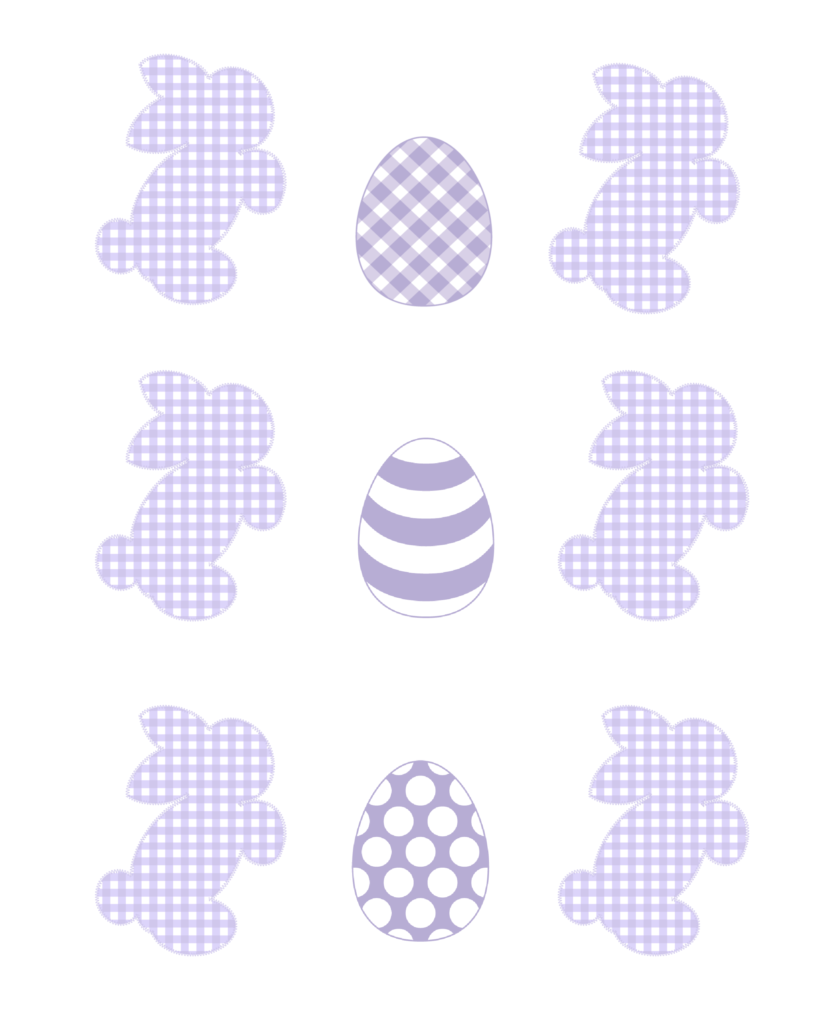
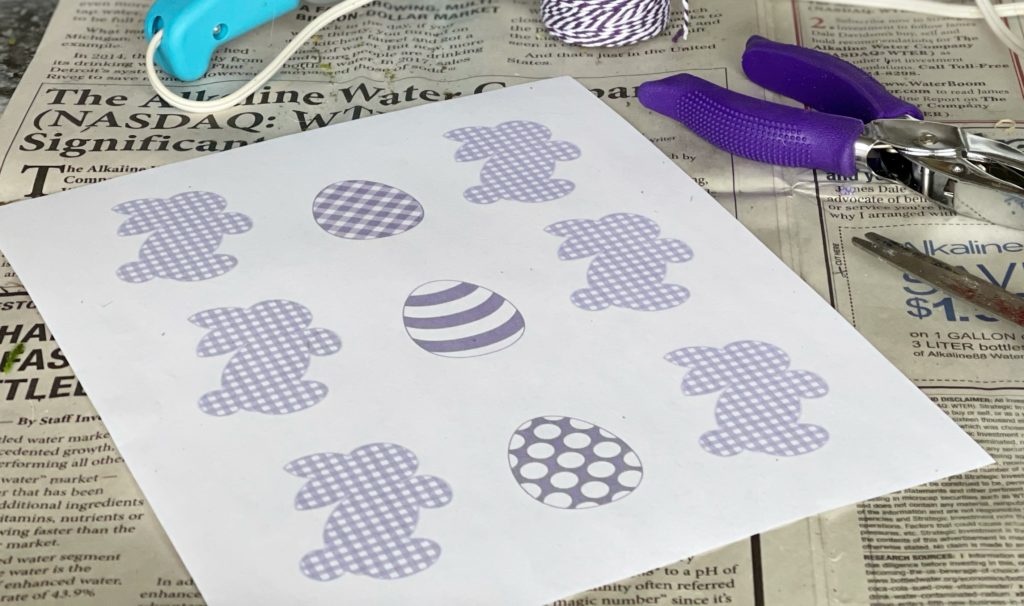
- Sheet of bunny/egg cutouts
Instructions
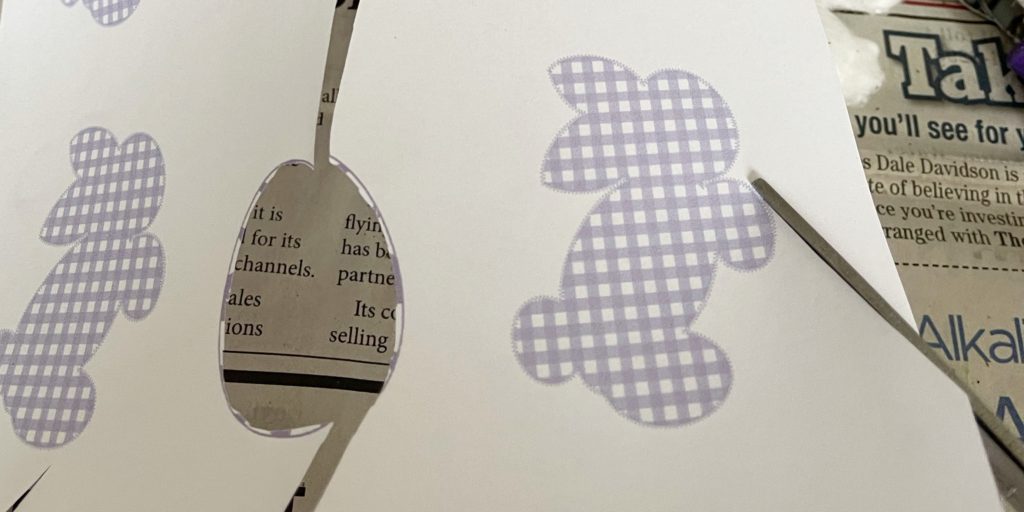
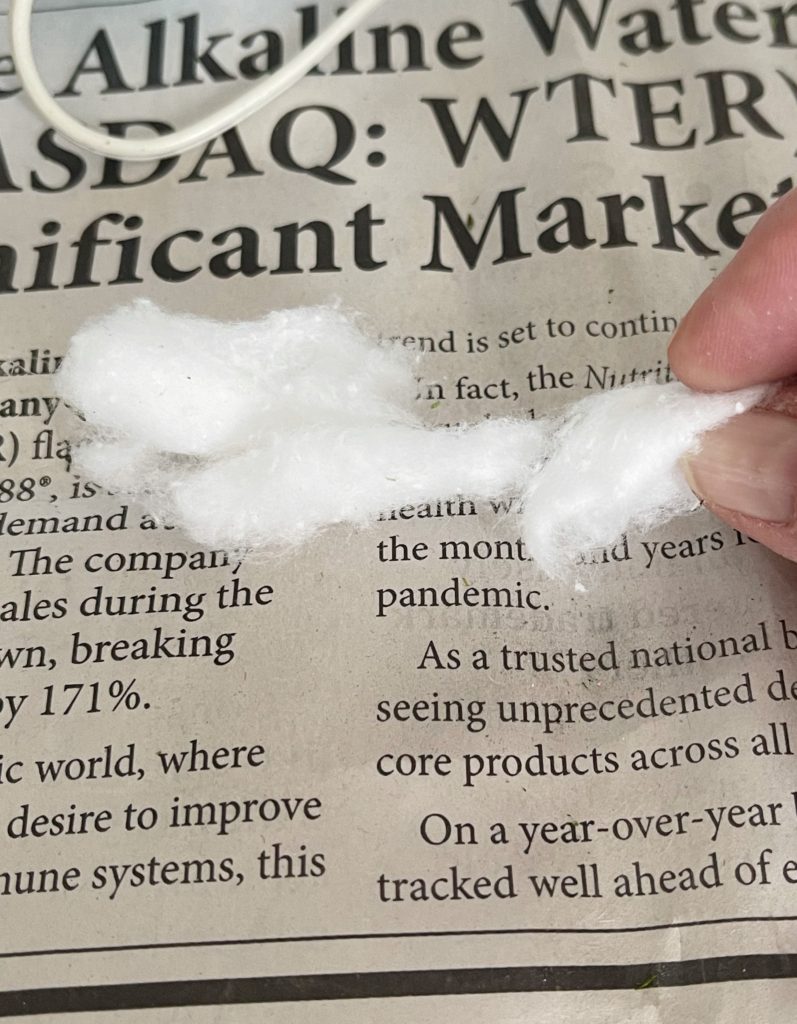
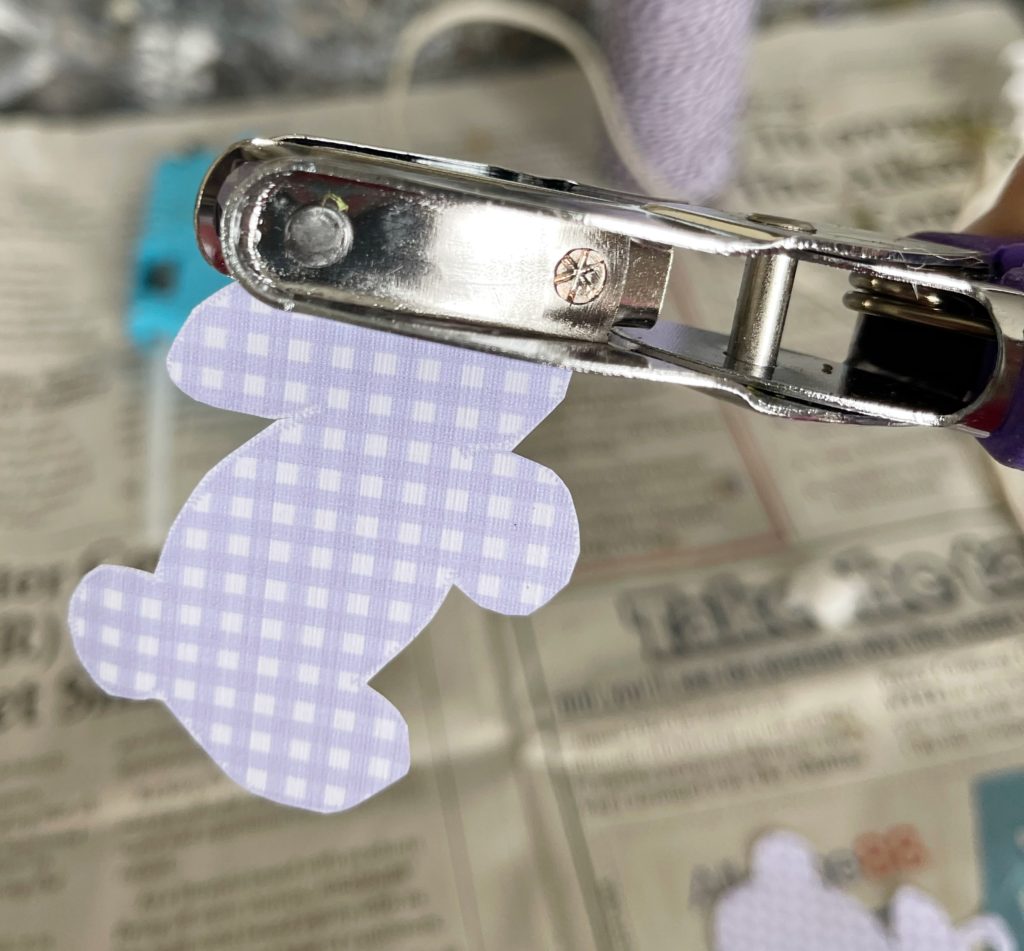
Carefully cut out each bunny and each egg. Pull off a small piece of the cotton ball and roll it to form a ball on its own. Continue pulling and rolling until you have six.
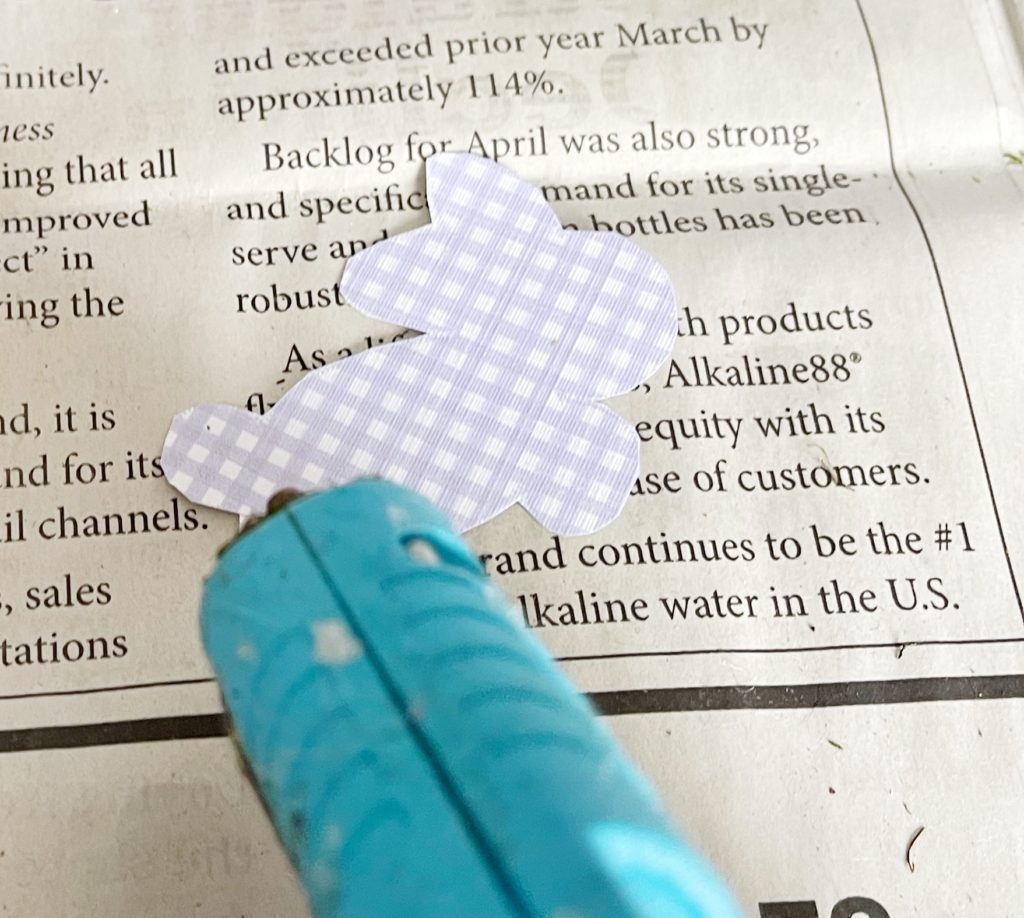
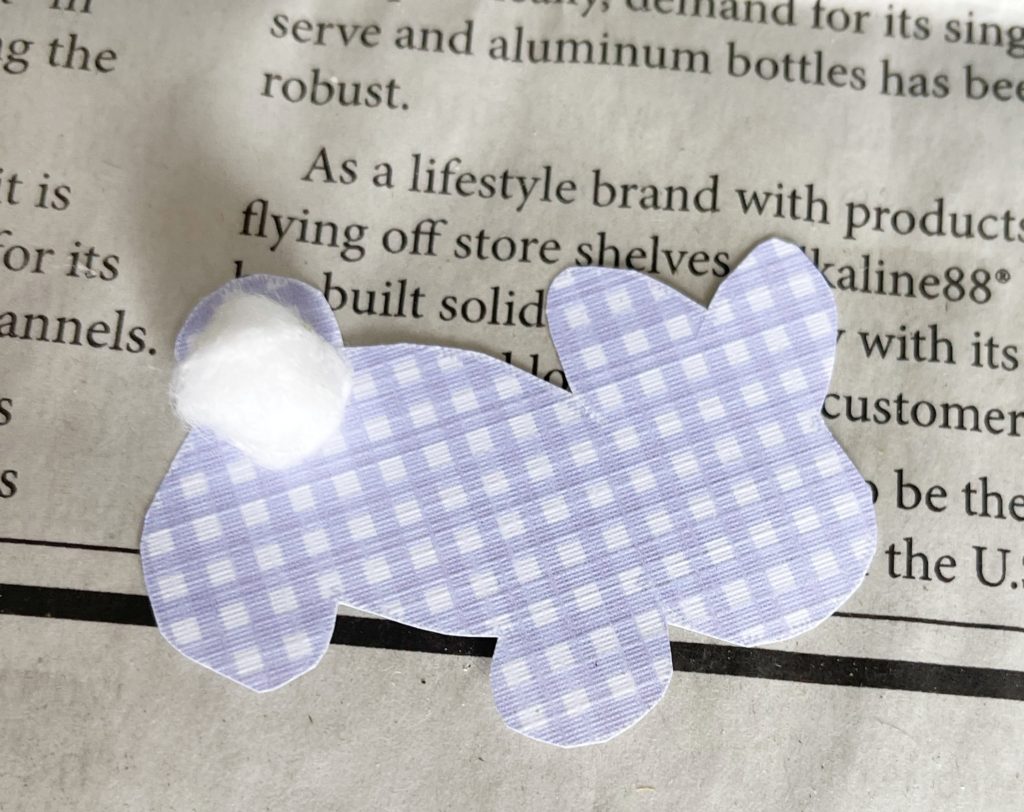
Glue each ball to each bunny. Just a little dot of glue will be enough. Using your hole punch, poke a hole into the center of each bunny’s top ear and the top of each egg.
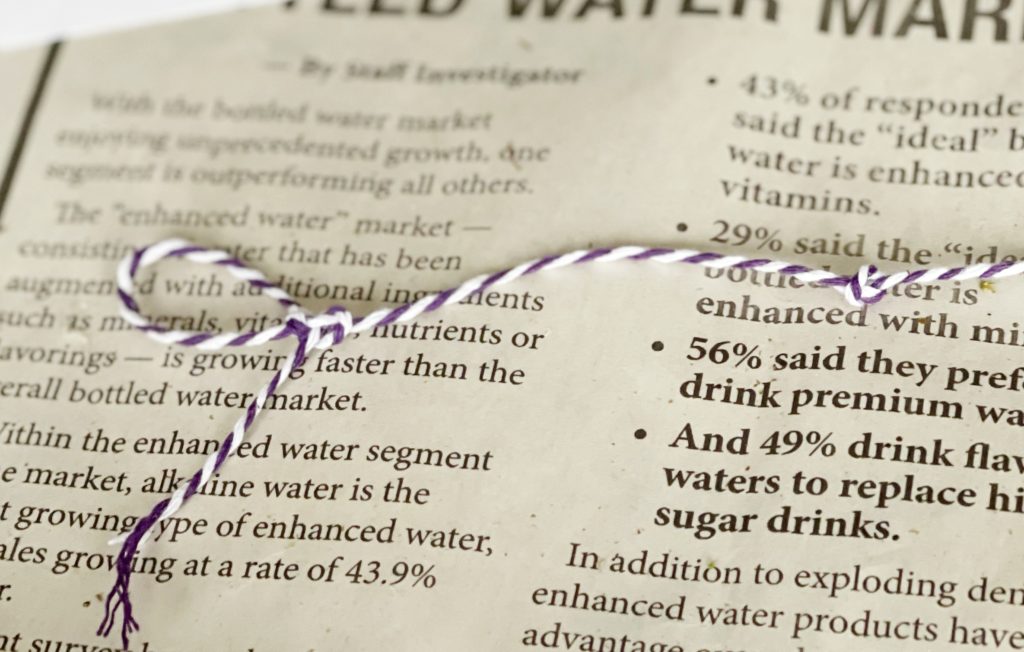
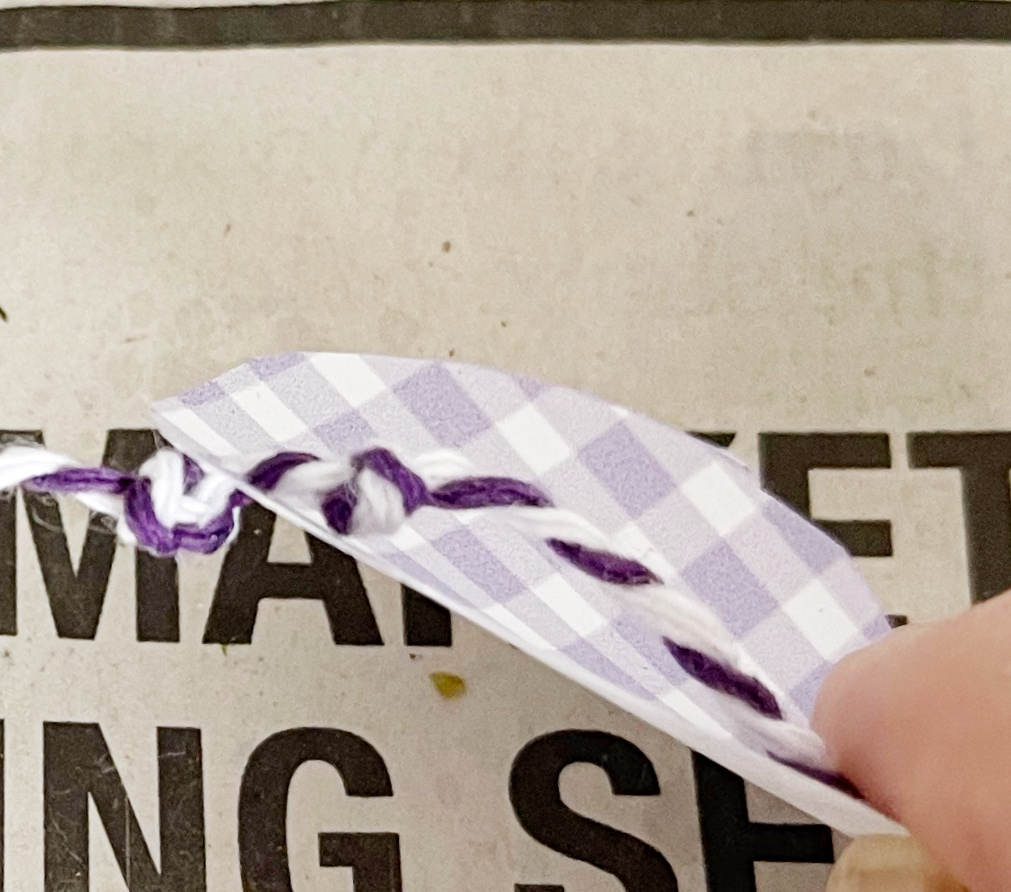
Cut a piece of twine about two feet long. Make a small loop to one end and tie a loose knot. Tie another knot 2 inches down the twine. Slide an egg down to the knot and tie another to secure it in place. Move another two inches, tie a knot, add a bunny and tie a knot to secure it. Continue down the twine until it is the length you would like.
Now secure one end to your top tier, arrange the garland diagonally, and secure the other end to the lower tier.
I’ve linked all the supplies you will need below. The bunny printable is completely free to any subscriber. Simply click here for the Printable Library, enter your password below the bunny cutouts, download, and print.
If you are not yet a subscriber, you can add your email to the form at the bottom of this page. Your password will be in your inbox within minutes. Subscribing will get you this printable and give you complete access to everything else you’ll find in the library. A weekly/bi-weekly newsletter will keep you informed of all things spring at My Home of All Seasons!
Before you leave today, be sure to check out my latest post Spring on Demand for more ideas to welcome spring into your home.
See you soon!
Bunny Garland Supplies




All the trays look nice but I like the 3rd one the best!! Thanks so much for linking up with me at the Unlimited Monthly Link Party 22. Pinned!
Thanks so much for the pin Dee! Have a wonderful weekend ahead!
Congratulations, you are being featured at this weeks Friday with Friends Link Party.
The darker colors with violet and purples makes a beautiful contrast and different look for spring. It really caught my eye!
Thanks for sharing your post at the party.
Thanks so much Rachelle! I think it was the pretty tray you designed for Valentine’s Day with the purple accents that inspired me in the first place! Thanks again and have a wonderful weekend!
Love all the tiered trays.. each are so pretty in their own way!! The garland is darling too!!
Hugs,
Deb
Thanks Deb! I have so much fun with those trays. Besides the ladder, those are my favorite things to decorate.
CONGRATS! Your post is FEATURED at my Unlimited Monthly Link Party 23!
Thank you so much Dee! Very appreciated!
I love the buffalo check bunnies and carrots!
Thanks so much! I can never resist anything made with buffalo checks!