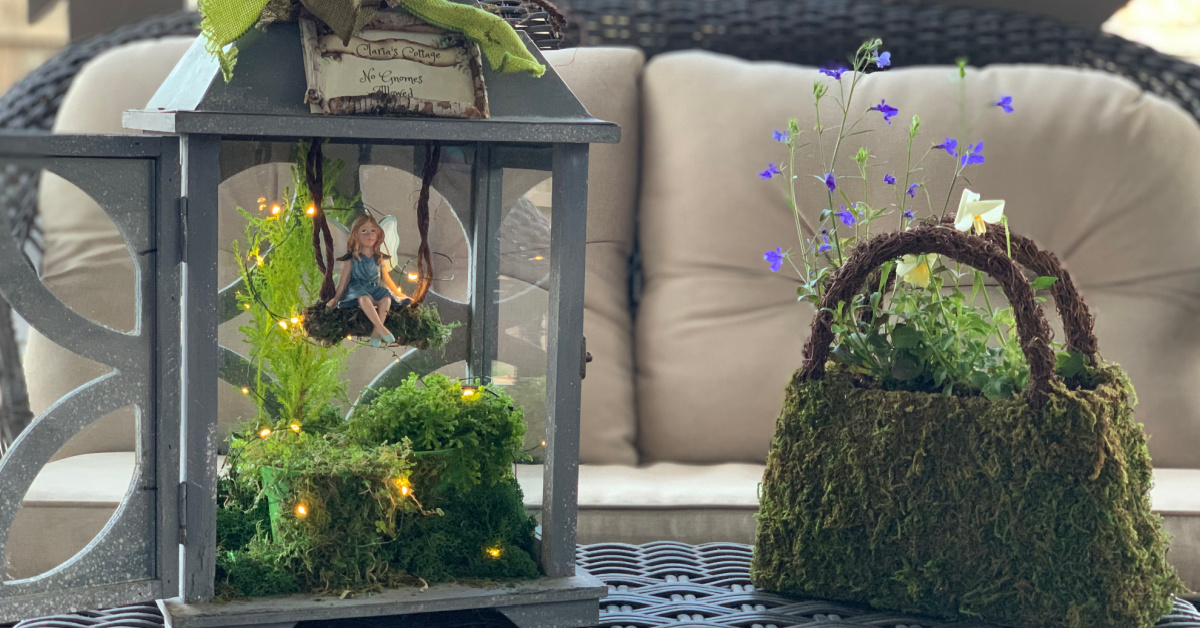
Ok! You’re right! It is too early to put plants and flowers outside in Colorado. I always adhere to the Mother’s Day rule. But this year, it is just so much harder! The weather is beautiful this week and we are spending a lot of time outside. The grass is turning green and the lilacs are beginning to bud. The patio is normally full of plants and flowers. But it really is too early! So I decided to make a Spring Patio Lantern that I can simply carry inside if the weather turns.
I will be putting out a fairy garden in the backyard when I’m sure the last snow has fallen. Solar fairy houses, fairies and gnomes, and flowers! All the flowers I can find! I purchased this adorable little fairy with that in mind but I think she will make a great addition to my lantern.
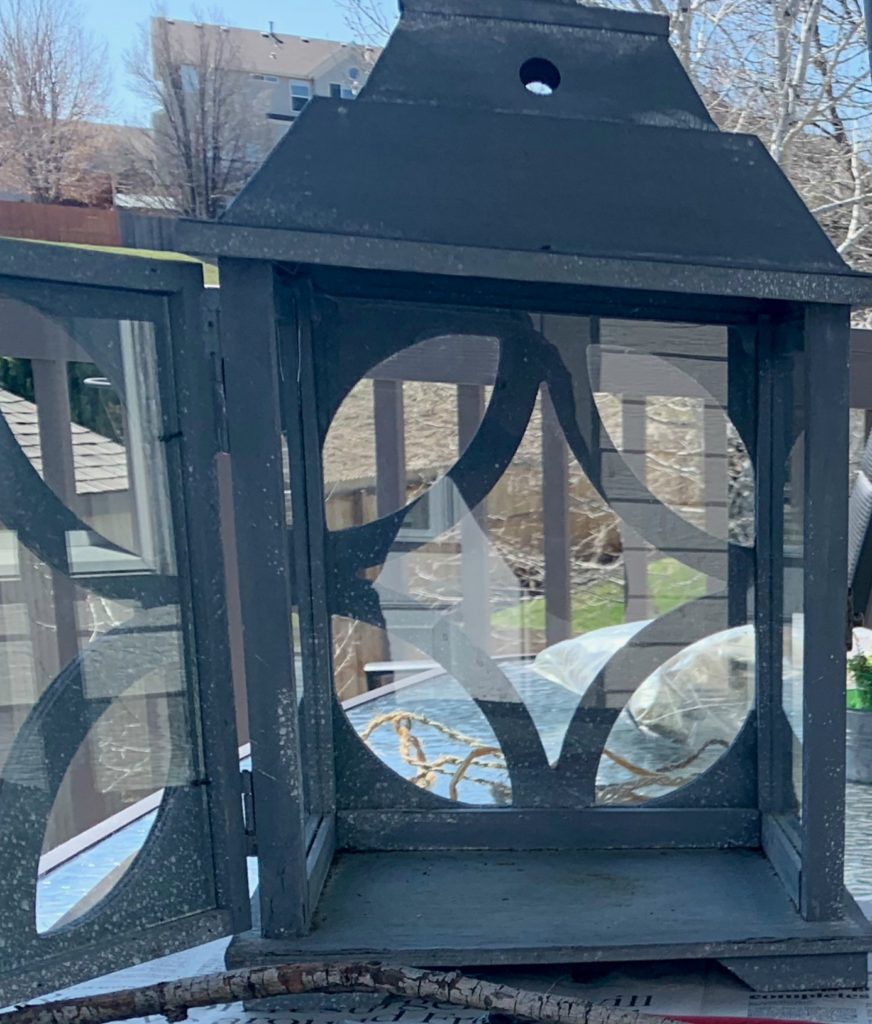
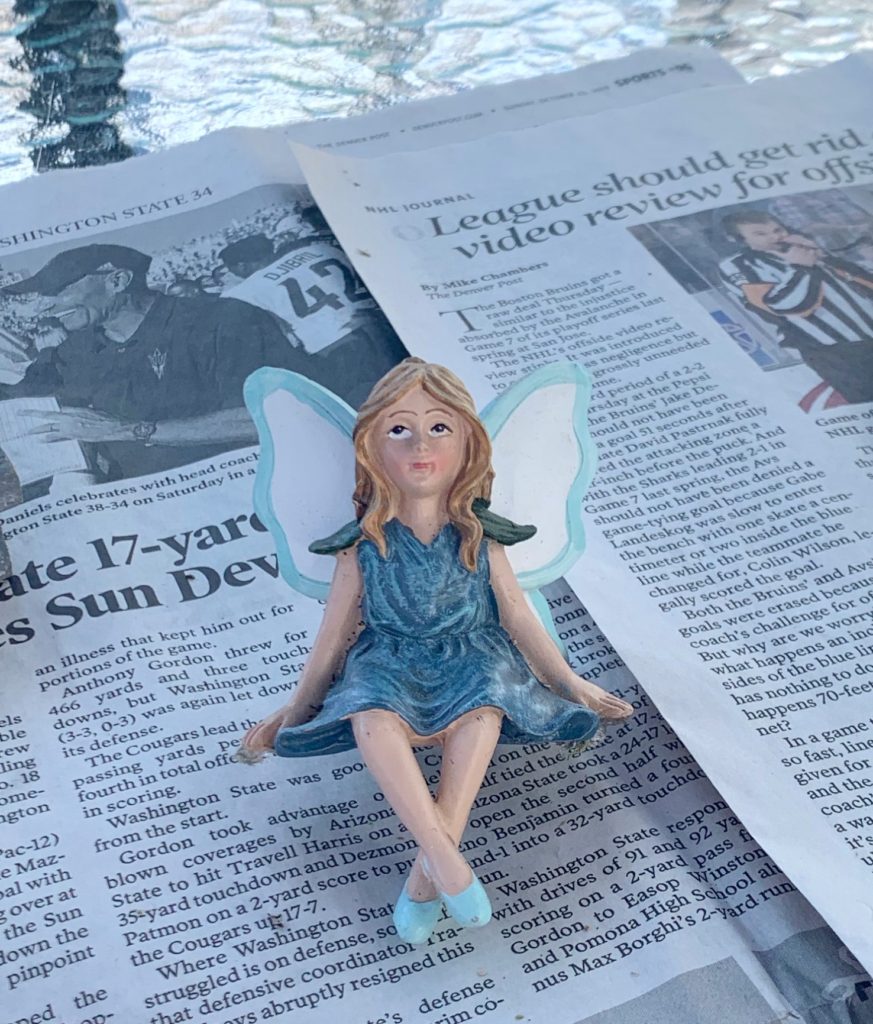
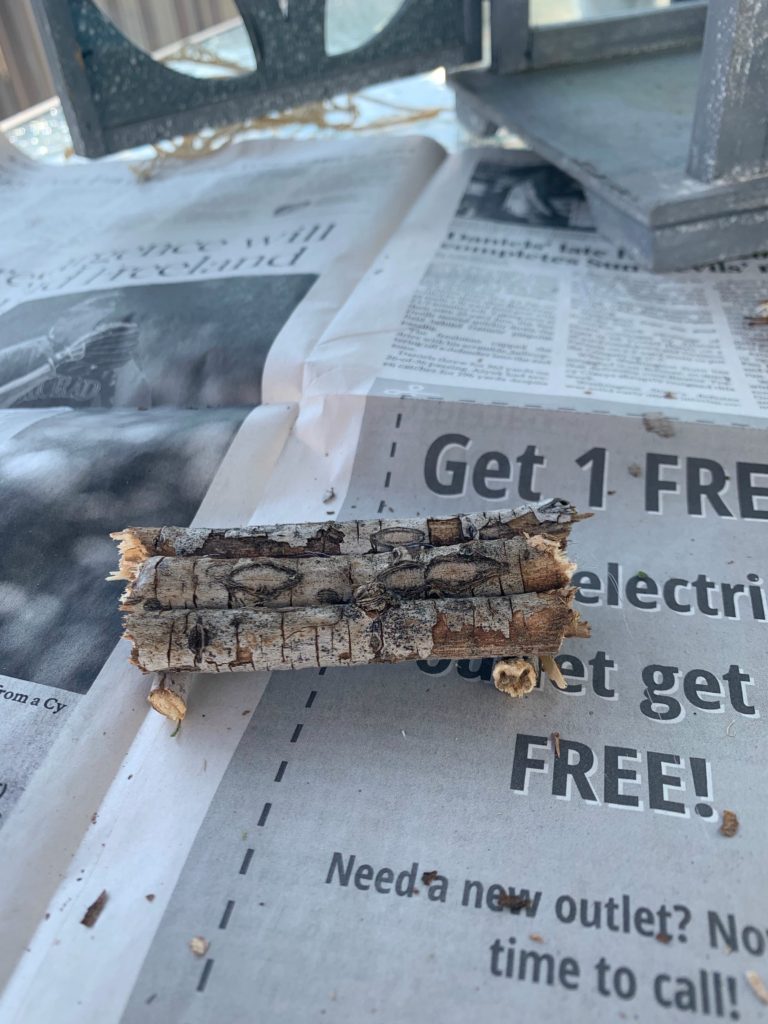
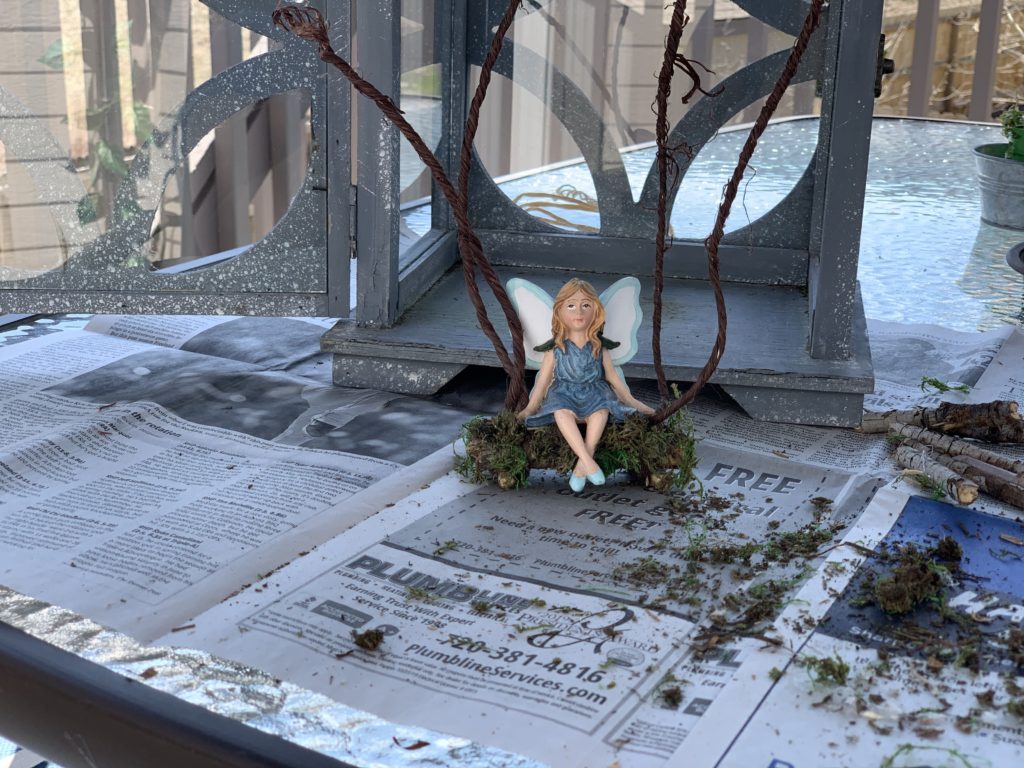
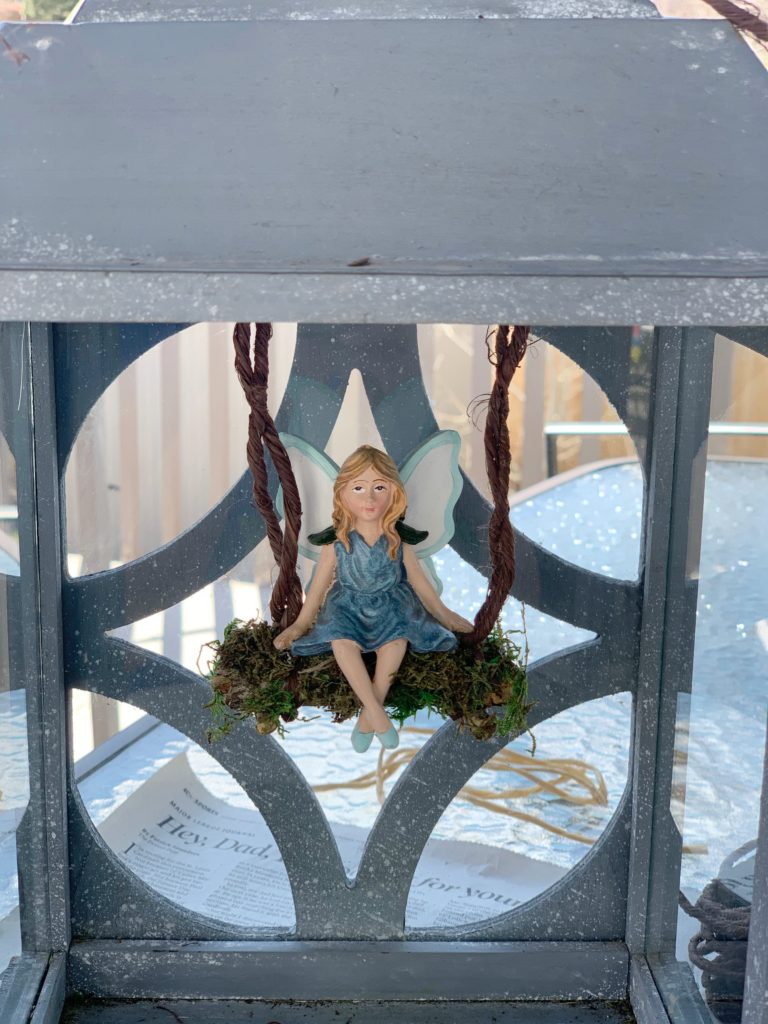
Since she is a sitting fairy, I’ve decided to make a swing for her to sit on inside the lantern. My spring yard clean up is still in the early stages and I have found several twigs and branches blown down by the winter storms. After breaking a branch into 3 pieces about the same size, I can glue them together to be the base. Isn’t it just amazing what we can all do with a glue gun? I will add dots of glue all along the swing to add moss and then glue the fairy on.
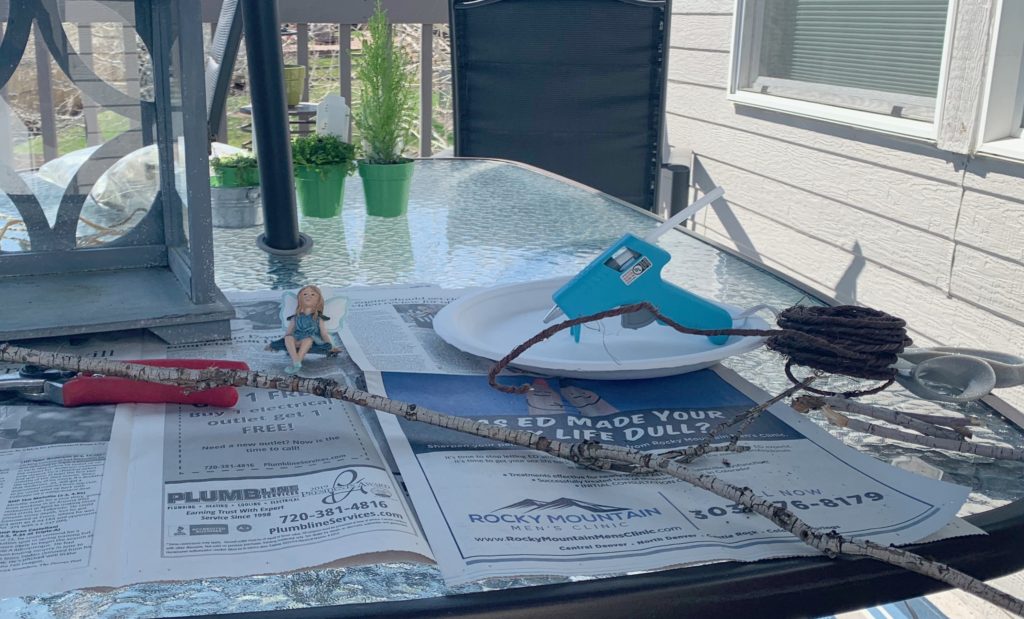
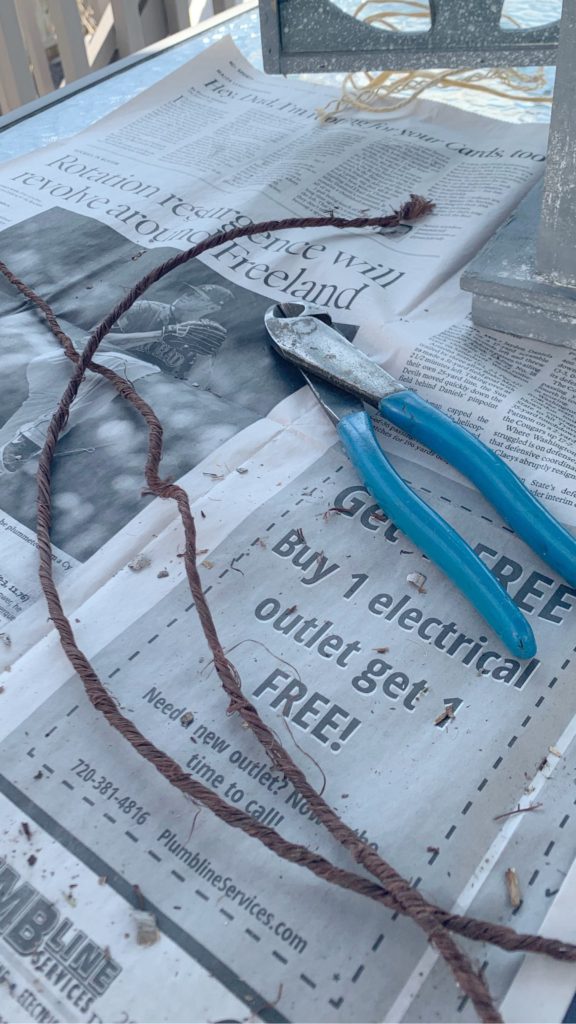
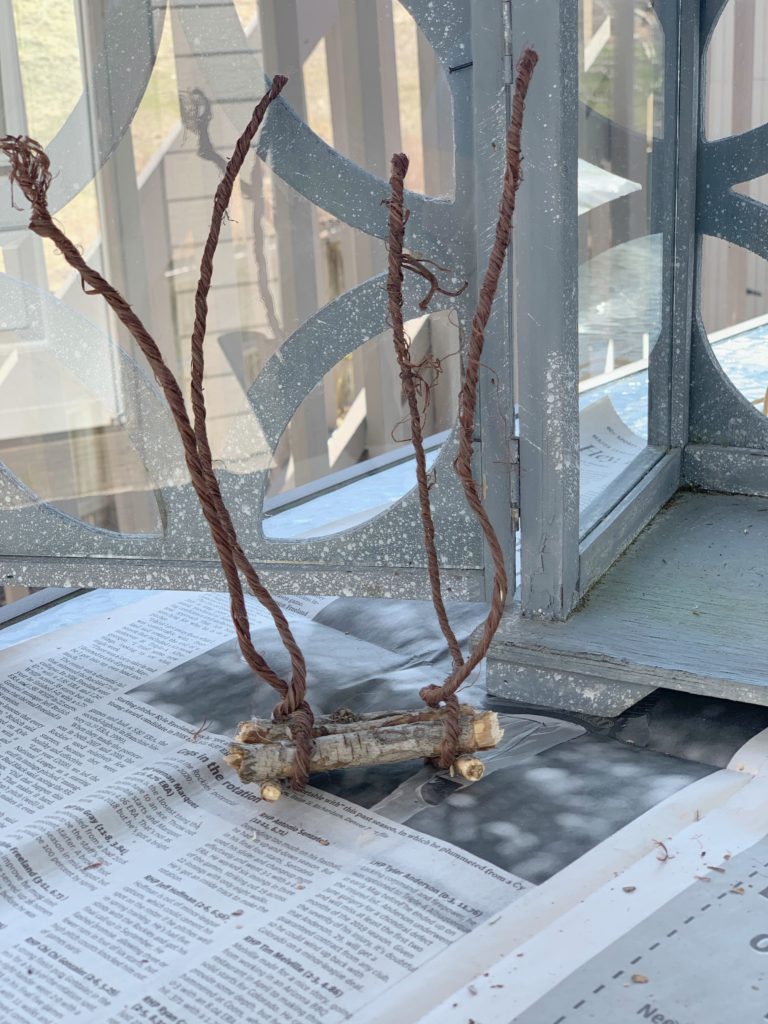
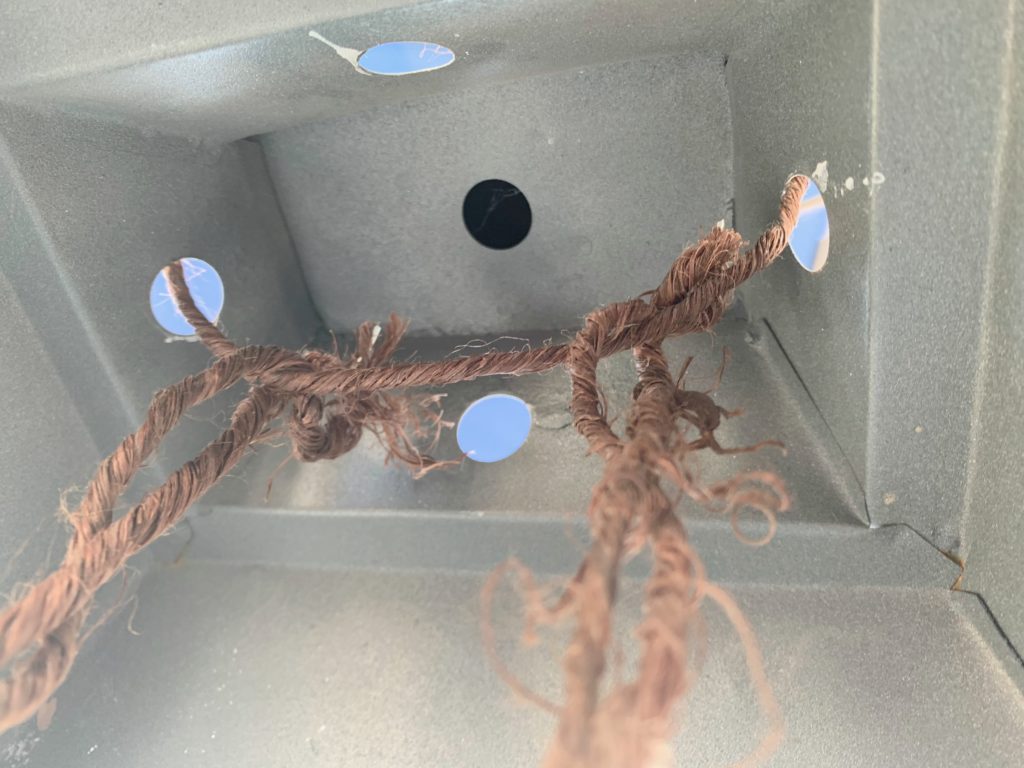
With some vine covered wire left over from an earlier craft project, I can wrap it around the twigs to form the swing. I’ll adjust the length to hang from the lantern top. Most lanterns have small openings at the top and this one is no exception. I will fasten another piece of wire inside the top to fasten my swing to. If there were two holes close enough I would have just attached the swing directly to the lantern but this works just as well. She looks perfect on her swing! I’m certain she will love her new home as soon as we add some plants to brighten things up.
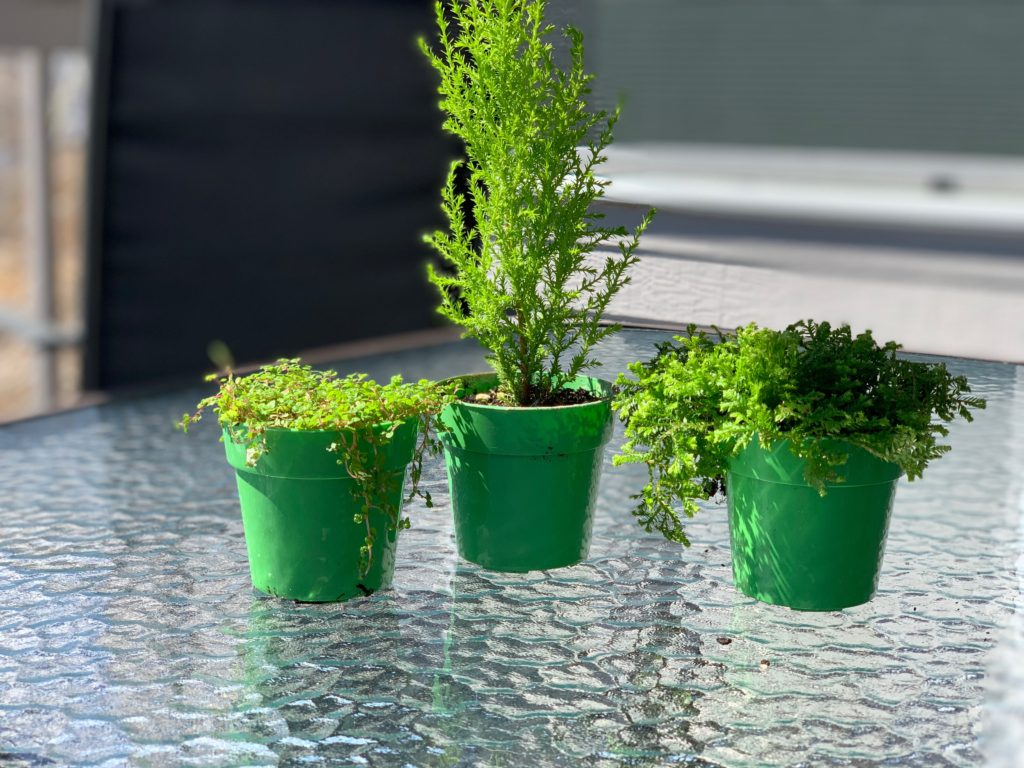
I’ve used a tropical cypress tree for height, baby tears for a “fairy feel” and ……. These are all considered tropical plants but being inside the lantern should keep them warm enough to thrive. Transplanting fairy plants is often a problem so I will leave them in the plain plastic pots they came in. I’ll add moss though to give them a woodsy feel.
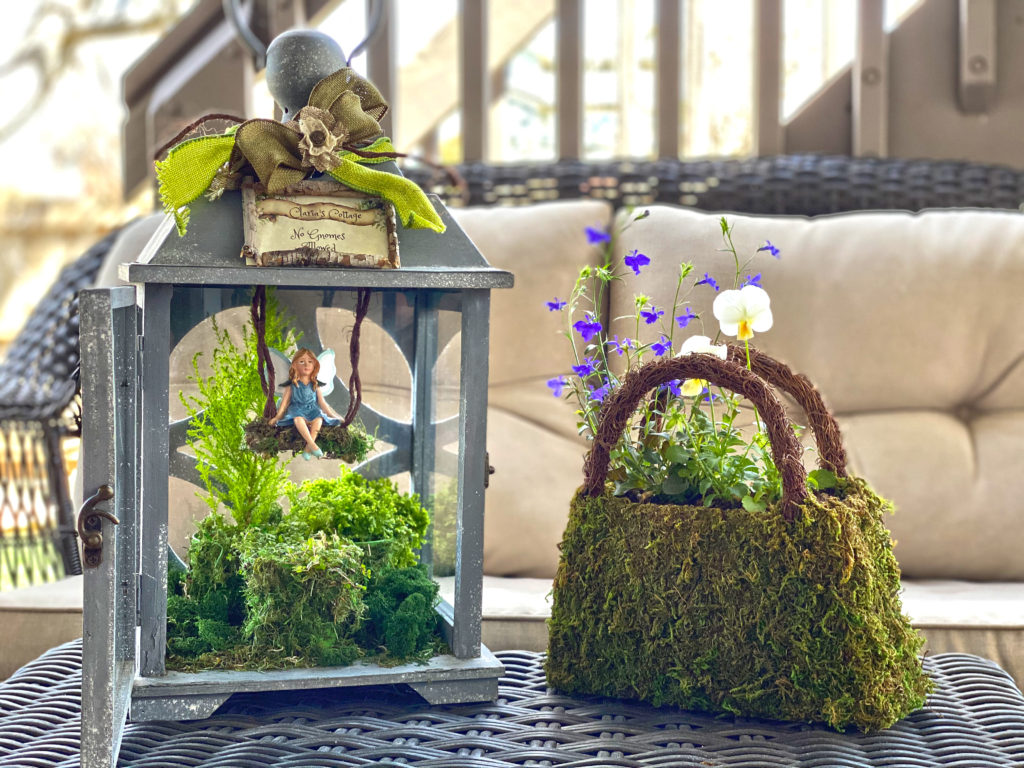
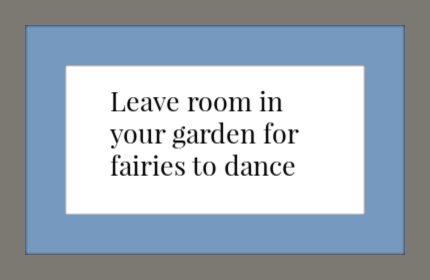
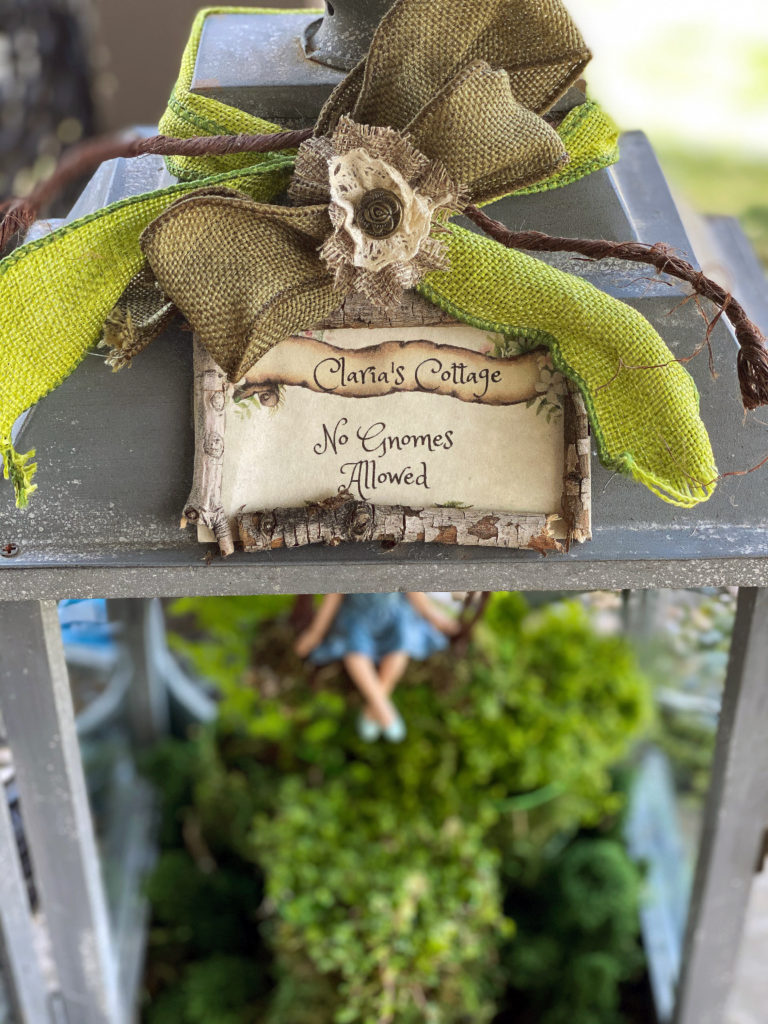
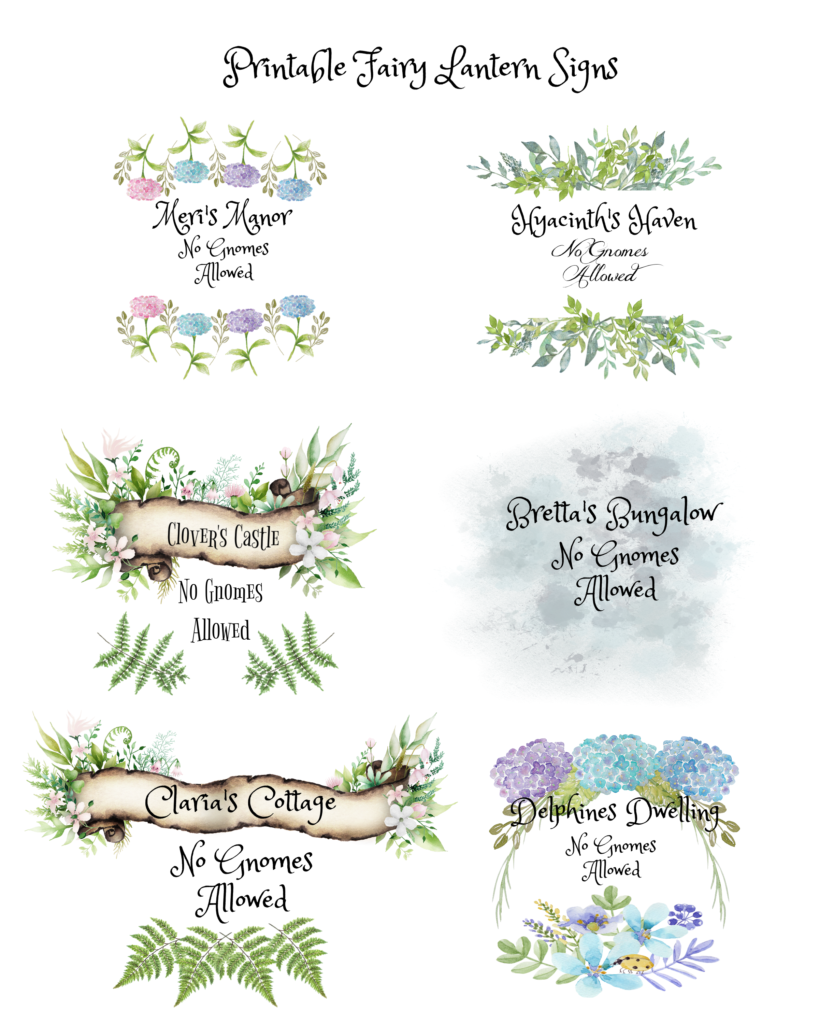
I didn’t set out to make a fairy garden but apparently I have! I think I need to give her a name to make it official. I’ve decided on Claria. I think she also needs a sign to let everyone know this is her home. Fairies and gnomes get along quite well but Claria wants her own space. I’ve created this sign at her direction!
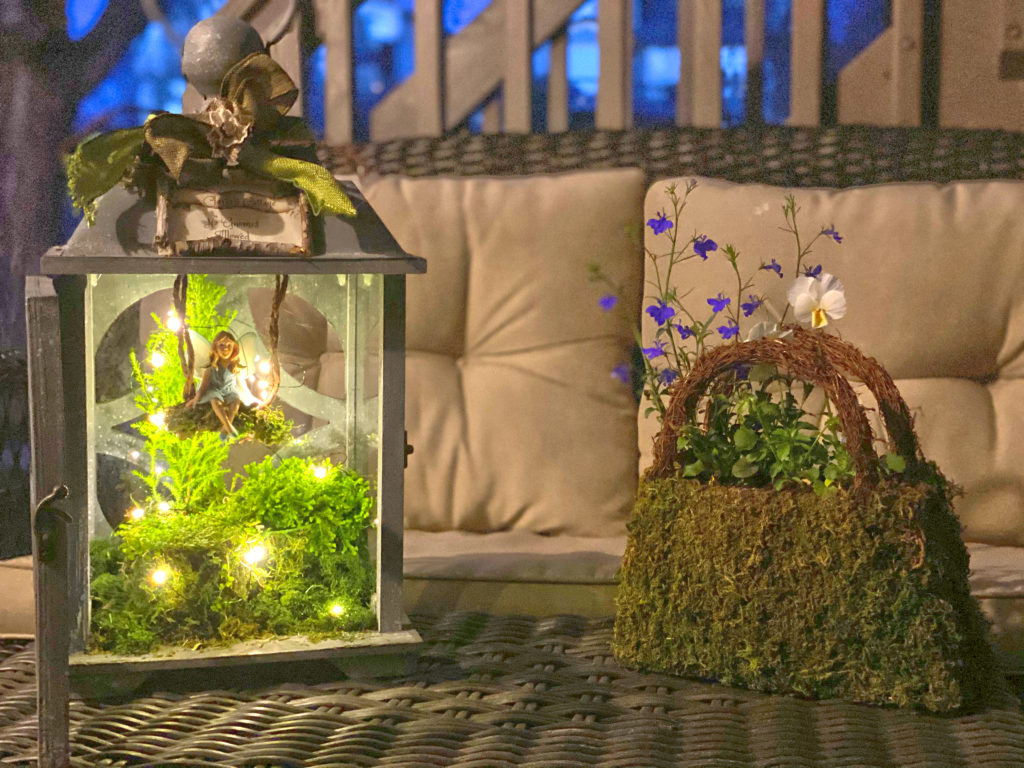
Finally, as it starts to get warmer, we will be sitting on the patio long after dark. I will put several lanterns with candles outside but I would like to enjoy this one as well. Therefore, adding a strand of mini lights is the perfect finish!
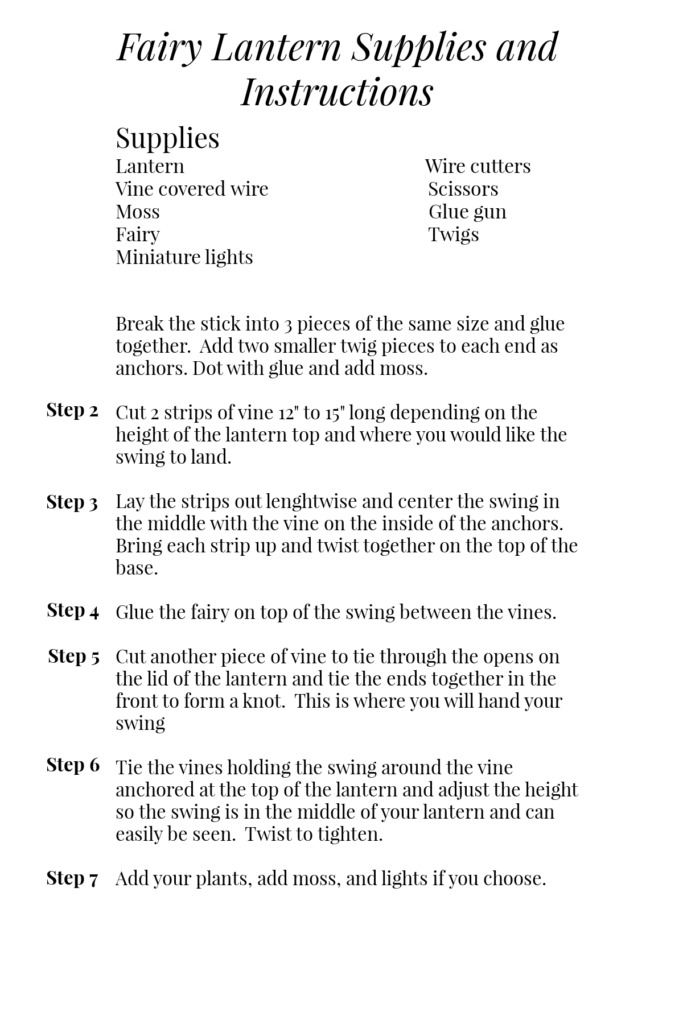
The directions and supply list as well as a few different options for your fairy sign can be printed below. Be sure to sign up for other future projects and immediate access to my complete printable library!
I’m also including links where you can purchase your supplies. My exact lantern is no longer available, however, there are several great options below. It’s important to pay attention to the height and width of your lantern in choosing your fairy as well.


Sign up below and our welcome email will come with your password to the library within minutes. Please make sure to confirm or your subscription .Hope to see you soon!
Be sure to add your email to the form below to always be the first to know when projects like this are available.
See you soon!
UPDATE – Today is Easter Sunday. It is snowing outside! So grateful – I can just pick up my lantern and carry it inside for the next few days! Boom!

That is so pretty can i buy it
Thank you Gemma! I’m sorry… I don’t sell them at the moment but I may in the future. If you’re a subscribing I’ll include in my newsletter at launch. Thanks again and have a great week ahead!
Hi Denise,
My name is Shayne and I just wanted to speak and tell you thank you for posting the directions on how you built this fairy house, especially with pictures. BRAVO! Finally, someone who tells me all and shows me how. I too, build fairy houses. My biggest concerns have been how to attach from the top of the metal lantern and how to build up in them. Amazingly, I can’t get Google to understand ” building up”. Would you have anymore fairy houses you’ve built that would show me how to do this without a mess showing from the back side of it?
Regardless, your site and art work is awesome!
Many blessing always,
Shayne Smith
**signed up**
Hi Shayne! I’m so sorry! I just saw your message. This one is the only one I’ve done. I wish I could send you better pictures but I”ve taken the lantern apart since we are getting the house ready for sale! I attached the swing through the holes at the top of the lantern and covered it up with a bow if I remember it right. I kept the fairy plants in the little pots that they came in but I covered them with moss so it would look less messy. I wish I could be more helpful! Thanks so much for your kind words and I’d love to see pictures of some of your creations!
Hi there! I subscribed and I am looking for the direct link for the cute sitting fairy you used for your lantern. Your fairy on a swing in the cutest one I’ve seen! Love it!
Hi Lindy! my site is somewhat under construction at the moment. I tried to find the fairy again but no luck. So sorry. Good luck with your search. I’ll keep searching too!