Fall is such a beautiful season and always a favorite reason to decorate the day away! We are almost done… almost but not quite! We can’t call it done with a bare staircase, can we? Of course not! So today I’m sharing some ideas on how to style a gorgeous fall staircase complete with a DIY garland that I know you’ll love!

Before we talk about styling a fall staircase, it’s important that I explain how we got here!
Every year when I start my Christmas decorating, the staircase is always the first thing I do. And every year when I’ve finished, I have the exact same conversation with my husband. He tells me “If you stop now and we just put up the tree, we will have the prettiest Christmas house on the block.” While I appreciate the compliment, it makes me laugh every time.
First of all, when he says “the tree” I wonder if somehow he’s forgotten that there has never been just ONE tree in this house. Second of all, he knows me better than anyone so he knows there is zero chance that I’m stopping there. And last but not least, he also has an ulterior motive. He knows he is about to be completely ignored for many, many days!
Back to Fall….
So with the house decked out for fall inside and out, as I stood there looking up at the staircase, I could almost feel the chill that went up his spine. Like I said, he knows me better than anyone. The part of our Christmas conversation that is absolutely true is that a staircase always looks prettiest decorated.
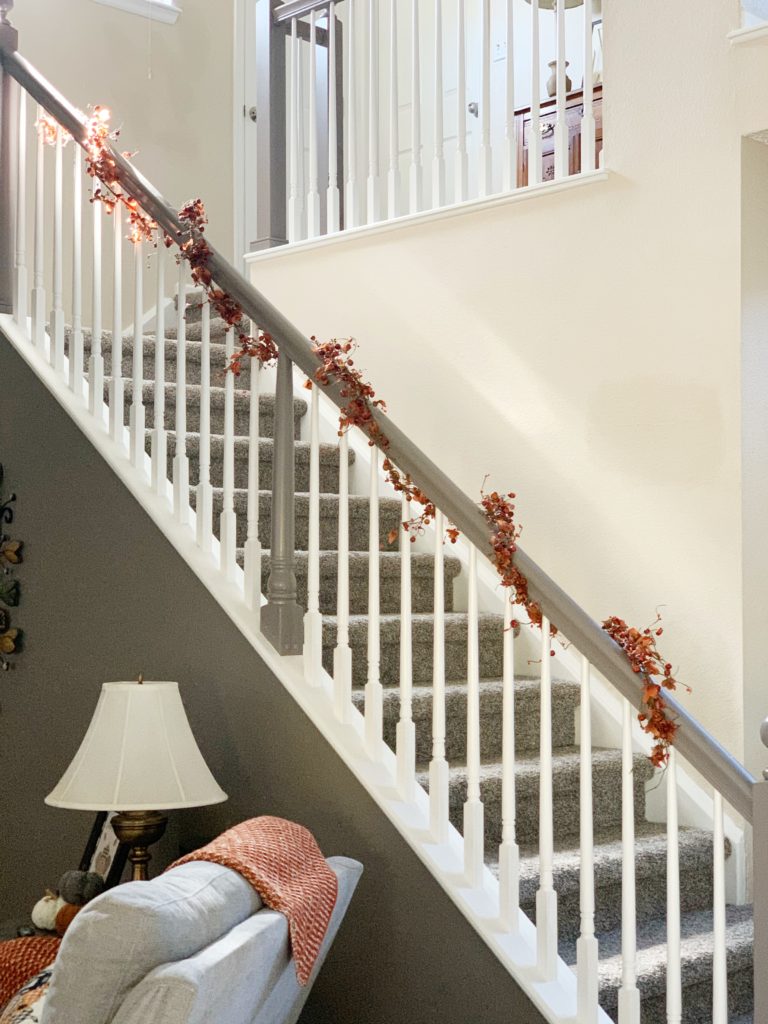
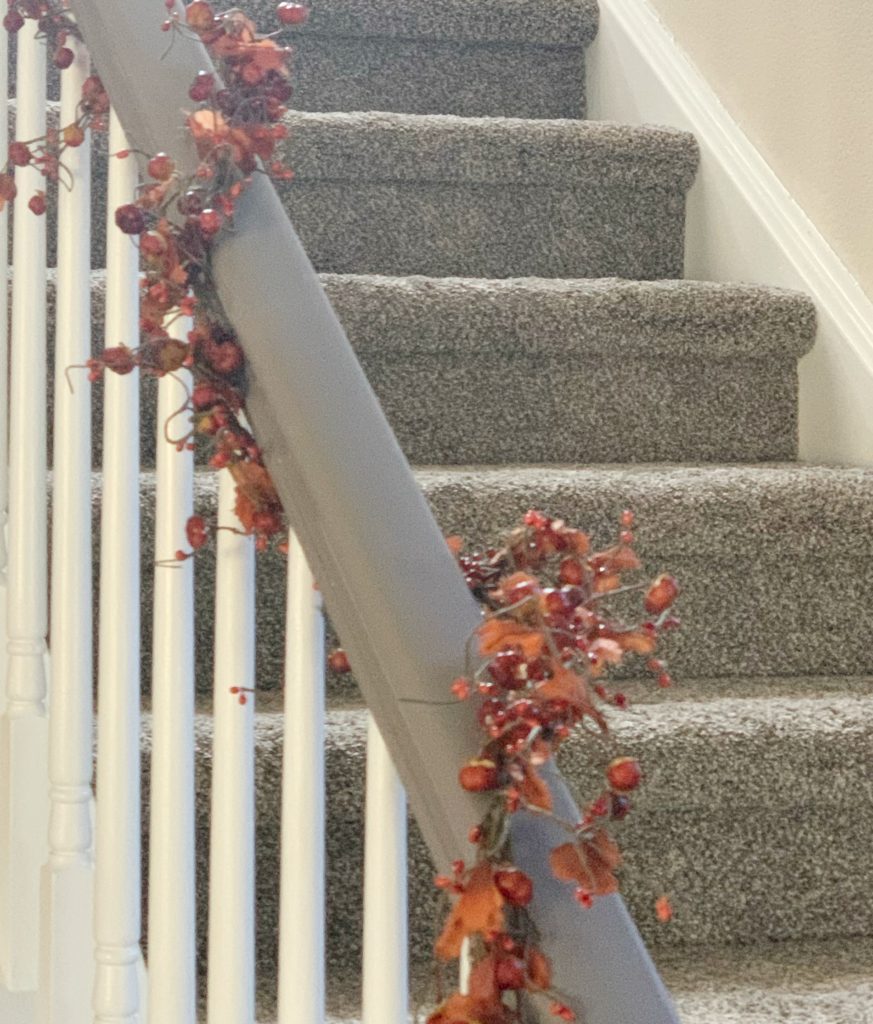
With that in mind, I went downstairs to look through my fall bins which haven’t yet been stowed away. Feeling certain I would find something to help me style a fall staircase, I went through bin after bin after bin. I found some pretty garland that I had used on the mantle years ago and thought I’d struck gold. After bringing it upstairs, I wound it around the bannister and stood back to admire it. As you can see by the picture below, there was nothing to admire. Nothing at all.
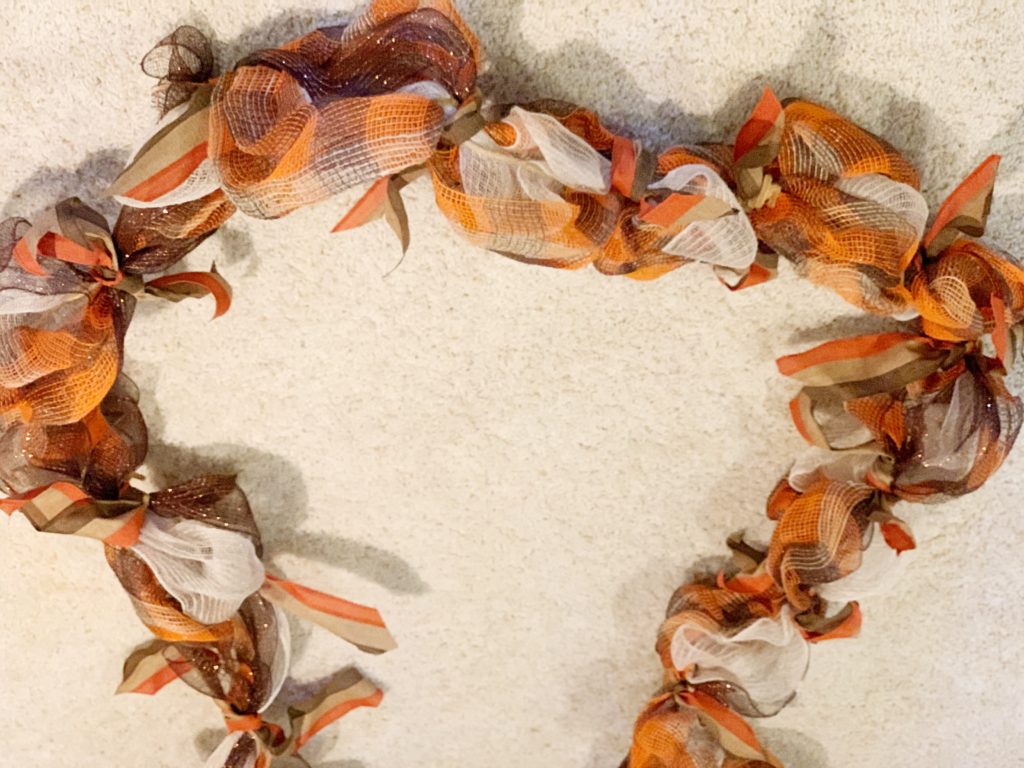
I was still determined to really decorate the staircase so I went back downstairs. This time I found several bolts of deco mesh ribbon in fall colors that I had bought for a wreath I never got around to making. I have, however, made several mesh wreaths over the years and they are always so quick and easy. It is such an easy ribbon to twist and mold and those wreaths are still my favorites.
I knew quite a few crafters that made Christmas garlands using deco mesh so I thought this would be the perfect time to attempt one. An hour later I was winding my garland around the bannister sure I had found the perfect solution.
Deco Mesh Garland
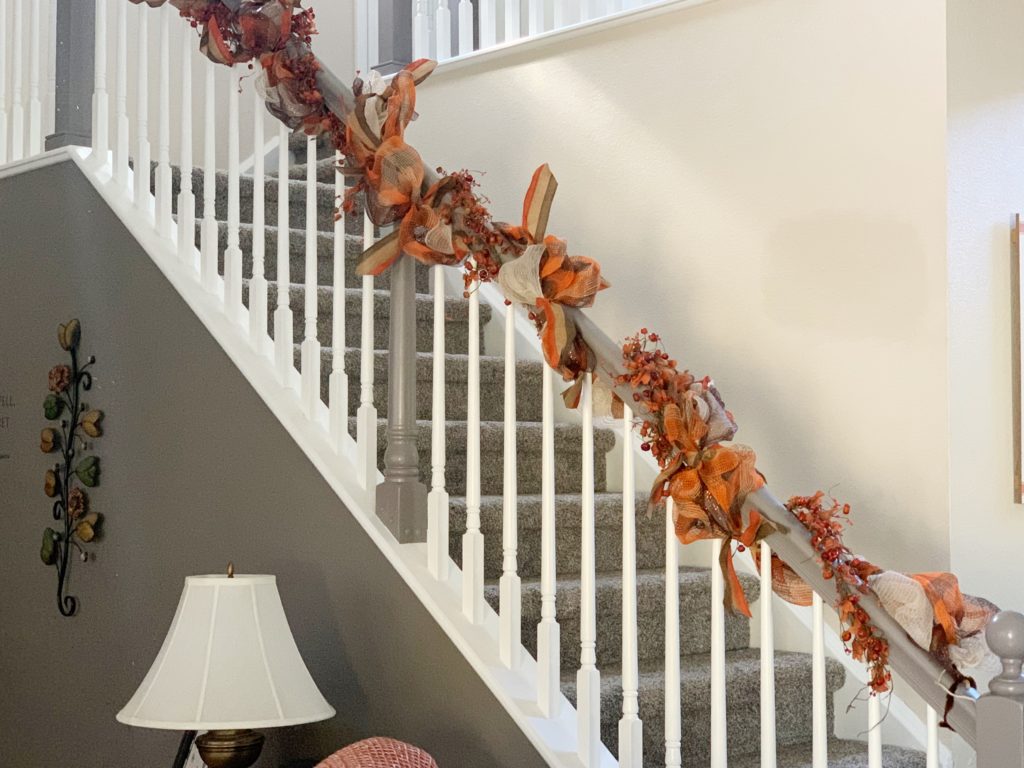
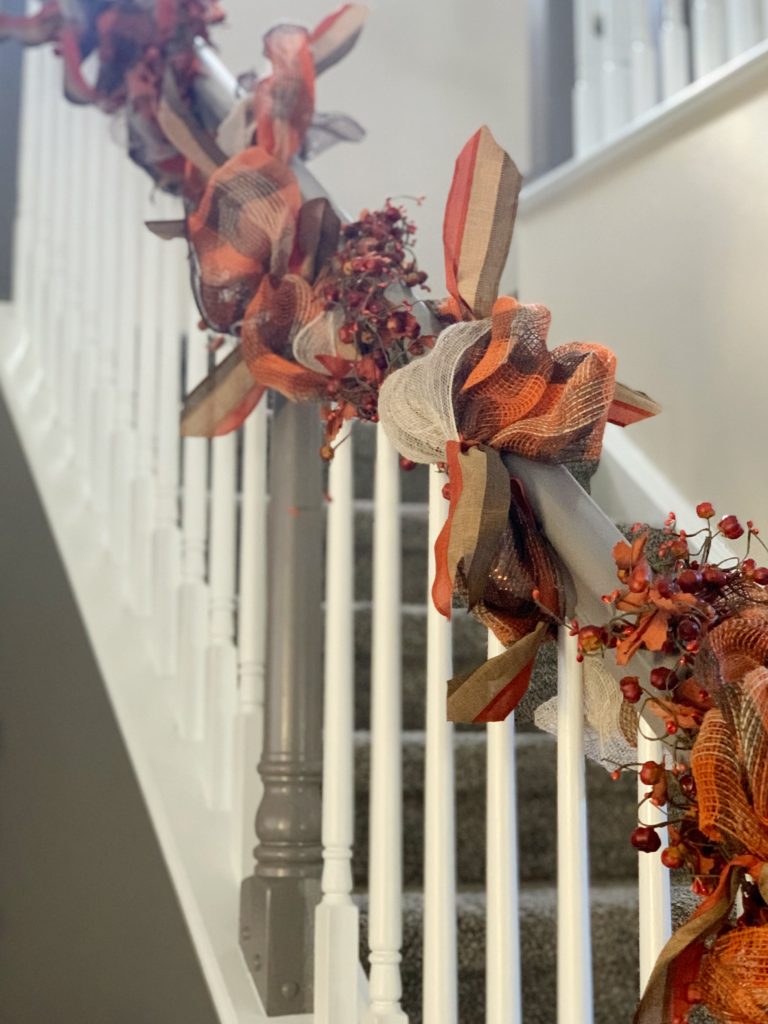
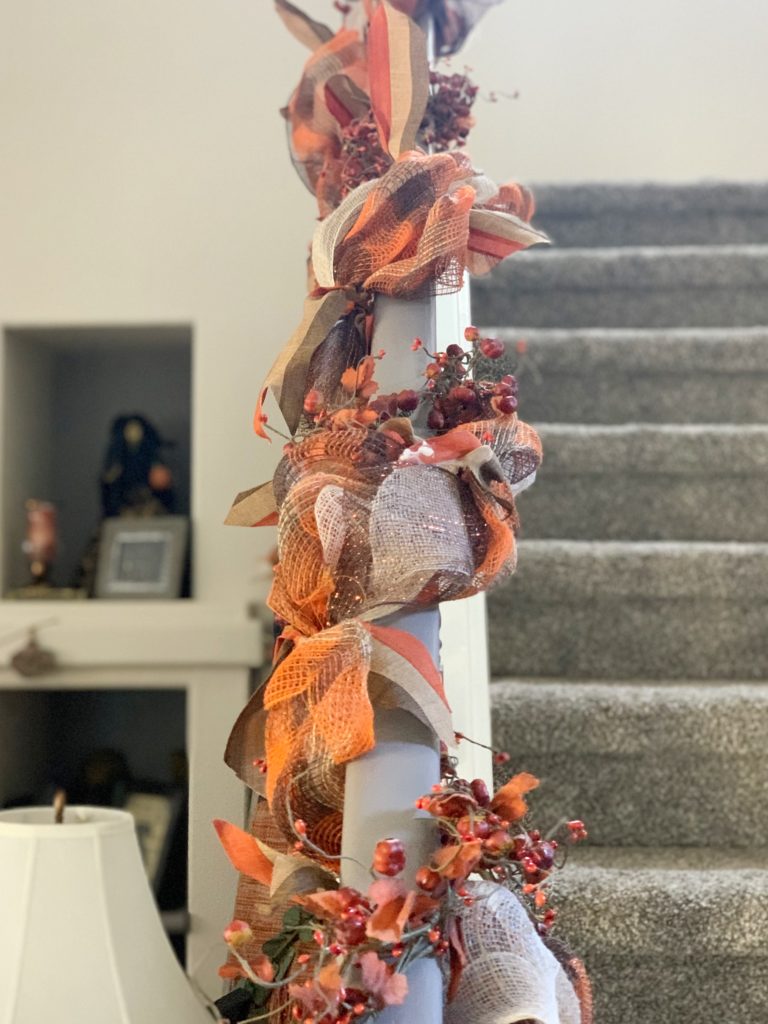
Definitely an improvement! But…it still wasn’t right. So another trip downstairs was in order. Again, I thought I struck gold. I found wheat, more ribbon, and scarecrows. Putting the wheat together in bundles, I tied a pretty bow around them and added a scarecrow which I then attached to each post.
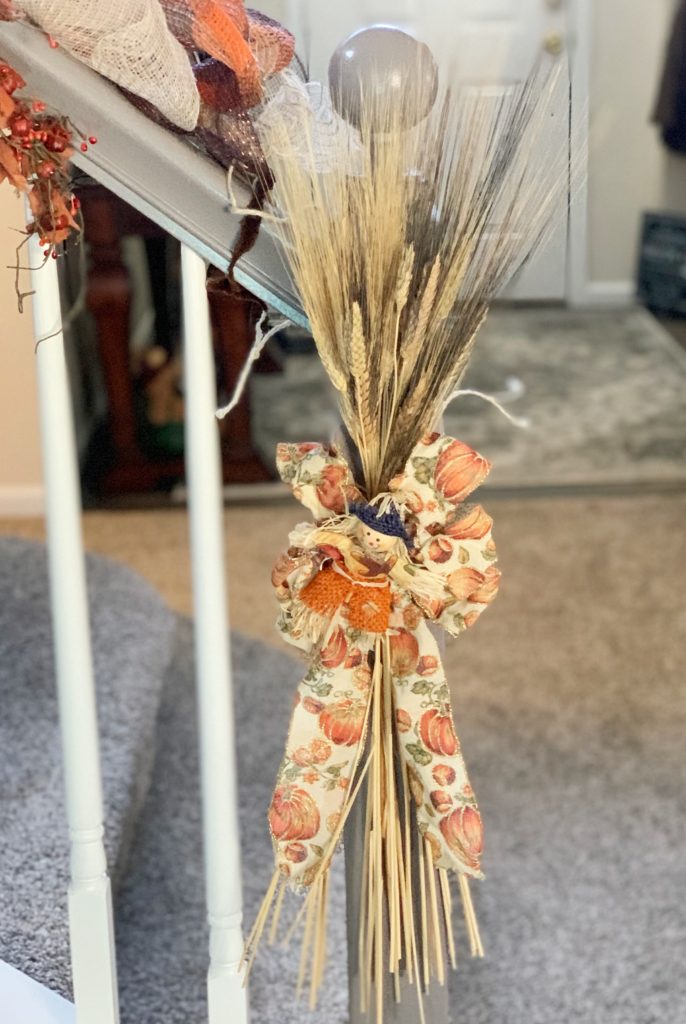
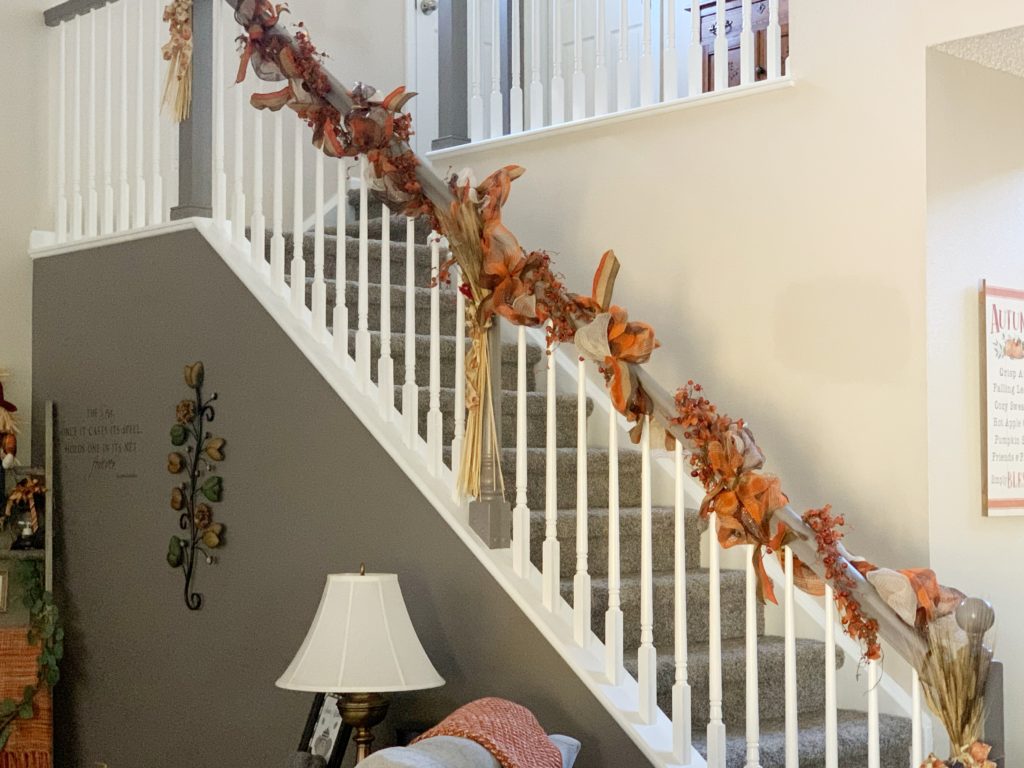

I loved it! Still…there was something missing. Finally, it dawned on me! Lights! The lights are what make the Christmas staircase so beautiful. It’s the lights that add such warmth. One more trip downstairs! Yes!
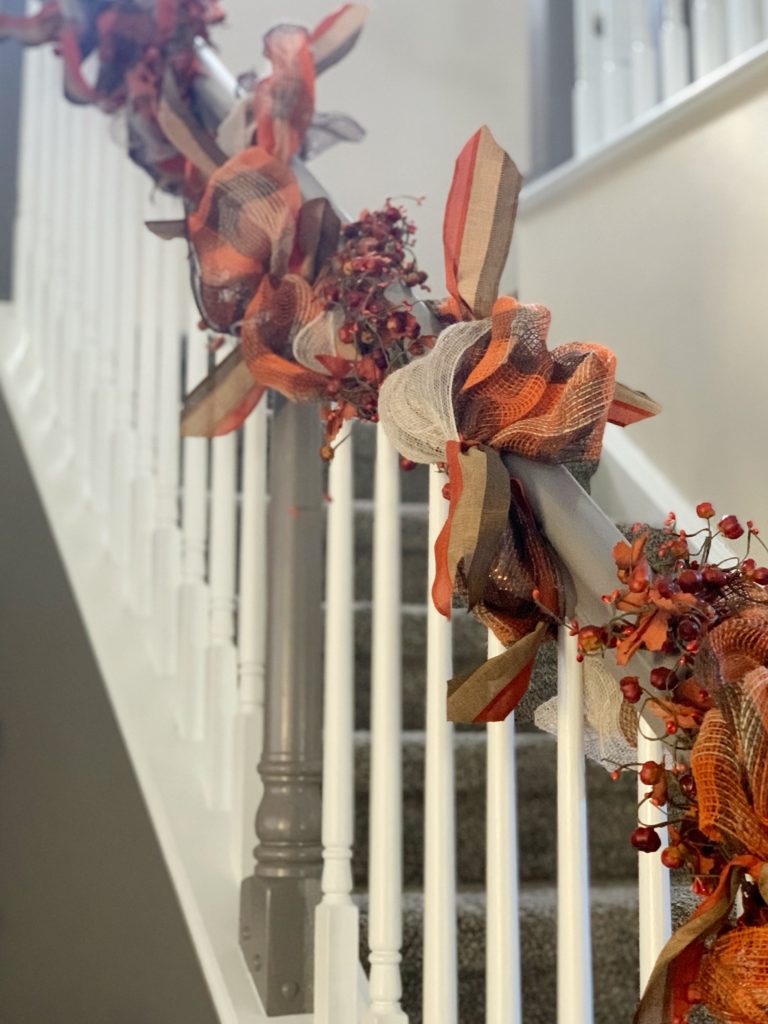
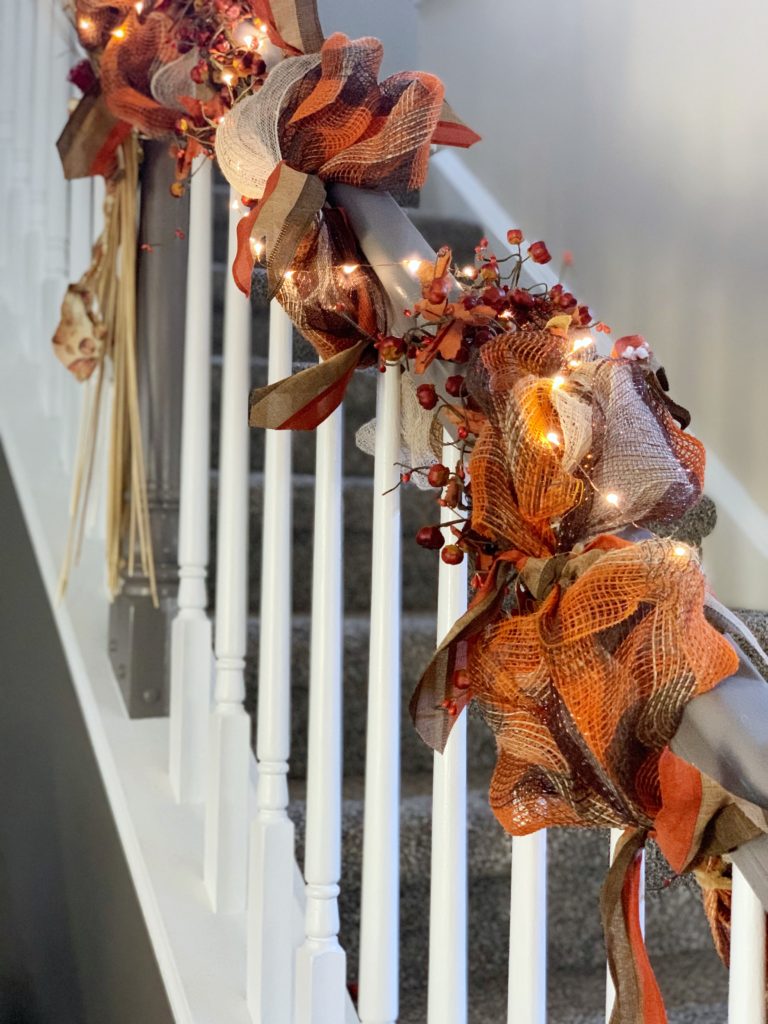

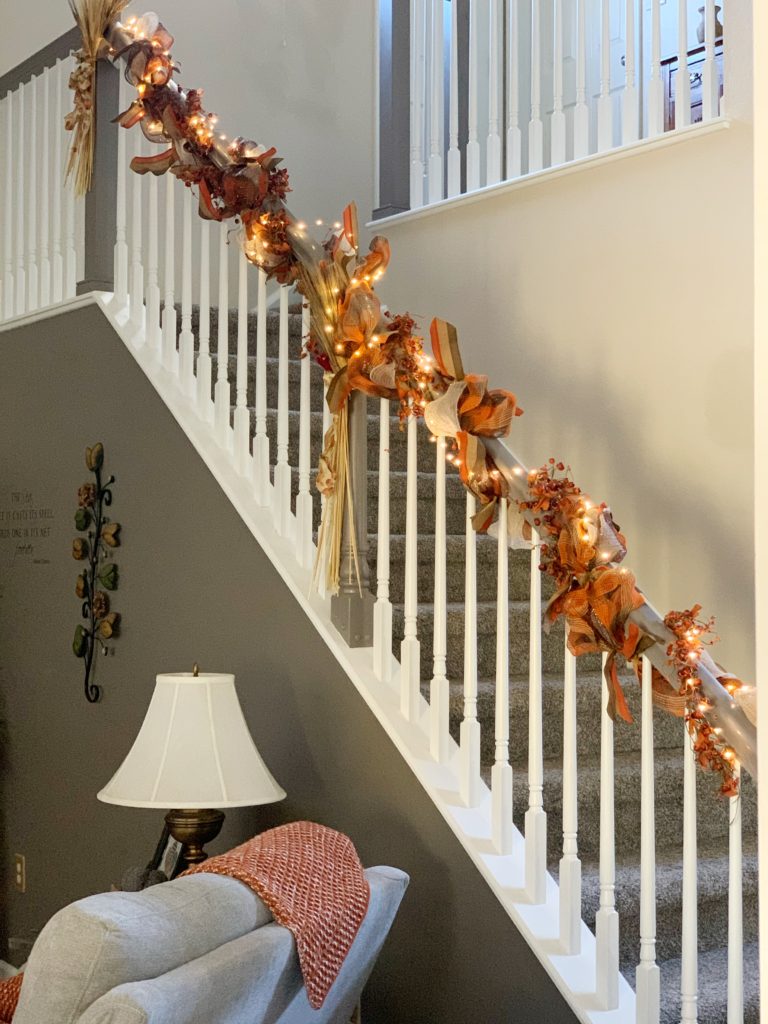
In my view, I finally had succeeded in styling a gorgeous fall staircase!
So…in case you are now standing at the bottom of your staircase staring at it (sorry!) here are the supplies and instructions for styling a fall staircase of your own.
Supplies
- Wired twine
- Pipe cleaners
- 3 to 4 rolls of deco mesh ribbon in fall colors (10-inch size 30 ft. rolls)
- Fall wired ribbon (1.5 inch)
- Measure staircase and cut twine to size leaving 10 inches extra on each side to tie to the stairs.
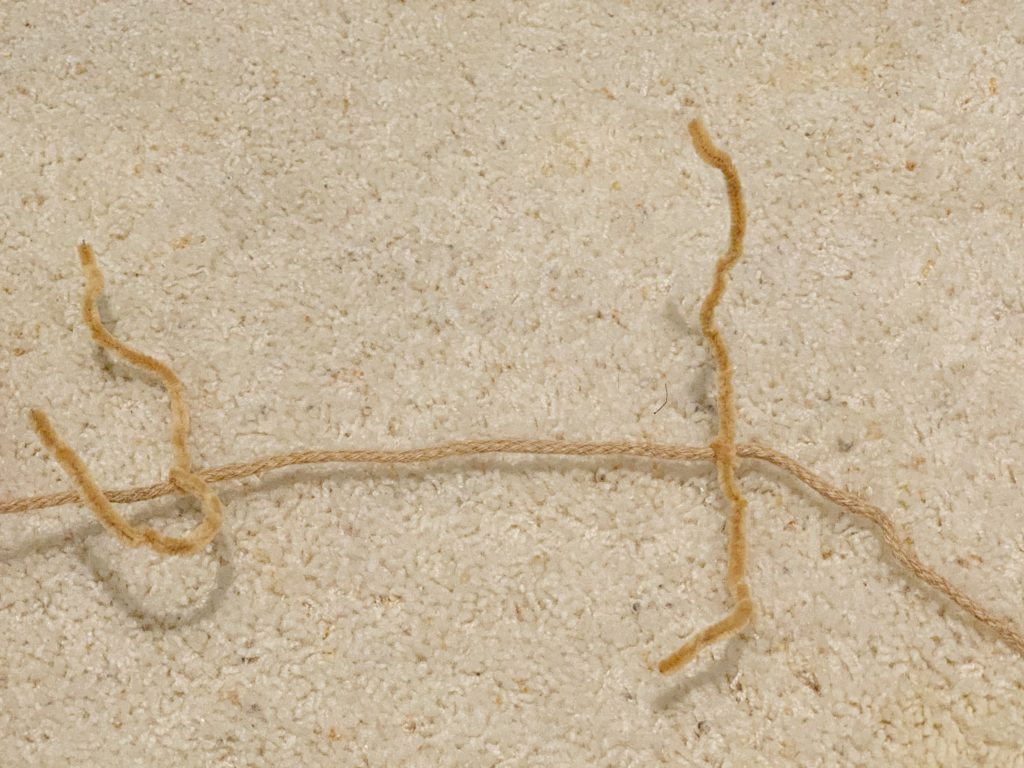
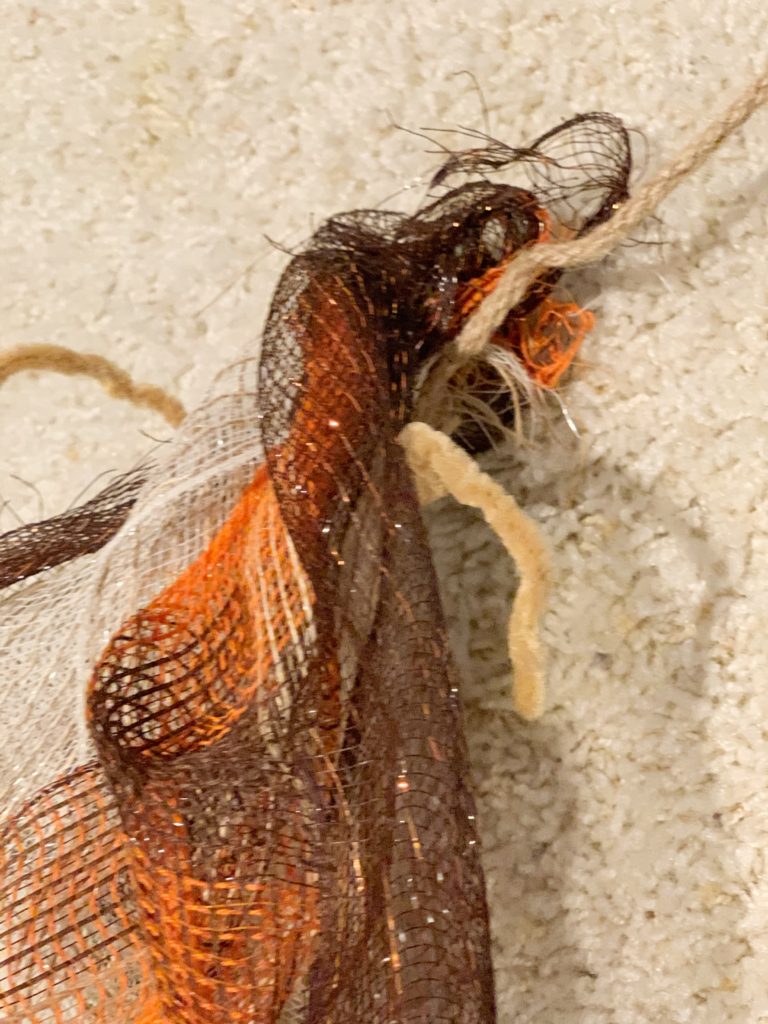
- Attach a pipe cleaner to the rope at 10 inch intervals.
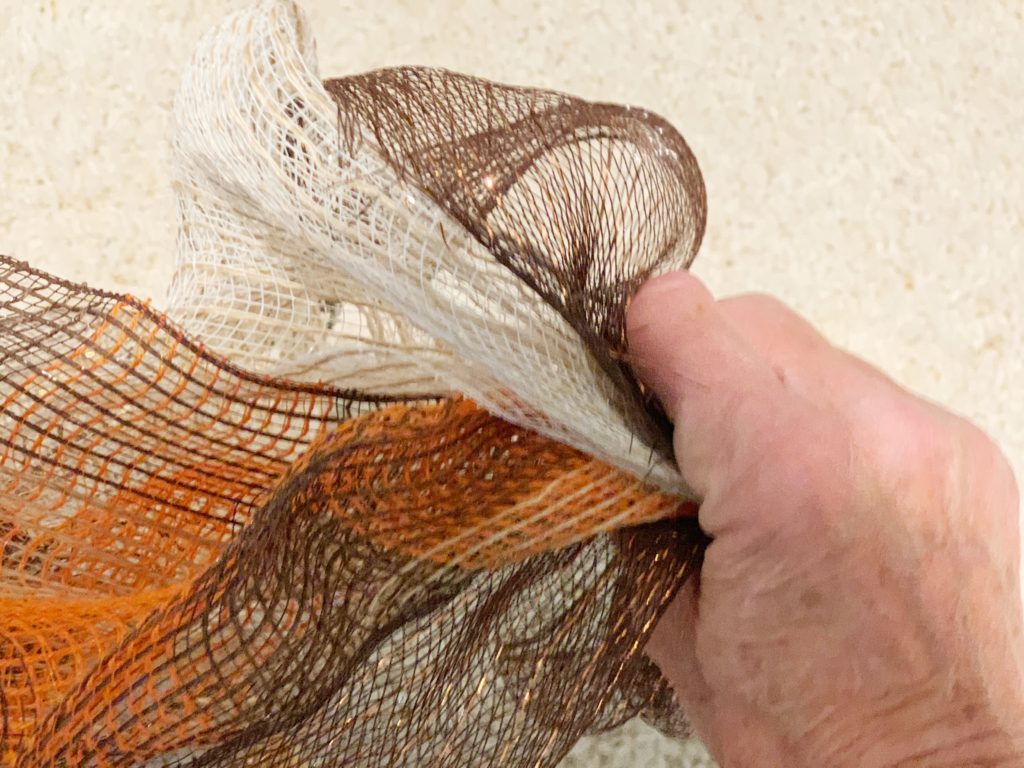
- Unroll each roll of mesh ribbon (easiest to work with 2 feet at a time).
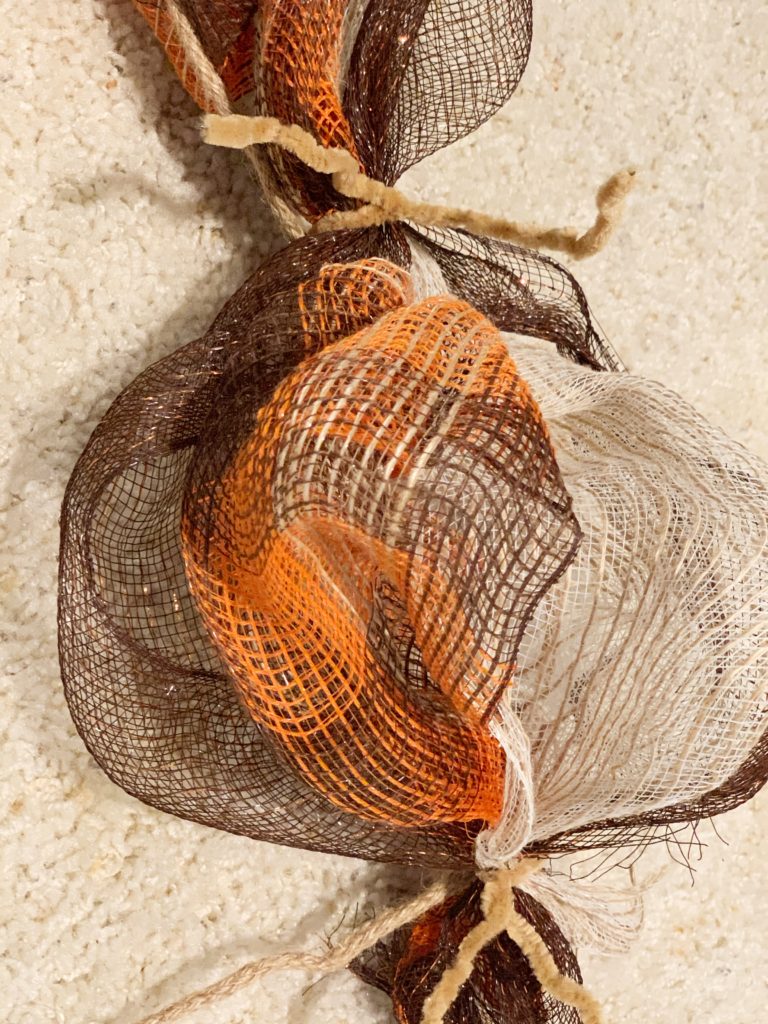
- Gather all colors and pinch together.
- Secure in a bunch to the end pipe cleaner.
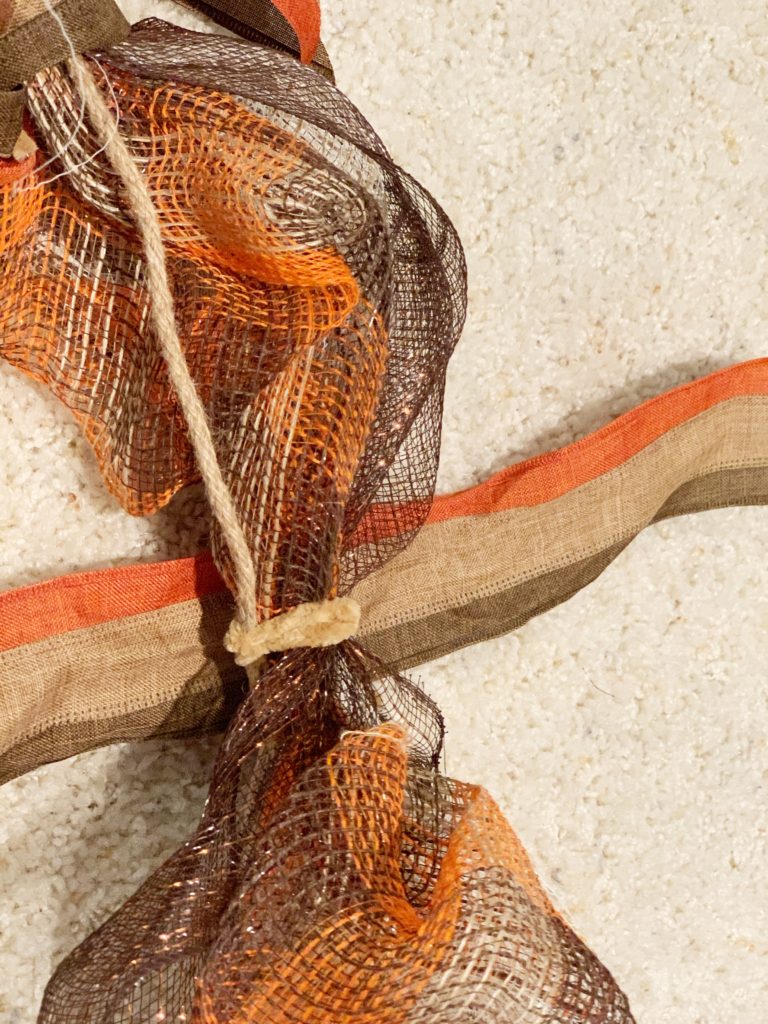
- Keeping the ribbons together secure them to the twine with the next pipe cleaner.
- Continue securing down your twine and fluff your ribbon as you go.
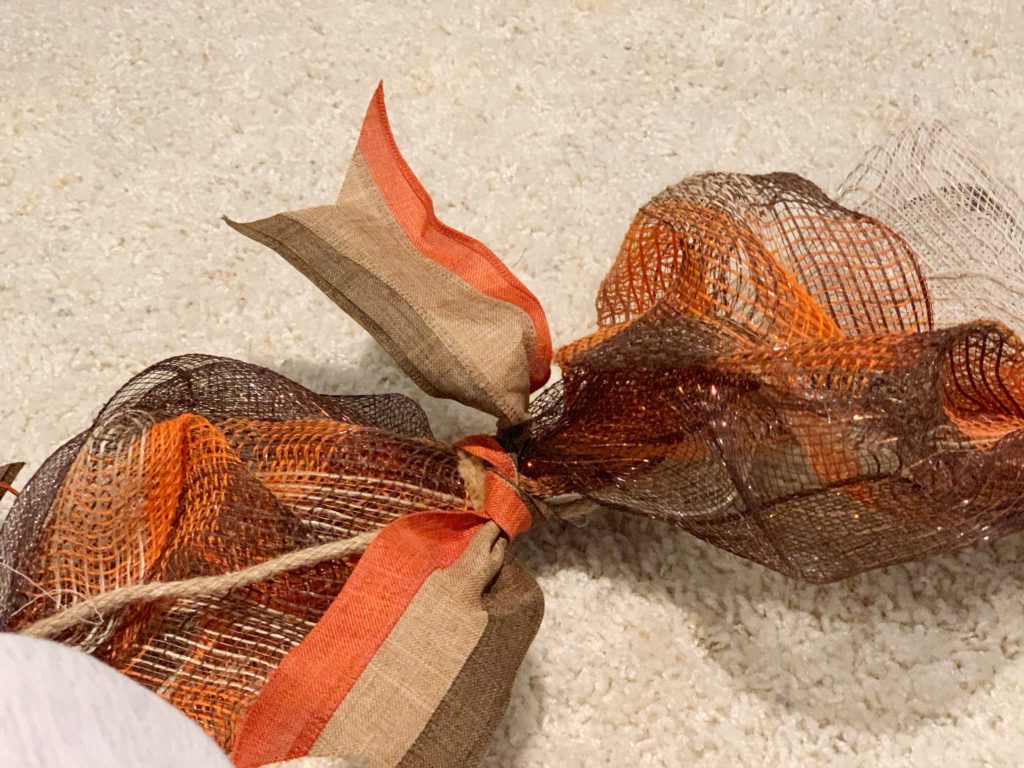
- Cut fall ribbon into 8 inch strips.
- Tie a ribbon over each pipe cleaner.
- Wrap the finished garland around the banister and secure each end to the staircase with the excess twine.
Although the exact same ribbons are no longer available, here are some links to the supplies that will create a similar look.
This page includes Amazon Affiliate Links. As an Amazon Associate, My Home of AlI Seasons may earn from qualifying purchases at no additional cost to you. Please see our full disclosure here.


To create the whole look…


Ok then! Just one more thing. If you haven’t joined us yet as we are decorating our way through the seasons, I hope you will! There will be a lot of fun things coming up for the holidays on the blog. Subscribing will also give you complete access to all the printables in the Library. Simply enter your name and email below and hit the subscribe button. Your welcome email will be in your inbox in seconds.
In the meantime, be sure to check out my latest post Tips To Halloween Safely.


I love your post and your staircase decor! That’s how I always end up decorating anything in my house – add, ponder, take away, add – it’s a process and I love every minute!
Thank you Jayne! Yes it is a process and I love it too! I so enjoyed your home tour this morning. Your pondering, adding, and taking away created such a lovely place to live.
oh I LOVE this garland.! that plaid mesh is the perfect base; so cute how you’ve woven in. the lights and berries are what makes it extra special!
Thank you Debra! I’m happy with the end result and I’ve promised my husband that now I really am done decorating for fall. Might have had my fingers crossed though! Thanks so much for stopping by.
Your fall staircase is beautiful! I love how you kept adding layers until it was perfect. Genius!
Thank you so much Michelle! So glad you came by!
Your staircase railing came out beautiful! It definitely looks very festive.
Thanks for sharing your post with us at our Embracing Home and Family Link-up party.
-Cherelle
Thank you Cherelle! I do think maybe I need to stop now though!!!
How pretty! Thanks so much for linking up with me at my #UnlimitedMonthlyLinkParty 17. Shared.
Thanks Dee! Always so fun to see everyones pretty fall decorations at your party.
Your staircase is gorgeous! Thanks so much for sharing this with us at Farmhouse Friday!
Thank you Michelle! So glad you came by!
I love your staircase and the process you used to create it. Thank you for sharing at Party In Your PJ’s, you are being featured on my blog Tuesday evening.
Thank you Ann! I so appreciate that. I loved the party..so much inspiration there from so many talented people! Enjoy the rest of your weekend. Thank you again!