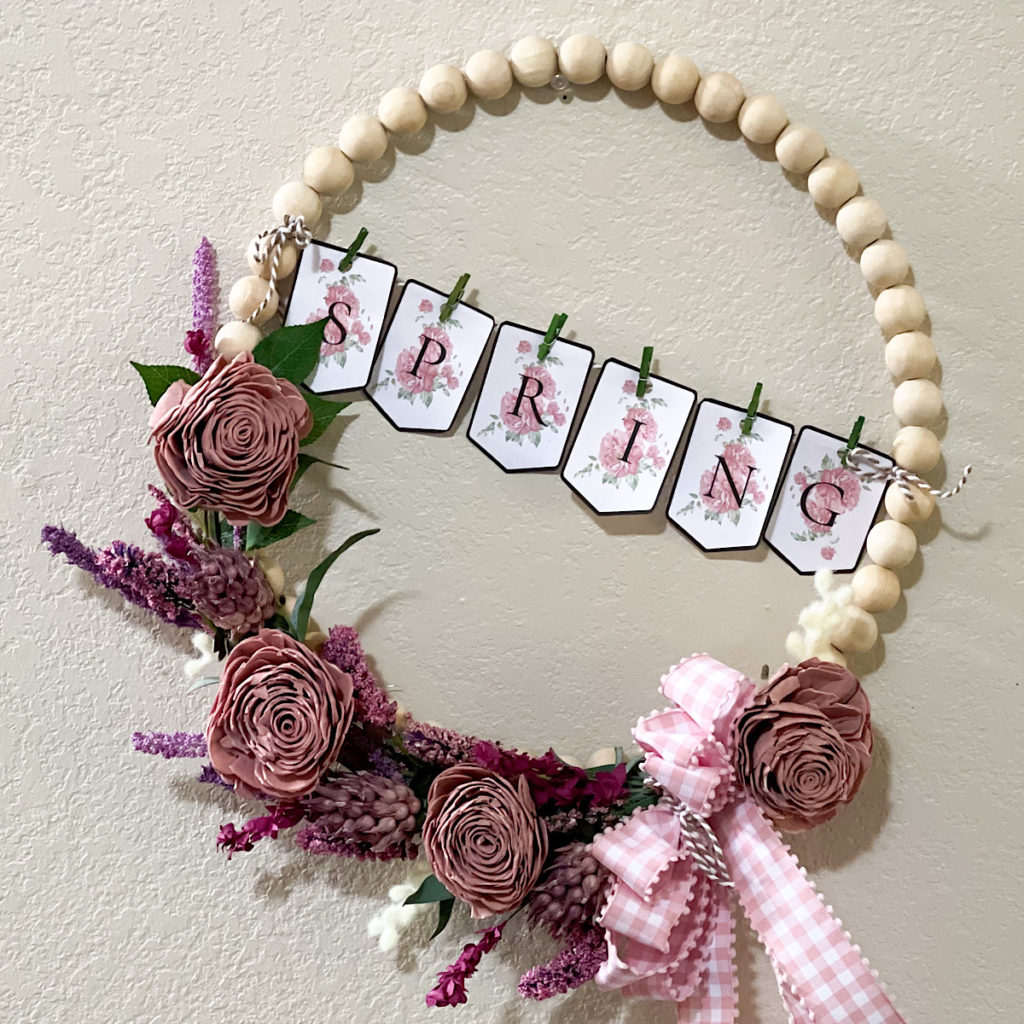
We are nearing the halfway point between winter and spring so today I’m sharing an easy way to decorate a simple beaded wreath for the upcoming season.
Valentine’s Day is always the point that I feel it’s acceptable to begin my spring projects. I know there will be many days of snowfall ahead but it finally feels like spring is coming.
I have decided to switch up the look of my spring ladder this year and my vision includes a simple beaded wreath. I’m sharing that project with you today.
Pretty in Pink
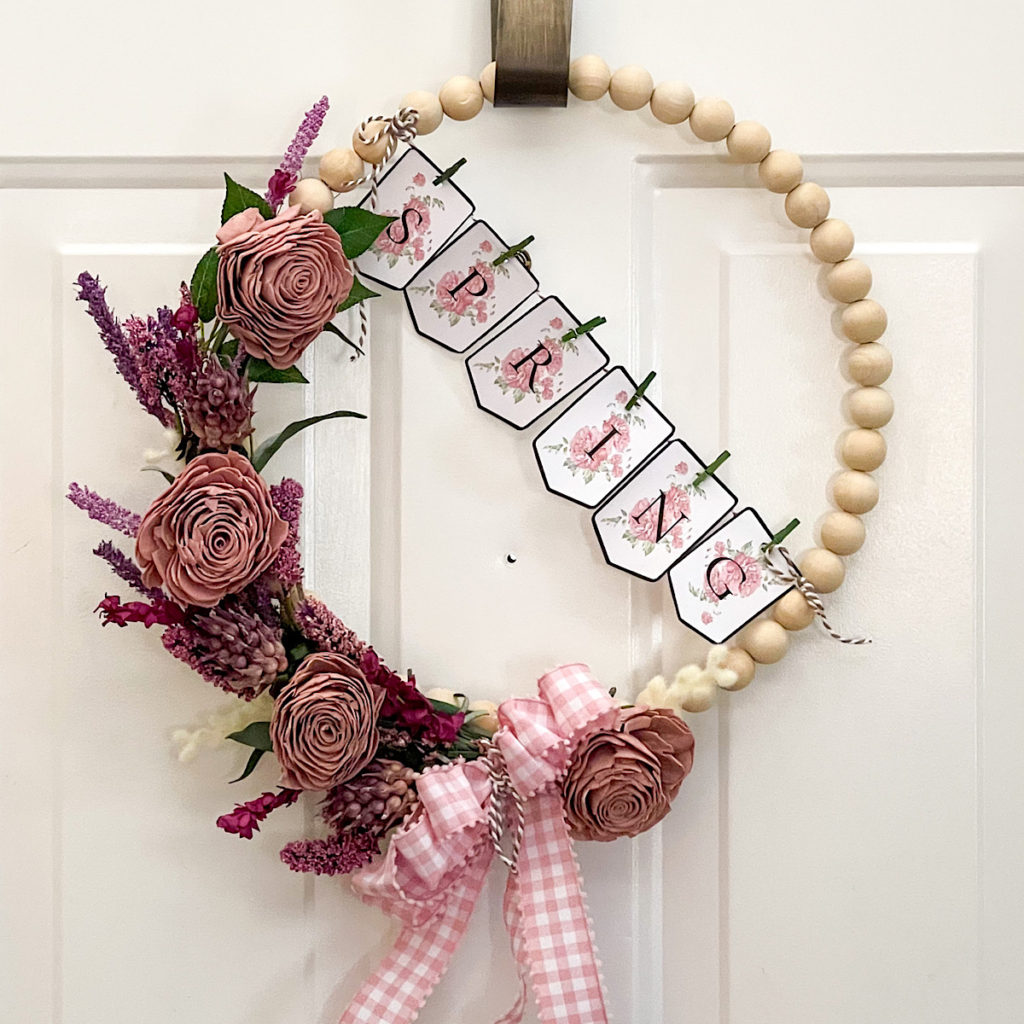
First, let me just say that I am not a “pink” person. To be honest, it’s my least favorite color. However, I make an exception for the pastel pinks of the spring season. This time of year, mixed in with a lot of spring greenery, it’s just so pretty! So with my decorating scheme in mind, I chose a combination of pink and purple flowers for this wreath.
Tip: As with any wreath, it is never permanent to me. I will use my glue gun sparingly in favor of wire since it is much easier to remove down the road.
This page includes Amazon Affiliate Links. As an Amazon Associate, My Home of AlI Seasons may earn from qualifying purchases at no additional cost to you. Please see our full disclosure here.
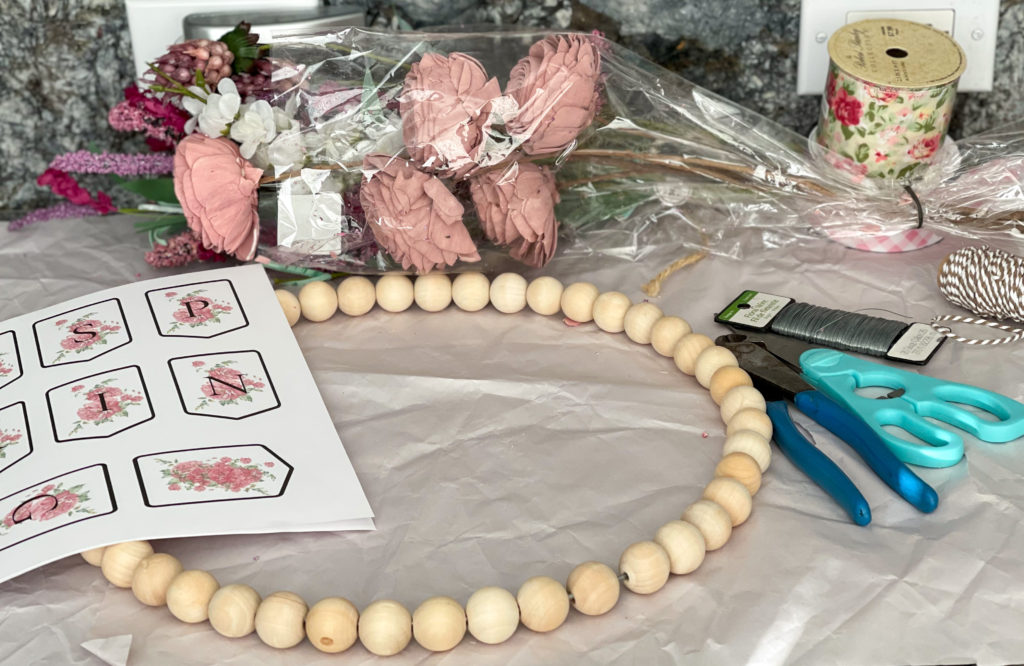
Supplies
- 14 inch beaded hoop
- 10-12 stems or 1-2 spring sprays
- 3 or 4 larger faux flowers
- floral wire
- ribbon
- wire cutters
- scissors
- bakers twine
- glue gun
- hole punch
- mini clothespins
- spring printable (see below)
Instructions
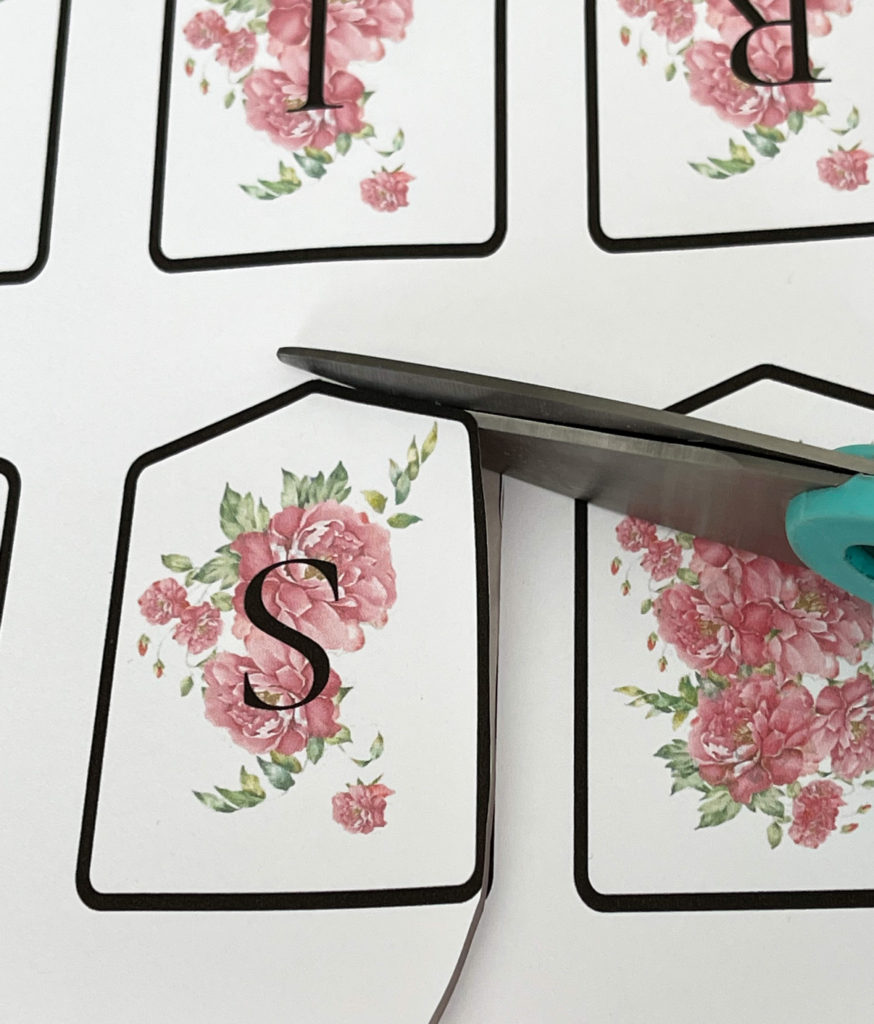
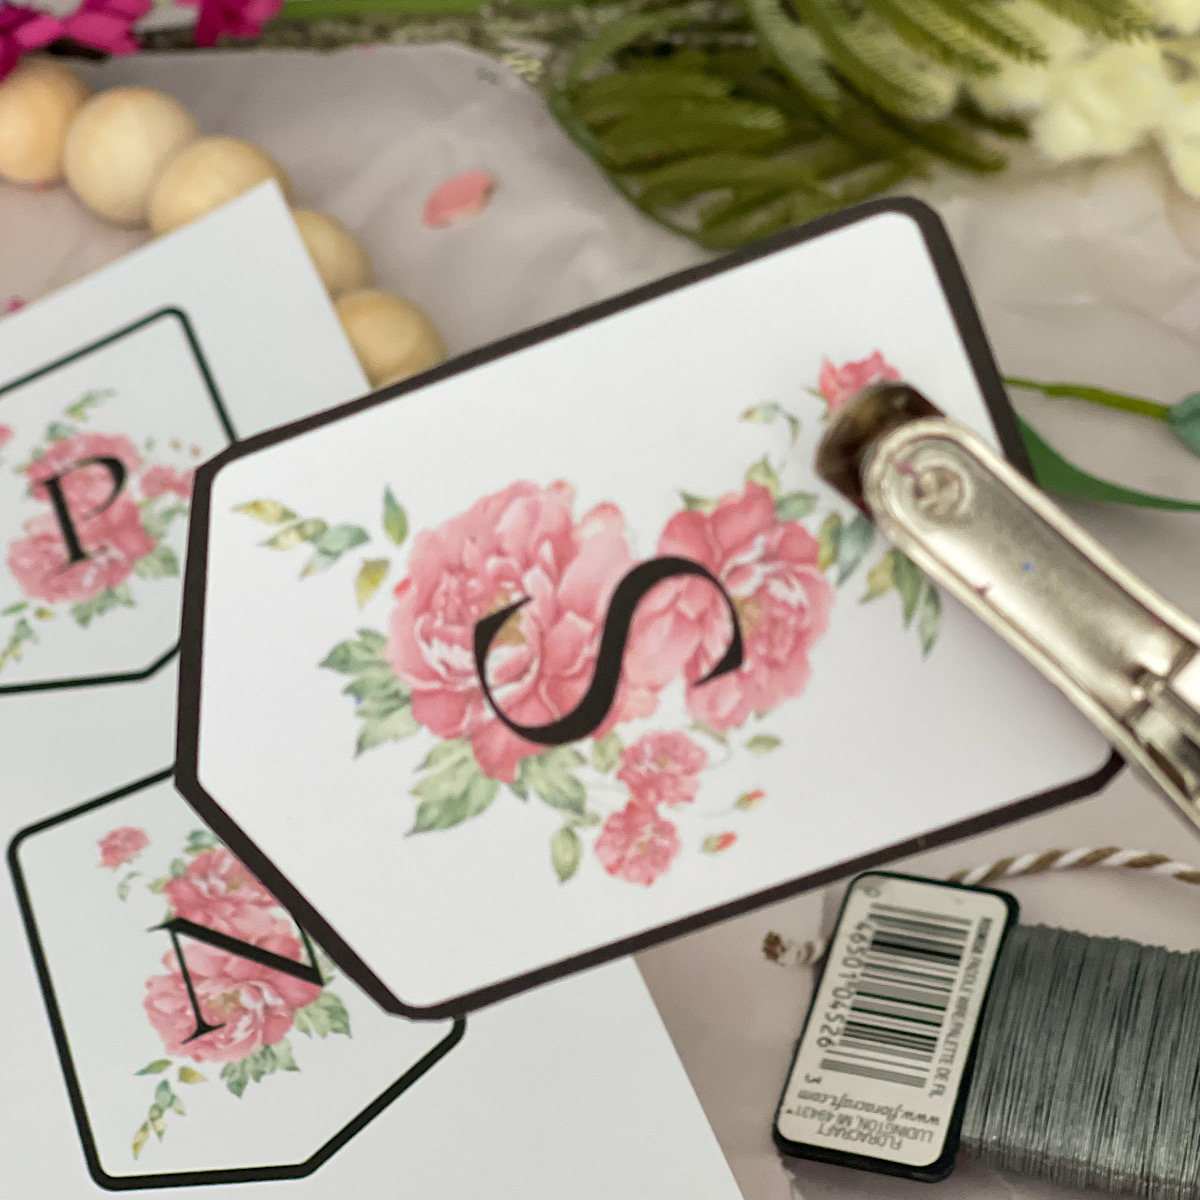
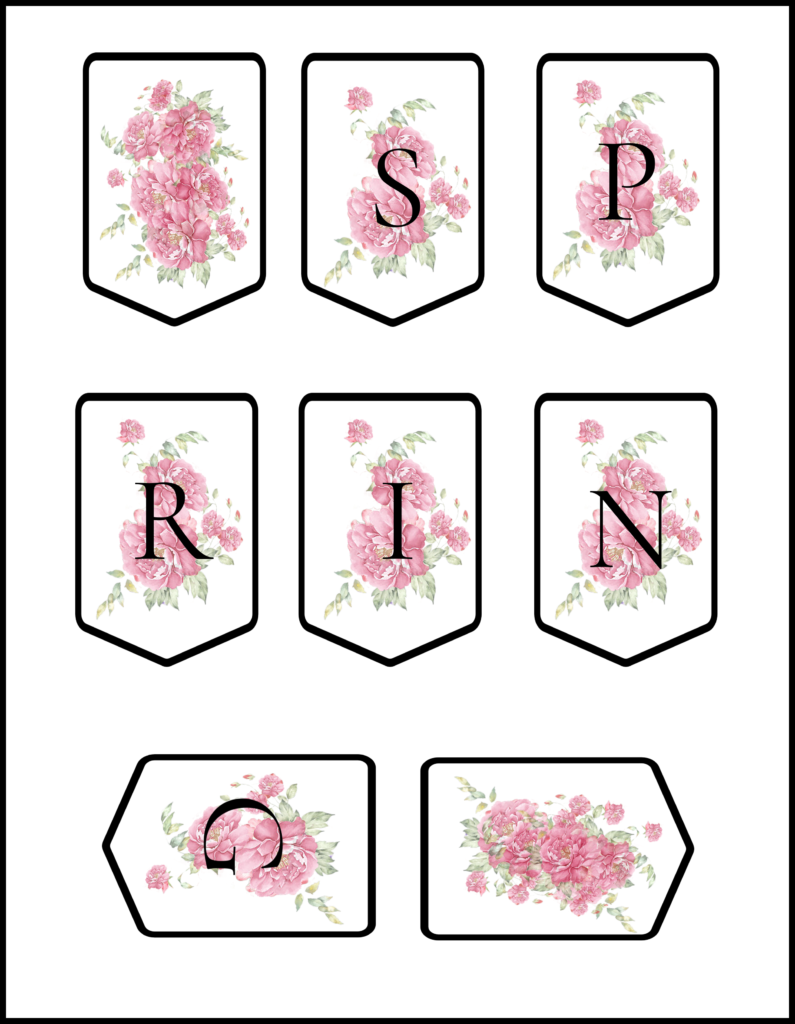
Step 1 – Download and print the Spring Banner Printable below. Cut out each letter and set aside. I’ve included two extra banner pieces with the background flowers. On a 14 inch wreath, the letters are enough. If you use a 16-18 inch, you can add the two floral pieces to extend the banner.
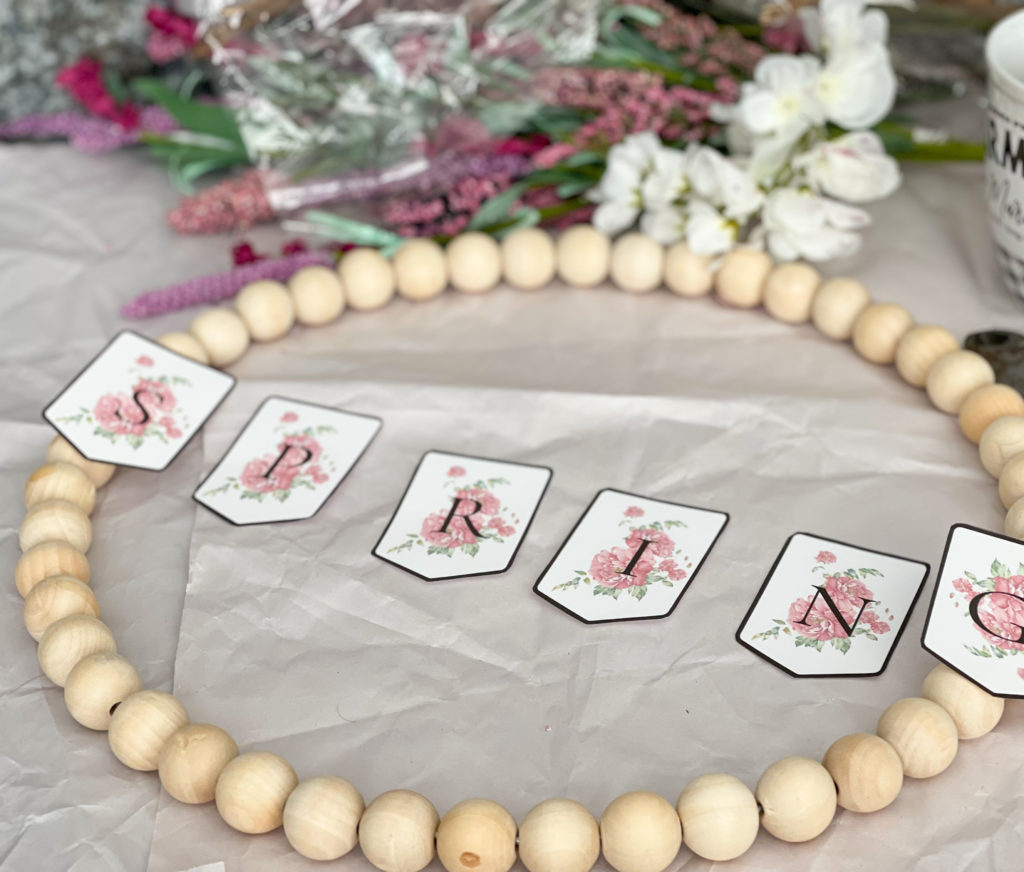
Step 2 – Cut the stems leaving 3 to 4 inches to work with. Arrange them into 3 bunches and wire each bunch together. Leave a tail long enough to attach to the hoop.
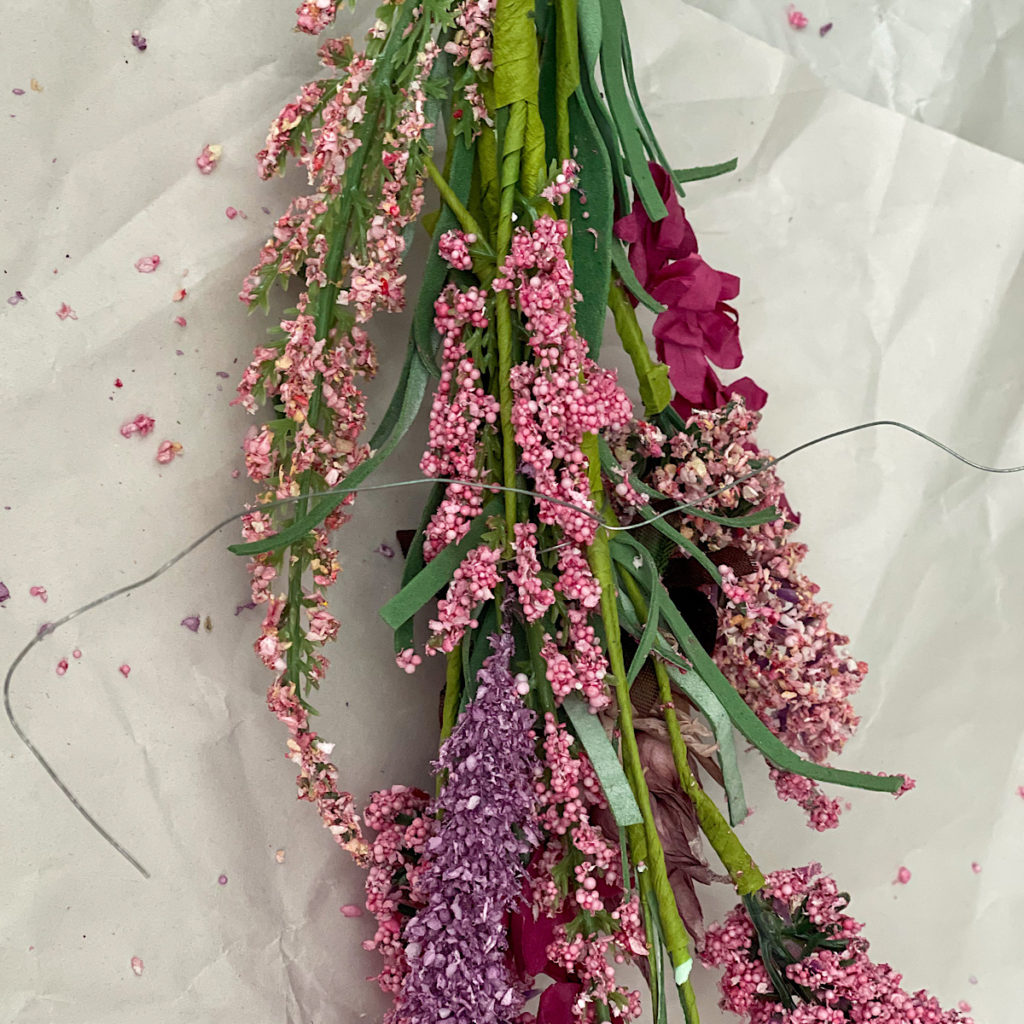
Step 3 – Place the bunches on the wreath overlapping each other and attach them directly to the metal hoop between the beads.
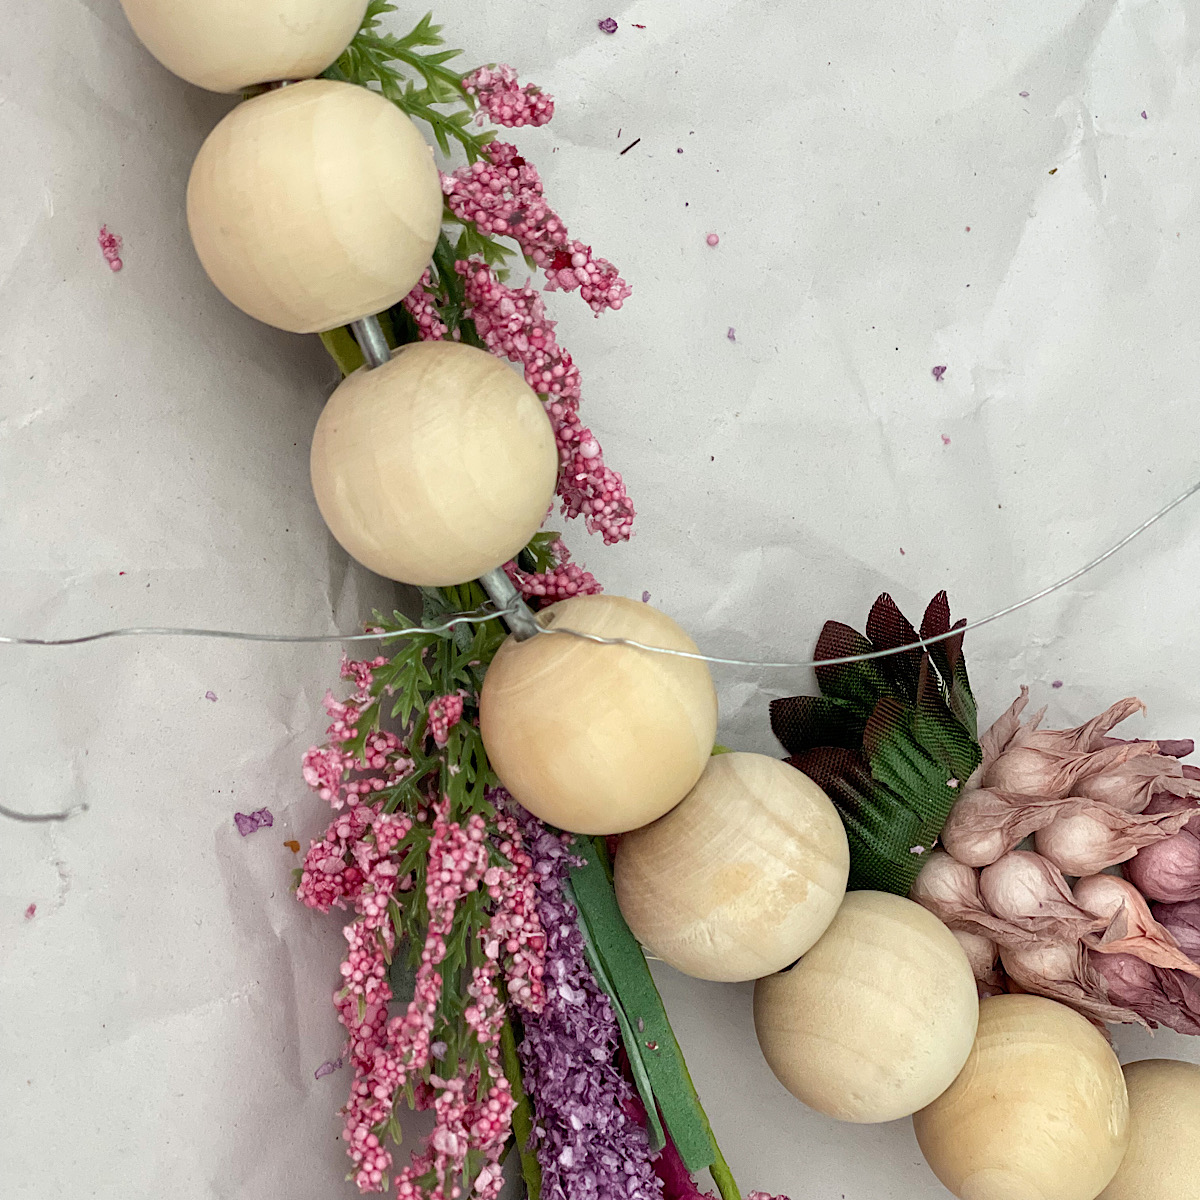
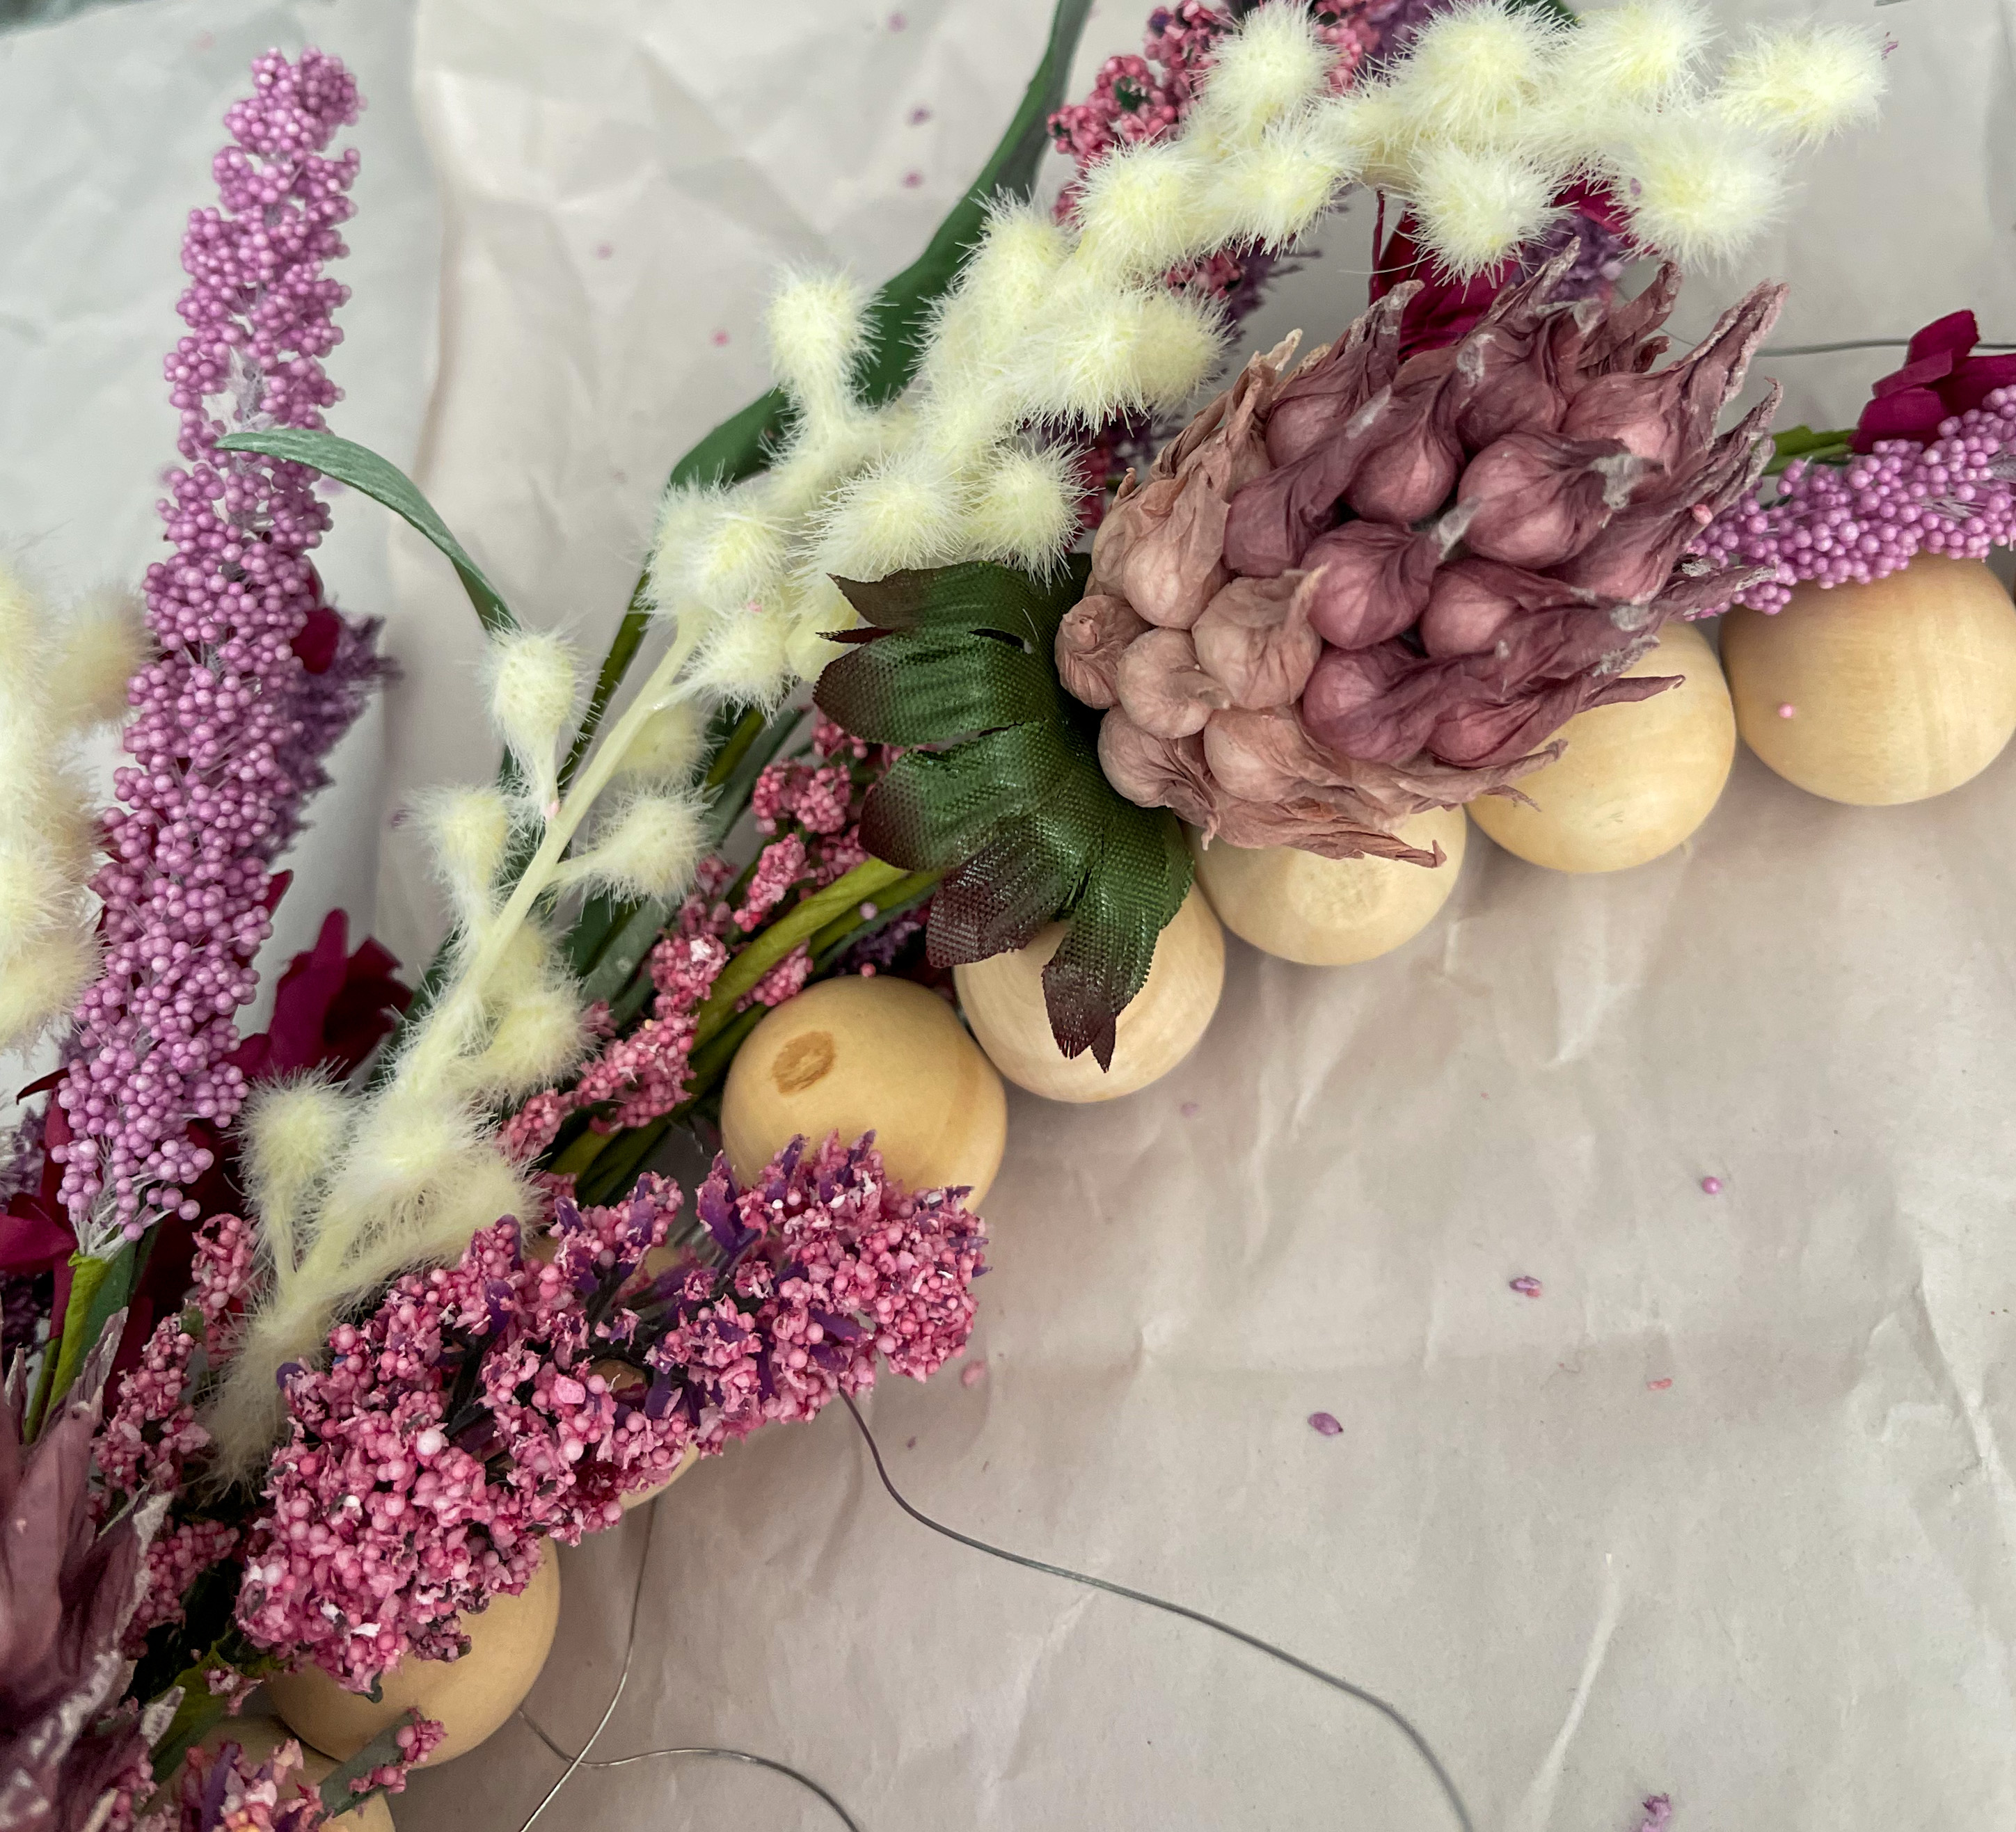
Step 4 – With your glue gun, attach a peony, rose, or any larger flower to cover each point where the bunches are wired to the wreath. Be sure to glue the flower directly onto the stems instead of the beads should you decide to change it in the future.
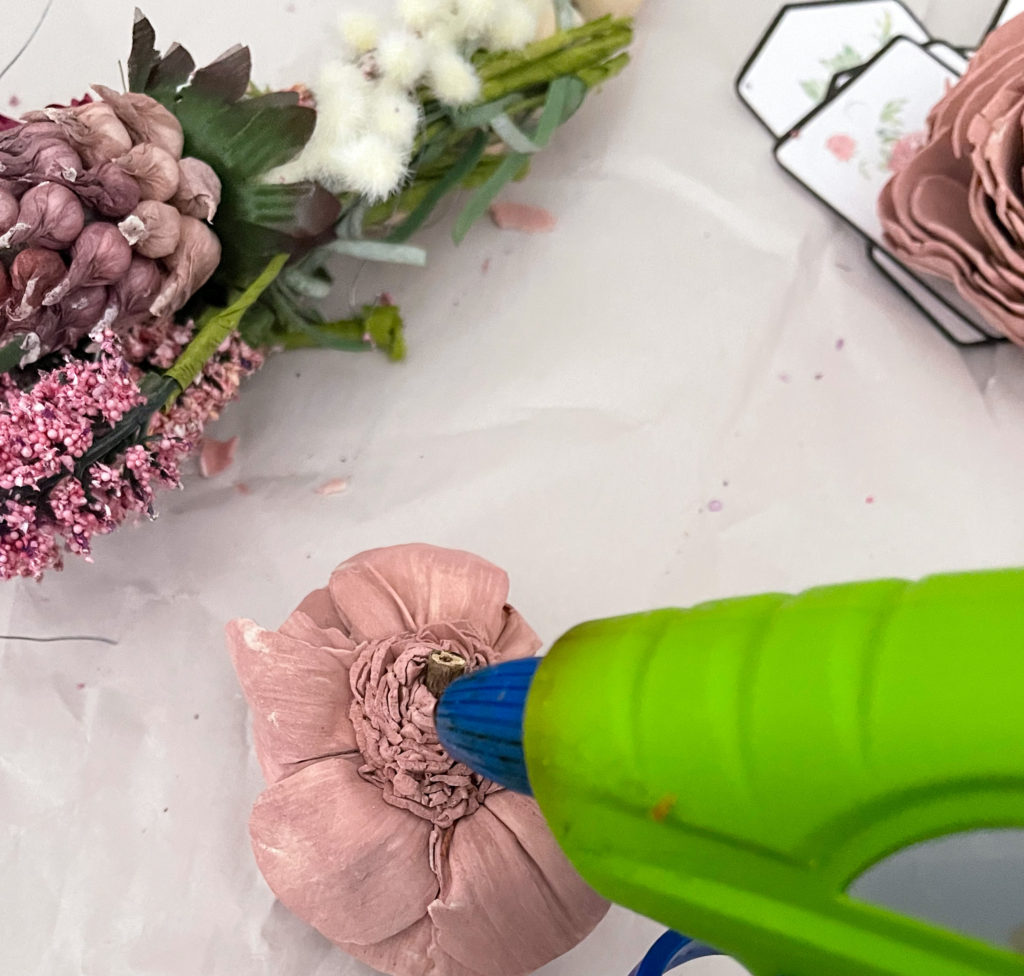

Step 5 – Measure a piece of the bakers twine stretched across the wreath diagonally with an extra 3 inches on each end. Attach it tightly with a double knot between the beads on each side. Use the extra to tie a bow on each side.
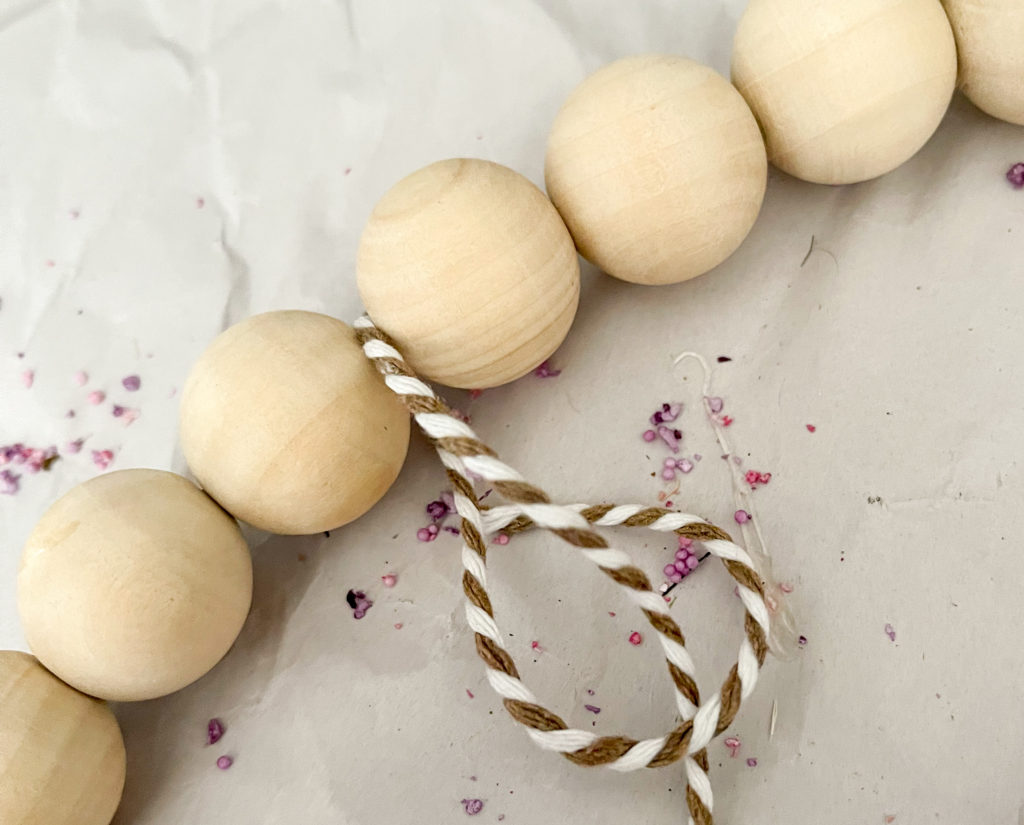
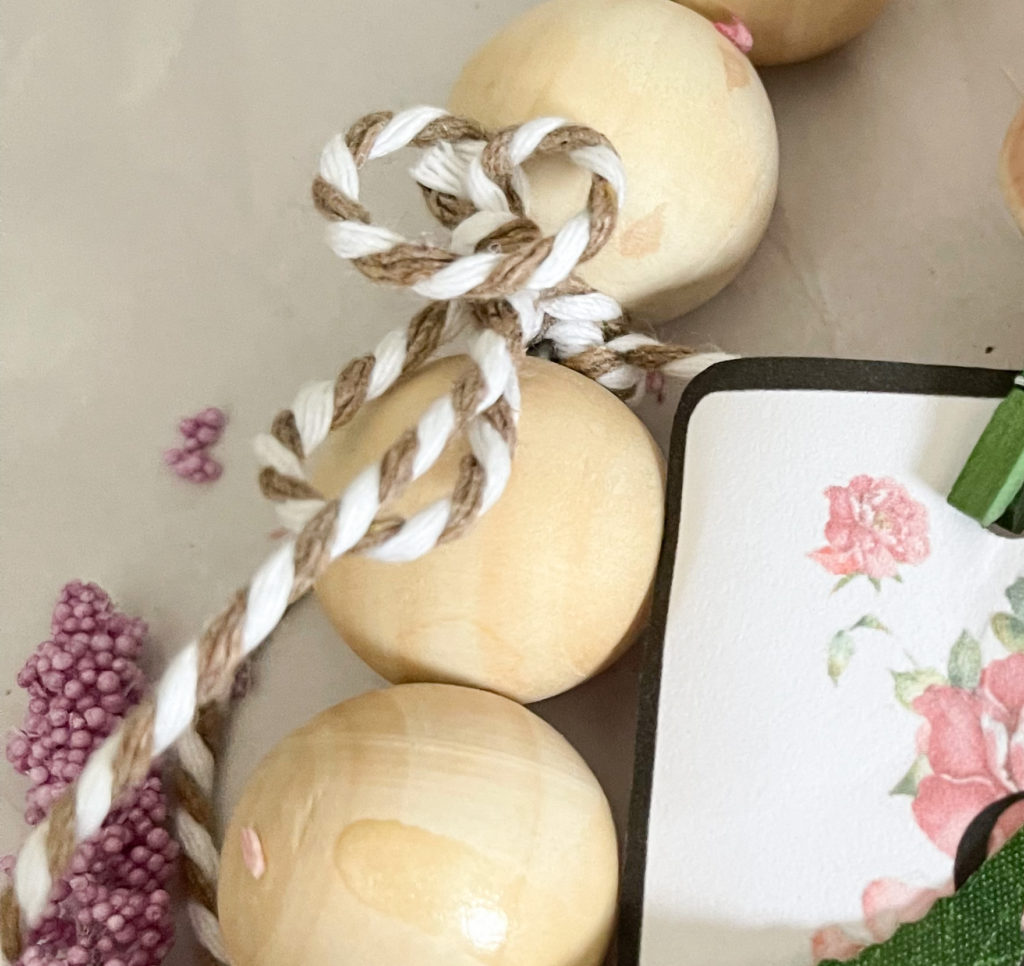
Step 6 – Punch a hole at the top of each letter and attach them with the clothespins to the twine.
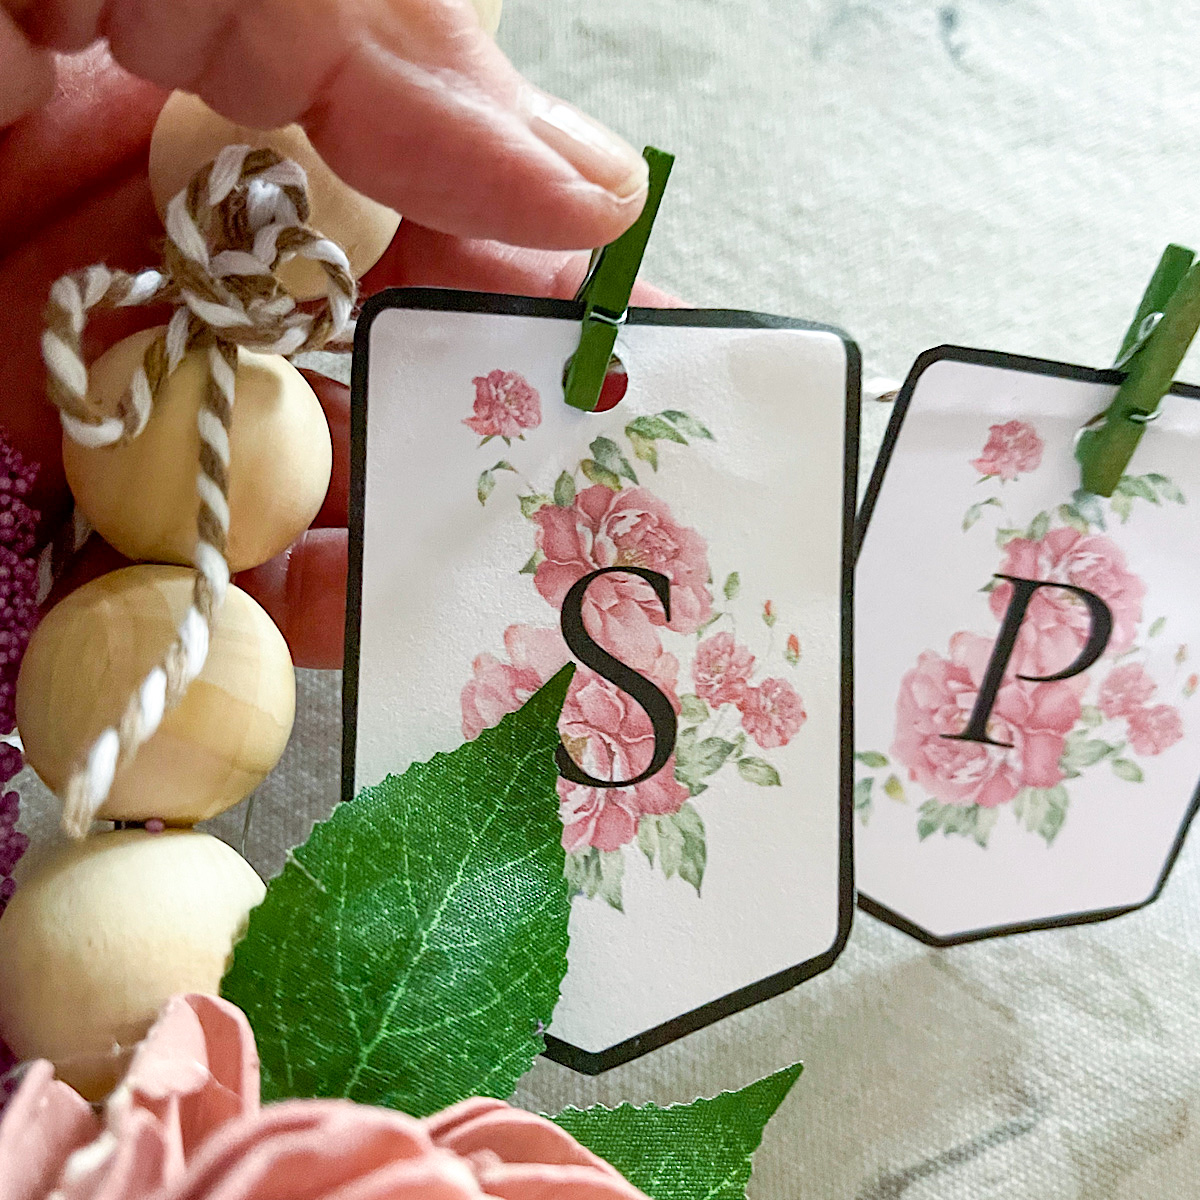
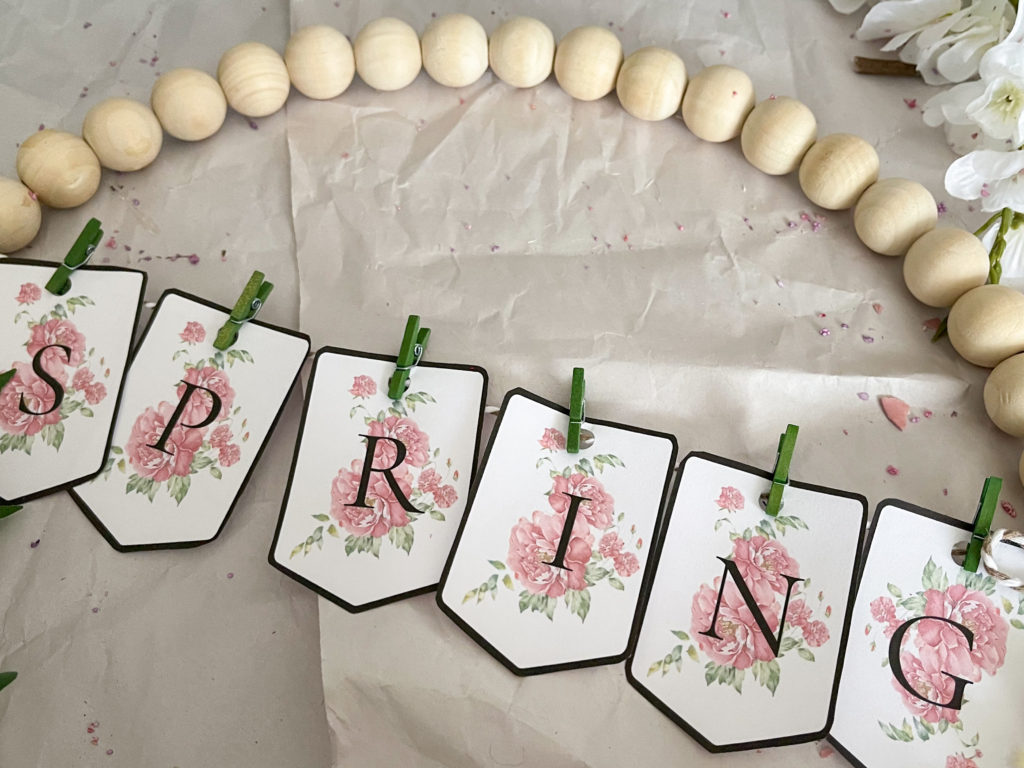
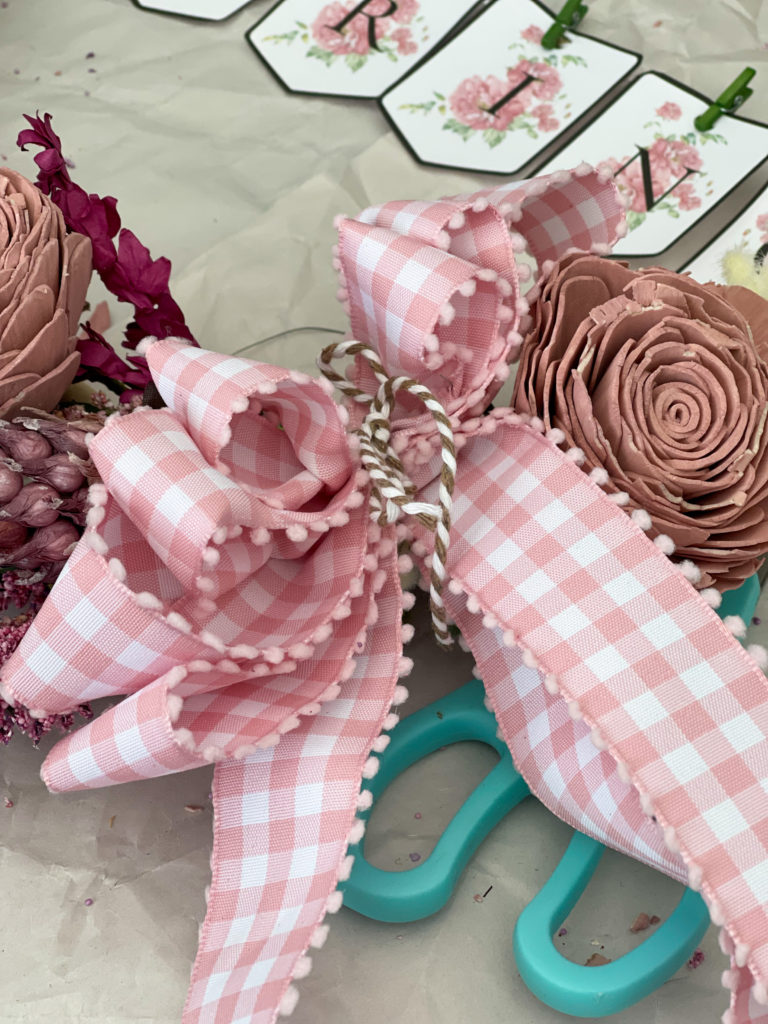
Step 7 – Add a bow or any finishing touches you’d like. Then… enjoy it!
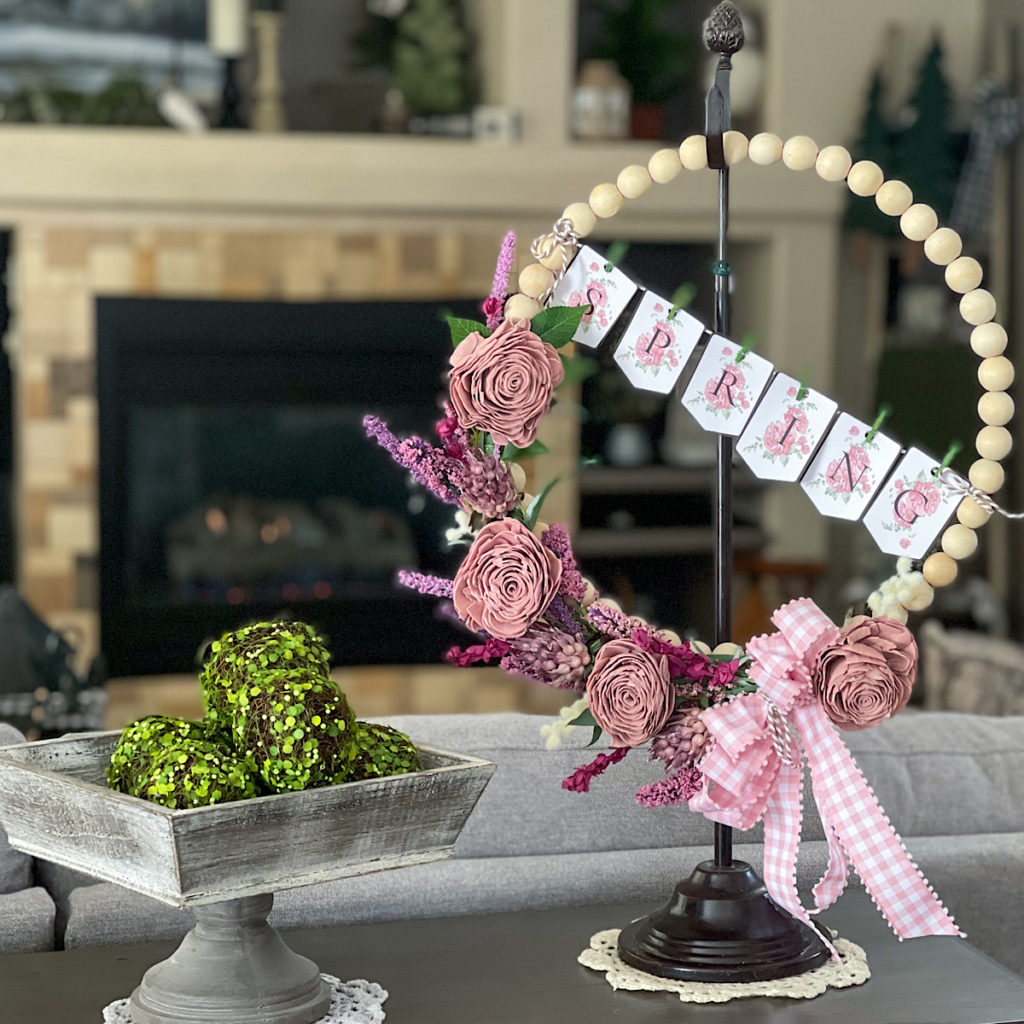
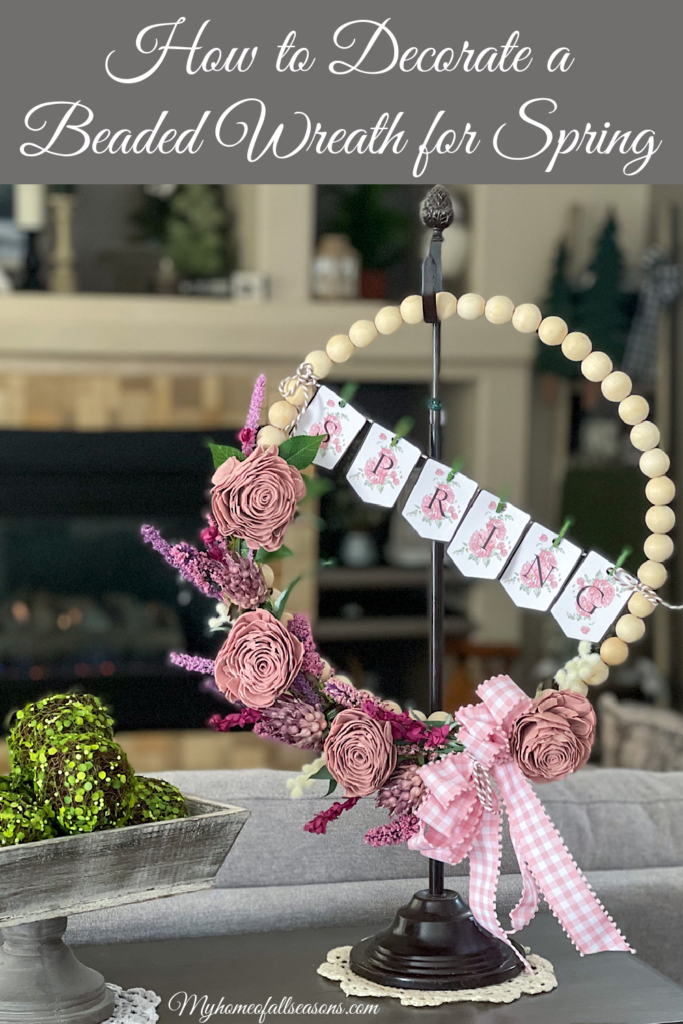
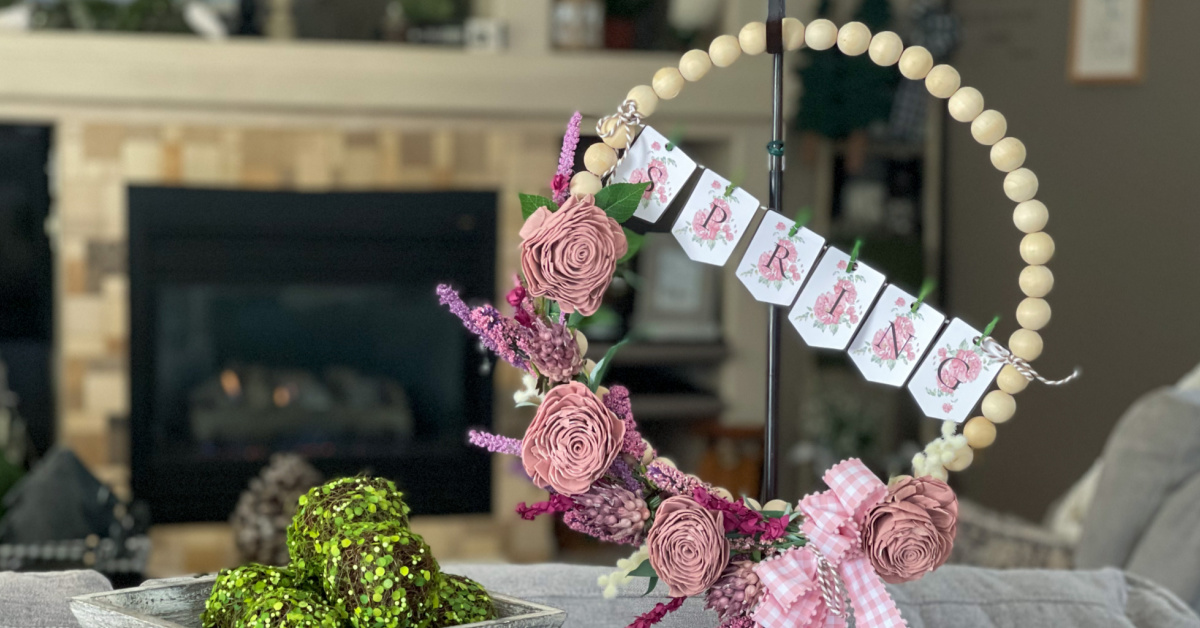
I’ve designated mine as a decoration for my spring ladder and I’ll be sharing that soon. It looks just as pretty on a wreath stand or hung on a door as well.
Supply Links
I purchased my beaded wreath a few years ago at Hobby Lobby. However, I’ve linked a similar one below along with the other supplies you’ll need.
With my bottomless craft bins, the flowers I used today were part of the collection I store there. I’ve linked a few picks and sprays below that would work well on a beaded wreath if your craft bin is bare!
If wreath making just isn’t your thing, be sure to check out my latest post, Spring Roundup: 5 Easy DIY Decorations. You’ll find crafts and more ideas to get you through those long winter days!
Thanks so much for stopping by today and I hope you’ll be back soon! If you haven’t joined us yet, please do. Add your email to the form below and I’ll make sure to send the latest posts directly to your inbox. Your subscription gives you immediate access to everything in the Printable Library too!
See you soon!



Very creative and so pretty!!
Thanks Jenna! I’m fighting the urge to full on decorate for spring. I think the snow that’s in the forecast for Wednesday will put a damper on that though!
Your beaded wreath is so pretty! So happy Spring is right around the corner! Donna
Thanks so much Donna! I am so ready for spring to get here!
Denise,
I LOVE this sweet Spring wreath!! Love the beads…So pretty!! Thanks so much for stopping by and for being on the tour with me…It was fun, wasn’t it??? Looking forward to the next one!!
Stay safe, healthy and happy!!
Hugs,
Debbie
Thanks so much Debbie! You are so sweet. I’m excited for the next tour too! I always love your spring home so I know whatever you choose to highlight will be amazing! Have a great week and thanks again!
Loved this wreath so much! I’m featuring it at Farmhouse Friday this week. Thank you for sharing it with us. Hope you link up again.
Thanks so much Cindy! You made my day and of course I’ll be linking up again. Such a great party each week!
This is beautiful, Denise. You did a wonderful job with the beaded wreath and making it over. I like your thoughts on changing out wreaths, it inspires me and others to think outside the box.
Hugs,
Rachelle
Thanks Rachelle! Is it spring yet???? I’m soooo ready!
Your unique pedestal style Spring beaded wreath is so pretty Denise!
Thanks so much Marie! I’m fighting the urge to keep going with spring. I just wish it would get here already! We are at 11 degrees right now but temps near 70 next week.
Oh, how pretty! Thanks so much for linking up at the Unlimited Link Party 72.
Thanks so much Dee! Time for a little bit of spring I think!
This is so pretty Denise, it will be a feature at Handmade Monday this coming week 🙂
Thanks so much Julie! So excited to be featured!
Your wreath is so pretty! I’m not much of a pink girl myself, but this looks lovely. Thanks for the detailed directions and the printable.
Thanks so much for joining the Grace at Home party at Imparting Grace. I’m featuring you this week!
Thank you so much Richella! See you at the party!