
Spring! Even the word makes me smile! When I think of spring, the first thing that comes to mind is the color green. Just knowing there is green grass under the thatch that has formed all winter long is so exciting. Seeing the tiny buds that will soon be leaves on the trees and the green stems popping up from the snow is exhilarating.
This is the time of year when I can’t get enough green inside of the house either. So today, I decided to make an Easy DIY Spring Candle Ring to add a little bit of greenery to my decor. In keeping with my quest to empty out my craft boxes, let’s see what we can find in there!
This page includes Amazon Affiliate Links. As an Amazon Associate, My Home of AlI Seasons may earn from qualifying purchases at no additional cost to you. Please see our full disclosure here.
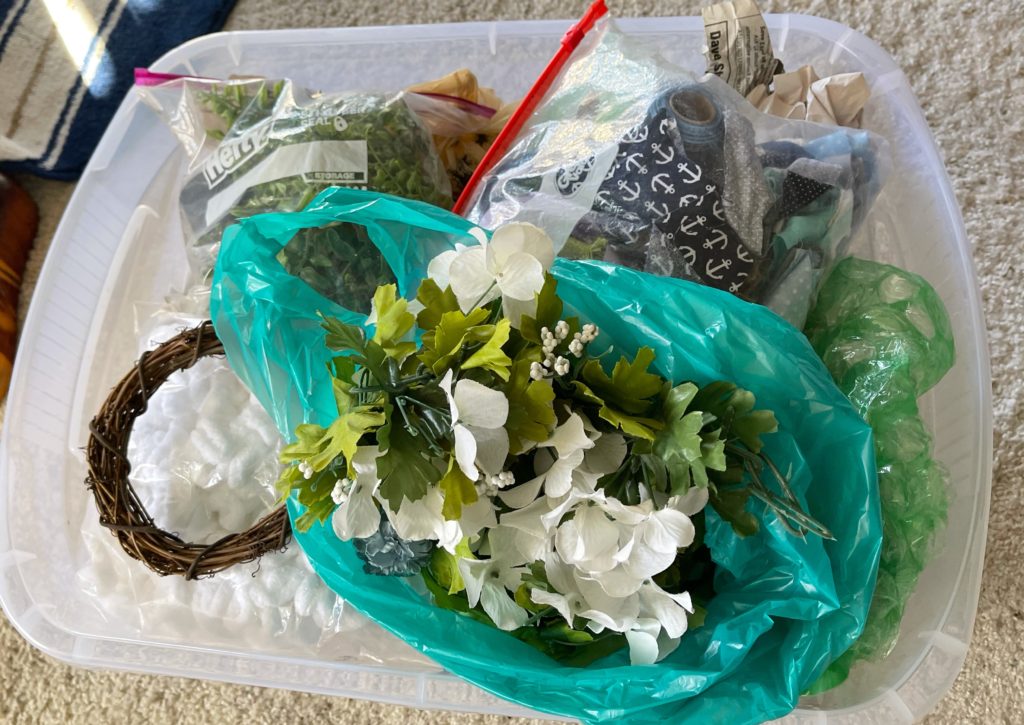
Mini grapevine wreathes will be perfect for the base of this project. I have way too much greenery but I love the look of Soleirolia or baby tears as it is more commonly known. I know I have a bag or two of that. Yes! We need wire cutters and a glue gun and we are ready!
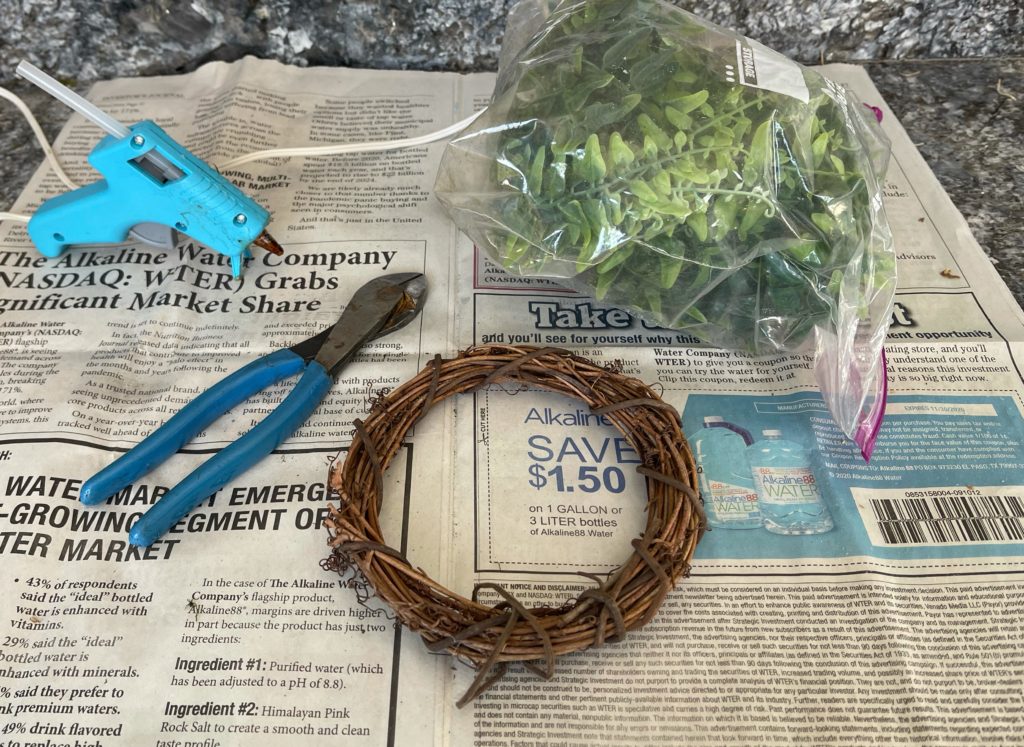
DIY Spring Candle Ring Supplies
- 4 inch grapevine wreath
- Greenery
- Glue gun
- Wire cutters
Step 1
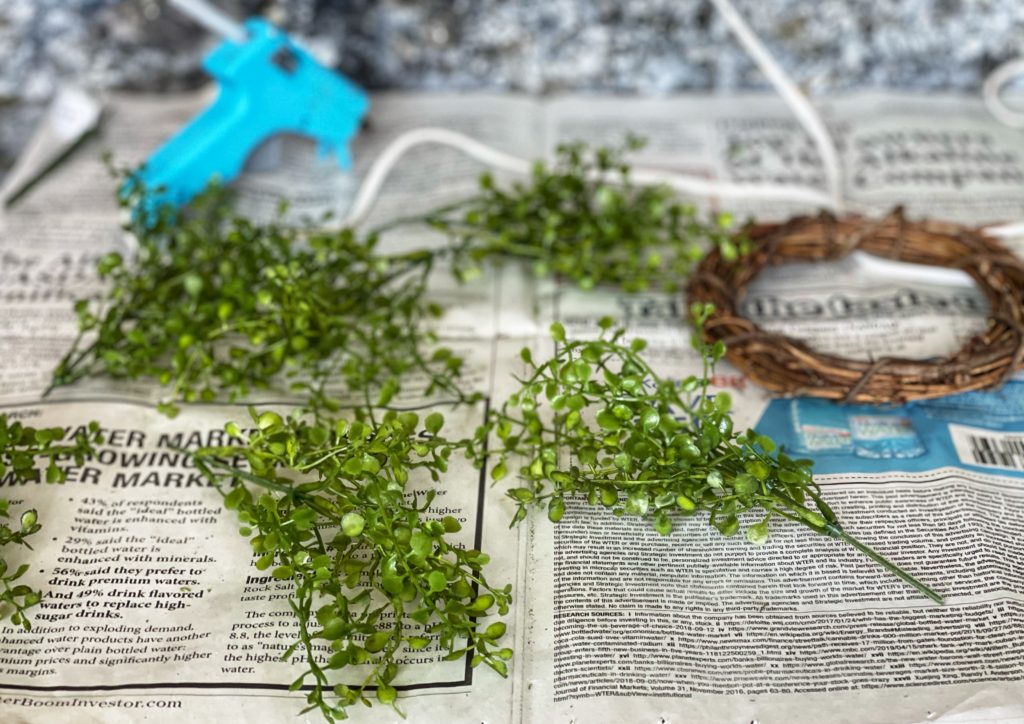
To start, we will need to separate the baby tears bush in to individual stems. Using the wire cutters, we will trim each one leaving about an inch of the main stem. Since this is a very small wreath, we need to be able to hide the stem inside and an inch is all we will need.
Step 2
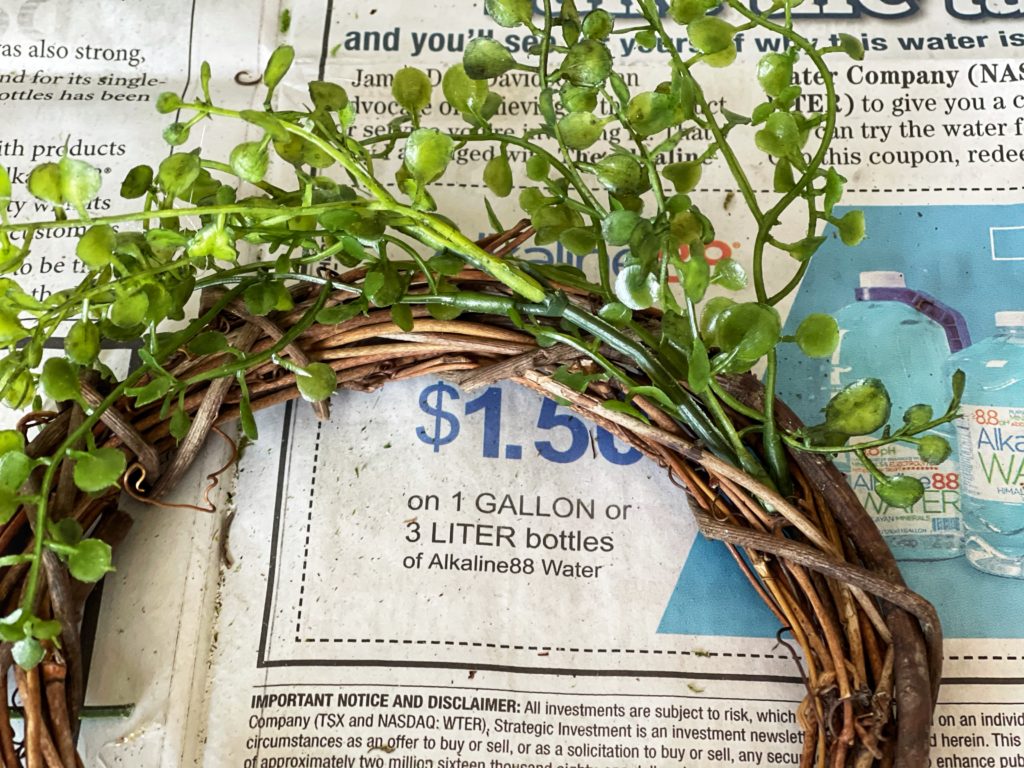
Next, we will insert the wire into the wreath. It’s best to lay it out before gluing any single stem down. Tucking the wire under the diagonal weaves that hold the wreath together will keep it secured as we work. Moving around the wreath, insert your wire for the new stem under the leaves of the previous one until the grapevine base is covered.
Step 3
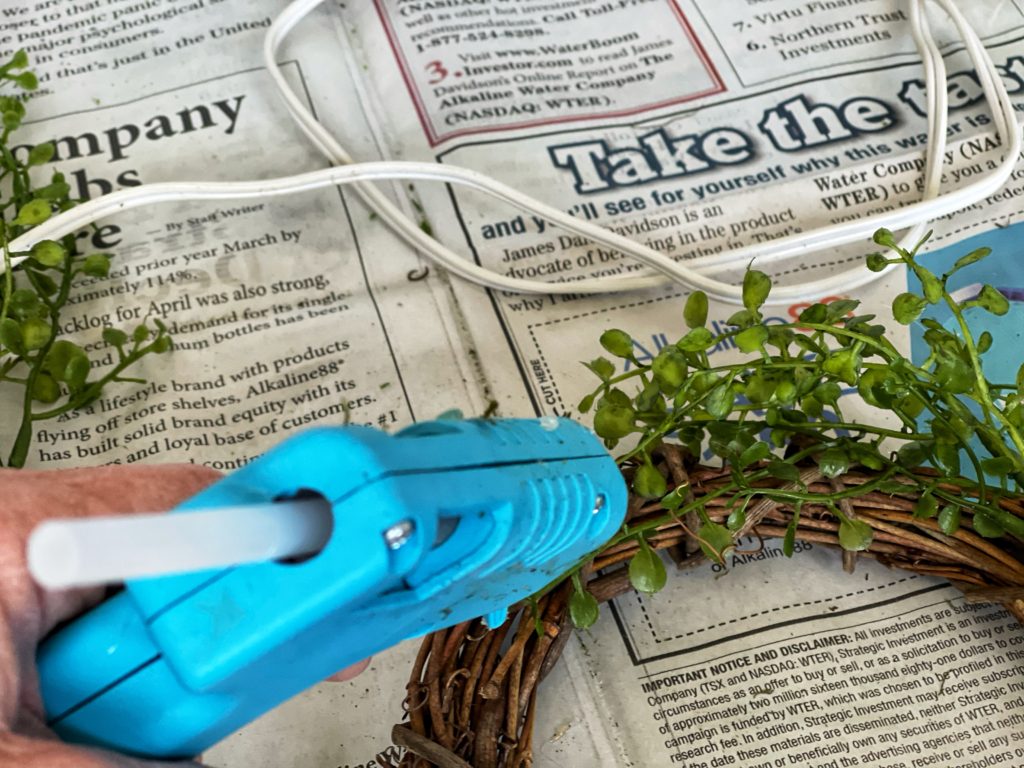
While the stems are secured in the wreath, we will need our glue gun to shape the ring. I try to use the least amount of glue possible so I can change the look whenever the mood strikes me. A dot of glue on one or two of the small leaves is all we need to hold it in place. The ring is always prettiest with a few trailers here and there as well. Simply pull a part of the stem outward and place a glue dot on the main part to achieve the look you want.
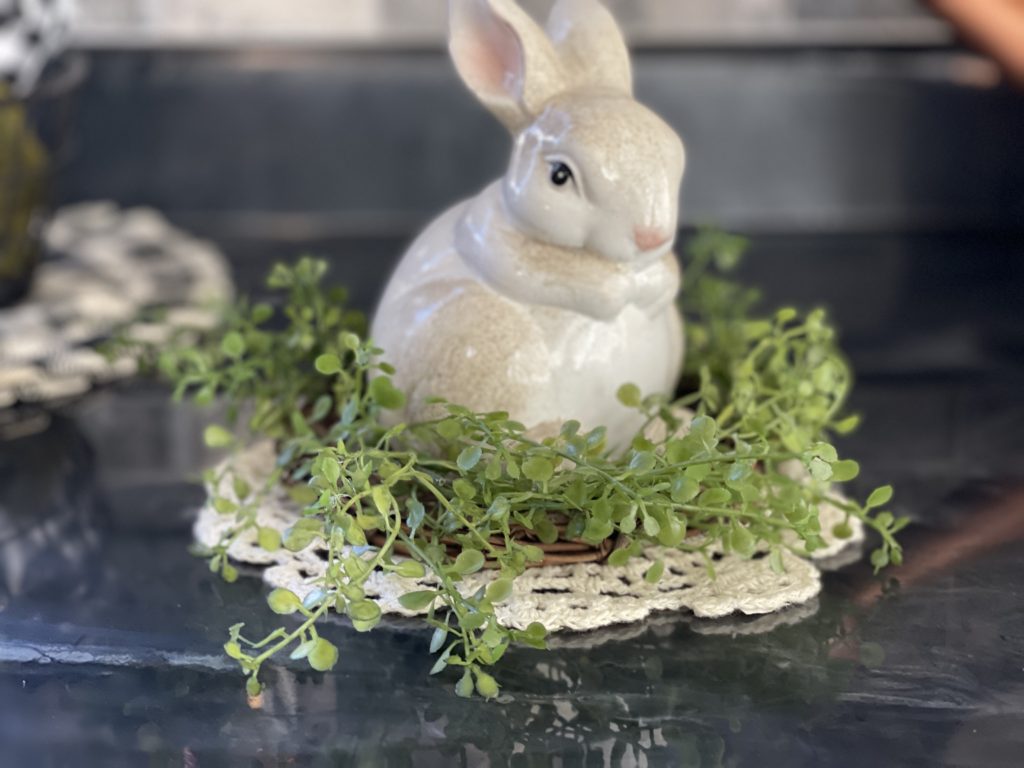
The finished product is so pretty!

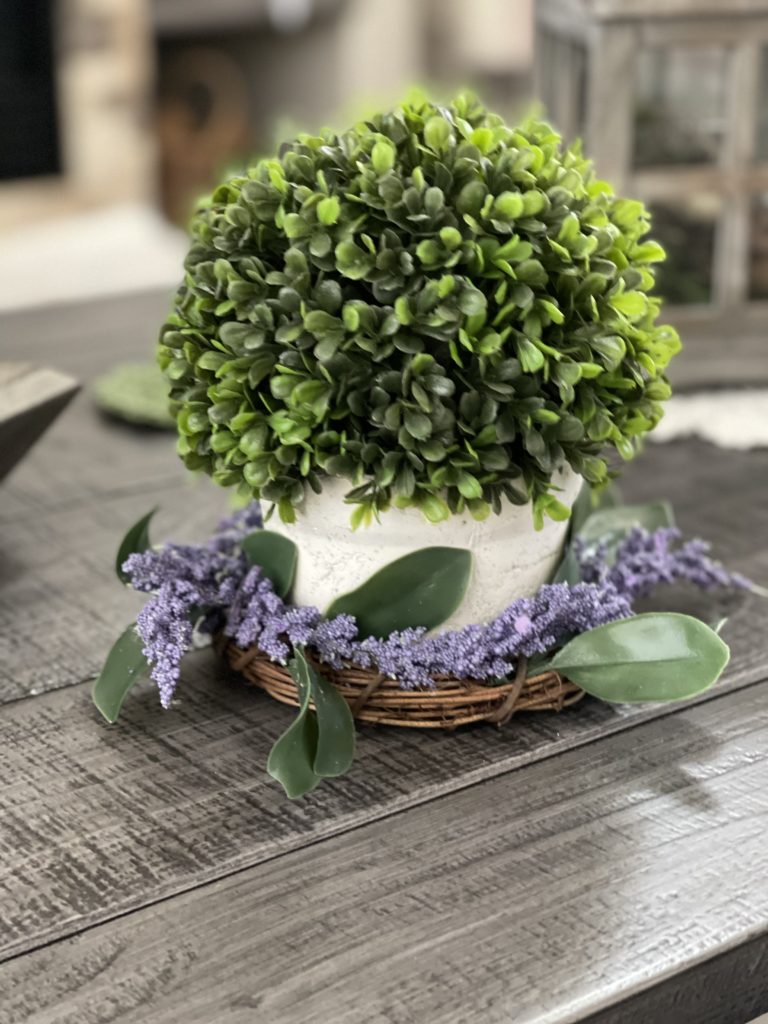
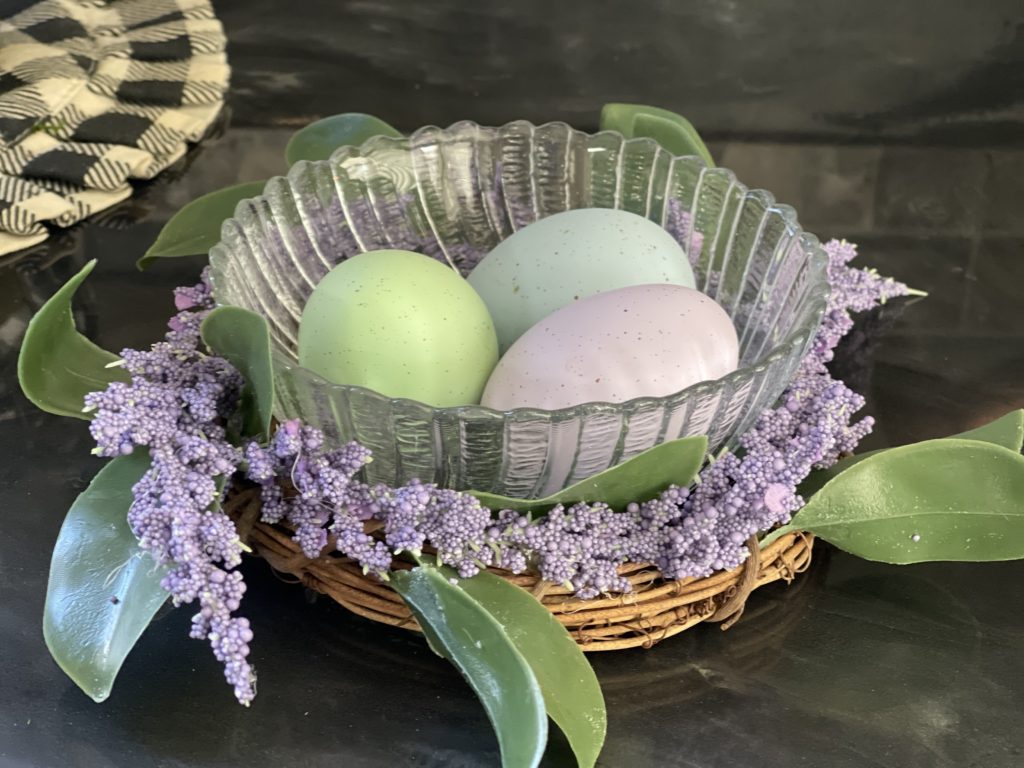
We are calling this a candle ring and of course it is. But that doesn’t mean that’s the only way to use it! Here are just a few ideas to put your new candle ring to good use!
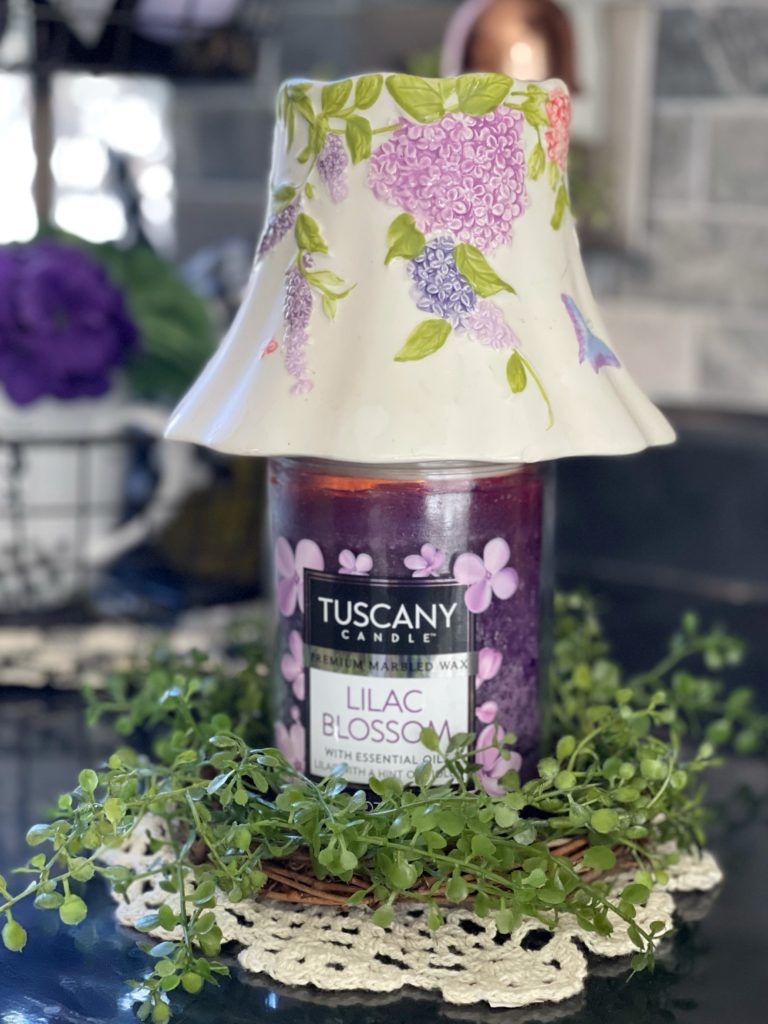
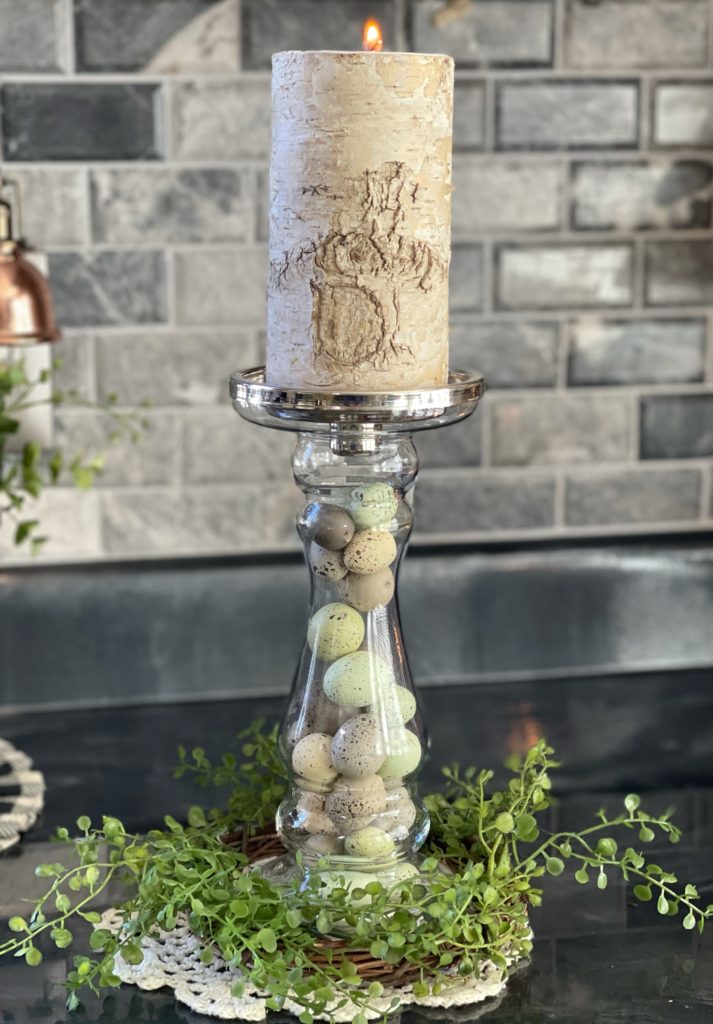
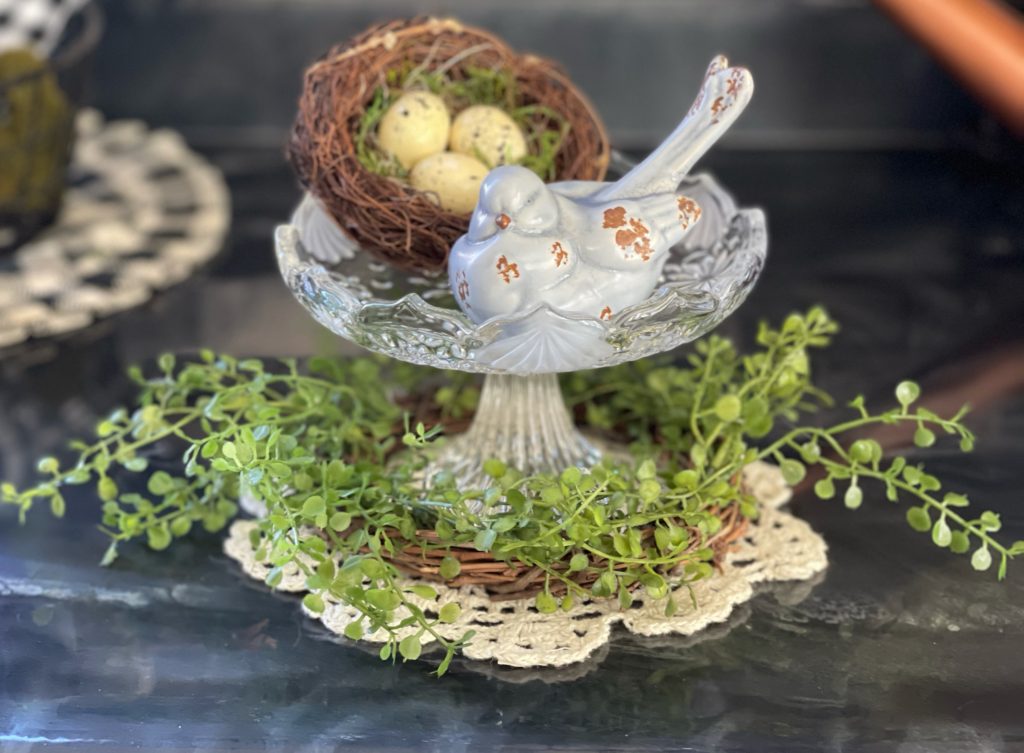
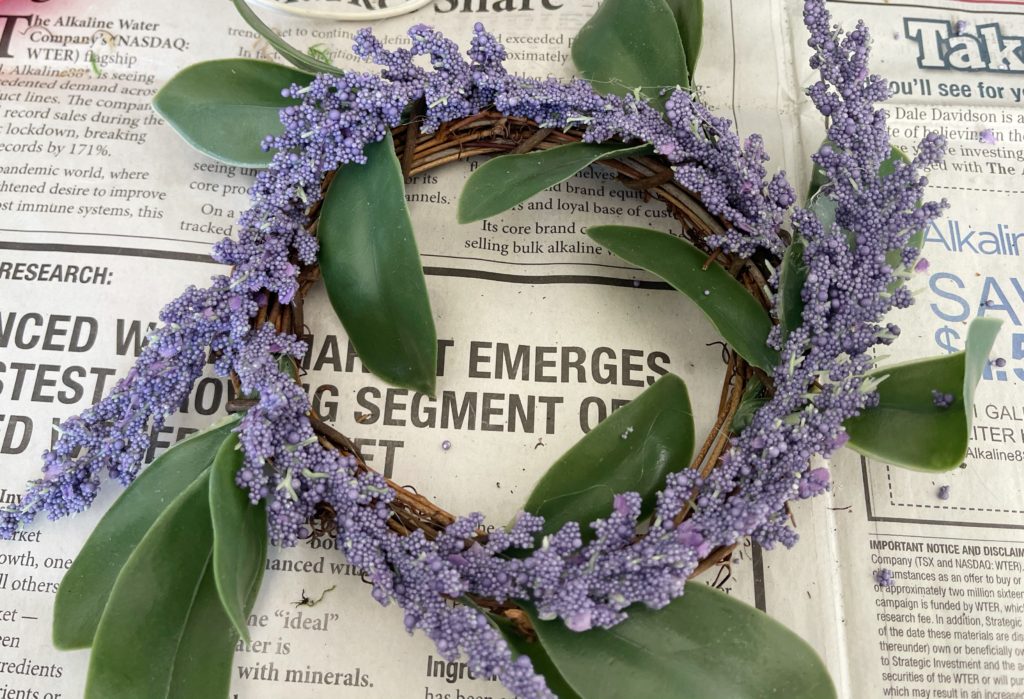
I love the look with baby tears but the process applies to stems of any sort. Since purple is a favorite of mine this year, I thought a floral ring would be a good addition to my spring decor as well.
Same steps…different look!
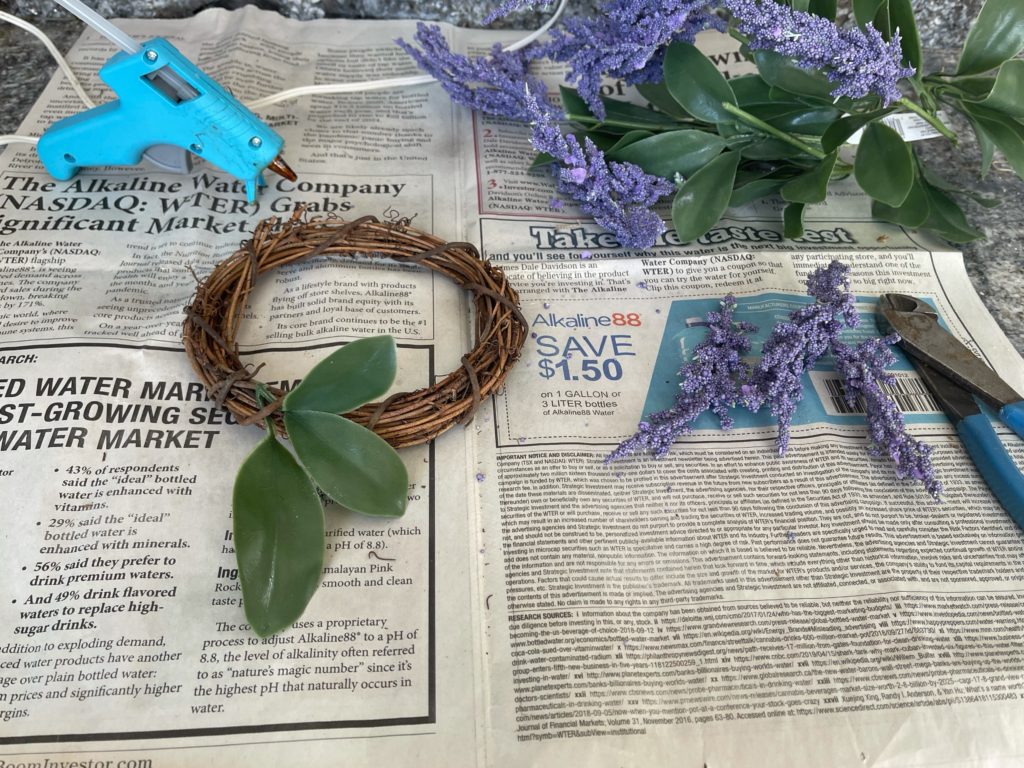

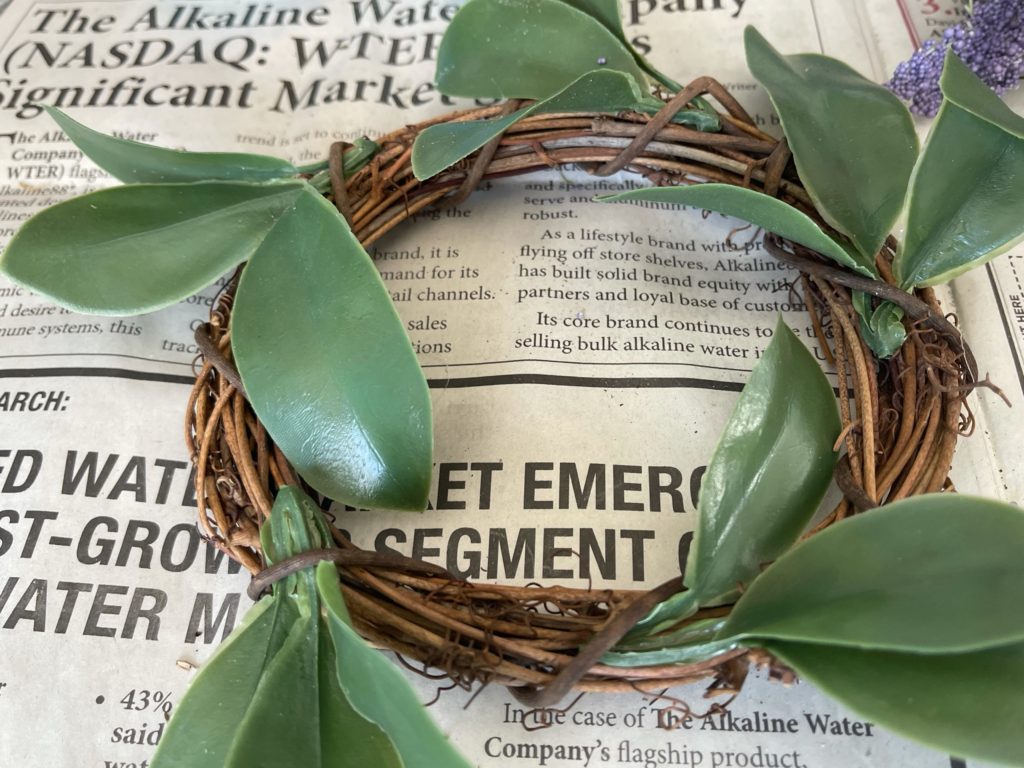
For this ring, the glue gun will play a more important part since the wreath is layered. The flowers will need to be glued to cover the spots where the leaves are stuck inside the wreath.

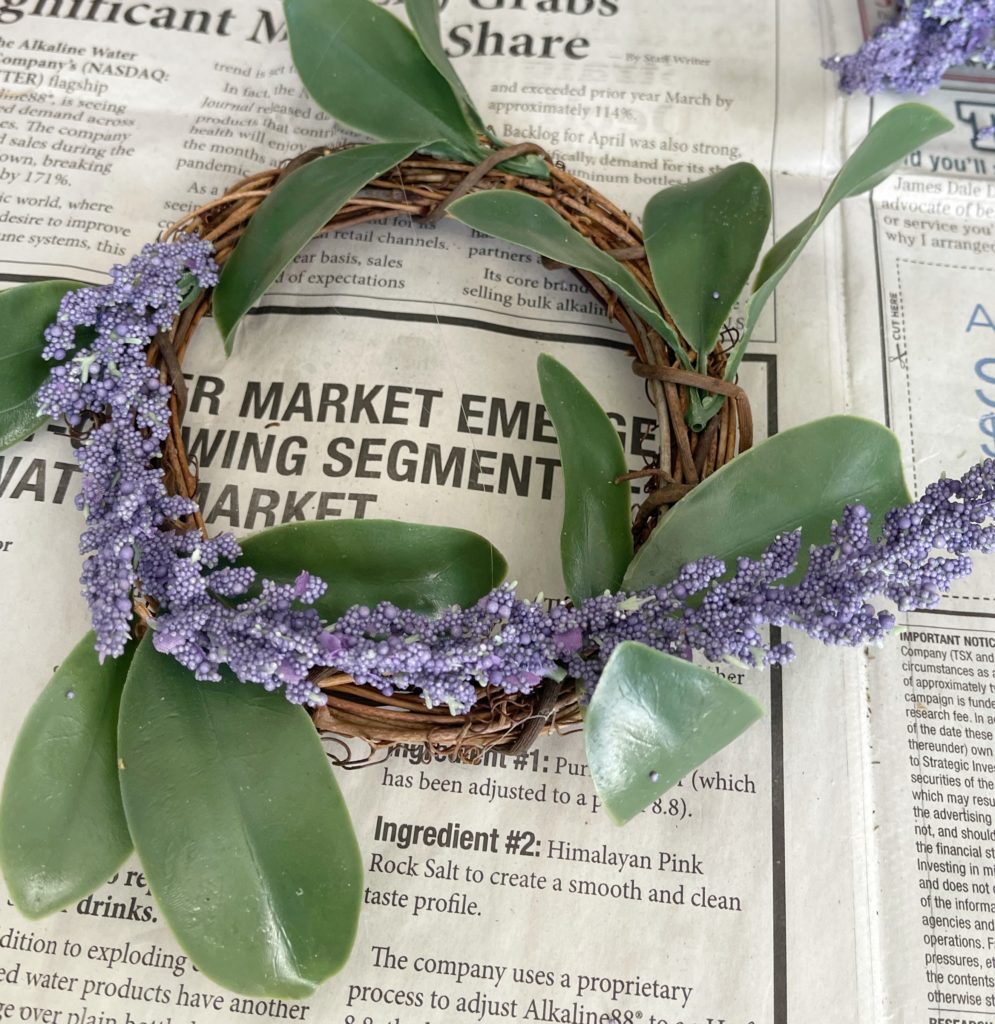
To make it a bit prettier, add a trailer or two. You can achieve that look simply by angling a blossom differently than all the rest.
So many different ways to use this spring candle ring too!

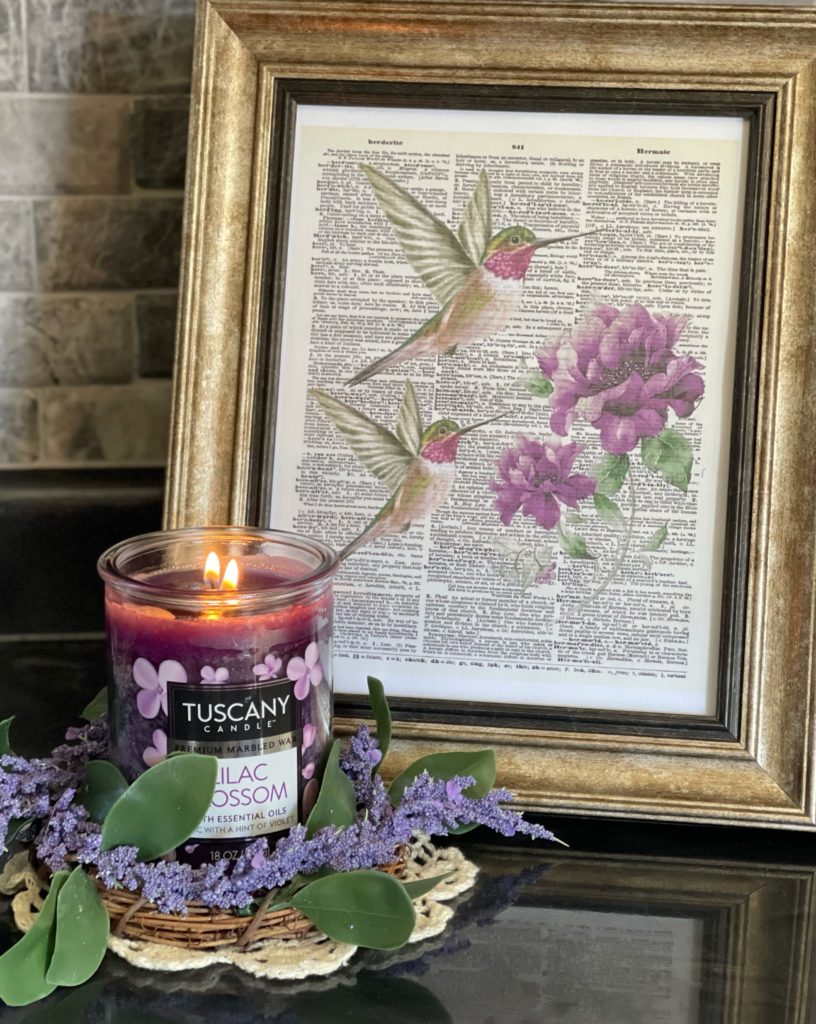
The hummingbird printable in the picture above is available for members to download and print. After all, birds are so much a part of the spring season! If you haven’t joined us yet, simply enter your email in the form below. A welcome email will be sent to your inbox within minutes, giving you complete access to everything in the Printable Library. A weekly/bi-weekly newsletter will keep you informed of new projects and freebies on the blog for the new season.
In case your craft box/boxes are not are not as ridiculously full as mine, I’ve included links to everything you’ll need for this project right here! ( Note: While I love the lavender flowers, I wanted my ring to be a bit more green. I used the leaves from a different stem. I’ve included a pick of green leaves below in case you would like to achieve a similar look. )


Thanks for stopping by today! Before you leave, be sure to check out my latest post Decorating Spring Lanterns for more decor ideas. I hope to see you again very soon!


Oh, so pretty, I like it!! Thanks so much for linking up with me at the Unlimited Monthly Link Party 22. Shared!
Thanks Dee! Glad you stopped by!
Like the wreaths you made to nestle eggs and bunnies in. And of course, candles. Just right for spring decor!
Thanks so much Linda! Beautiful blog by the way! Glad you stopped by and have a wonderful week ahead.
What a cute creation !
Happy Women’s day.
Thank you for sharing with us at Meraki Link Party.
Have a wonderful week.
Much love
Naush
Thanks for stopping by Naush! Have a wonderful week and Happy Women’s Day to you as well!
I’ve been finding signs of spring outside in the yard, but still need a little push in the home décor department 🙂
Your little ringed wreath is perfect for the season and it was fun to see you use it in a variety of ways.
Thank you for sharing it and the other posts at the Friday with Friends link party!
Thank you Rachelle! Love the party and thank you so much for hosting us each week!
So pretty! Love that shade of purple. Thanks for sharing at our #HomeMattersParty. Hope to see you again next week 🙂
Thank you Kimberly! So glad you stopped by!
Denise,
You are a genius!! Love this idea as I have several small wreaths and lots of greenery!! Thanks so much for the inspiration!! I have several craft projects I want to do s soon as I pack away Winter in the Den and return it to “normal”!!
Hugs,
Deb
Thanks so much Debbie! You are just so gracious. Such kind words and they mean so much coming from someone as incredibly talented as you are! I can’t wait to see what projects you have in store this season.