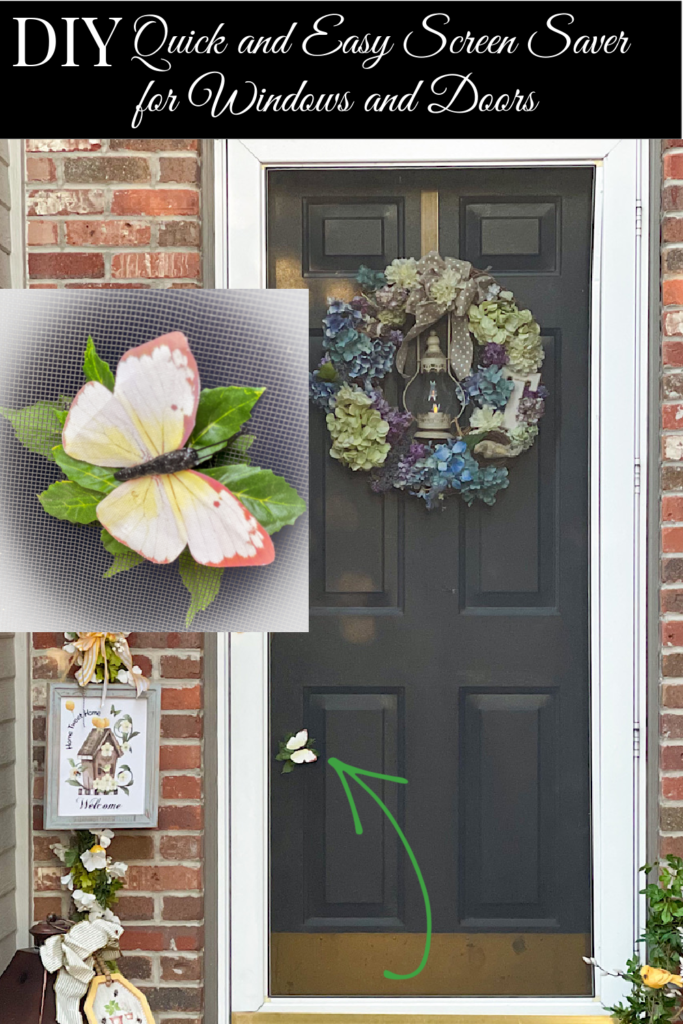
This is it! That time of year when we can finally throw open the windows and doors. Perfect… except for the hole in the screen, right? So today I am sharing this quick and easy screen saver to solve that little problem!

It was a beautiful weekend here with temps in the 70’s and I took the opportunity to finish up my spring cleaning list. While the blinds got a thorough cleaning on a snowy day several weeks ago, today, I could finally take the screens off and do the same with them.
Letting in the fresh spring air is such a joy, isn’t it? Before too long we can replace the candles and essential oil diffusers with the smell of lilacs and fresh cut grass.

This is normally the point where I also spend a lot of time fixing the screens so the bees can’t come in with the breeze. Today I simply didn’t have the patience! I left the screening tools in the garage and slapped on a few patches here and there and sat down to enjoy the beautiful weather.
That worked for awhile but that ugly patch kept catching my eye. So I gathered a few items and crafted a pretty spring screen saver in less then five minutes. I thought I’d share this quick little fix with you so we can all enjoy the gorgeous spring days ahead!
This page includes Amazon Affiliate Links. As an Amazon Associate, My Home of AlI Seasons may earn from qualifying purchases at no additional cost to you. Please see our full disclosure here.
Quick and Easy Screen Saver Supply List
- Glue gun
- Two small magnetic buttons or strips
- Faux leaves, butterflies, flowers…
- Clear UV protectant sealer
- Self adhesive screen patching tape
- Scissors


Screen Saver Instructions
Step 1. – Measure the size of the hole in the screen.
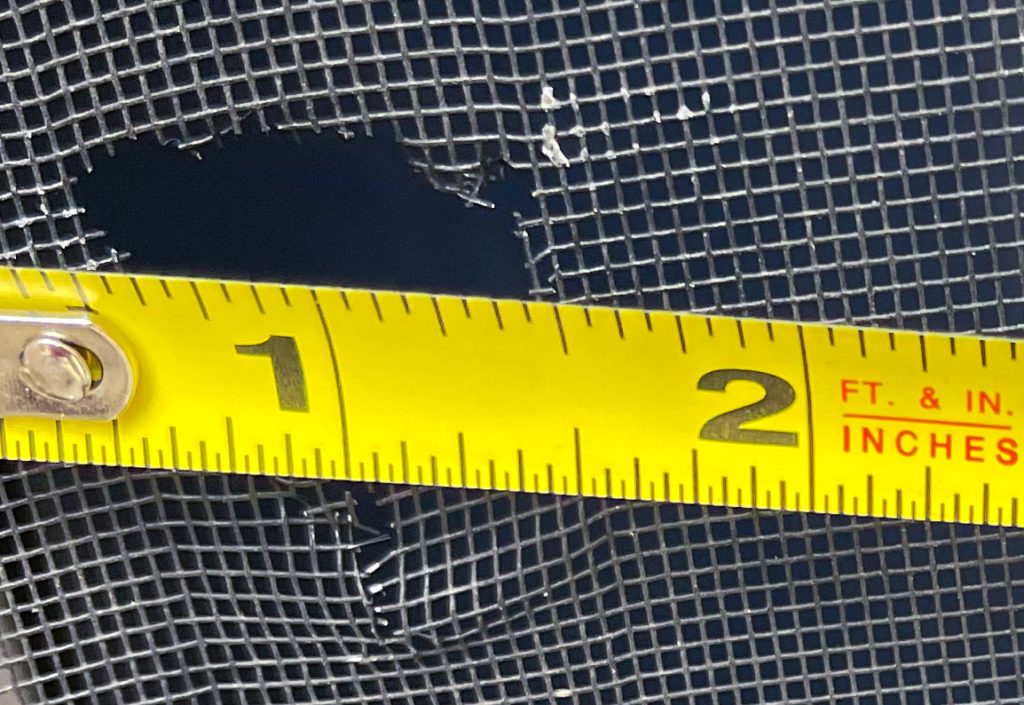

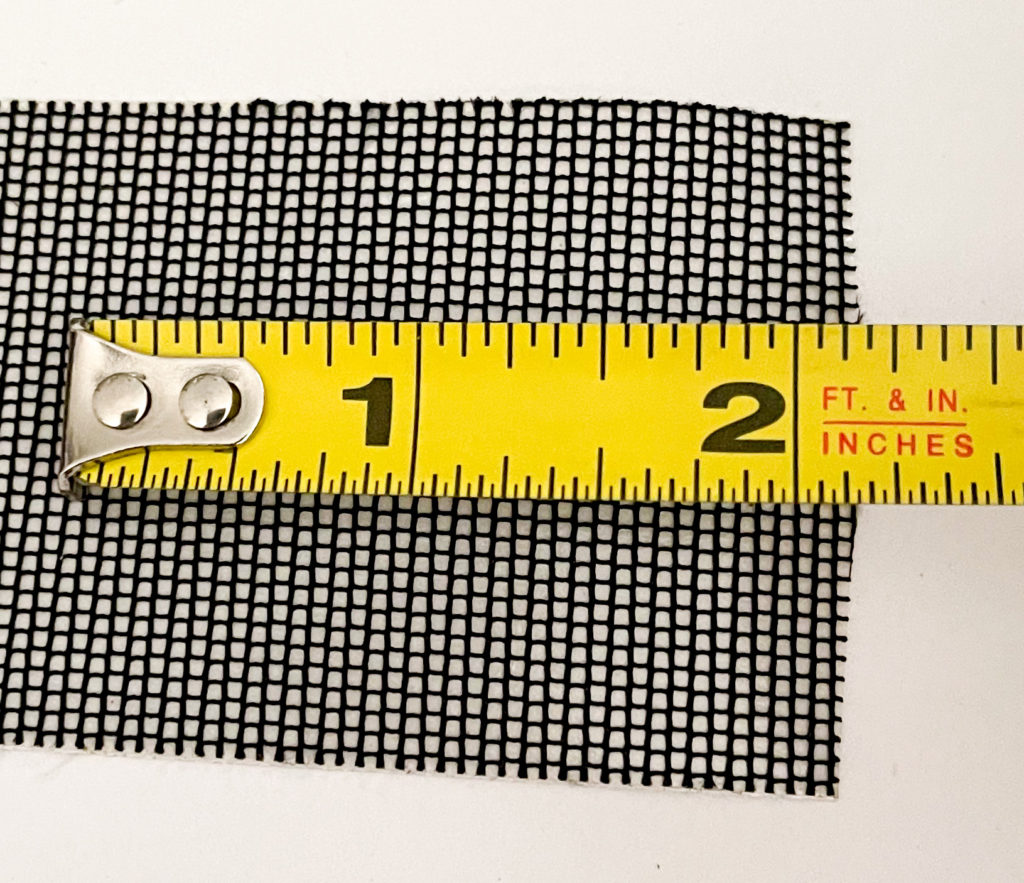
Step 2. – Cut a piece of patching tape to size. (Make sure you have enough on all sides to attach to the undamaged portion of the screen door or window.)
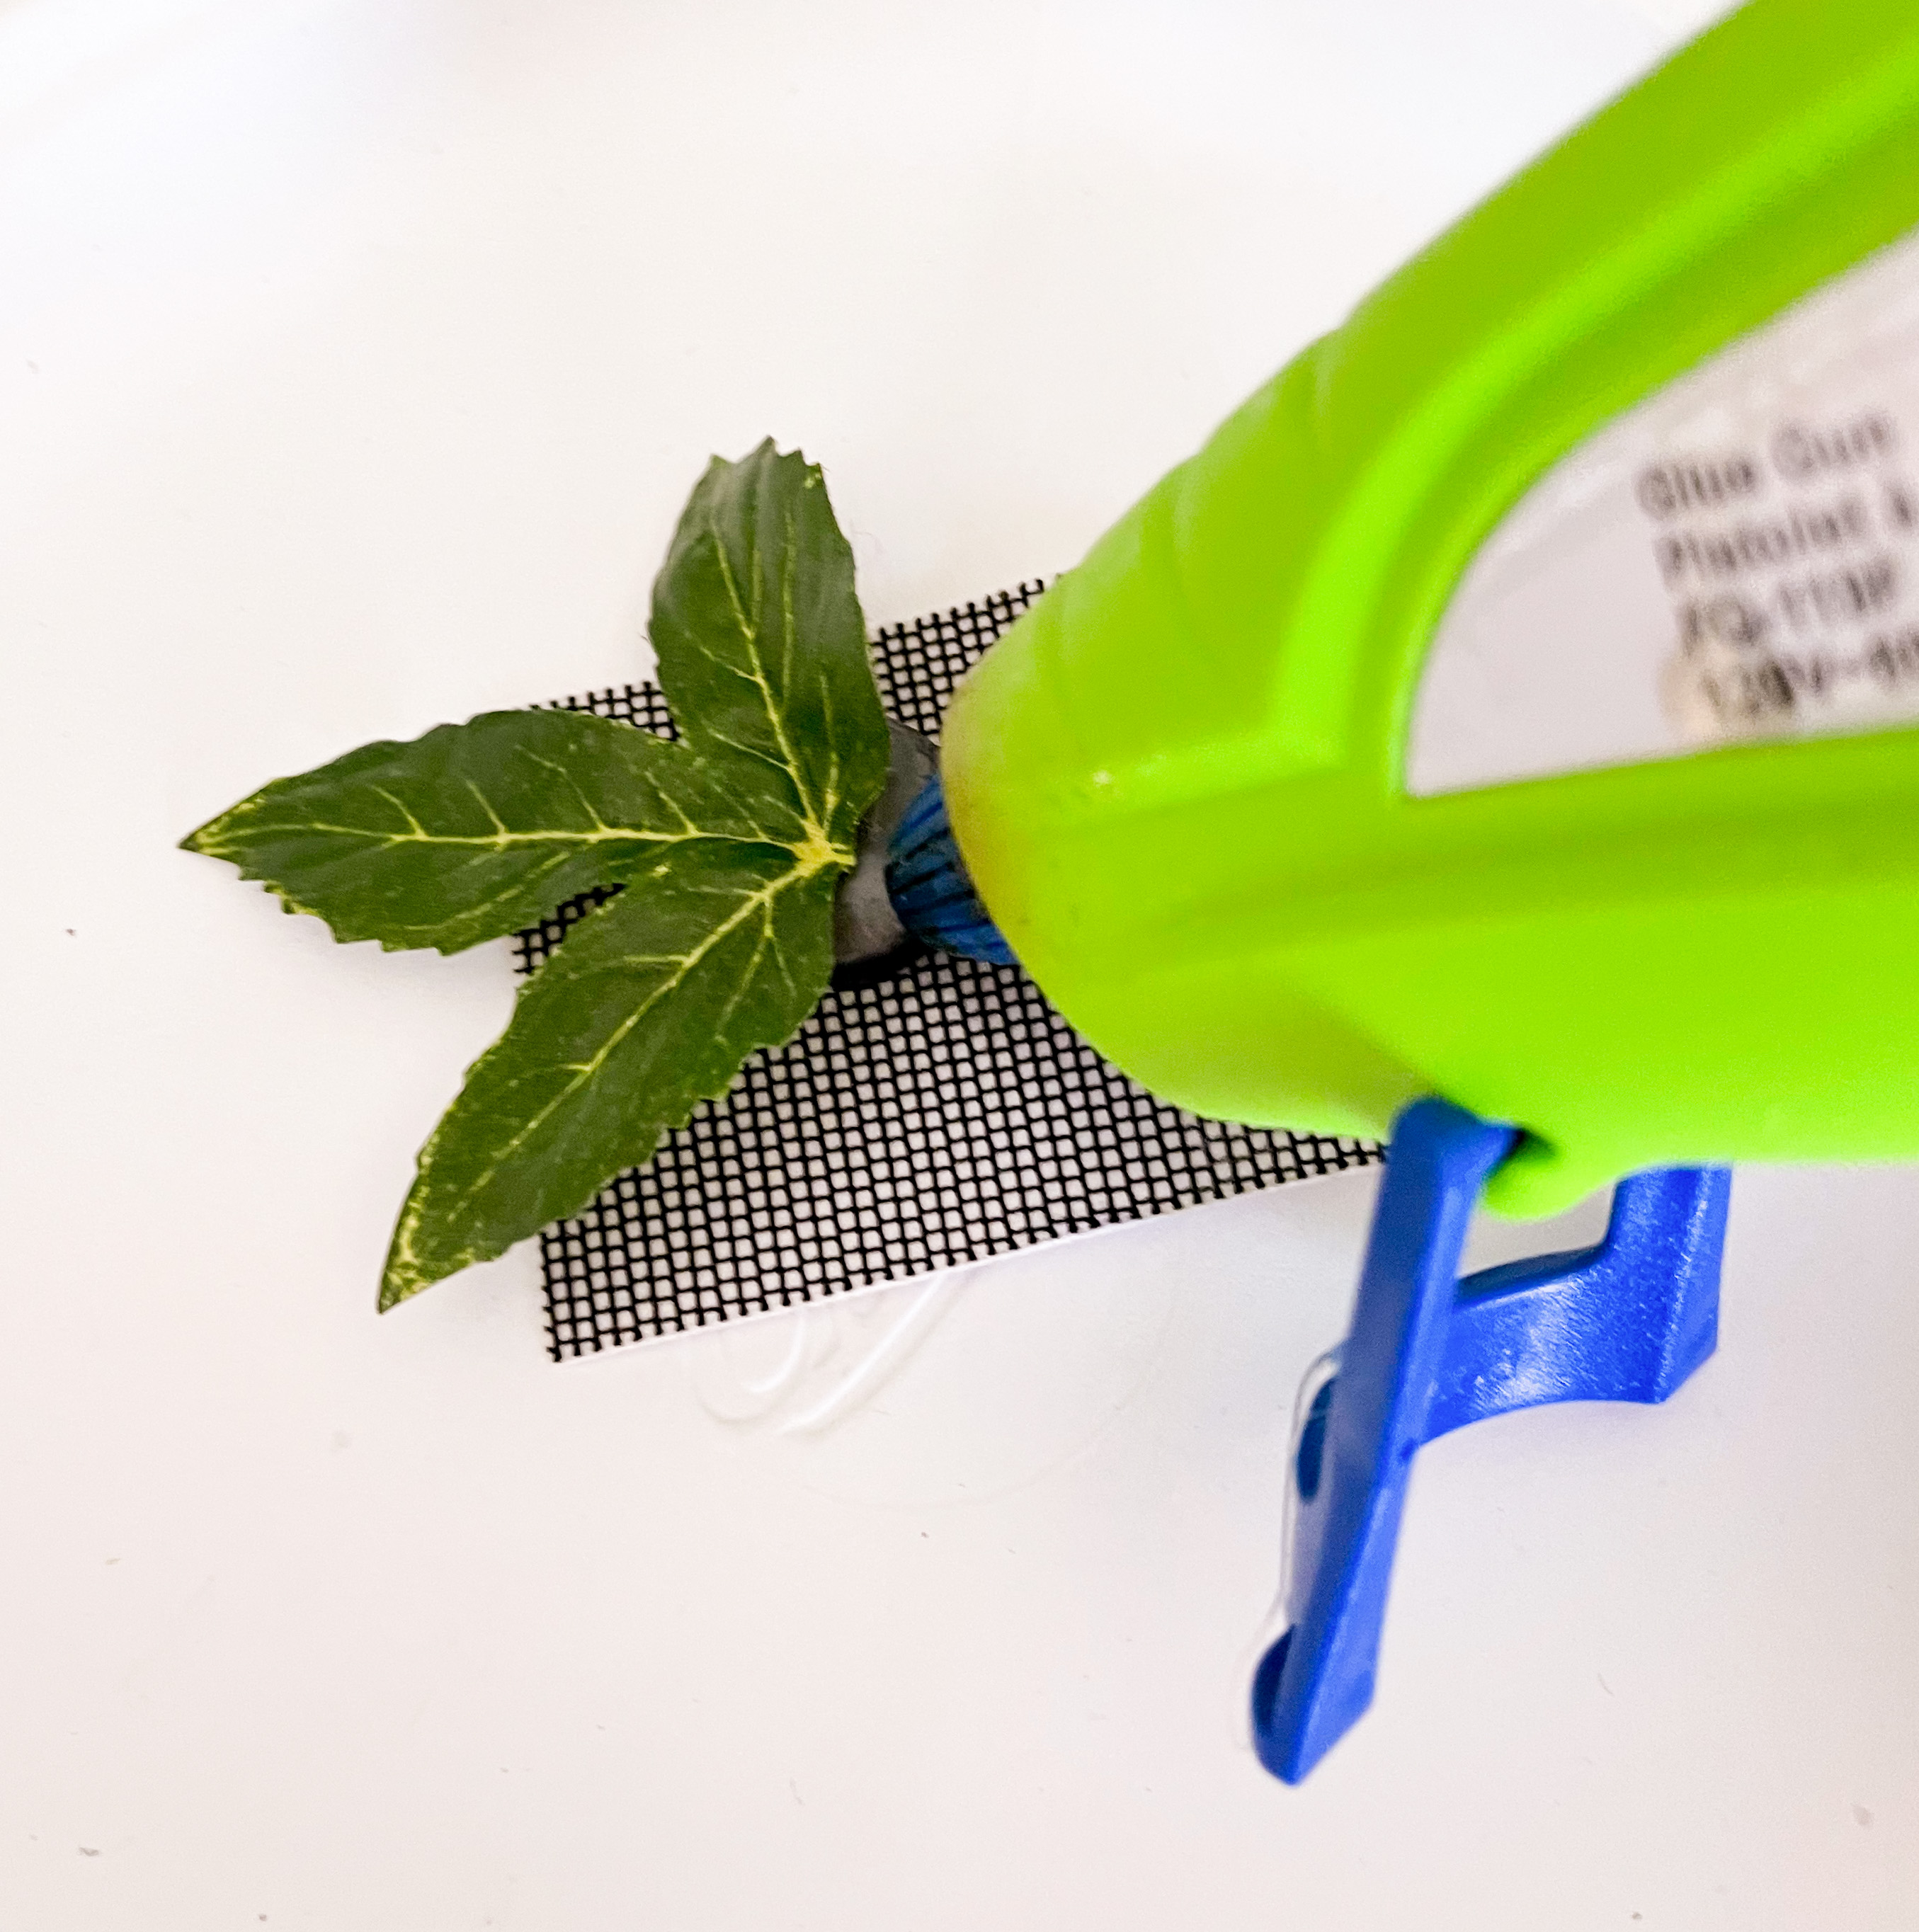
Step 3. – Place your magnet in the center of the patch and arrange your chosen elements to cover the entire patch. Add more leaves or flowers if one is not large enough for the area. Glue them into place. Do the same with the second magnet. (Make sure you are glueing them to the repelling side of each one.)
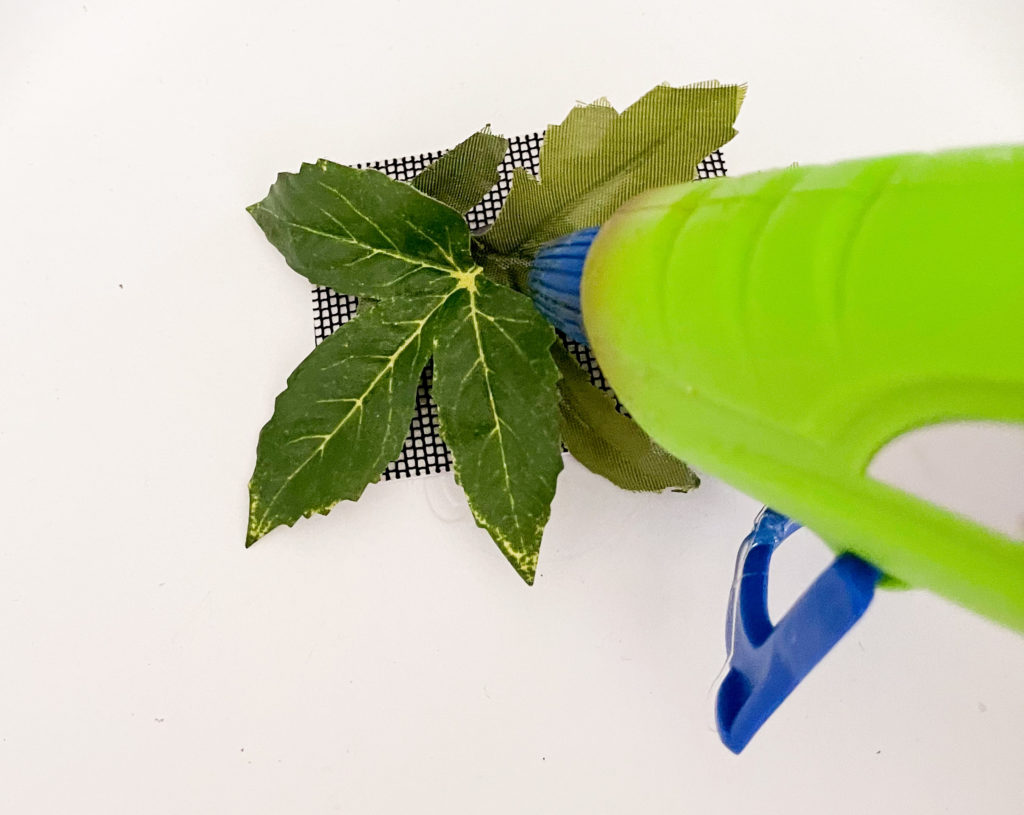
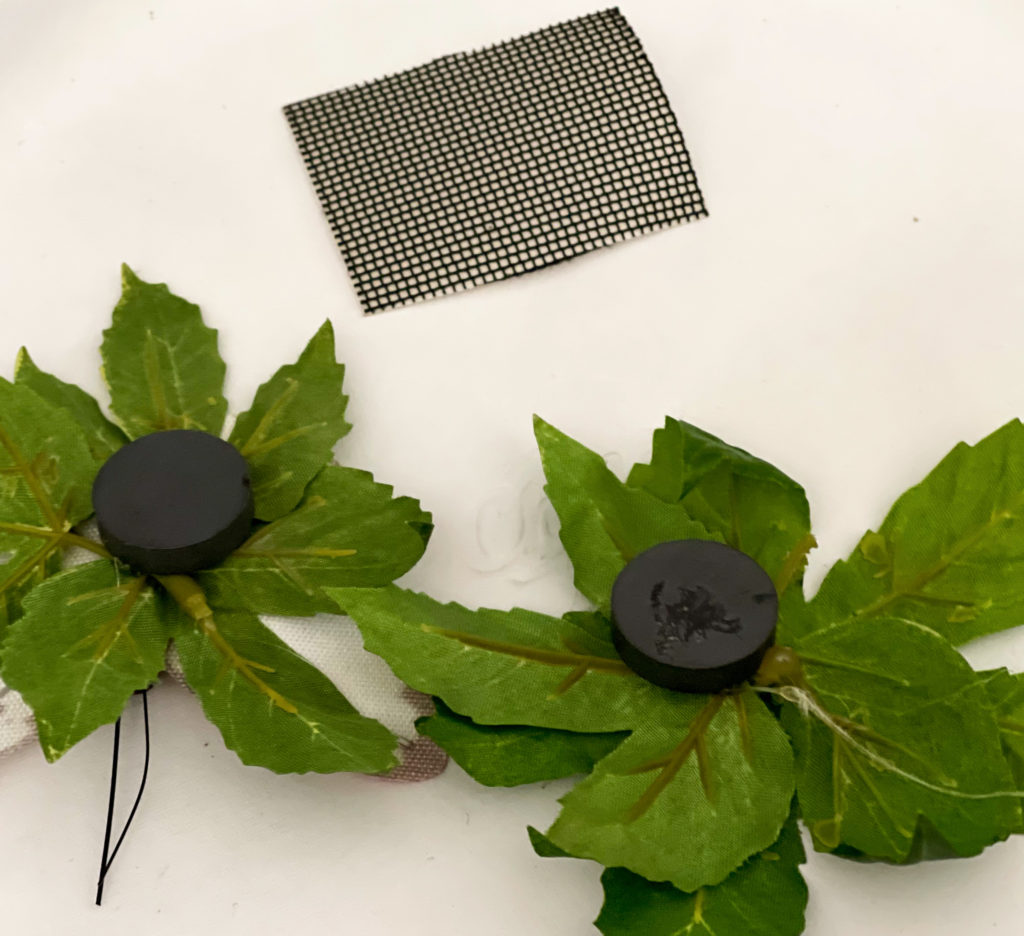
Step 4. – Spray each magnet decoration lightly with a sealer. ( This will keep them looking fresh after exposure to the elements.)
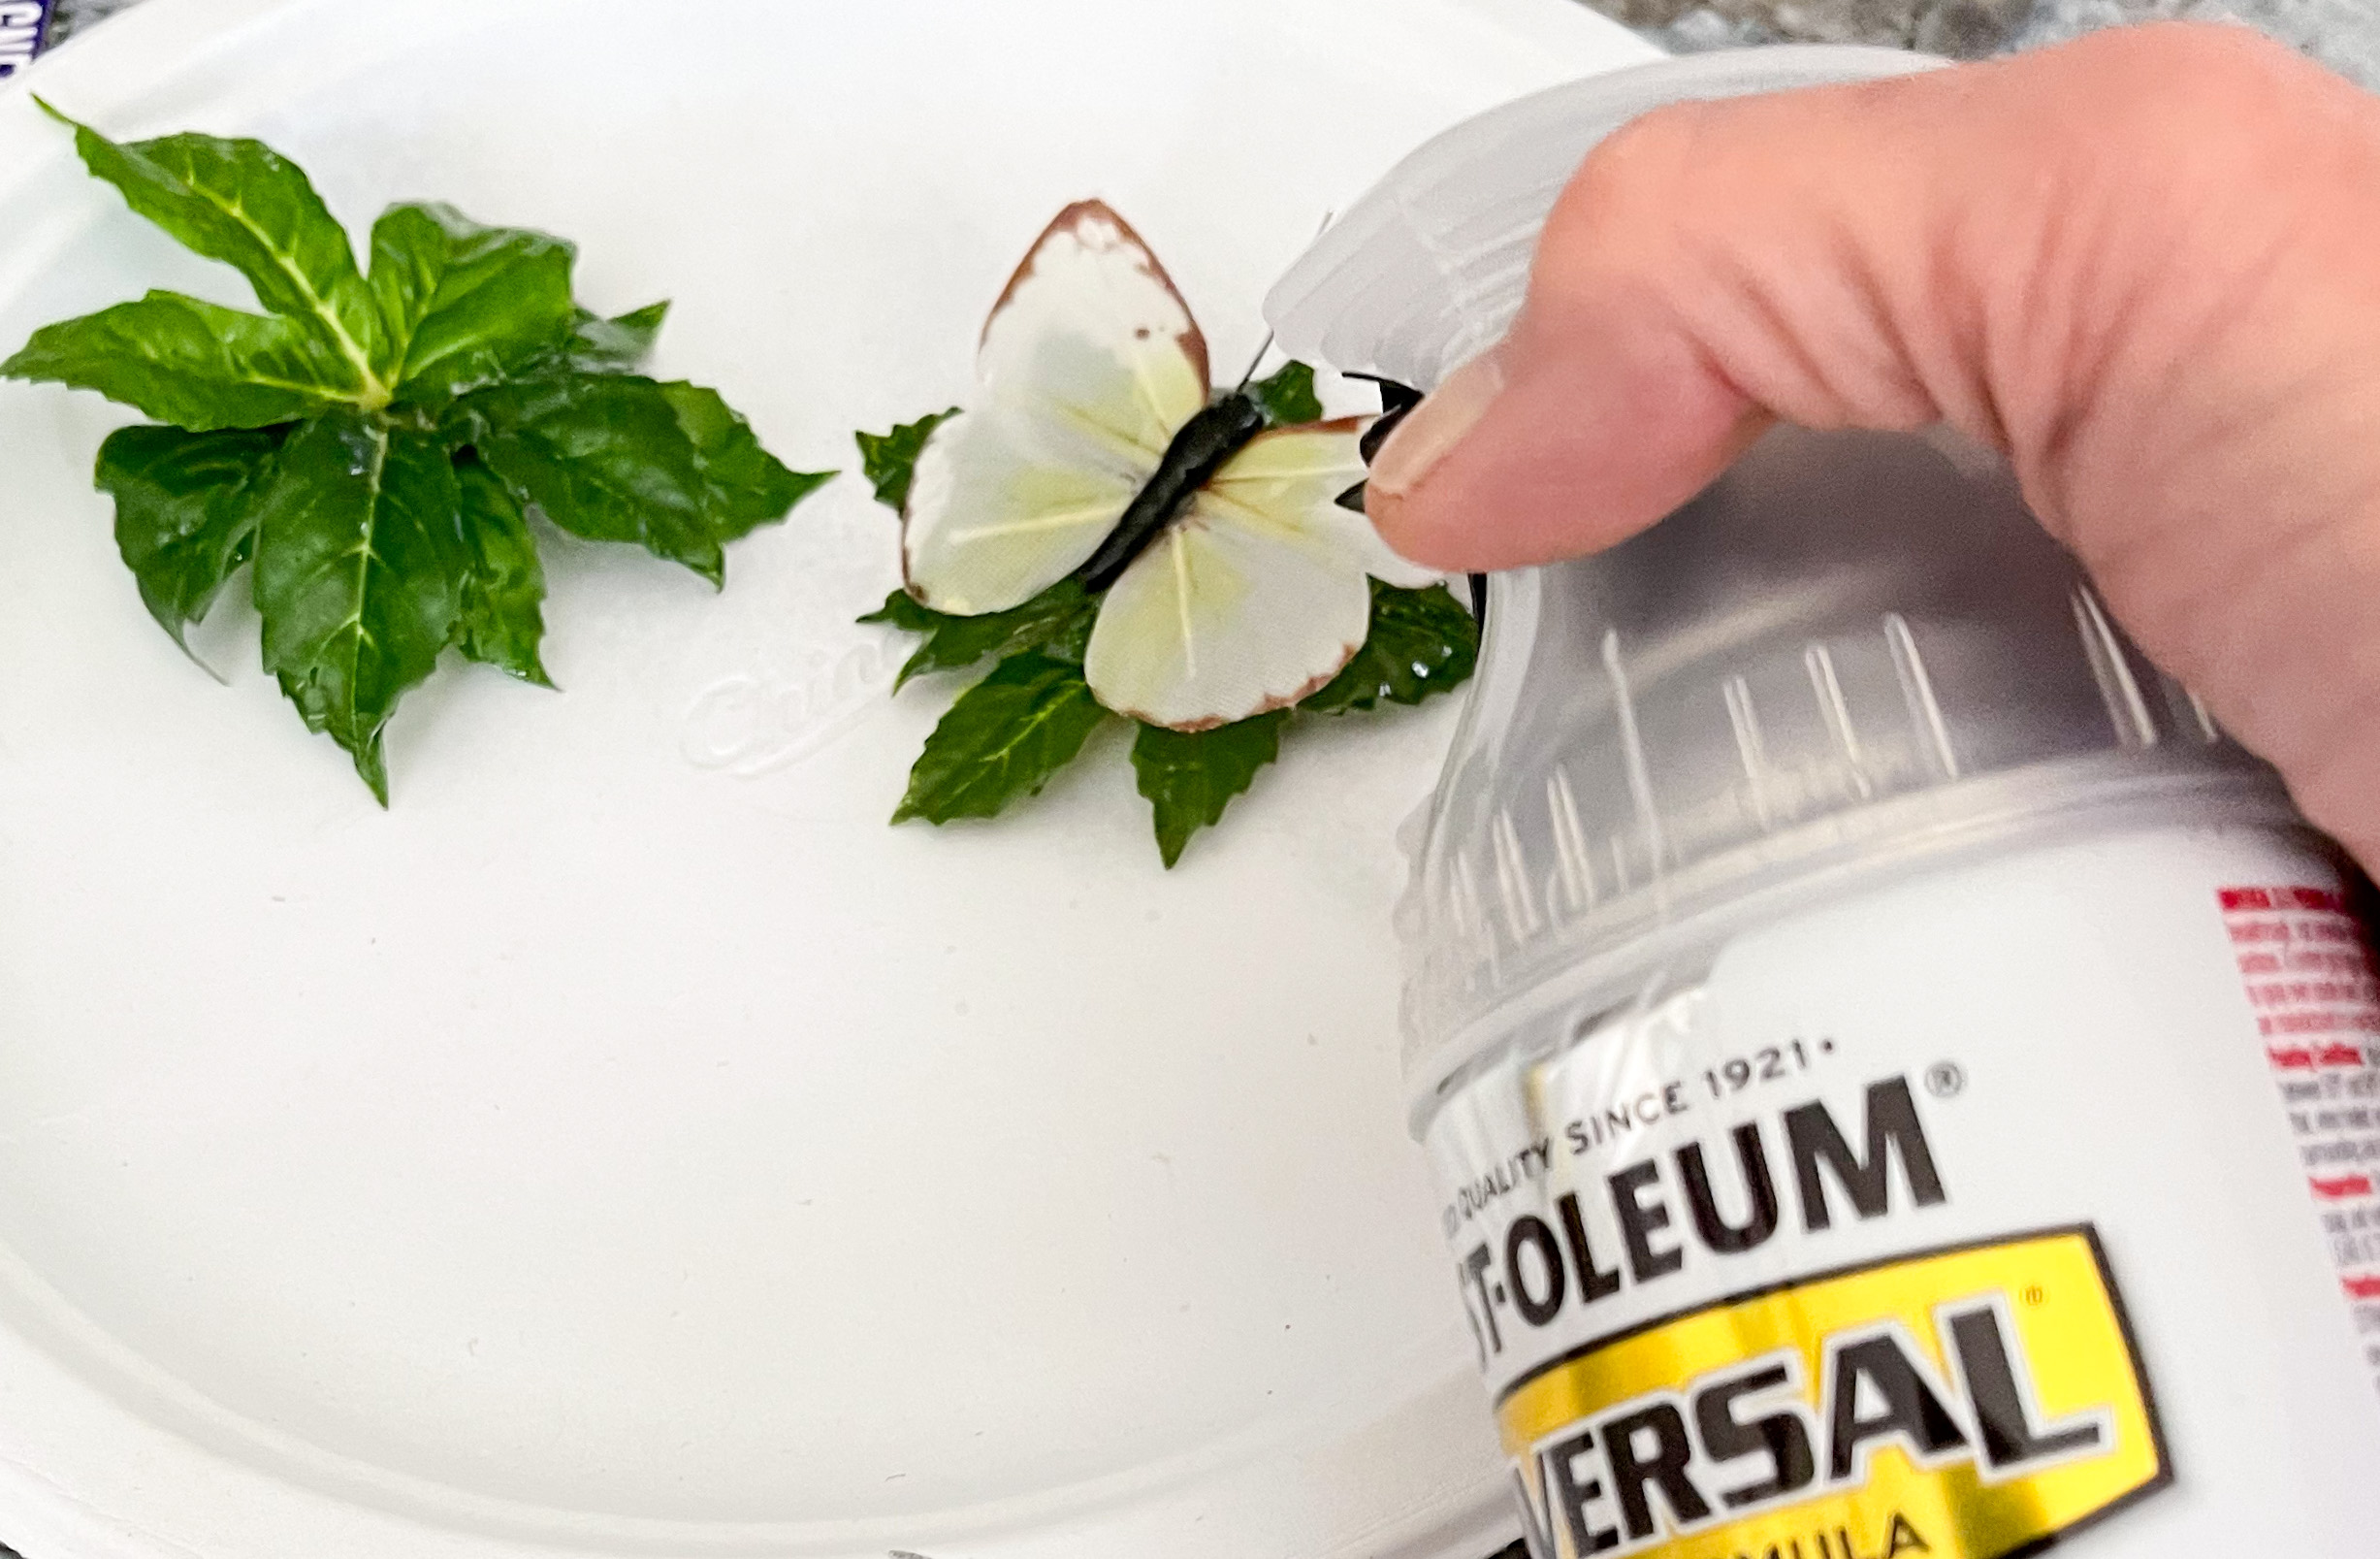
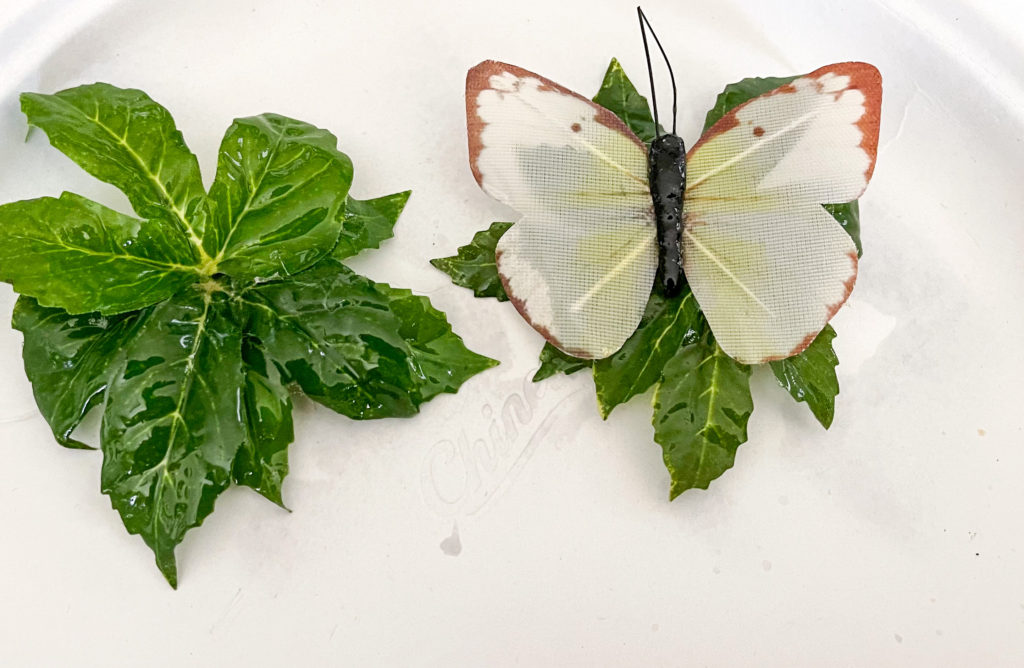
Step 5. – Remove the backing and attach the patch to the clean, dry, screen.
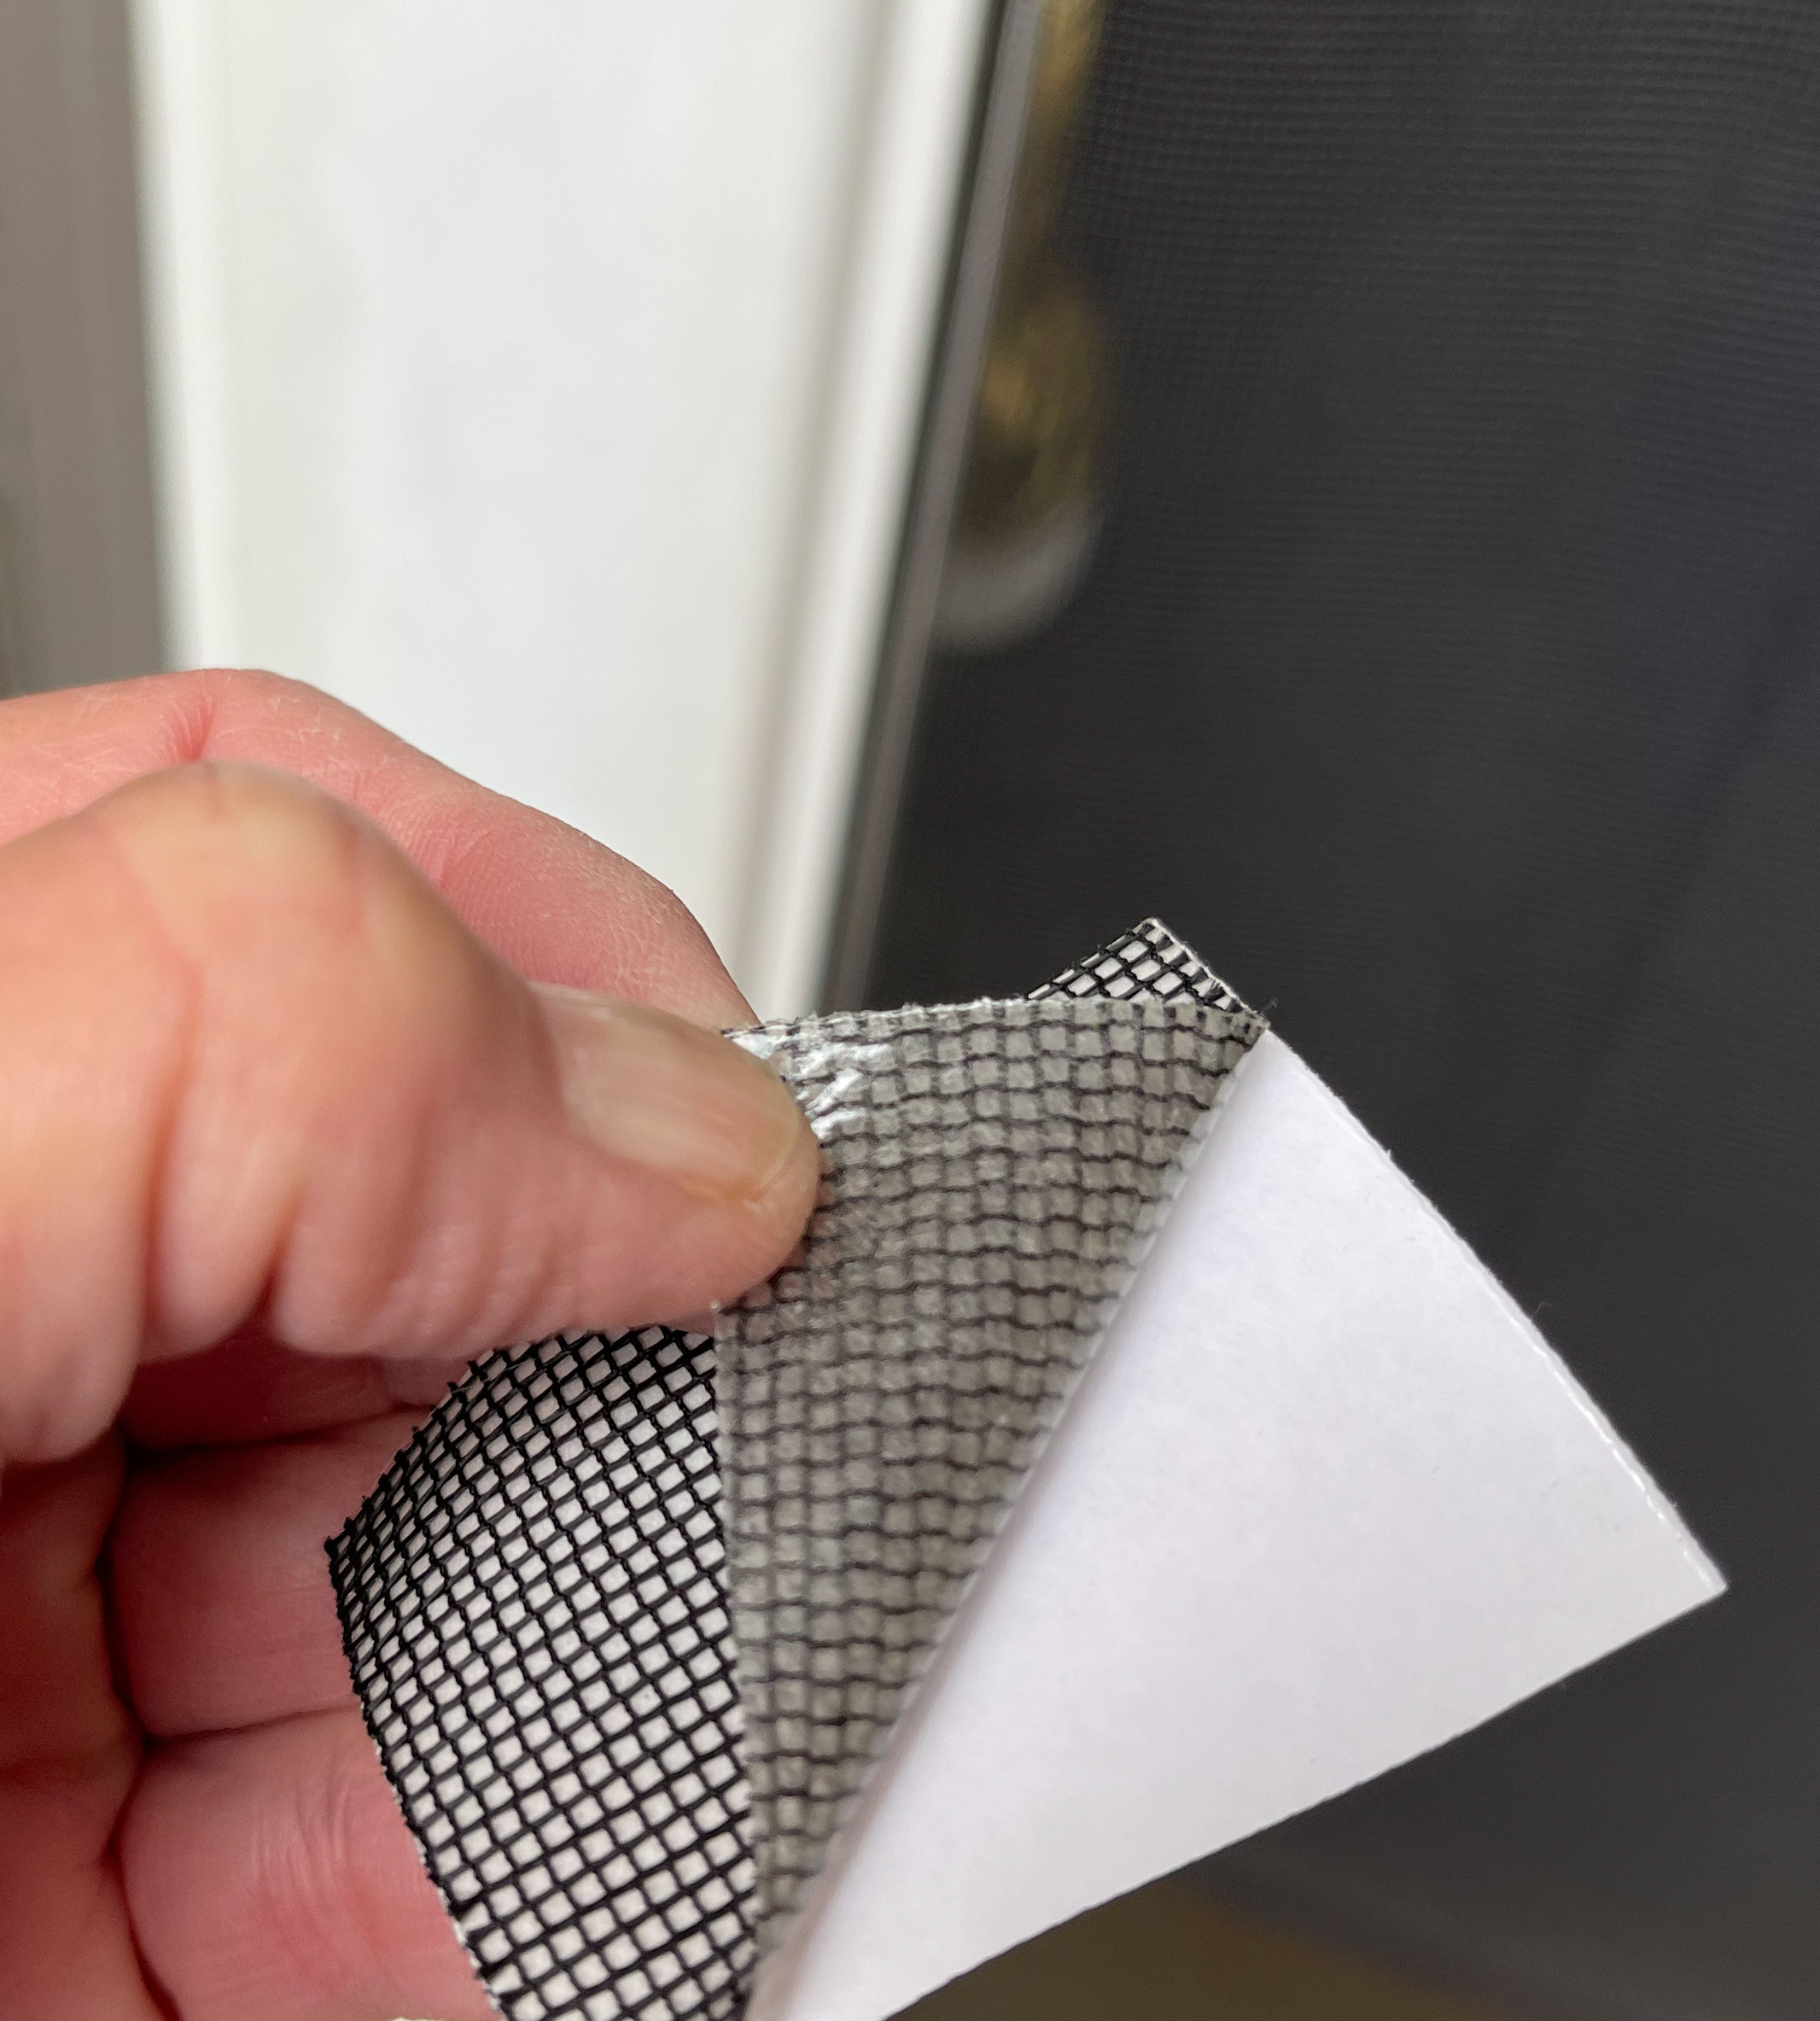
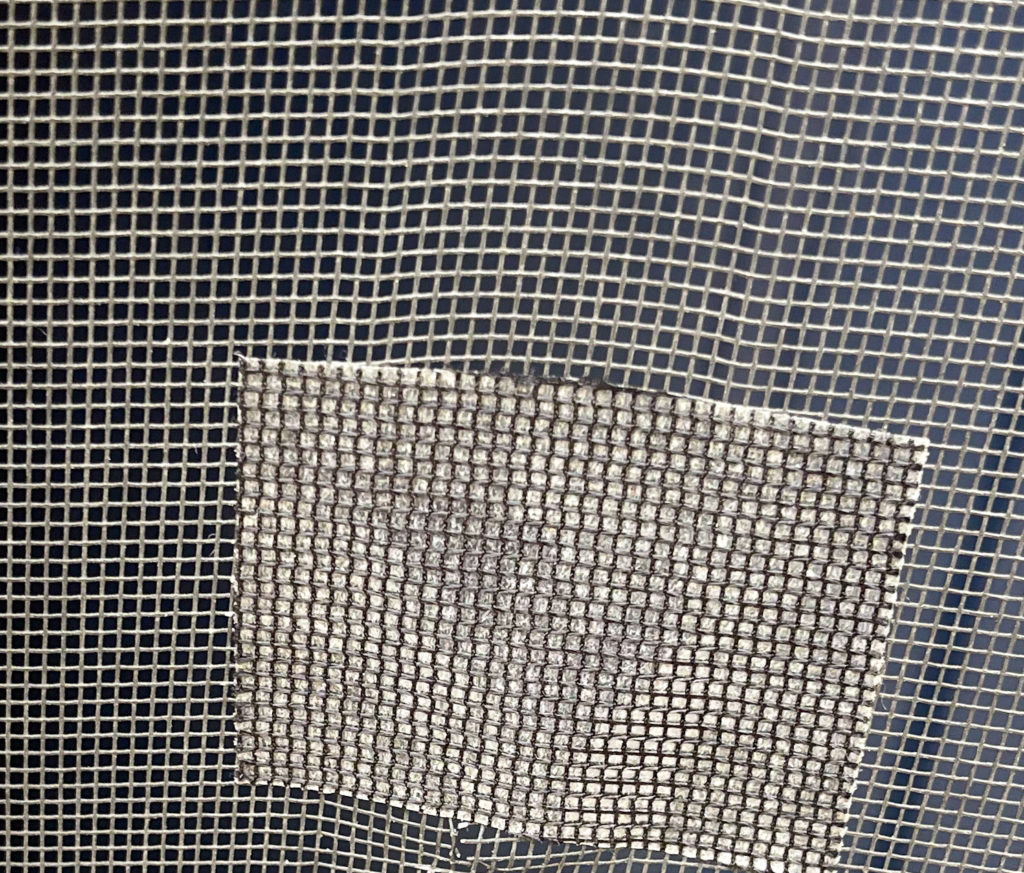
Step 6. – Place your magnets on each side of the screen to attach to each other.
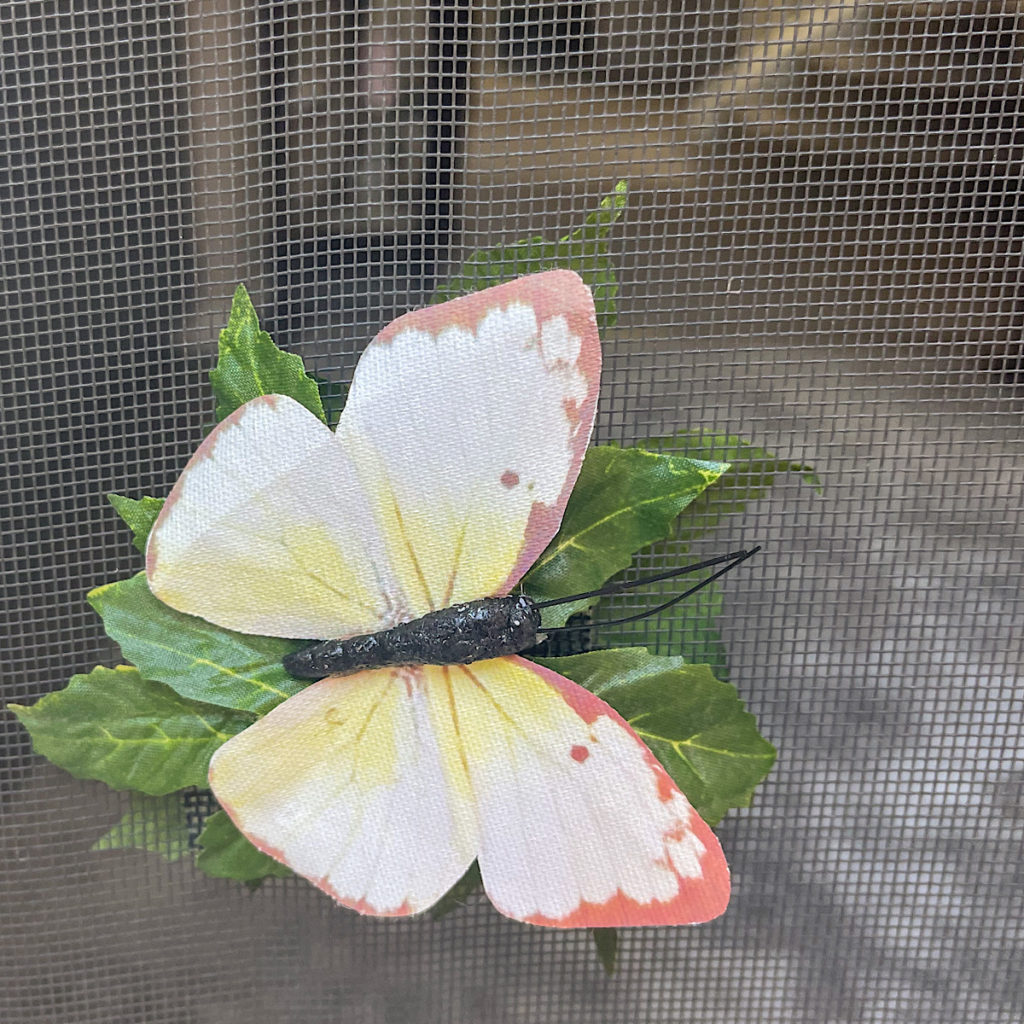
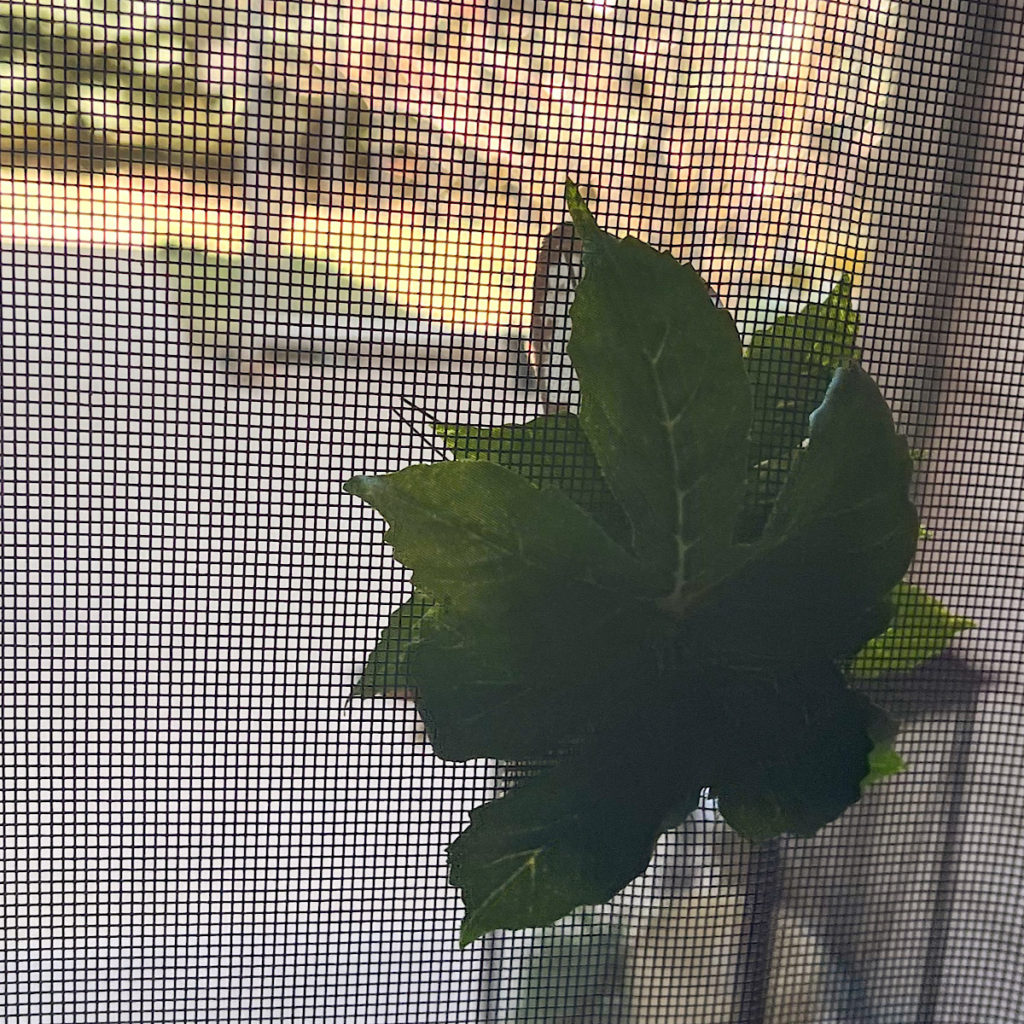
The Finished Look
Follow the steps above and in less than 5 minutes you can return to enjoying the fresh springtime breezes!



Thanks so much for stopping by today. While you’re here, be sure to check out my 2022 Spring Home Tour!
If you haven’t joined us yet, I sincerely hope you do! Your email added below will put you on the list. My welcome letter, complete with your password for the Printable Library, will hit your inbox instantly. I’ll keep you up to date with all things trending in seasonal home decor with my weekly/bi-weekly newsletter. Come join us as we decorate our way through another season.
See you soon!


Brilliant idea! And, cute to boot!
Thanks so much Rhonda! So quick and easy!
WOW! What a great idea and looks nice too!! Thanks so much for linking up at the Unlimited Link Party 75. Pinned.
Thanks very much Dee!
Visiting again to say thanks so much for linking up at the Crafty Creators Link Party 15. Pinned.
Thanks Dee! My screen saver is either a great fix or the lazy way out… I guess it depends on how you look at it!
CONGRATS Denise! Your post will be FEATURED at the Crafty Creators Link Party 16 where Grammy’s Grid is co-hosting with Life as a LEO Wife on Thursday at 6am central!
Thanks so much Dee!
CONGRATS Denise! Your post is FEATURED at the Unlimited Link Party 76!
Thanks so much Dee!