Ok…I am starting a bit early with the Halloween stuff! I have not even planned my fall decorating yet! The problem is I have been trying to make a Halloween wreath for my daughter for years. I get so swept up in all things fall that by the time I remember Halloween is coming, it’s too late. So this year, I’m on top of things! I decided to do a DIY Halloween Wreath post while I am putting hers together.
Katie is a Halloween fanatic! It’s so much fun for me to see the costumes she comes up with each year. (Some of my favorites!)

Some Like it Hot 
LUCY! 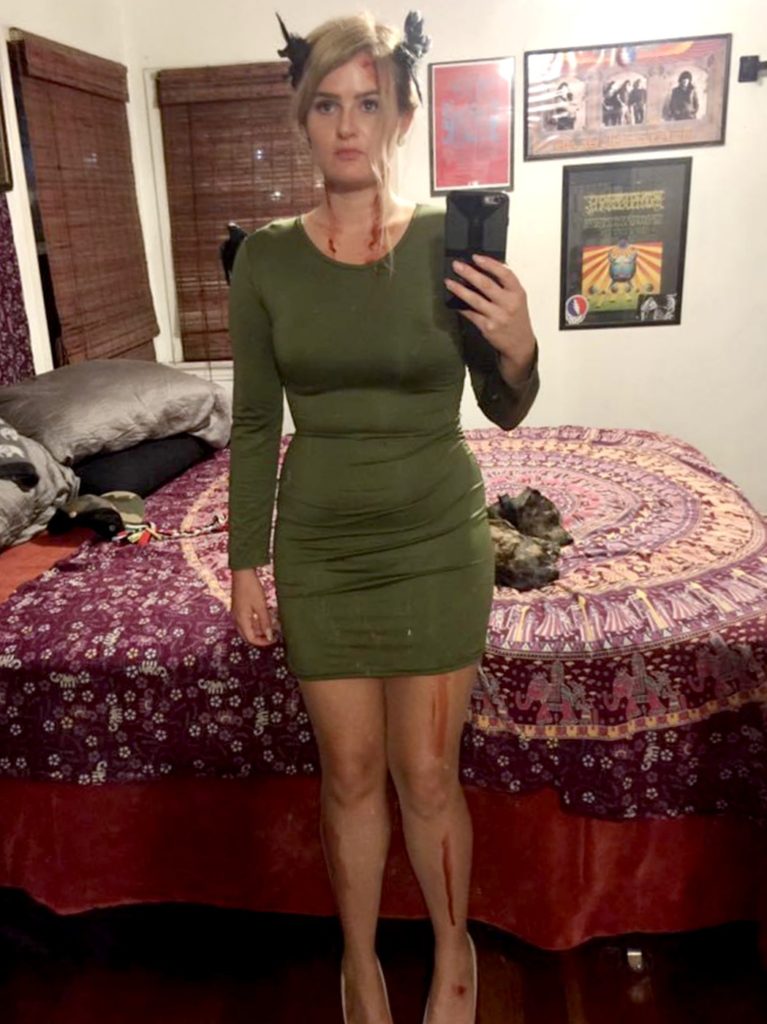
The Birds
She really does get into the Halloween spirit so I’m glad I can finally add to her decor.
This DIY Halloween Wreath is as easy as can be to make yourself. I’ve linked to a lot of the supplies you will need through Amazon. The Halloween picks can also be ordered online or with a quick trip to your Michaels store.
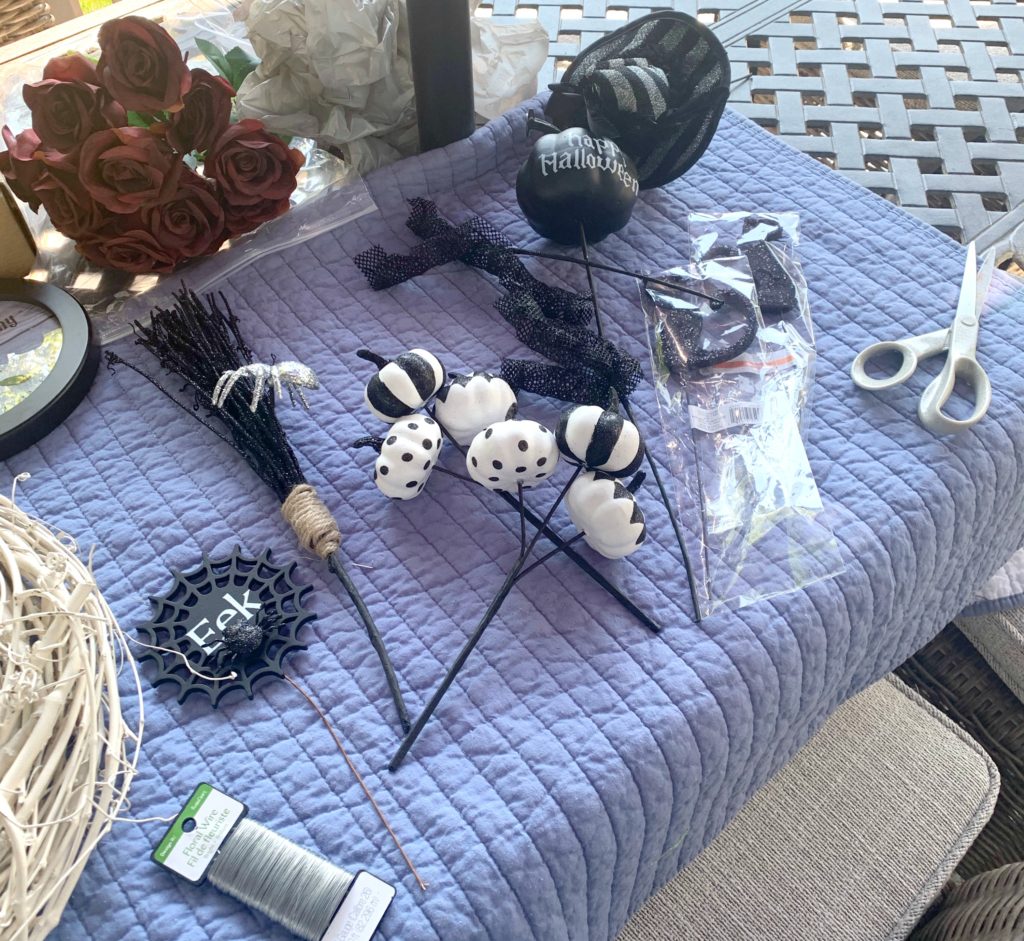
Supplies
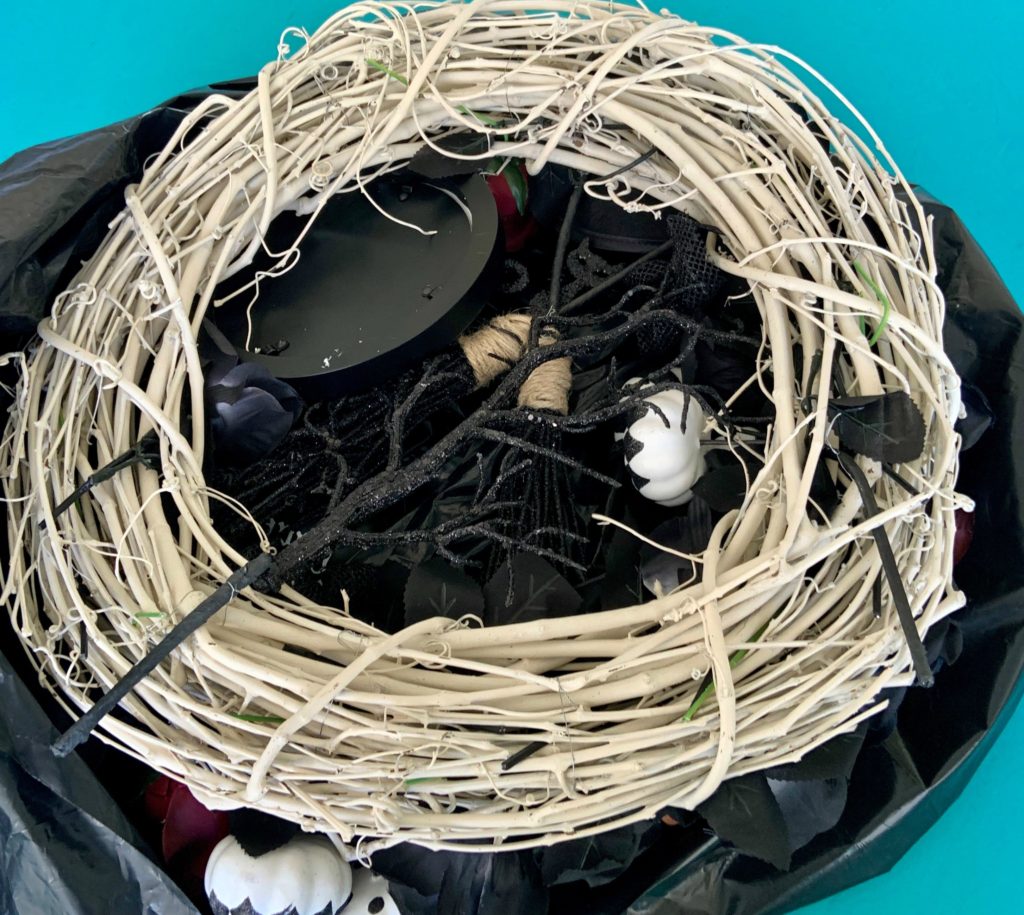
- 16 to 18 inch grapevine wreath
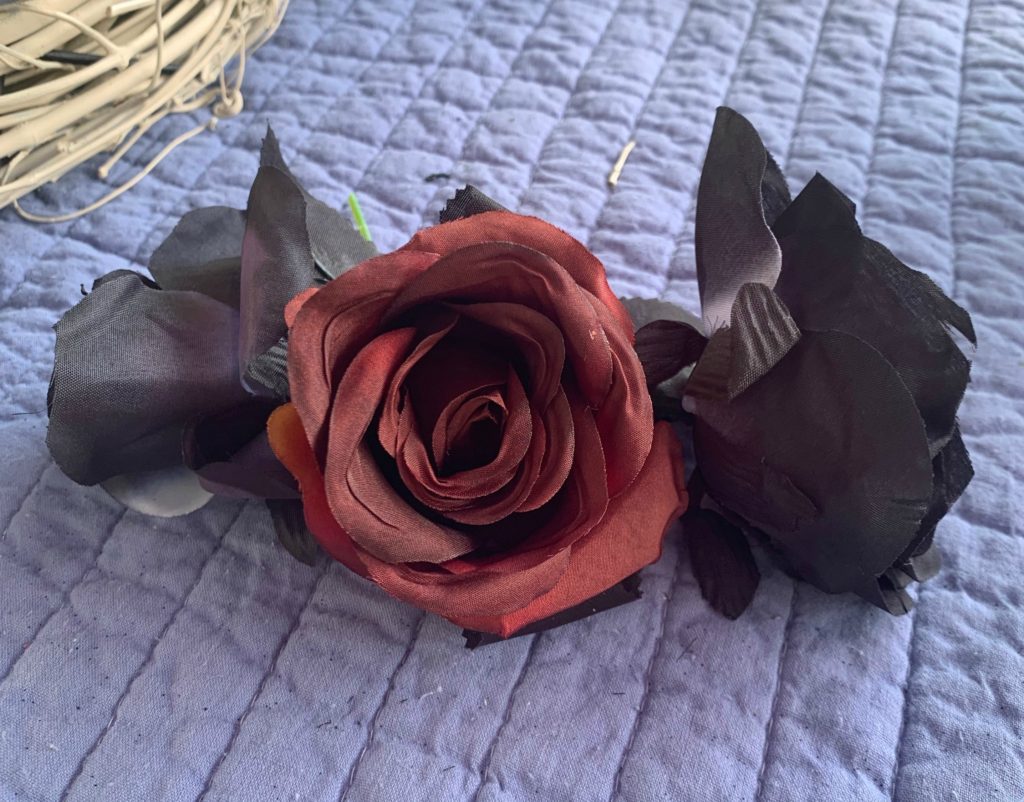
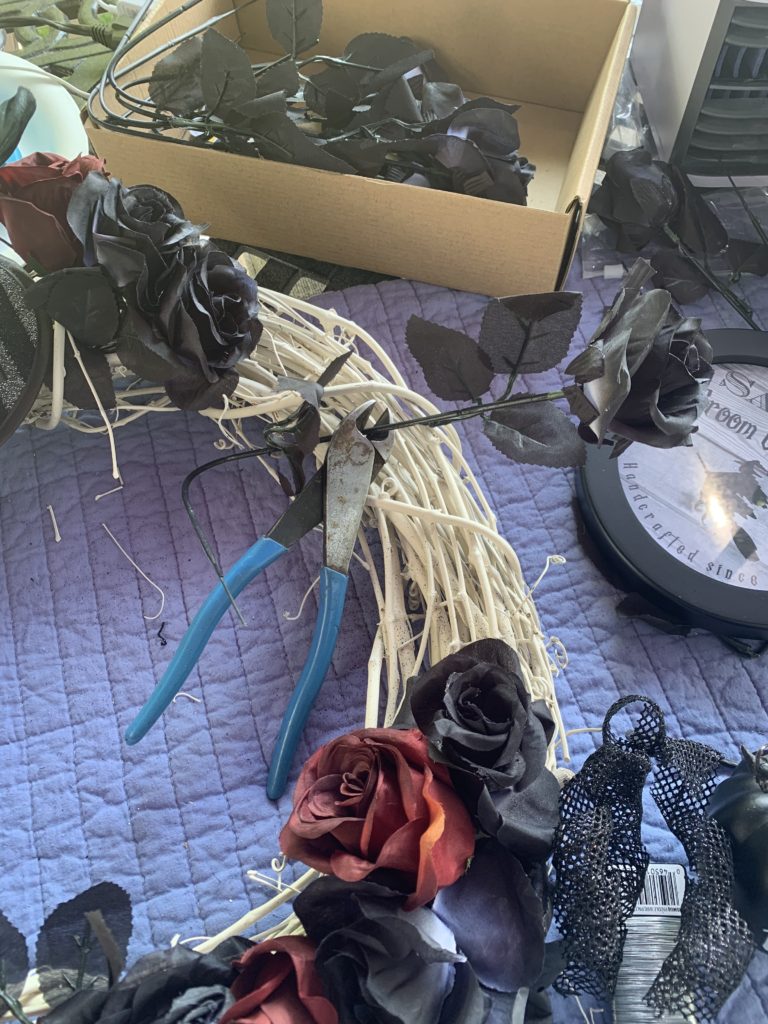
- 25 to 30 black roses
- 12 burgundy roses
- 6 to 9 inch round frame
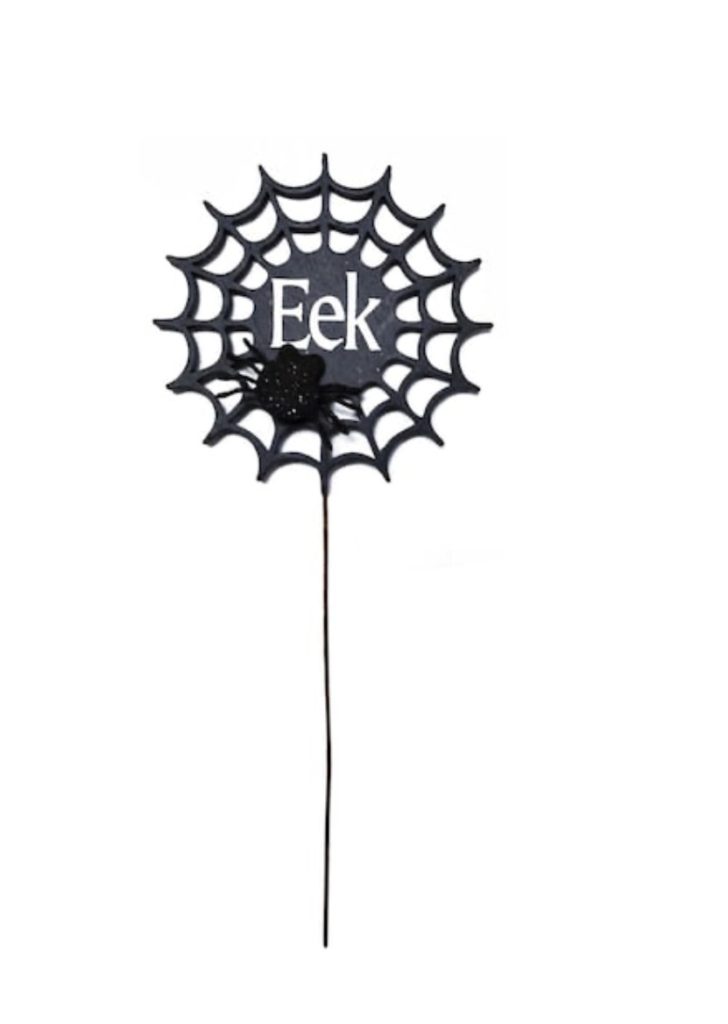
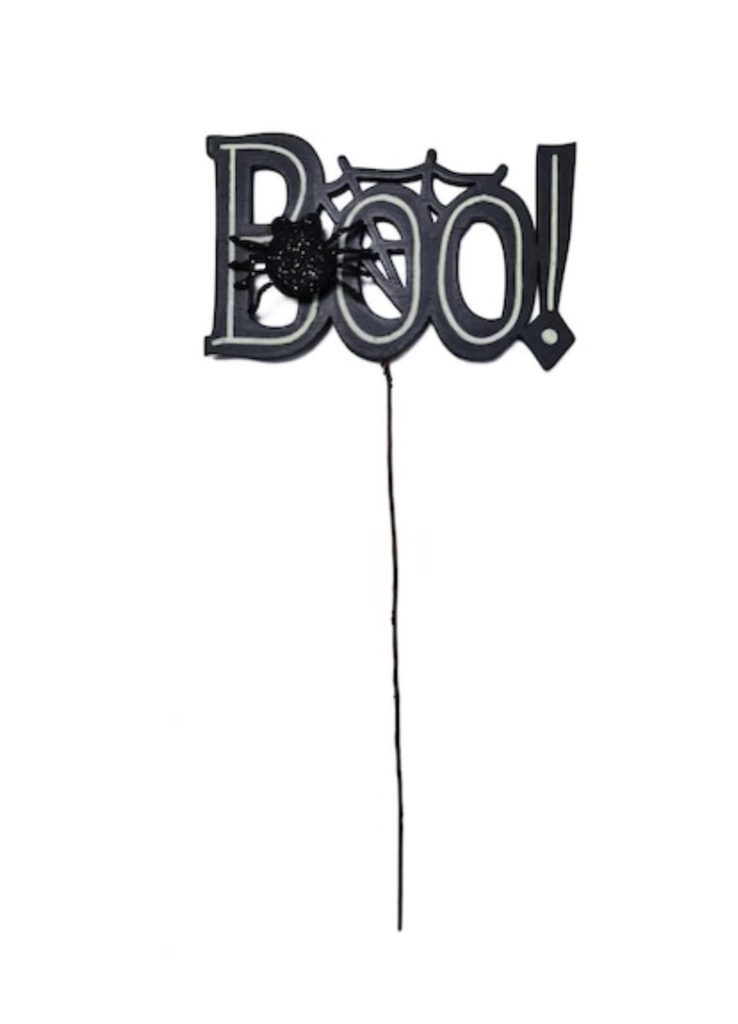
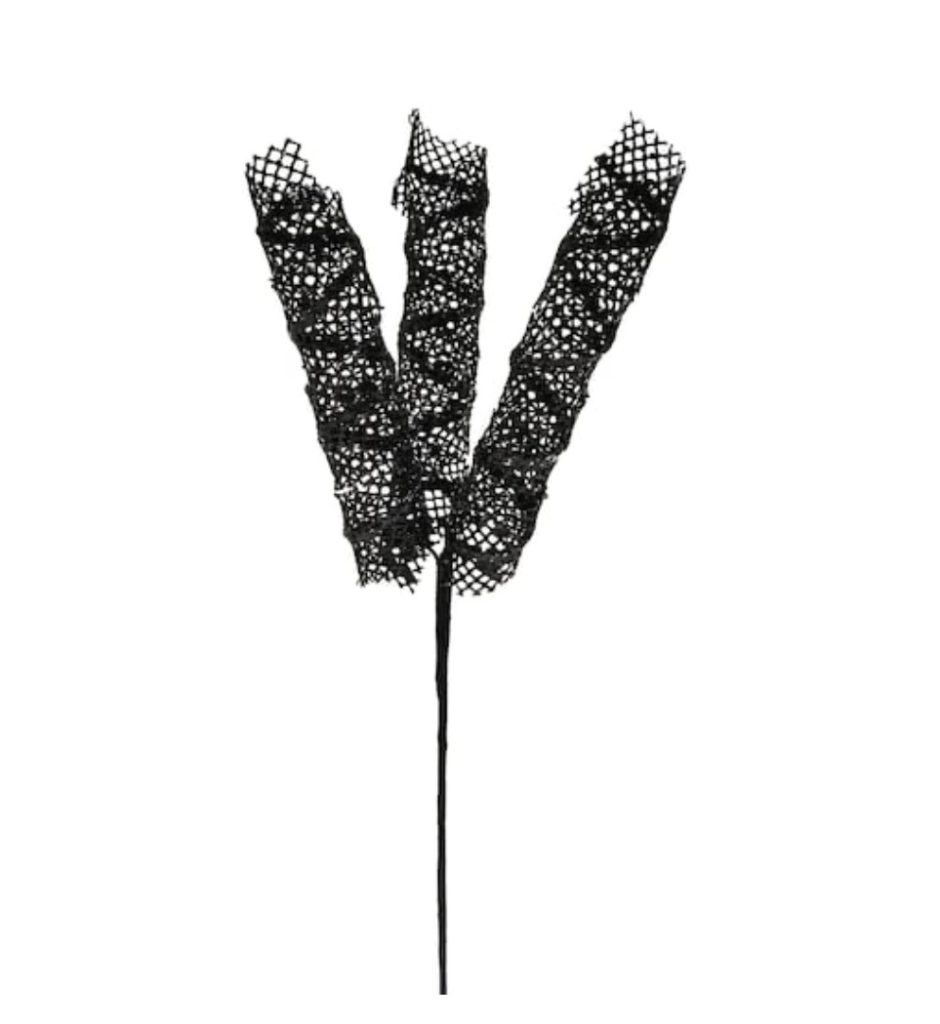
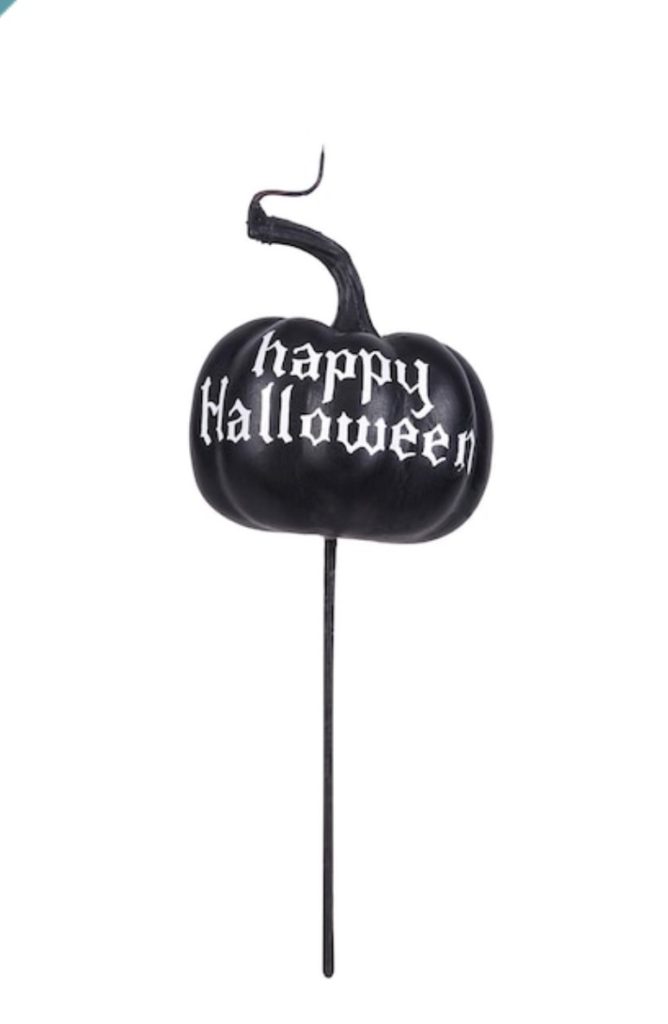
- 6 to 9 Halloween picks
- Glue gun
- Wire Cutters
- 26 gauge craft/floral wire
- Black adjustable wreath holder
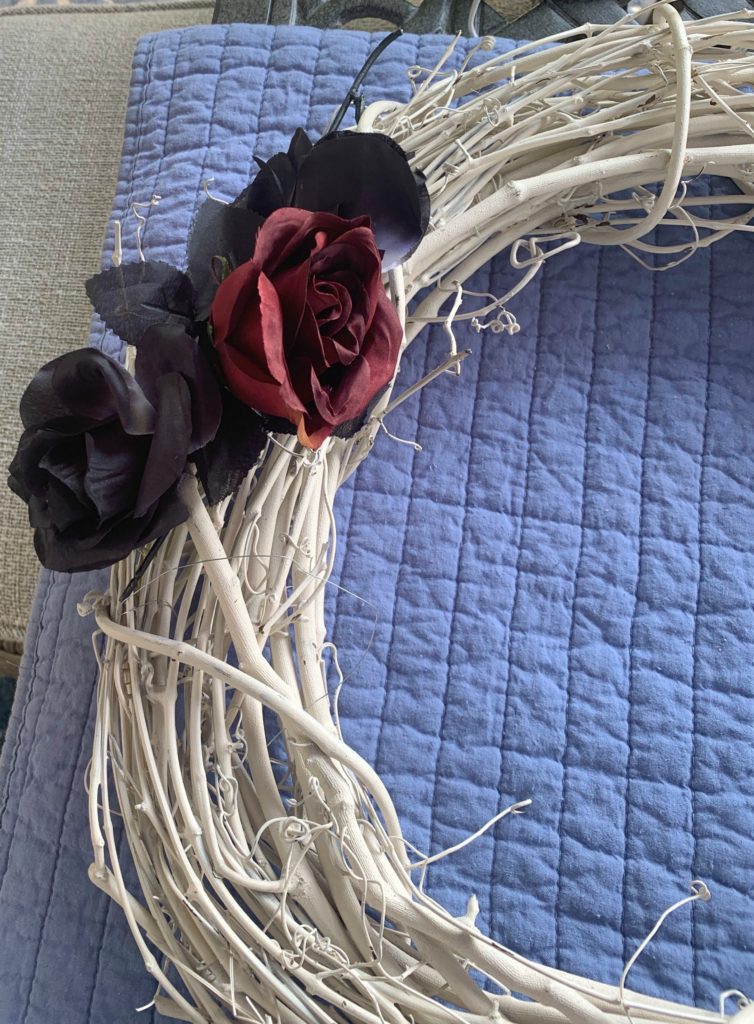
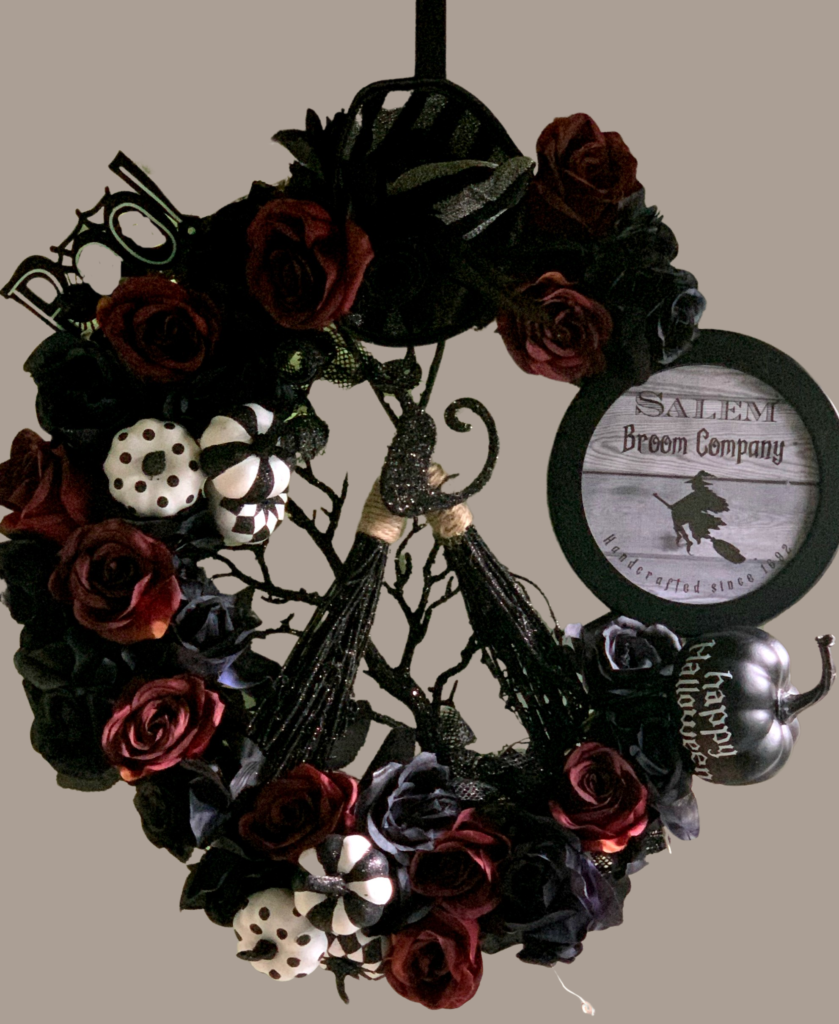
I chose a 16 inch white grapevine wreath instead of the traditional black. The contrast is easier to work with when most of the accents are black themselves. The wreath and holder, flowers, round frame, and my crafting tools came from Amazon. I am still quite nervous about shopping for any length of time so ordering online just works for me. ( If you choose a bigger size wreath then you might prefer a 8 or 9 inch frame instead of the 7 inch I used. )
I did have to make a quick trip to Michaels for the Halloween picks. Last year I missed the boat on these waiting until September.
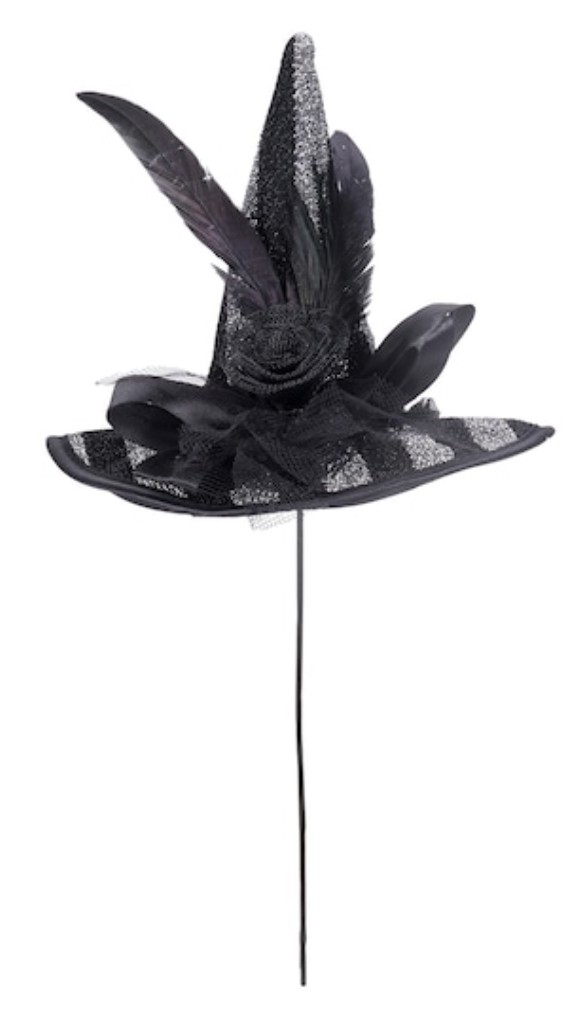
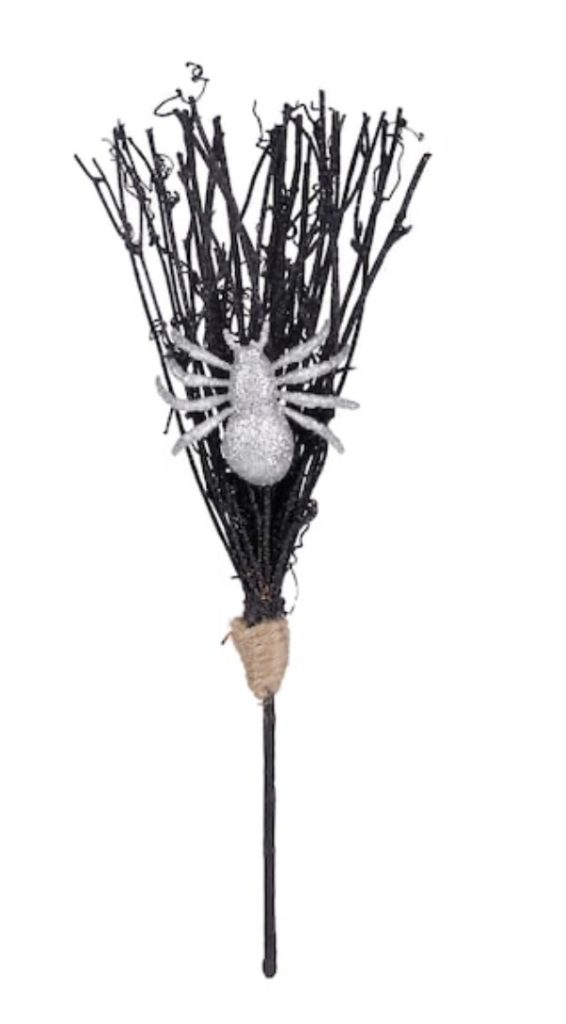

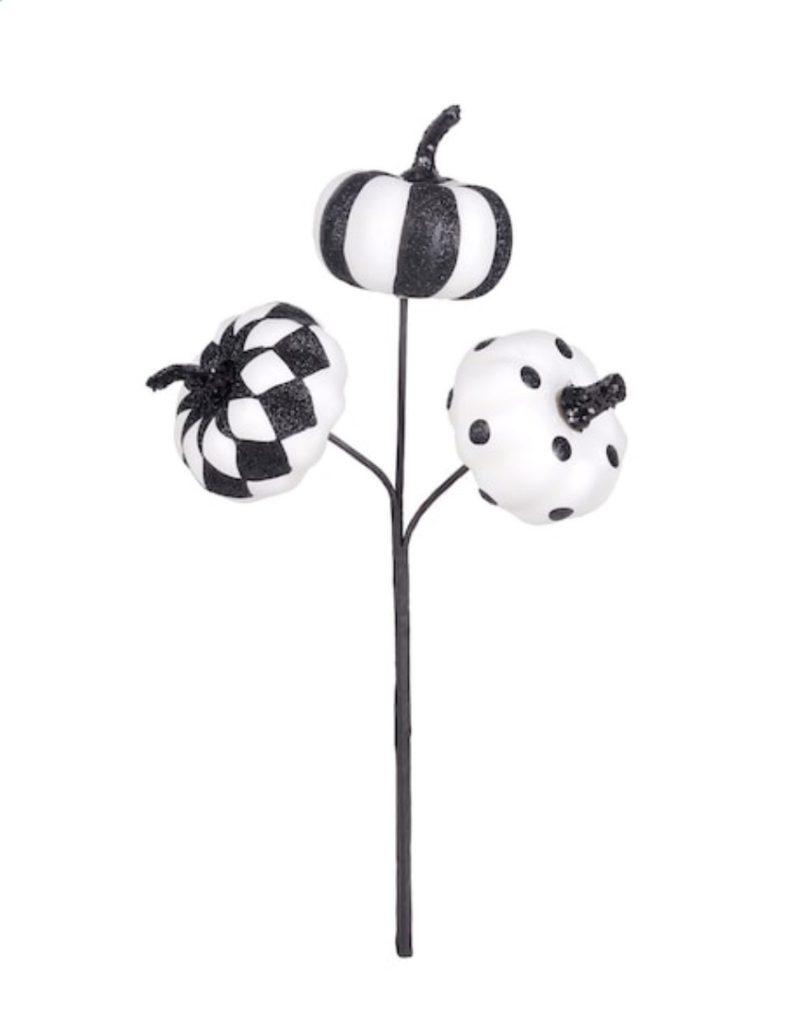
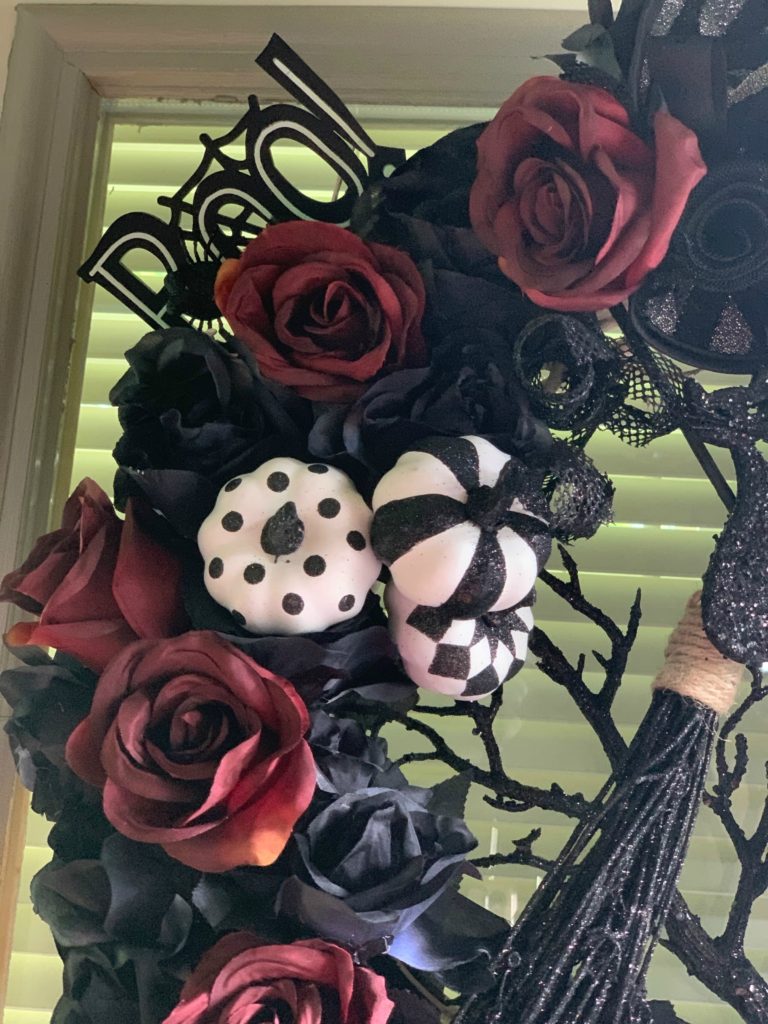
Witchy Theme
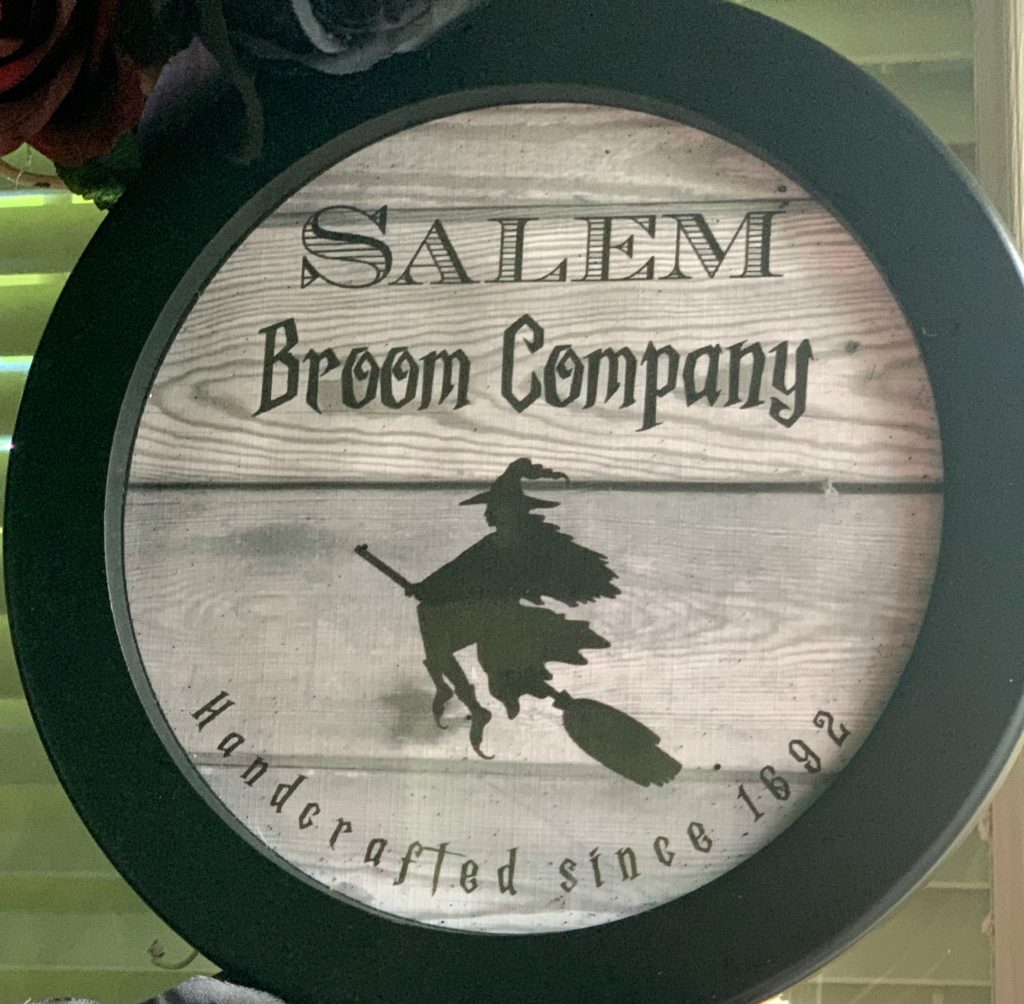
I decided on a witchy theme. I went back and forth between witches and skeletons since I have seen many cute embellishments for both. Michaels is gold mine for all things Halloween. But I couldn’t resist the cute witches hats and brooms and I had a fun sign in mind. I have seen “Salem Broom Company” signs for years. They were never quite what I wanted so I made my own. I’ve shared it in the printable library if you want to use it too.
Assembling your wreath
If I was making this for myself, I would simply poke the stems through the wreath without wiring it down. I tend to change my wreaths quite often. But for her, I want it secure since it will be making the trip to California. In a car filled with fun surprises, suitcases, two dogs, and my hubby and me, I need to make sure it survives the trip!
I started with adding wire around the wreath in 2 inch intervals. It makes it so much easier to add flowers without stopping to cut wire strips. Bundling the flowers in groups of three or four also helps to stay organized. Working my way around the wreath twice with the bundles made it very full.
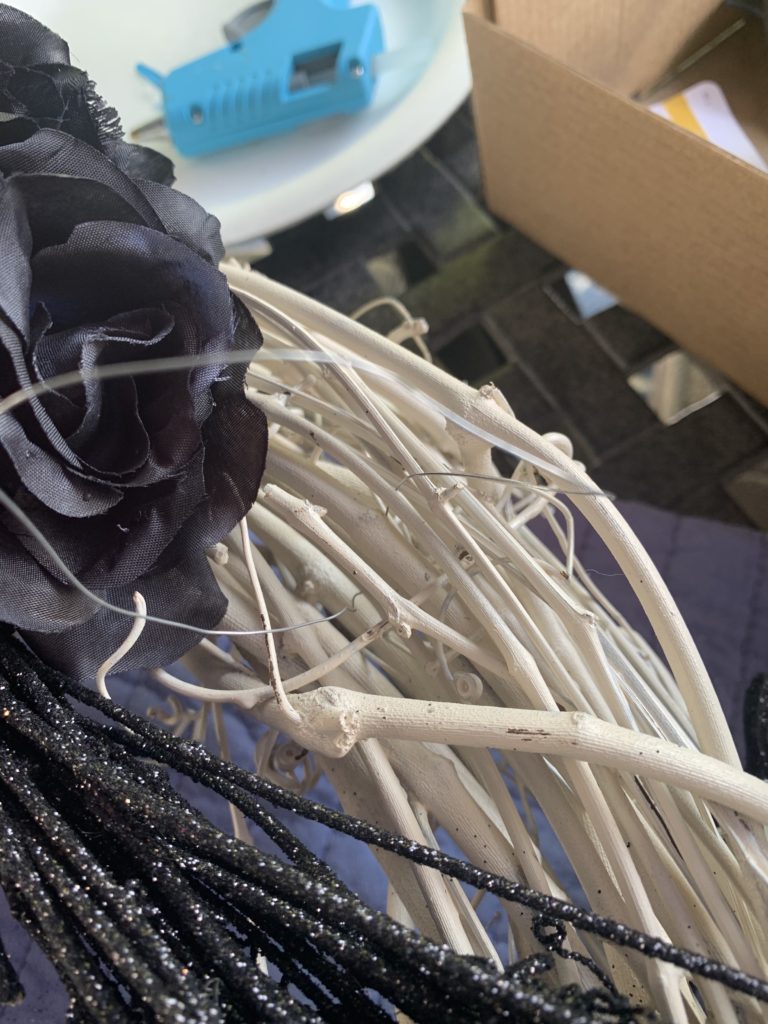
I measured a spot on the wreath for the sign to go and left that spot bare. After securing all the flowers, I used the tab on the back of the frame to secure it with wire at the top. A small dot from the glue gun secured the bottom of the frame as well.

Embellishments
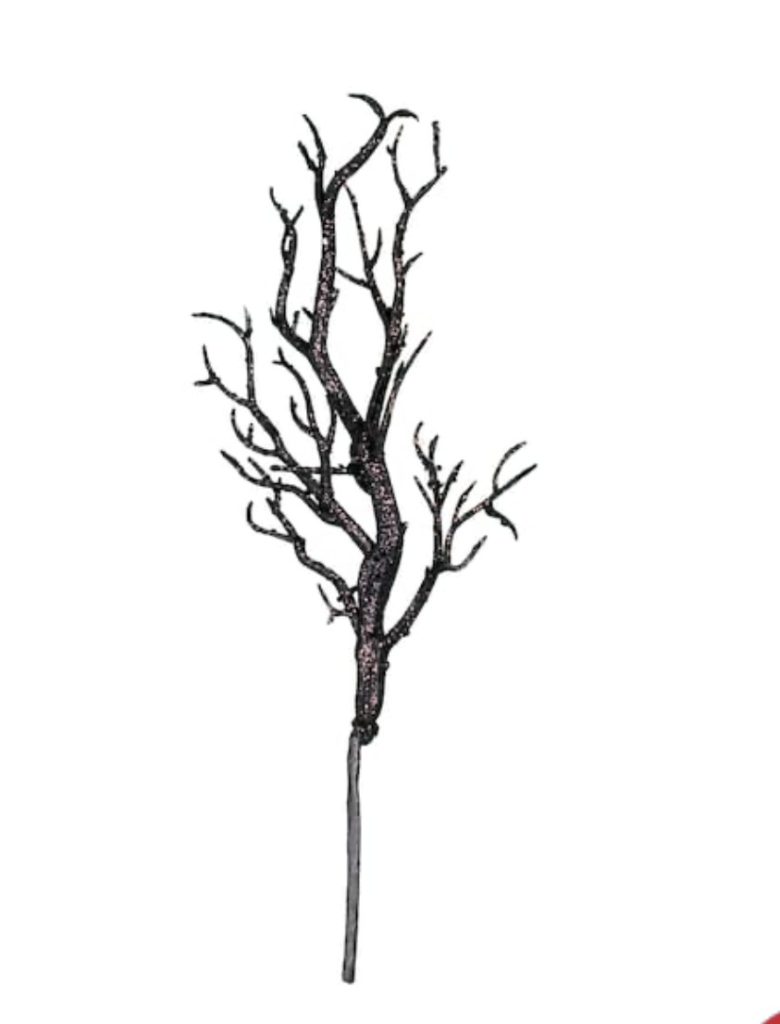
I wired the black glitter branch to the back of the wreath. This gave me a base to attach the two brooms crisscrossed in the center of the wreath. Adding a black cat with a dot of glue for depth. I placed the witches hat at the top and the remaining picks a few inches apart. Since they already were attached to a wire stem, I simply poked them through and secured them with the original wires holding the flowers in place. Flipping the wreath over, I then tightened the wire twists and clipped any stragglers. Finished!
I have added the Salem Broom Company sign to the library. As a member, simply click here to print it. If you haven’t joined us yet, you can sign up below and confirm your subscription. An email with the password to everything currently in the library will be in your inbox in a flash.
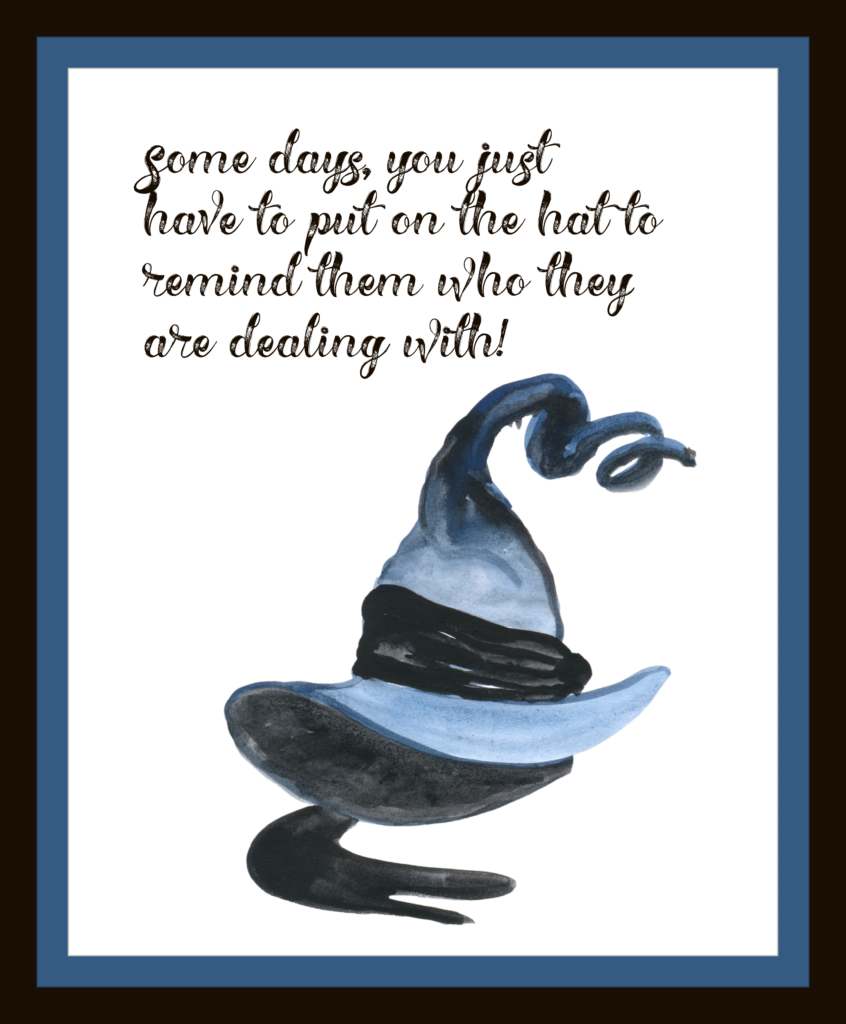
I will be adding all the fall printables to the library in the next week. I did, however, get several emails requesting the Halloween prints I previewed in the last newsletter. Apparently, I am not the only one excited about the season! I added two of those today as well. They will print as an 8 x 10 without the frame I used to display them here.
Thanks so much for stopping by. See you soon!
LOVE this wreath!
Thank you Rhonda! Amazing how many cute Halloween things are out on the shelves already. So glad you stopped by!
Do you sell these?
Sorry Coop, I don’t. But…I know you can make your very own and it will be gorgeous!
Thank you for the printables, I have been wanting both of those.
Sheila
You’re so welcome Sheila! Jelena Radevic is the artist of that adorable witch. I love her work!