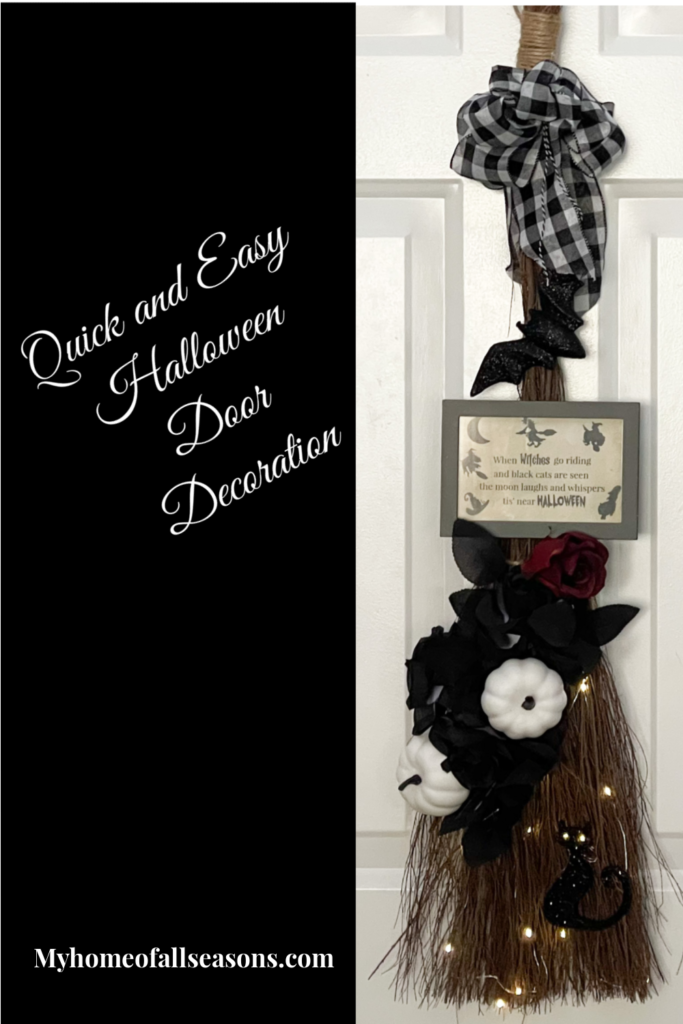
With the kids grown and grandkids still just a dream, I am no longer the Halloween Diva I once was. Still, I would like to have something outside that’s a little bit spooky for the little ones. So I put together a quick and easy Halloween door decoration and I’m sharing it with you today!
Living on a cul-de-sac, there is very little traffic most days. We are a neighborhood that hasn’t yet seen the inevitable transition of young families moving in. At one point, we were those families! It’s nice to think that it will be that way again one day as we all begin to downsize at some point.
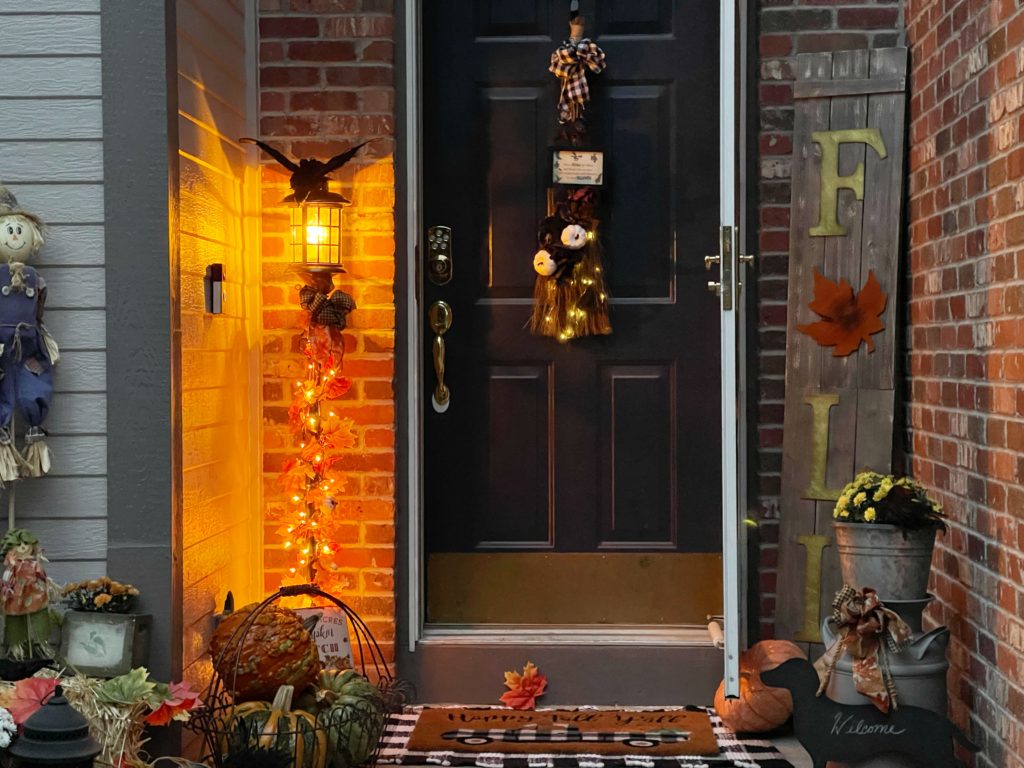
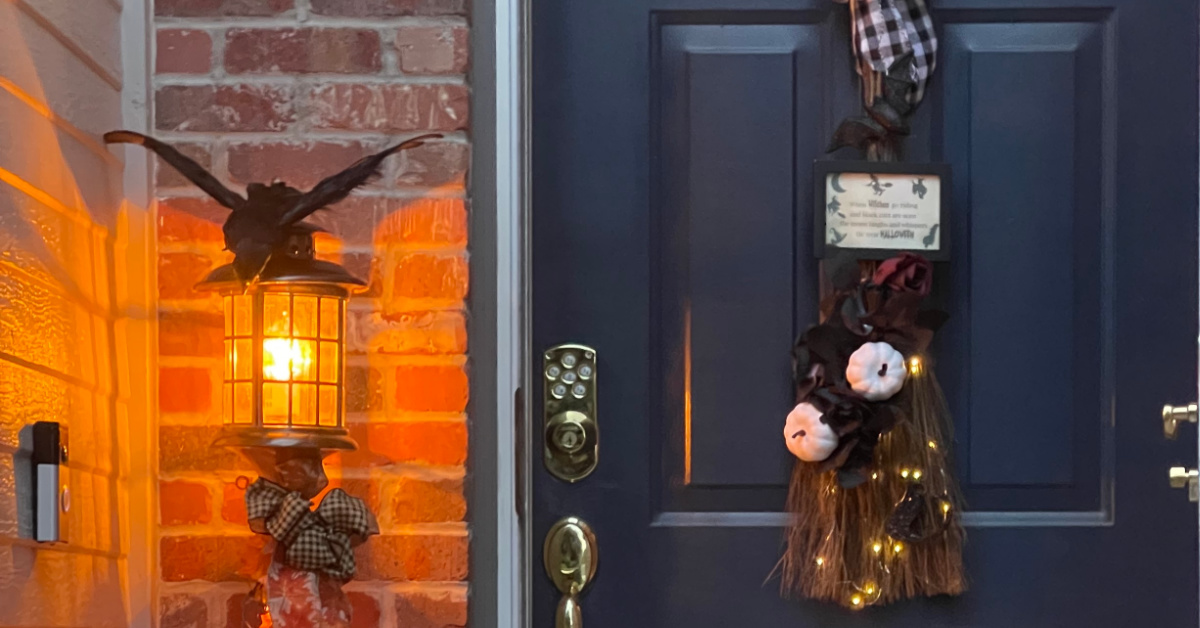
In the meantime though, somehow the kiddos find their way here on Halloween and I do not want to disappoint them. I wanted something that would be a quick little switch and this is what I came up with. I will simply remove the fall wreath the week of the holiday and replace it with this Halloween Door Decoration. Easy Peasy!
This page includes Amazon Affiliate Links. As an Amazon Associate, My Home of AlI Seasons may earn from qualifying purchases at no additional cost to you. Please see our full disclosure here.
So start the clock! Ten minutes is all you will need for this easy, little, project.
Supplies
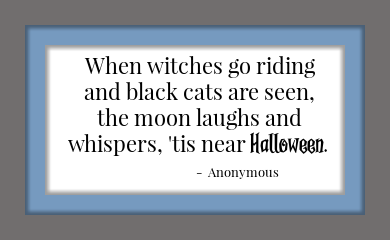
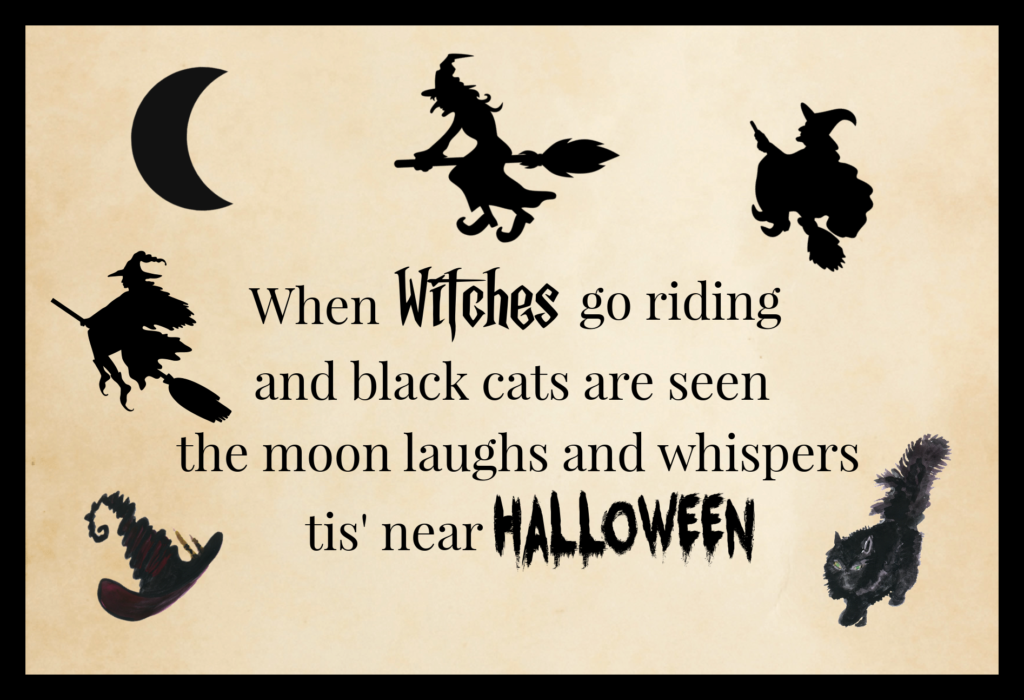
- Witches go riding printable (see below)
- 3 to 4 foot broom (the cinnamon-scented brooms on your way out of the grocery store, Michaels, or Bed, Bath, and Beyond are perfect. )
- Ribbon or a ready-made bow
- 6×4 lightweight picture frame
- 22 – 26 gauge wire
- Halloween floral picks
- Halloween embellishments
- small set of fairy lights
- Wire cutters, hammer and a nail, scissors
- Glue gun
Instructions
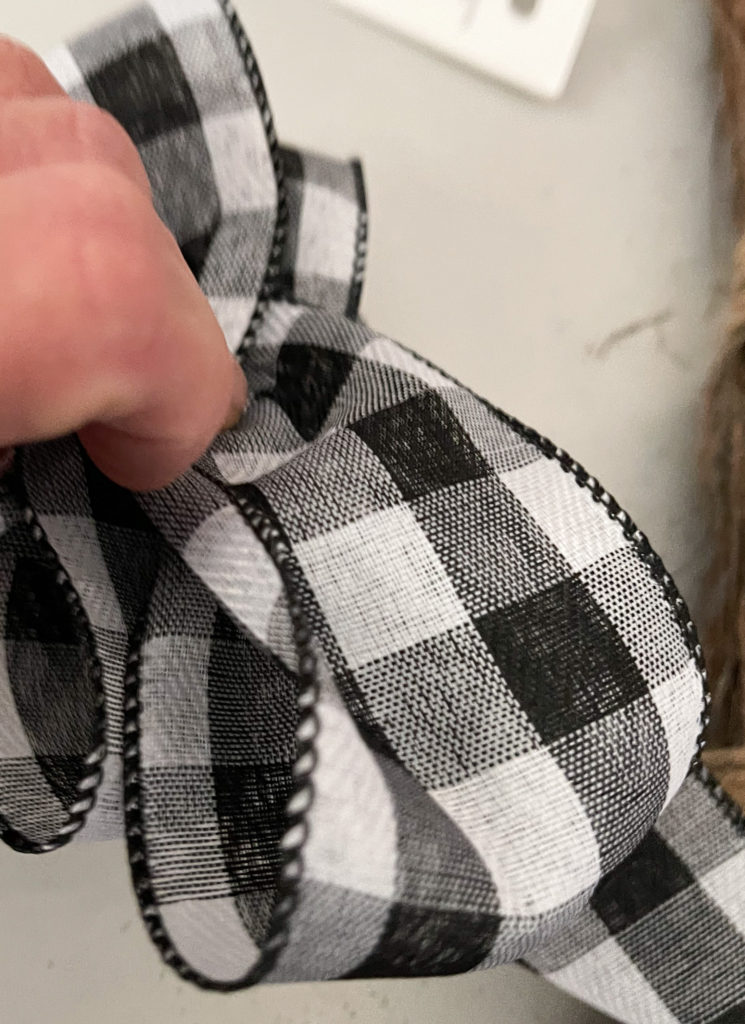
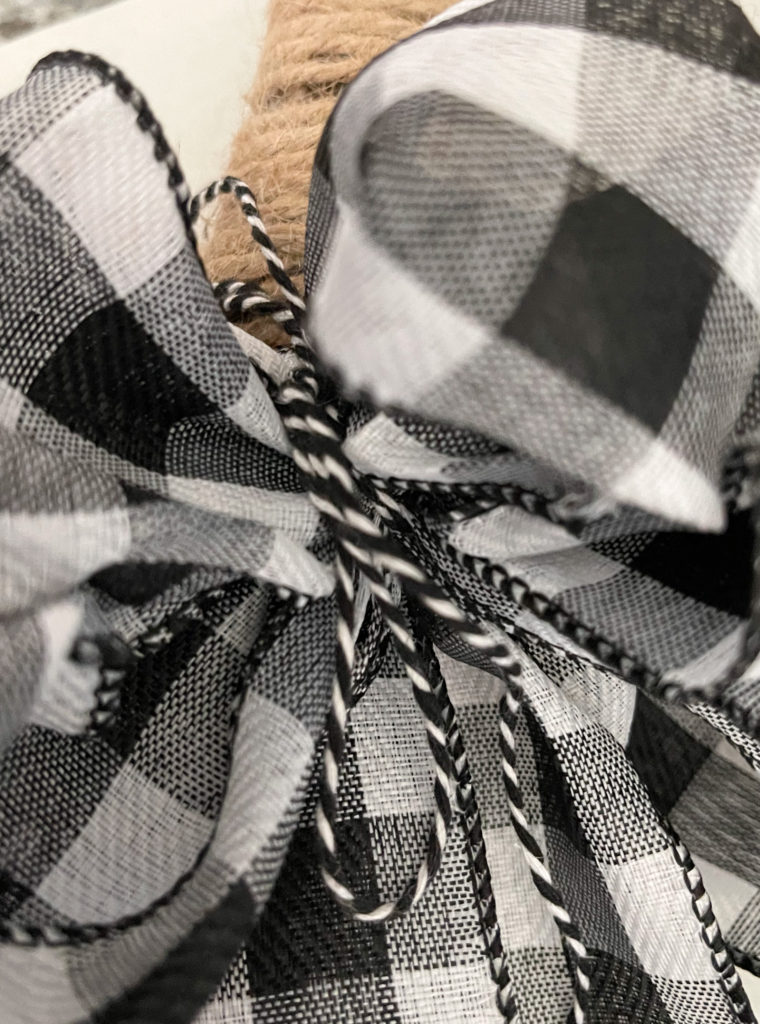
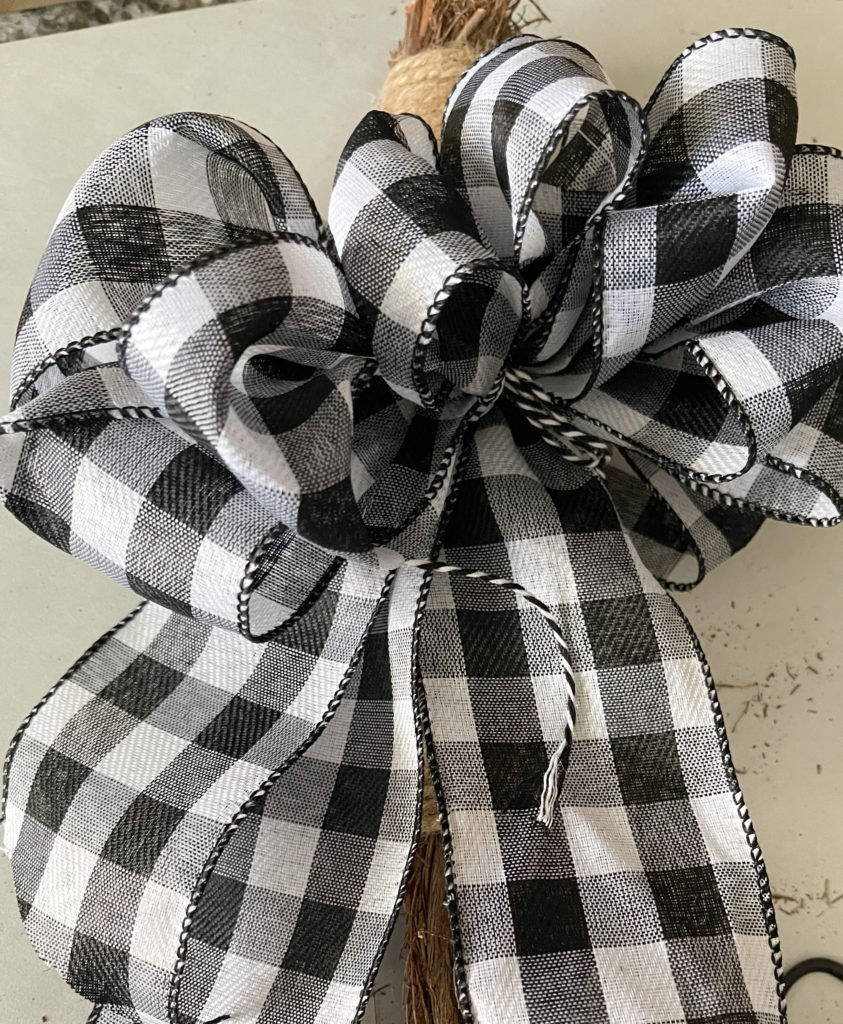
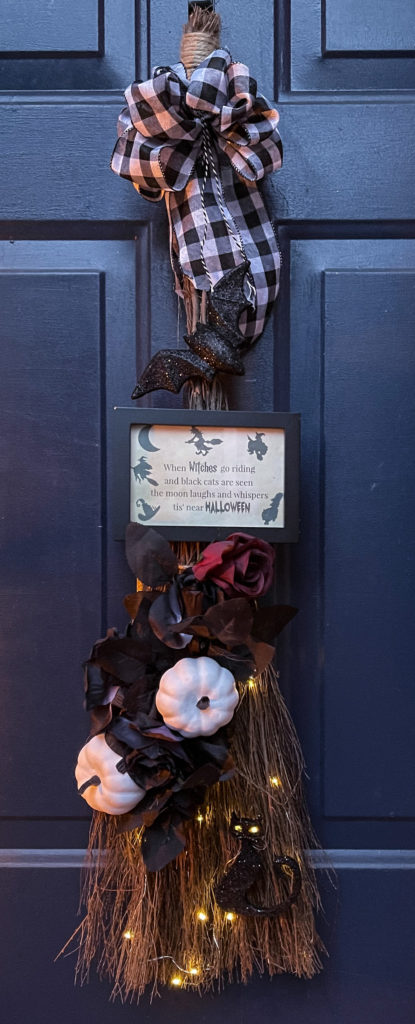
Step 1 – Attach your bow to the top of the broom. I used a black and white buffalo checked ribbon and made a bow but a ready made one will work just as well. Tie it near the top with a 6-7 inch piece of bakers twine. Of course, wire is just fine but I wanted to bring the twine to the front to give the bow a little more depth.
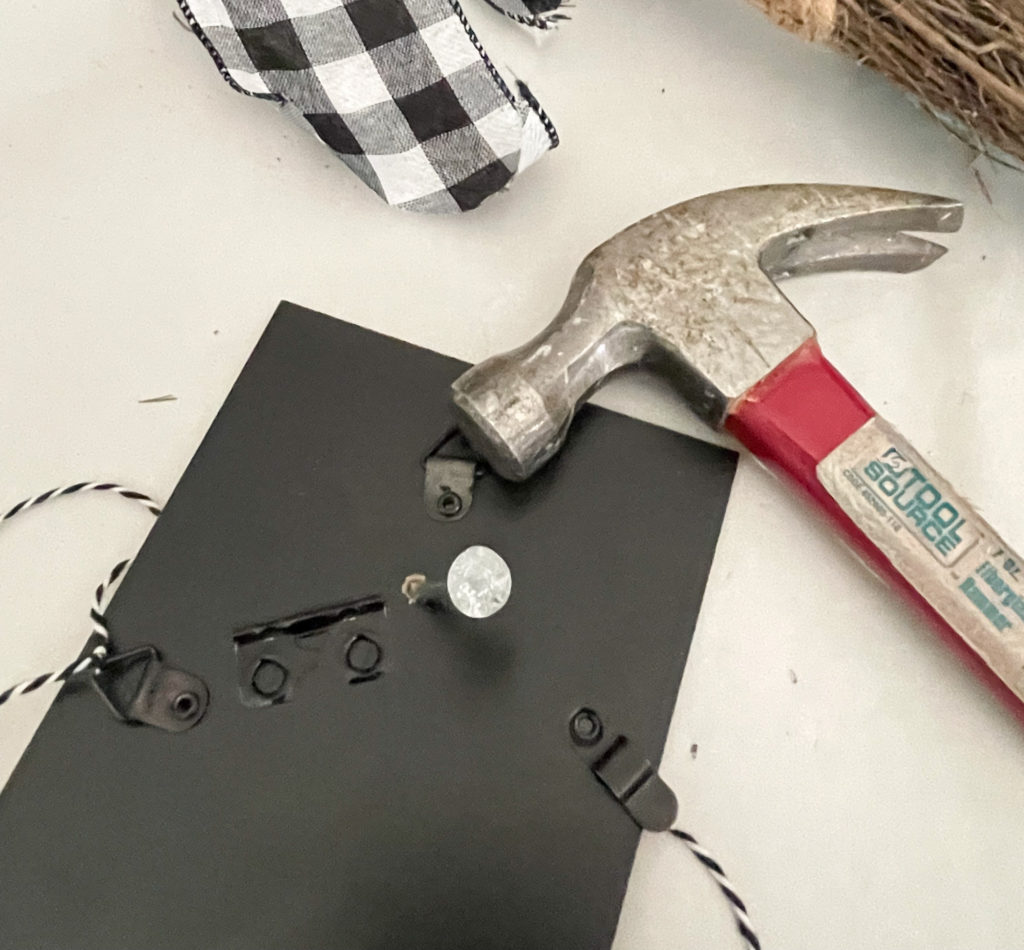
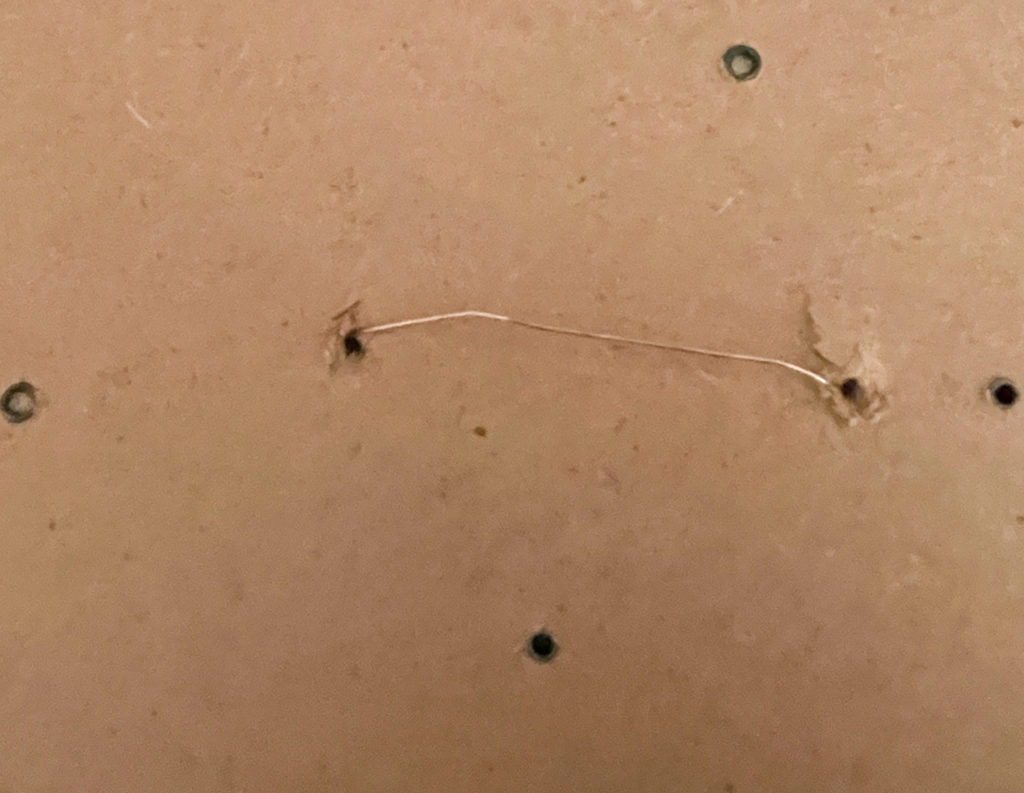
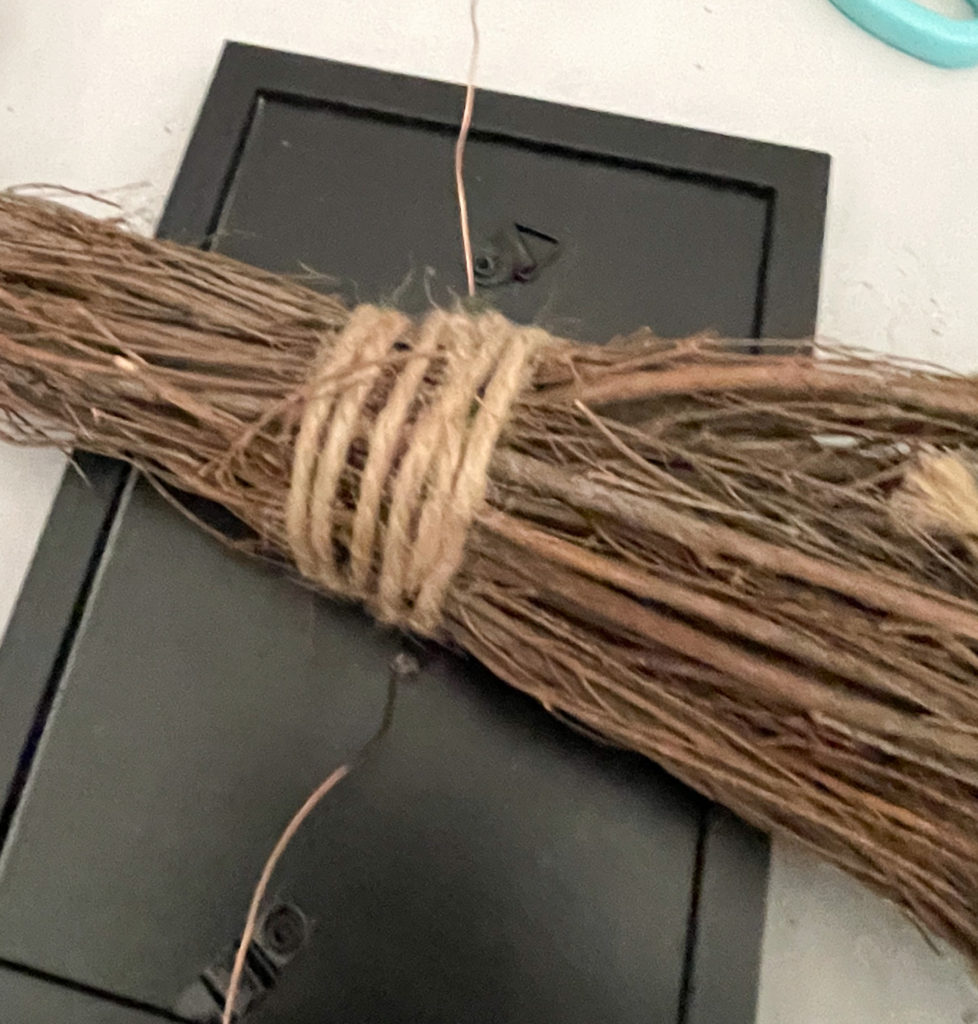
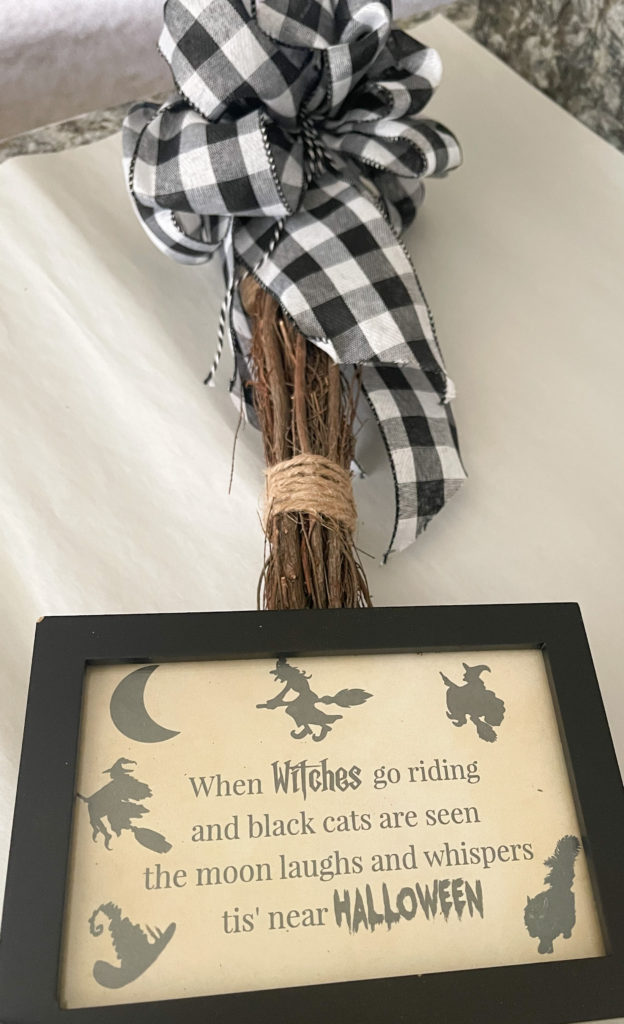
Step 2 – Remove the back of the picture frame and add 2 holes to the middle about 2 inches apart. I used a hammer and a nail and it worked great! Put your printable in the frame, string a 6-7 inch wire through the holes and replace the back. Attach it to the broom near the top of the bristles.
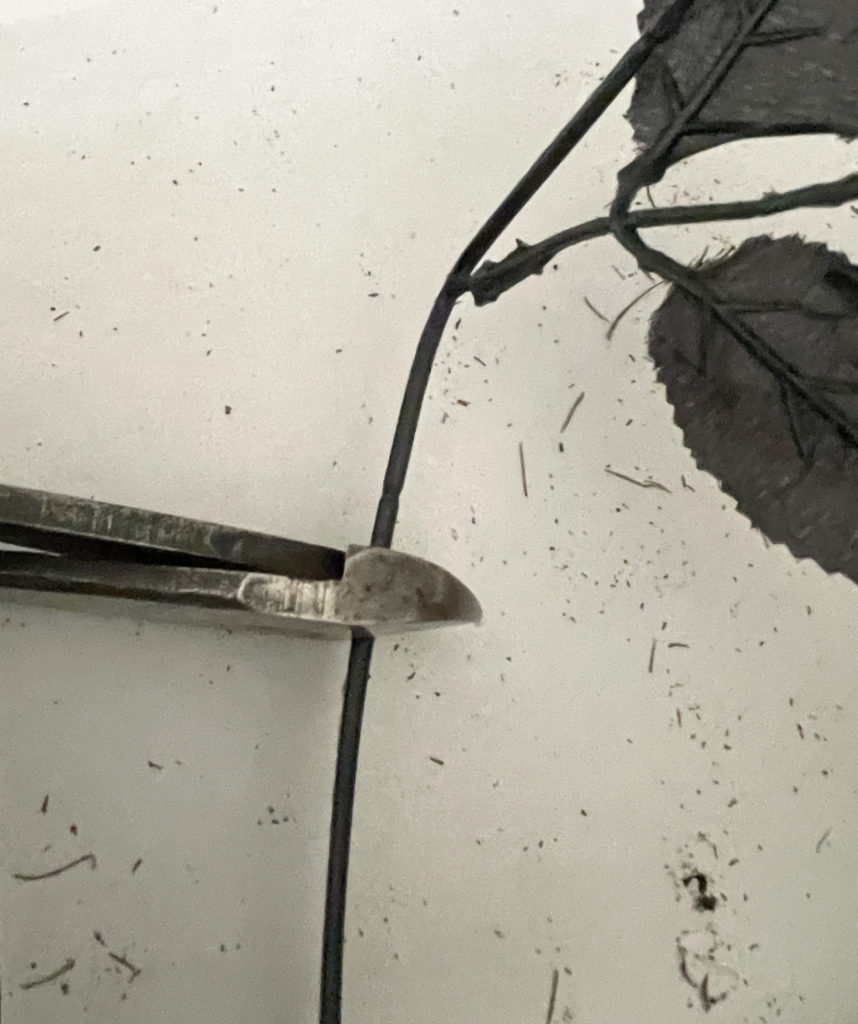
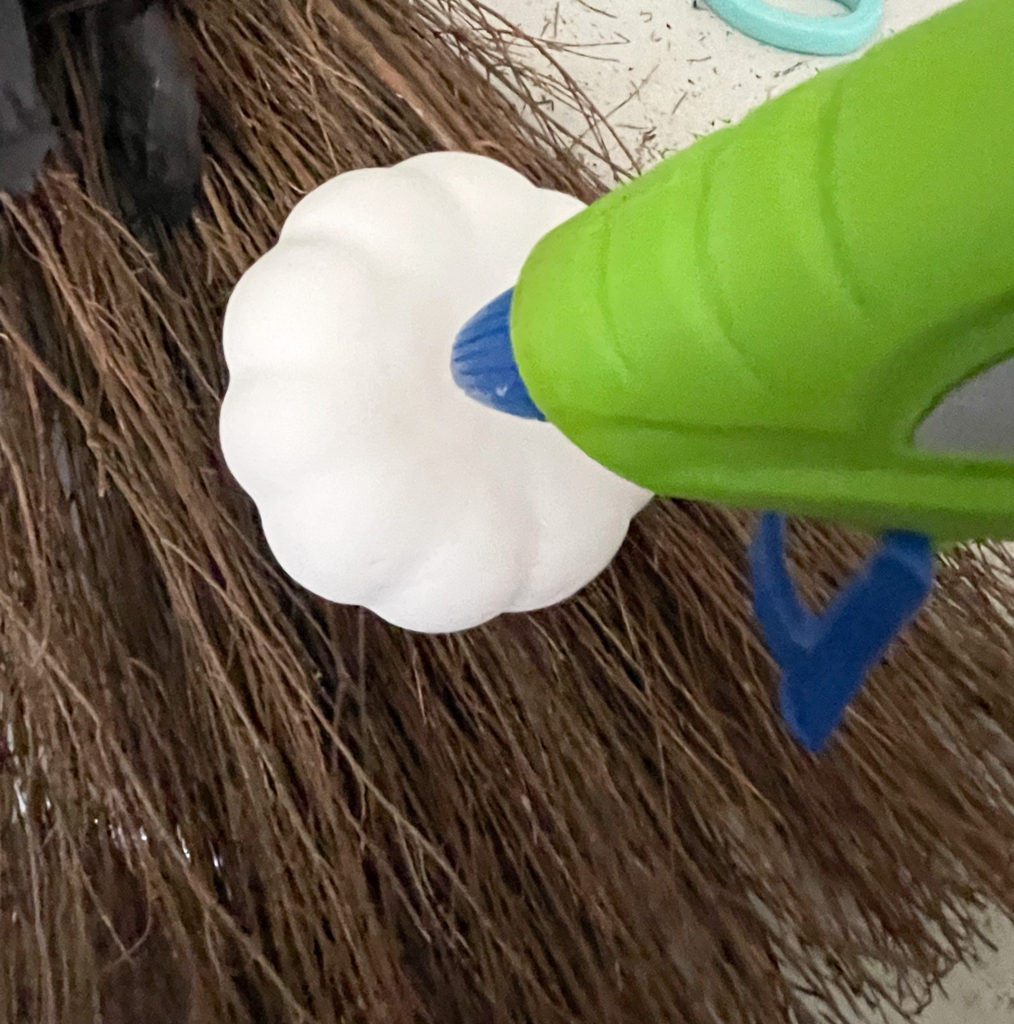
Step 3 – Using your wire cutters, clip your floral picks leaving a 2 to 3 inch tail. At this point, if your broom is thick enough, you can simply poke them into the bristles and they will stay. This gives you the option to reuse the flowers for another project next year. If the bristles are flimsy, add a dot of glue before poking them in. Continue adding your Halloween embellishments until you have the design you want.
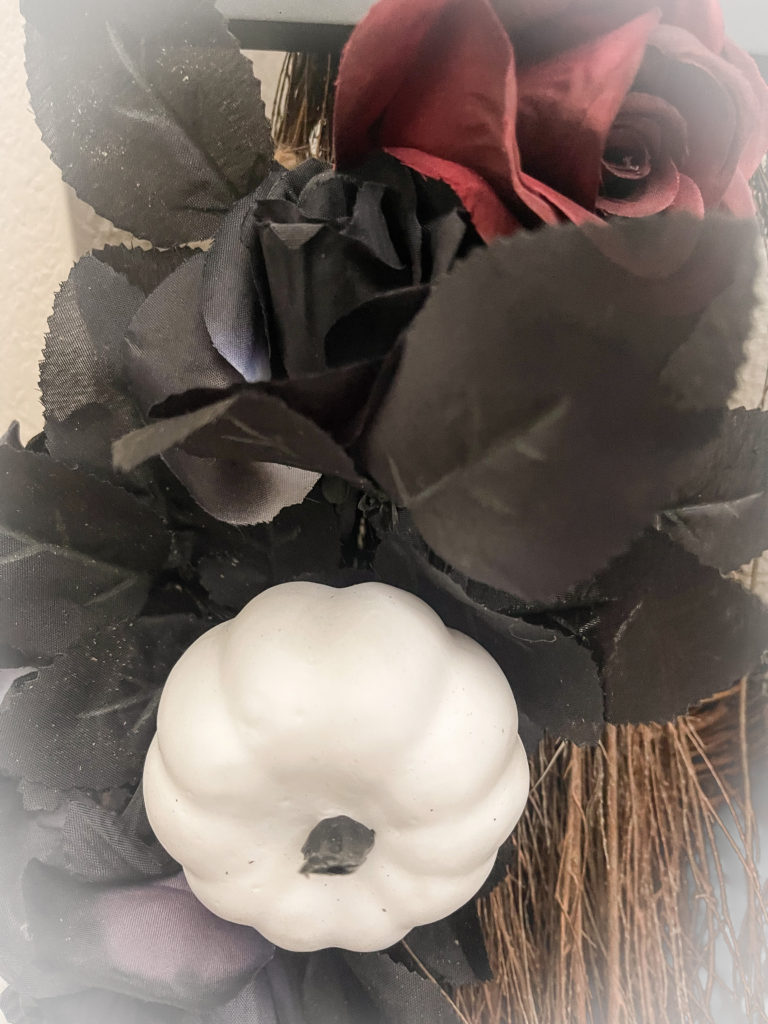
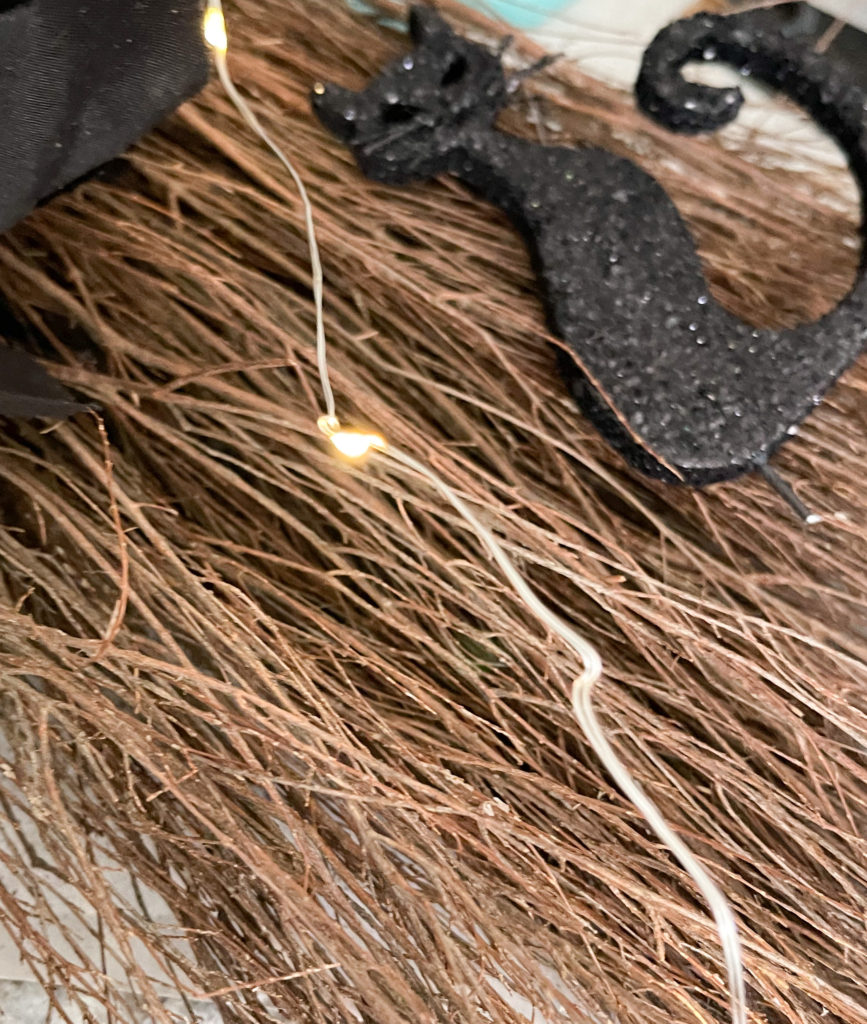
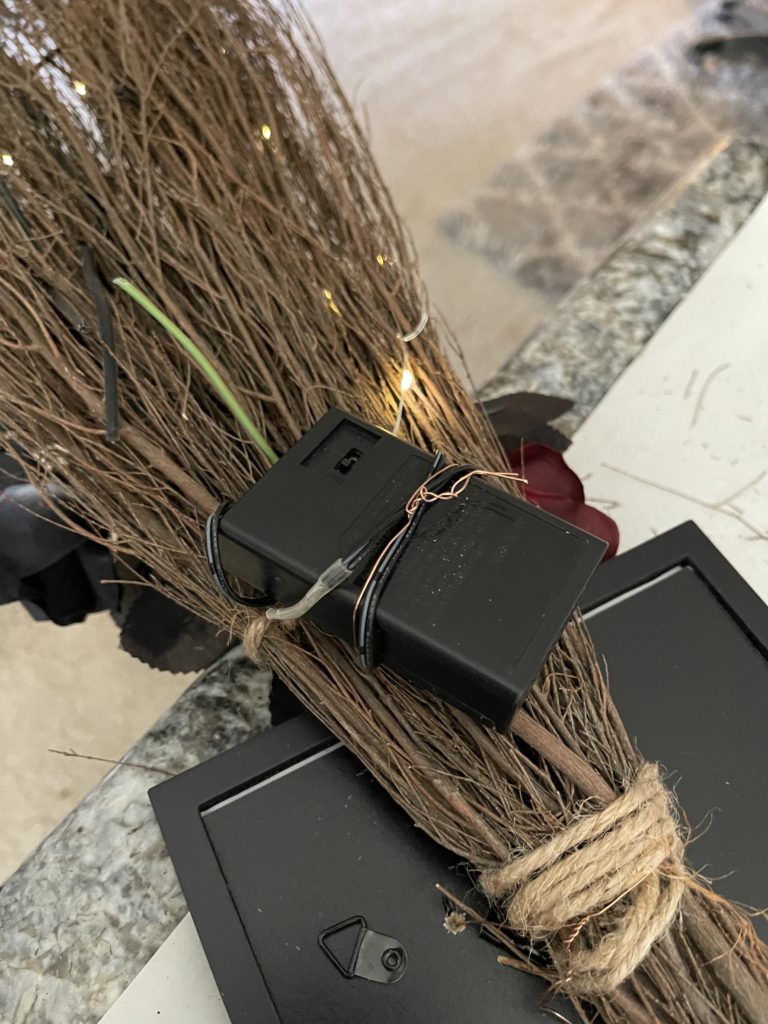
Step 4 – Light it up. I know, I know! I say that constantly. But seriously… this one really does need the lights! A small string of fairy lights makes such a difference! Weave them through the bristles up and down and attach the battery pack with wire. Place it behind the picture frame or the thicker part of the broom making sure that the on/off or timer button is easily accessible.
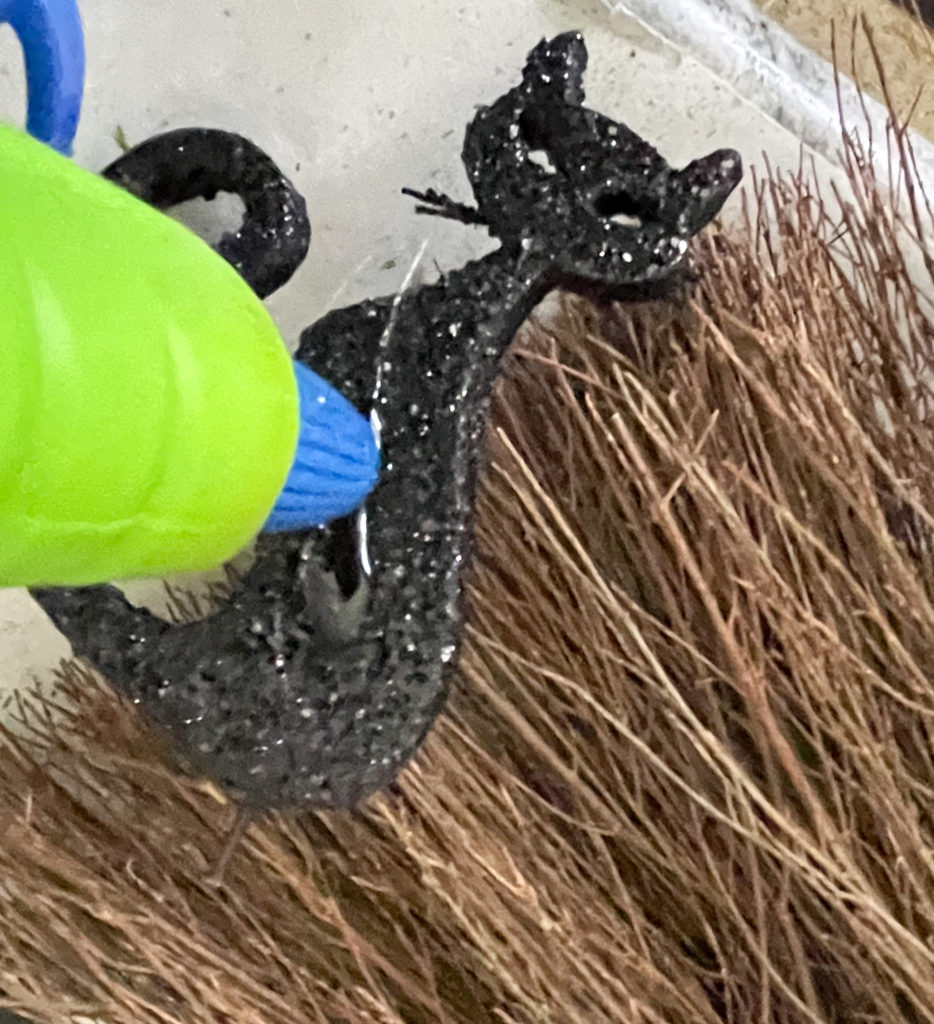
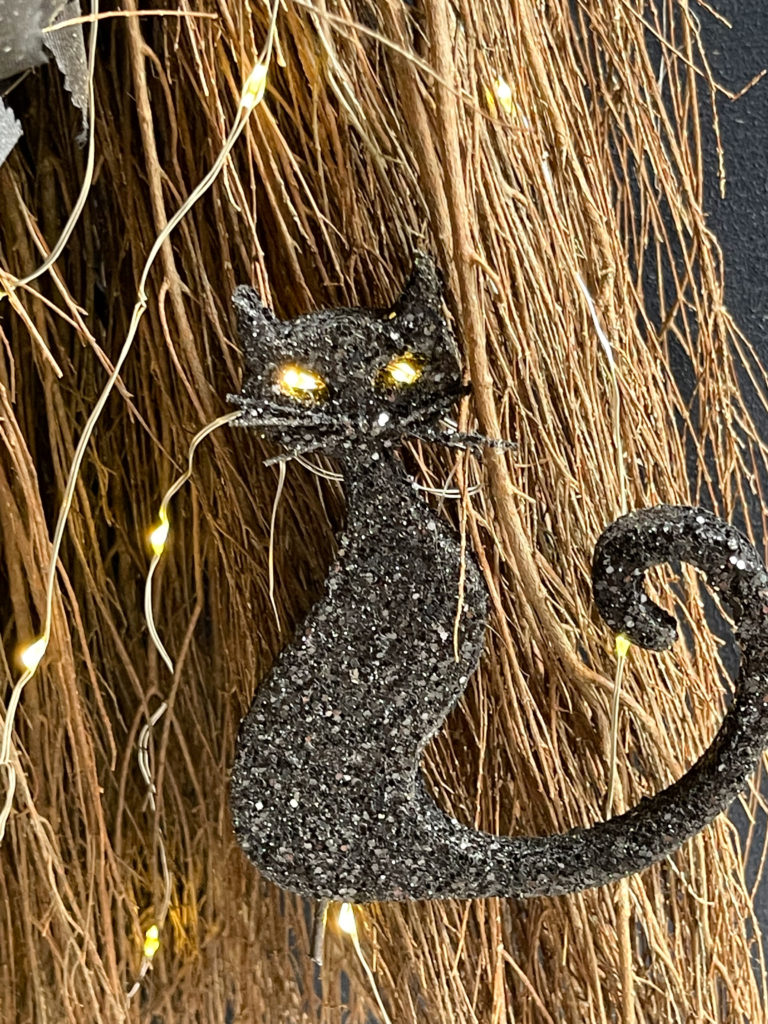
The black cat decoration was part of a pick from Michaels last year. I love the way the fairy lights look in his eyes. Any kind of cat, skeleton, crow, or spider would look great as well.
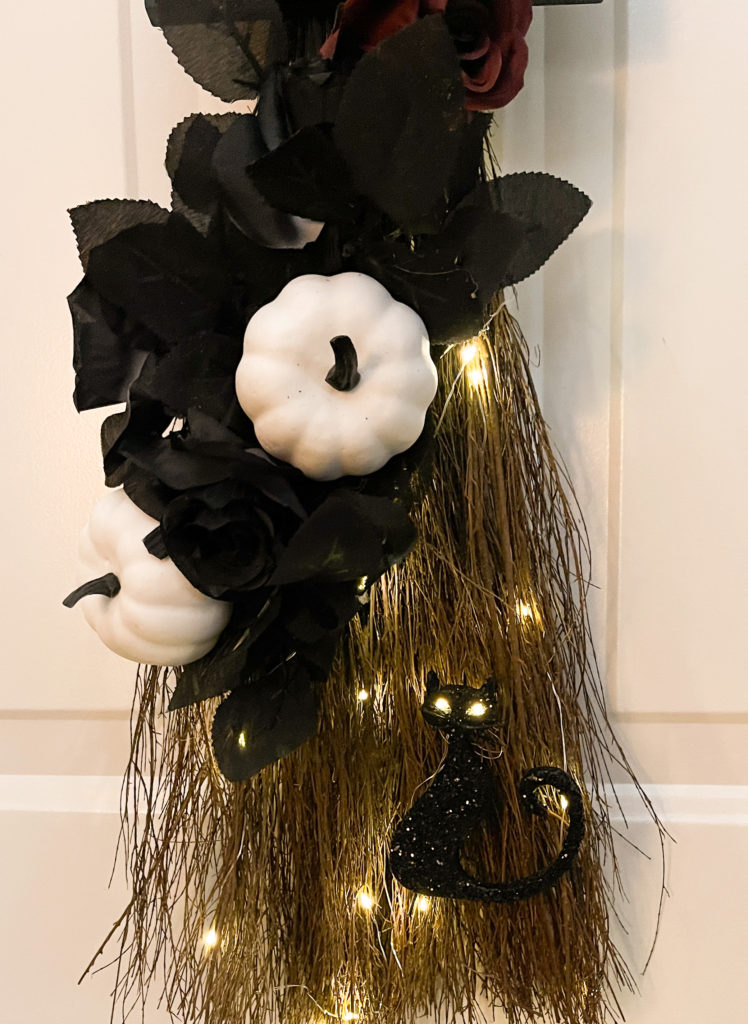
Stop the clock. You’re done! 10-minutes start to finish!
Halloween Printables
To download your copy of the printable for your broom, click on the print button below. Unlike the Fall and Halloween prints in the Subscriber’s Printable Library, this one does not need a password.
You can adjust it to fit any size frame but a 6×4 works best on a small broomstick.
I’ve also added links to the additional supplies you will need for Halloween Door Decoration. They are here for your convenience but remember to check your craft bin first! If you’re like me, there are several items in there that you’ve forgotten about but can work for this project.
I did include a link for a picture frame for those of you who want it all at your door. However, mine was purchased at Walmart for $1.98. It is plastic and that works perfectly for this project. You can check the Dollar Tree as well.


Before you leave today, be sure to stop by the Printable Library. There are several additional Halloween prints that are free for all subscribers to download and print. If you haven’t joined us yet, no worries. Adding your email to the form below will give you immediate access. In addition, you’ll be the first to know when new prints are added.
Happy Halloween! See you soon!

Looks nice. Thanks so much for linking up at A Themed Linkup 77 for All Things Halloween. Pinned!
Thank you Dee! Such an easy project!
Denise,
Love this wonderful Broom creation.
I have a broom that I have not done anything with…..If I lived in an area where there was a lot of Trick or treaters that came around, I would go crazy decorating the front of the house for Halloween. But we hardly get any anymore so I do the front of the house mainly for Fall with a bit of Halloween thrown in…..Thanks for sharing your creativity!!
Hugs,
Debbie
Thanks Debbie! I do the same thing as you these days. I love the fall decorations and I do very little for Halloween. We are at the end of a cul-de-sac and it’s hit or miss every year. If it’s super cold out though, word has spread that they can come inside for a hot chocolate and a warm up. I haven’t heard a forecast yet so we will see what happens!
I love this Halloween decoration….a clever way to use a broom. Thank you for sharing at Party In Your PJ’s – you are being featured on my blog Tuesday evening. Also Pinned!
Thanks so much Ann! I’m excited to be a part of Party in your PJ’s and I really appreciate the pin. Thanks for stopping by and have a wonderful week!