It’s been a few years now since we finally got around to updating the kitchen. Looking through all the Throwback Thursday posts on Facebook, I decided to share one of my own right here.
We have lived in this house for 18 years. While the decor has changed many times during those years, the bones of the house remained stagnant. Since most of that time we were busy raising kids, renovating was put on hold. When the kids moved on and became self sufficient we knew it was time for updating. But…where do you start???
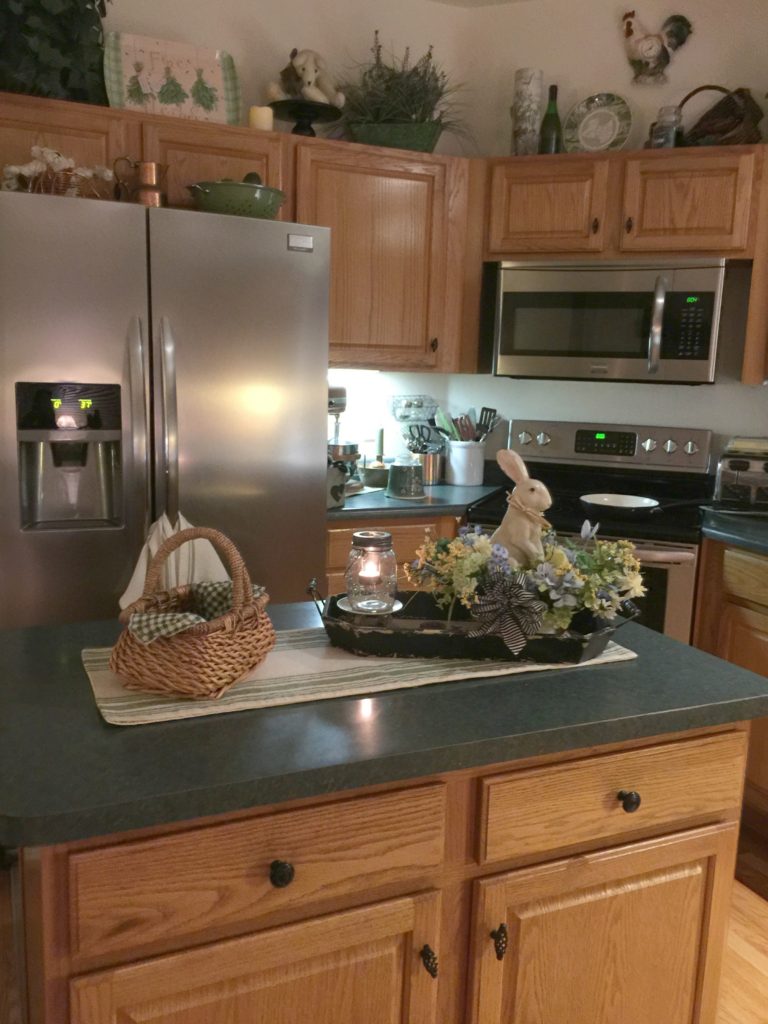
For me, there was no question. I wanted to start in the room that had always been the heart of my home. It seems the kitchen is the gathering place for most families and we were no different. This was the place where I would hear about the school day when the kids came home. Family dinners, game nights, late night discussions with my husband, this was where it all happened. So it seemed to me that updating the kitchen was the logical place to start.
The budget
While we agreed on the kitchen as a starting point, the budget was a whole other thing. After ignoring most everything for over a decade in favor of making family memories, there was a lot to do now. And of course, everything hit at the same time.
Cosmetics are important but a new roof is critical. Likewise, an upstairs bathroom leak, a furnace that was showing its age, well you know how that goes! The kitchen renovation budget seemed to dwindle by the day. The slab granite countertops and brand new beautiful cabinets very quickly turned into a pipe dream. But knowing that at some point, in the not so distant future, we would want to downsize, updating was important too!
We began to search for options that were cost effective. Whatever we chose, we knew there would be labor costs as well. When we were younger we would have tackled the whole thing alone, but given the scope of it all, that would be out of the question now.
Updating the cabinets
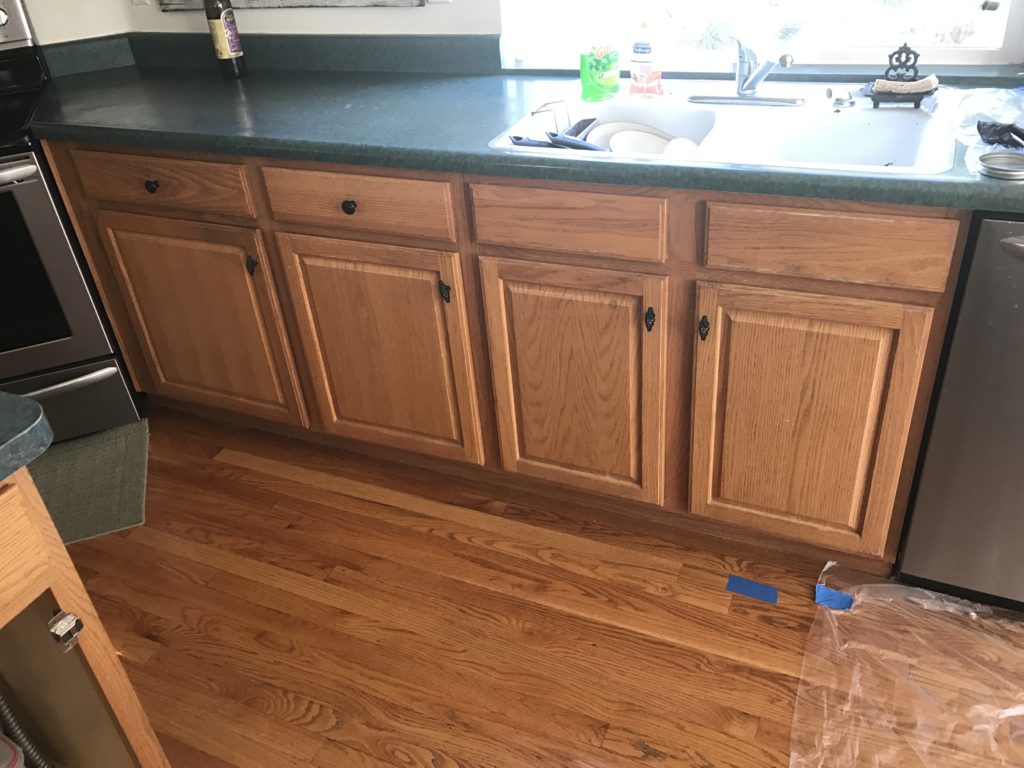
My plain oak cabinets were fine 18 years ago but…that was 18 years ago! Having accepted the fact that new cabinets were no longer a possibility, I started exploring refinishing options. Stain or paint? Rustic or Modern? I had watched so many videos on refinishing cabinets they were all starting to run together in my mind.
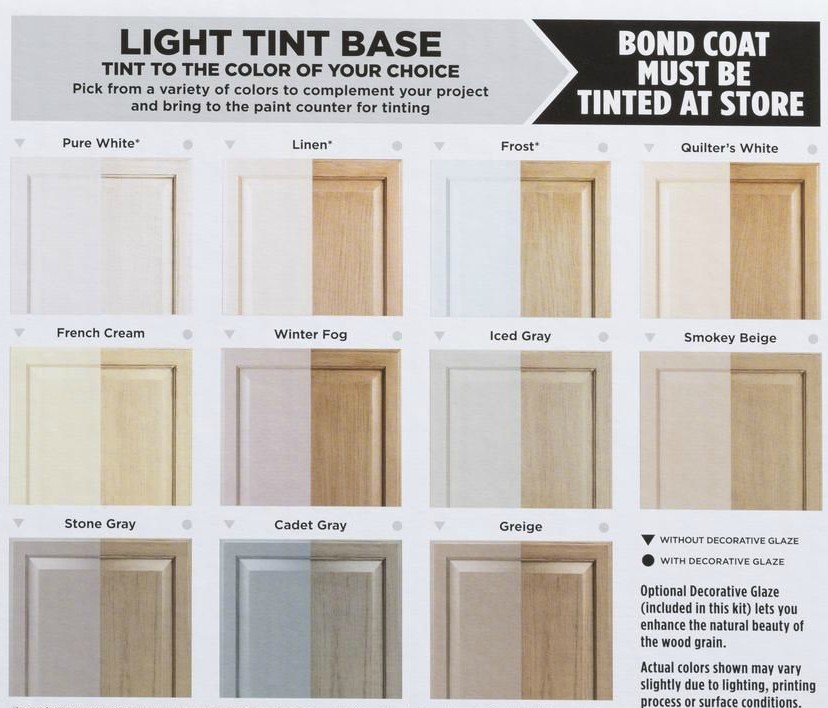
Most of the painted cabinets just looked…well…painted. That wasn’t at all what I wanted. Finally, after seeing the Rustoleum Cabinet Transformation Kit applied in a friend’s kitchen, we knew that was the way to go. But what color? There were a lot of options!
We are and have always been beach people! Although we are landlocked here in Colorado, every vacation, and i mean EVERY one, took us to the coast. We kept a boat out in California for most of the years that the kids were at home so family vacations revolved around that. I loved the laid back attitude of the beach cities and I wanted to bring it home with me.
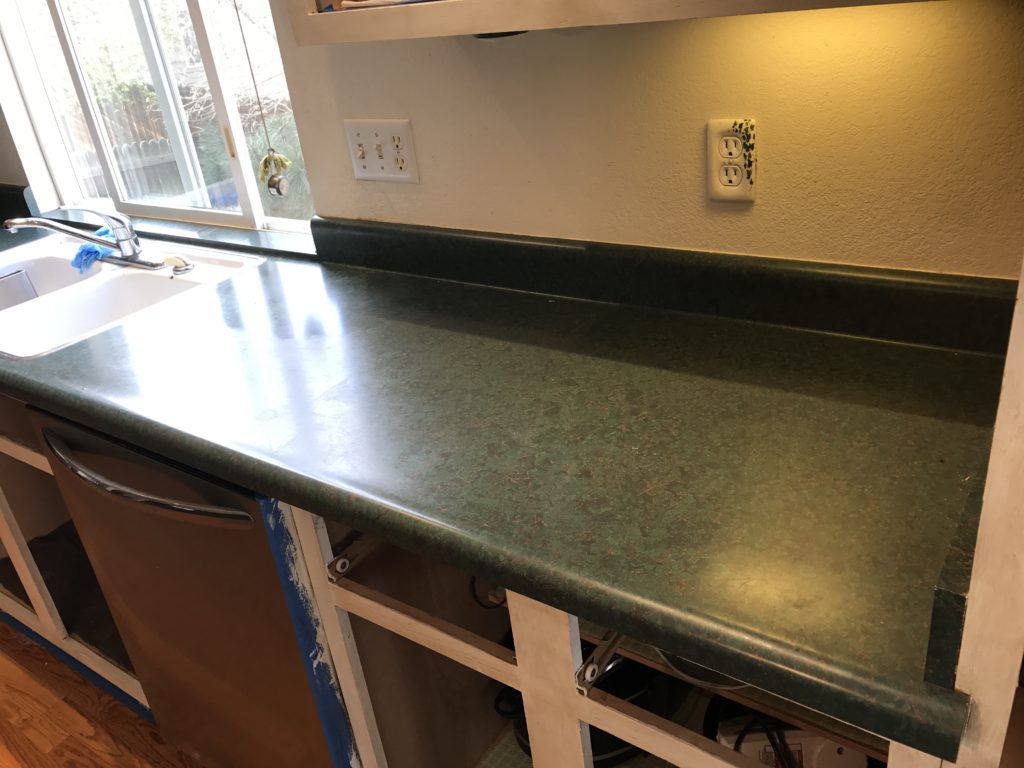
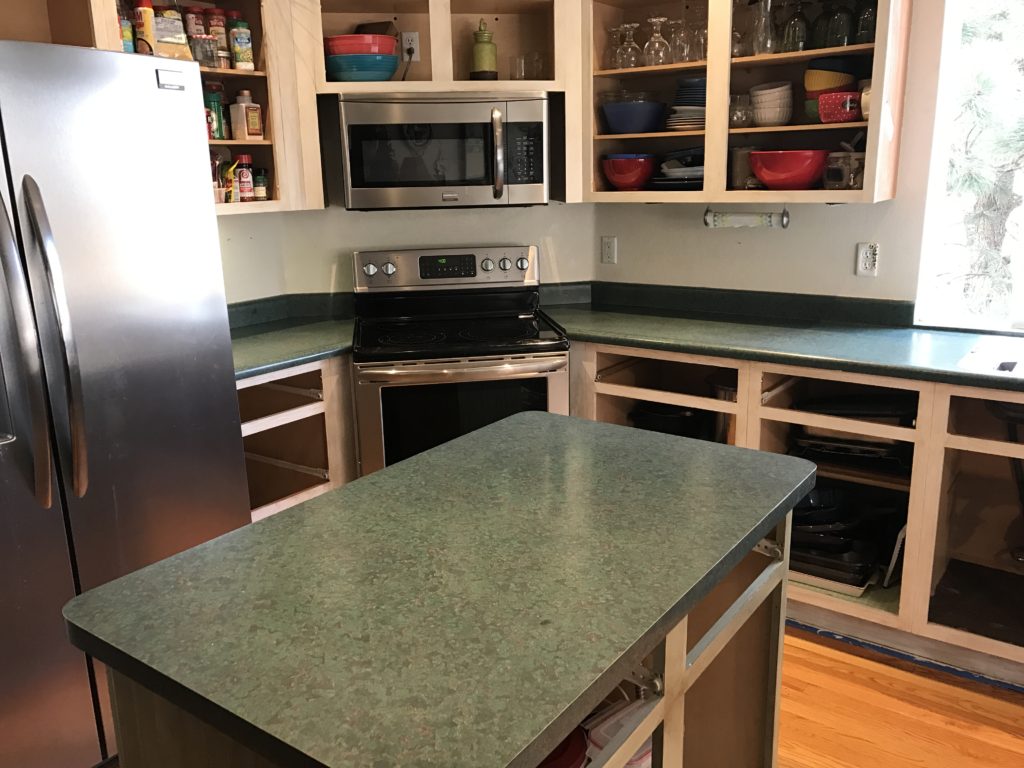
Accomplishing that beachy feel was my goal every summer. I seemed to be able to pull it off in every room but my kitchen. My oak cabinets and hunter green, yes hunter green, countertops did not allude to “beachy” in anyway. They looked great with the orange and yellows of the fall season, perfect for the reds and golds of Christmas but the rest of the year? Not so much!
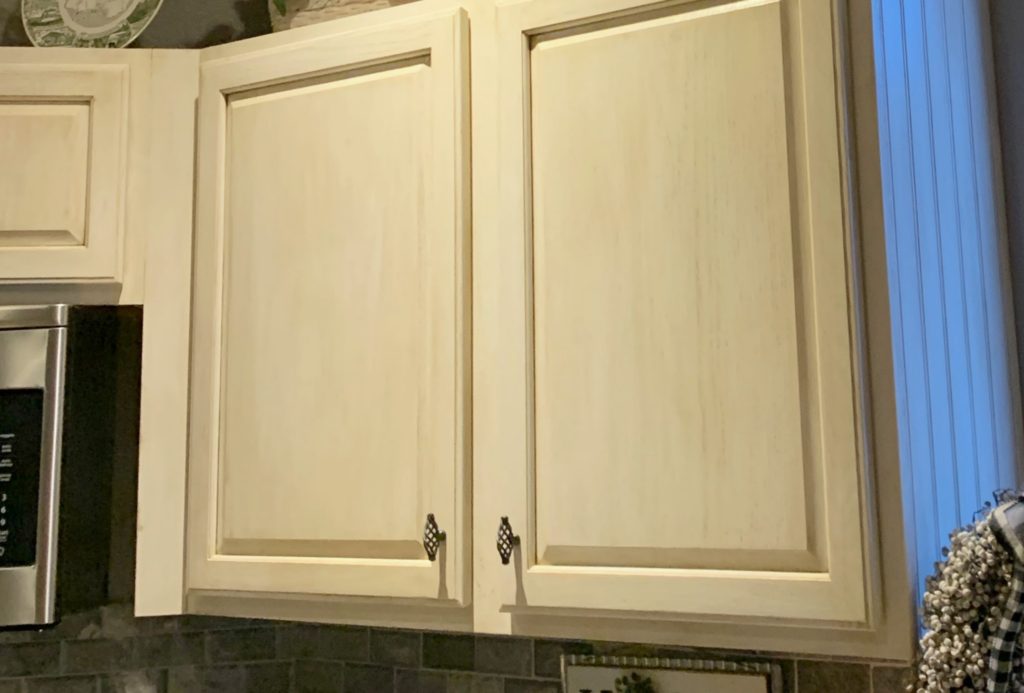
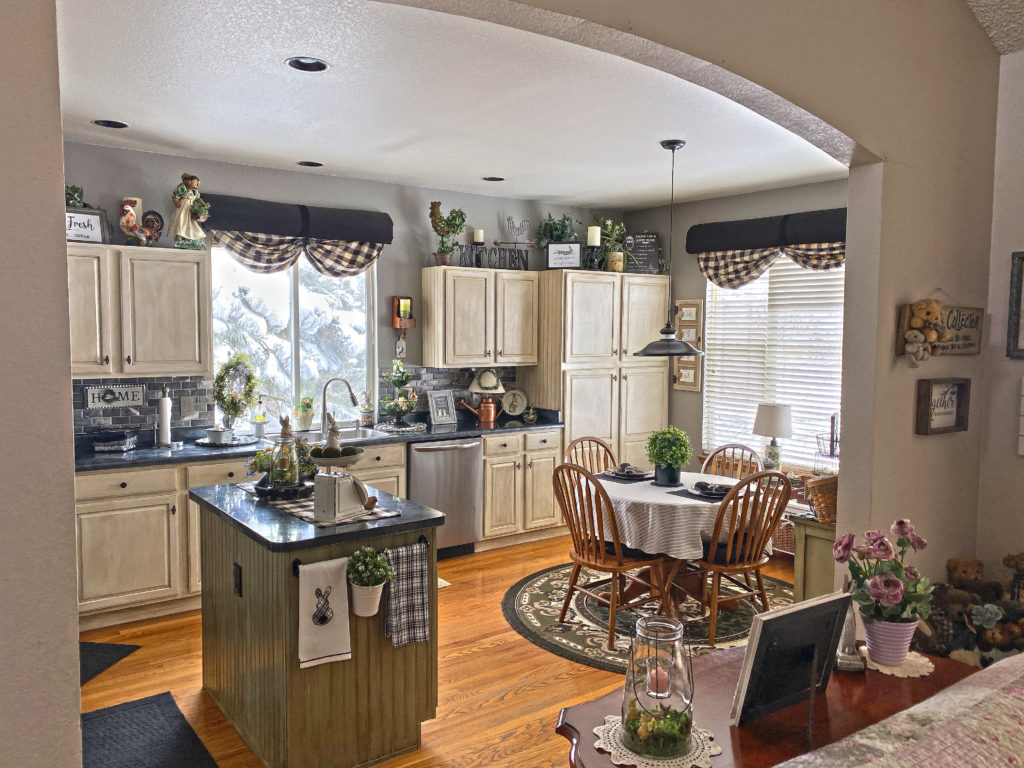
The kits come in either a light or a dark tint with several different colors available in each. We decided on the light kit and surprisingly the pure white color. I did not want a white/white kitchen but the color is adjusted with the decorative glaze.
Good things come to those who wait
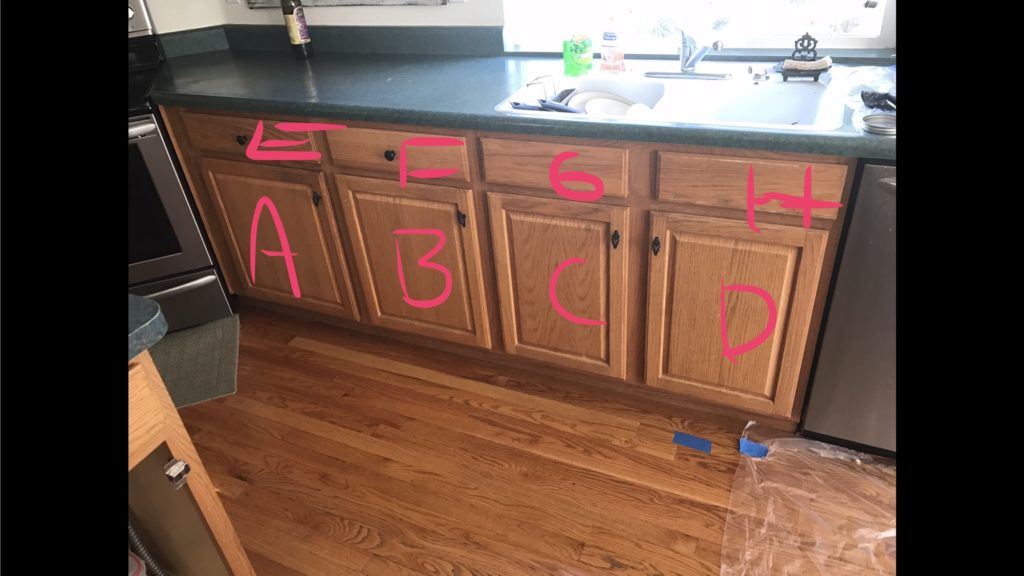
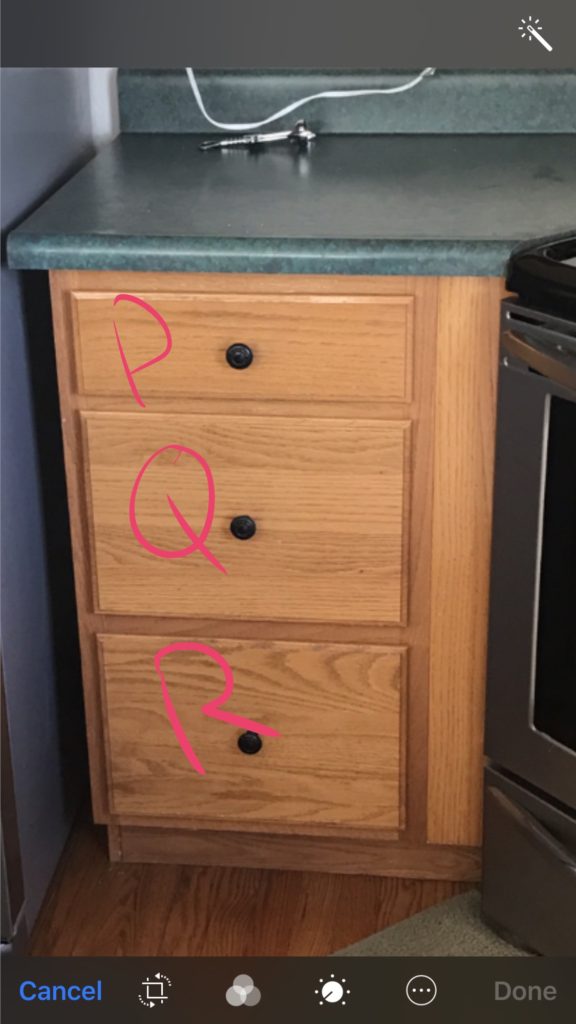
Once we decided on color, I was ready to go full speed ahead. Lucky for us, our good friend Jeff who had agreed to sign on for this project was a lot more experienced about these things. He explained there were a few things that needed to be done first. For instance, each door had to be matched to the area it came from. Never thought of that. I mean…they all look alike! They aren’t. That step saved a lot of time later, when it came to putting the kitchen back together.
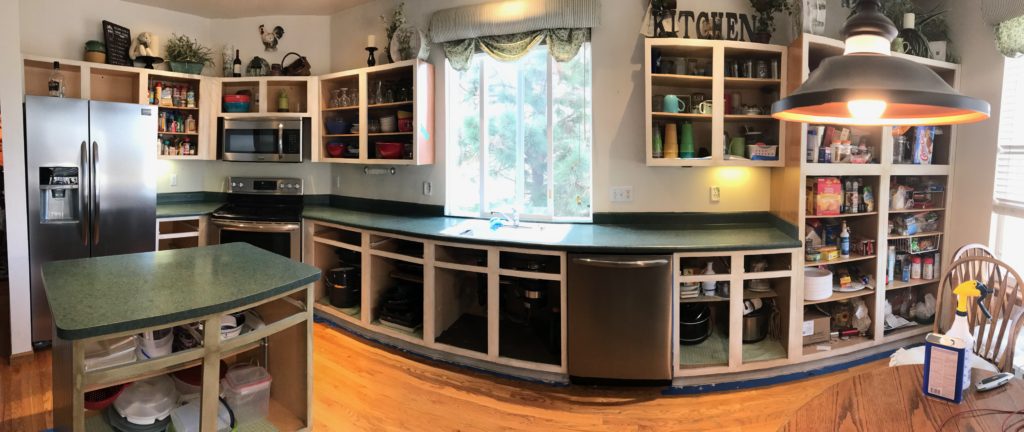
There is nothing exceptionally hard about the process but given that it’s 3 steps with drying times in between, it is a long one. Cabinet doors and drawers were everywhere in my lower level family room. With the exception of one redo at the beginning, it was smooth sailing and the end result was exactly what I wanted!
Updating the countertops
The slab granite countertops I had my heart set on were no longer in my sights. The budget that was set aside for that upgrade went to a new furnace so we were back at square one. My husband started looking at epoxy as an option for us.
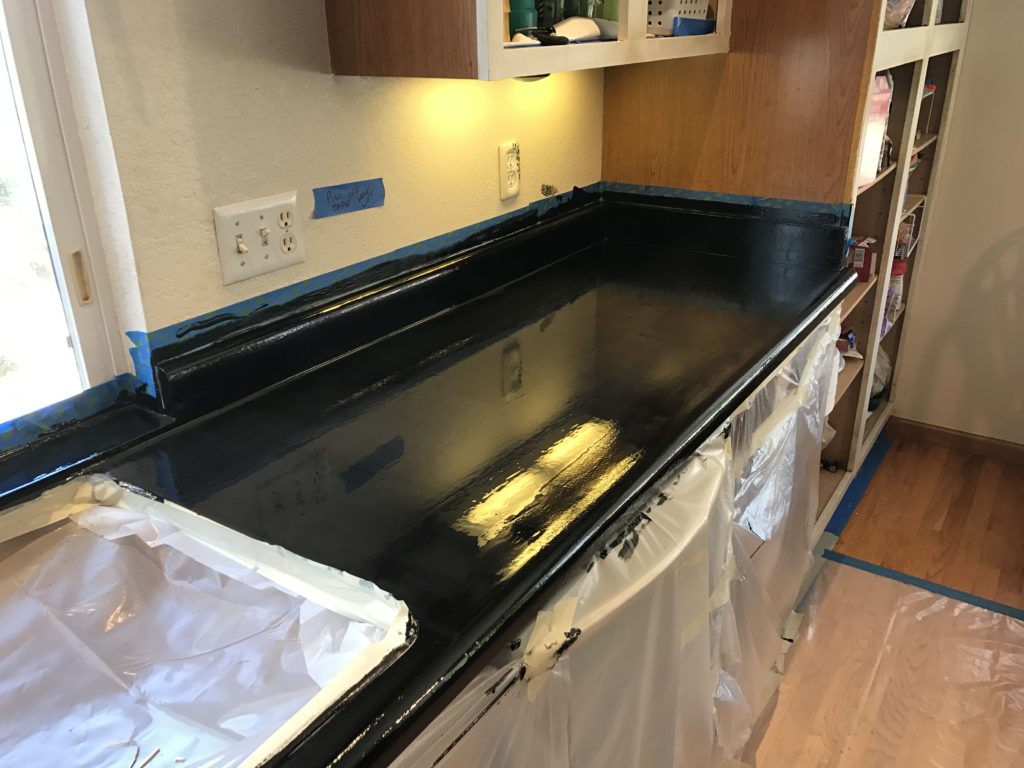
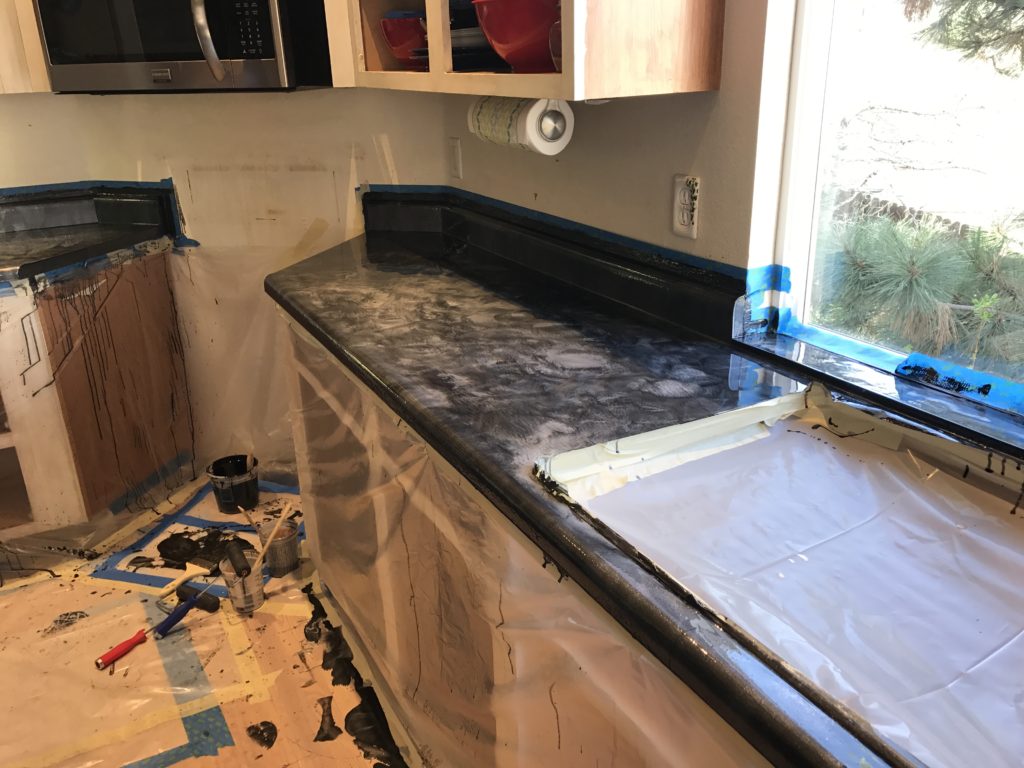
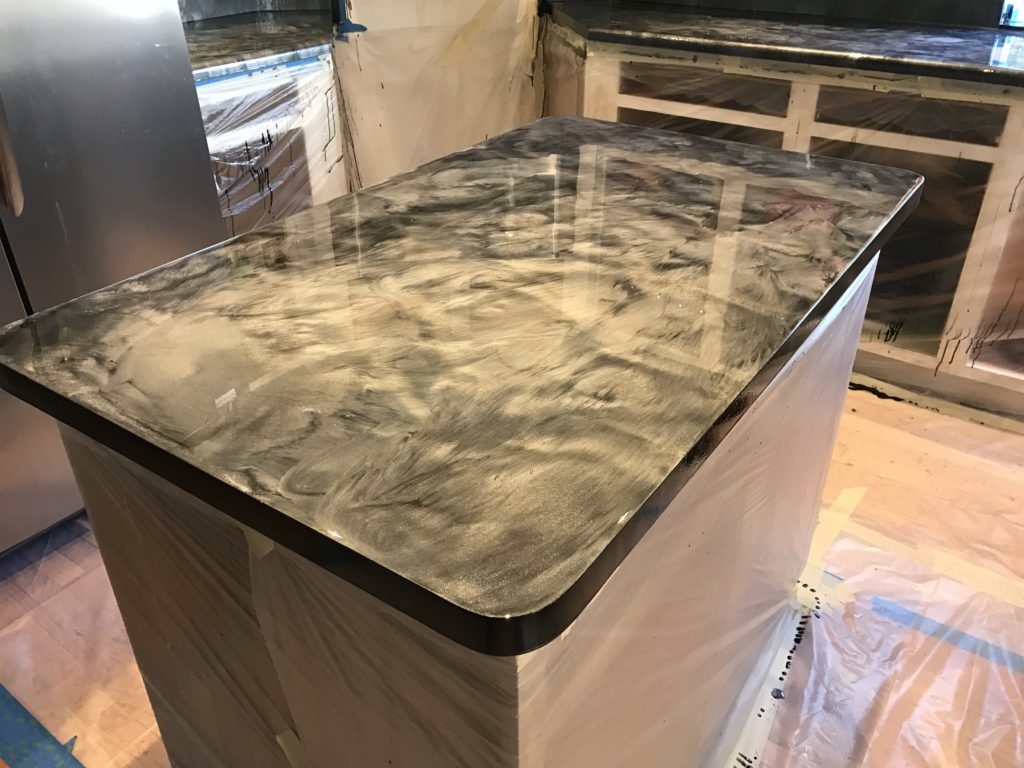
We watched video after video on the process. This part was terrifying to me because I knew if we messed this up, there was no good solution. We finally decided to go with a company called Legarri. We asked Jeff to watch their video as well and with his positive input, we decided to give it a try.
Because of the process, this is not a job for one person. There is a limited time between mixing the epoxy and applying it so it’s crucial to move quickly. Working as a team with one mixing and one doing application is the only way. If this is something you are considering, I’ve posted the link to the video at the end of this post.
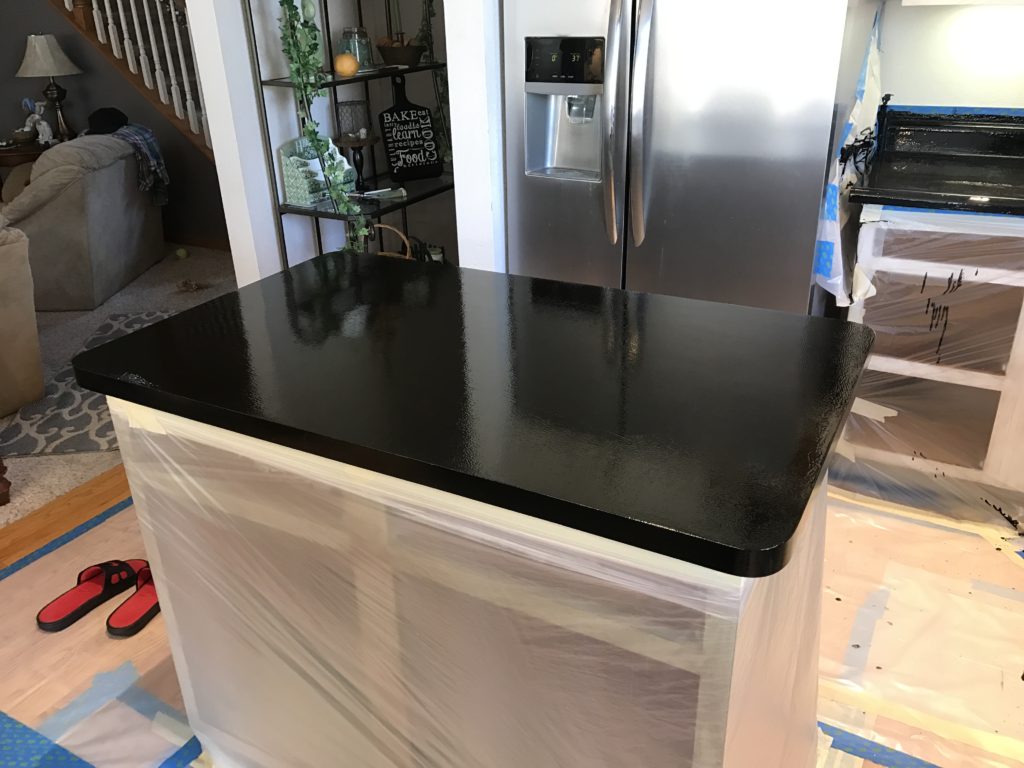
We finished the kitchen with a backsplash and new paint. I could not be happier with the end result!
Here is the link I promised you for the countertops. There are several videos you can watch if this is a consideration for your next remodel. Leggari Countertop Kit
Floors are on the wish list this year. Jeff? Hello? Hellooooo? He’s not answering my call. I wonder why?
So….while waiting for that call back, I added a few more pictures to my Spring Home Gallery. I hope you’ll stop by! Better yet, sign up below and get my latest posts and complete access to my Printable Library.